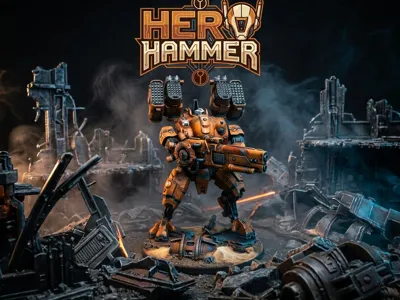
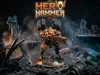
BAD ORANGE HERO


Print Profile(1)
Bill of Materials

Description
So many of you are messaging me asking where my old models have gone.
I’m trying to reply to everyone, but I’ll say it here too: unfortunately, several of my models are being removed from the platform.
So my advice is very simple:
if you like a model, download it NOW.
Don’t just add it to your collection, because in a few days it might be too late… and then come the tears, the regrets, and the classic “damn, I should have downloaded it when I had the chance.”
You’ve been warned. The rest is in the hands of the 3D printing gods. 😄
GARA'S WORKSHOP
I am a dad to two beautiful girls and I enjoy letting them discover the multiverse through 3D Printed nerd objects
This is one of the models from my small 3D printing workshop
I enjoy designing, testing, and sharing these figures with those who love to print, paint, and collect miniatures
I am a big Bambu Lab fan and all my prints are mainly made with P2S and A1 mini
Before publishing a model, I always do several test prints to check stability, supports, and overall quality
Click here to join my Discord group: sometimes we do evening live sessions to talk about 3D printing, projects, tests, and new ideas to develop together

------------------------------------------------
RECOMMENDED PRINT SCALE
I often create test prints at a reduced scale (around 10 cm) to check the model's behavior
But there's something important
If you print it larger, around 15 cm, in addition to gaining detail, you also gain ease of printing
My advice:
feel free to enlarge it as much as you want, but add some extra supports where needed
Proof that the model prints correctly is in the real photos in the post
Only basic slicing knowledge is needed
If you have any doubts, feel free to write to me: if I can help, I always do so willingly
------------------------------------------------
PRINT PARAMETERS USED FOR TESTS
Test scale: approximately 5 cm
PLA Basic white
Layer height: 0.16 extra fine
Supports: hybrid tree
Outer brim: 10 mm
Object spacing: 0 mm
If you want to give a small buff to this nerd project, you can do so with a PayPal contribution here.

Or, if you want to help, you can boost the server and support the community.
Boost Me (for free)
i love you!

------------------------------------------------
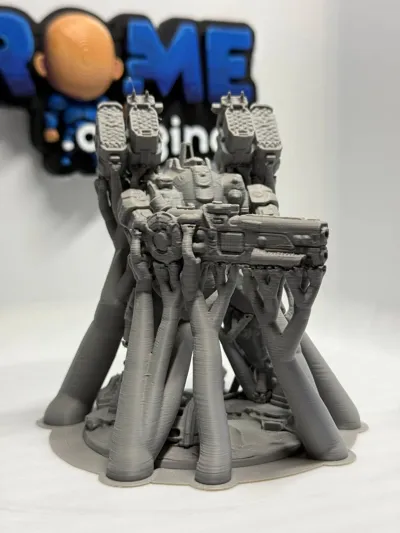
SUPPORT REMOVAL
The supports are designed to be quite delicate
They are removed without damaging the model but calmly:
one at a time, slowly, using tweezers and a bit of patience
No need to go Rambo on the supports…
otherwise something breaks and you end up crying in front of the printer
------------------------------------------------
TECHNICAL NOTES (the truth, not poetry)
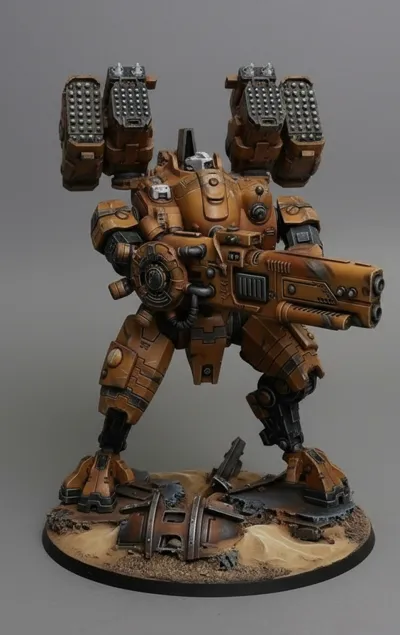
I prefer to print figures in single colors and paint them after priming using acrylic markers or miniature painting techniques
The colored images on the cover are just examples of coloring generated with AI to show possible painting styles
The final result always depends on the personal taste of the person painting the model, I apologize for some imperfections and slight differences between the real model and the AI model, I still need to perfect the method!!!!in all cases, you have my photos, both with and without supports, as a reference for the printed model
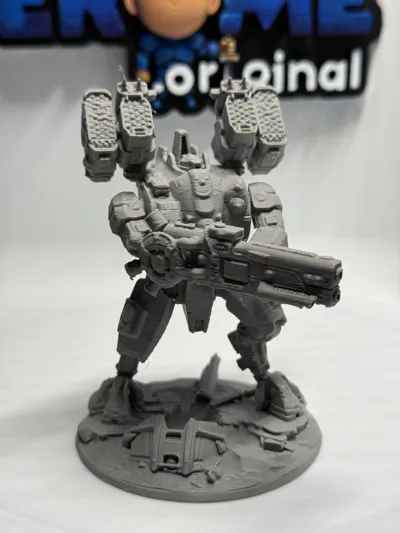
The design originates from an AI generation (Tripo), subsequently refined manually and tested with FDM printing to ensure real printability
The real print photos are the white or grey monochrome ones in the gallery
------------------------------------------------
THE PART THAT DECIDES IF YOU PRINT OR SWEAR
Build plate adhesion
I use CryoGrip Pro Frostbite, and the adhesion is so strong that the prints seem to have taken out a mortgage on the plate: they never detach
I mainly use Bambu filaments and have no issues
If you use a different setup:
• first and foremost, focus on build plate adhesion
• use dry, quality filament
• keep the build plate perfectly clean
• don't be afraid to use brim or extra supports
With these precautions, printing becomes much simpler and more reliable
------------------------------------------------
HEROME'S collection
If you like this model, you can find all the other figures in the collection here:
https://makerworld.com/it/@Gara/upload
Be careful though…
if you start printing them, you'll end up wanting them all
If you like the model, leave a like, it really helps the project grow

License
You shall not share, sub-license, sell, rent, host, transfer, or distribute in any way the digital or 3D printed versions of this object, nor any other derivative work of this object in its digital or physical format (including - but not limited to - remixes of this object, and hosting on other digital platforms). The objects may not be used without permission in any way whatsoever in which you charge money, or collect fees.
Comment & Rating (3)