
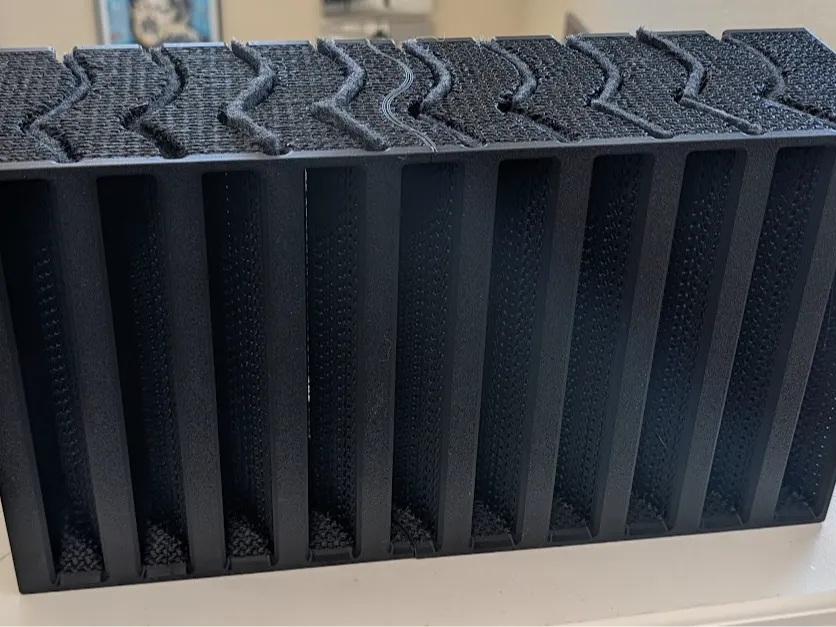
Wall Vent Sound Baffle
Print Profile(2)
Bill of Materials

- 4mm Thick Sound Proofing Foam x 1: https://www.amazon.com/dp/B0CYNRQWFJ?ref=ppx_yo2ov_dt_b_fed_asin_title
- Carbon Filter Pad x 1: https://www.amazon.com/dp/B074MKZNFW?ref=ppx_yo2ov_dt_b_fed_asin_title&th=1
Description
Round and round we go, with any luck this is the last iteration, but knowing all of you it probably won't be.
- What and Why
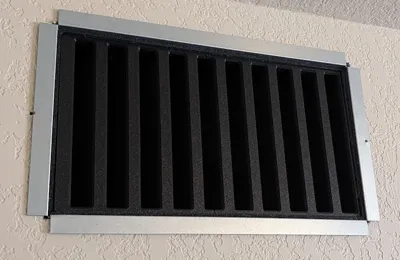
- Have a whole house fan and wanted to be able to install vents for each room so I could still run it if the doors to the rooms were closed.
- The stock insert that came with the pathways was okay at keeping light out but that was about it. It actually seemed louder out side the room with it installed and it was (see table below with all testing).
- This is a higher flow iteration from my first attempt.
- Results
- Available vent sizes (These are the sizes they are designed around, make sure to check the size of your opening and account for padding the path with foam, you might need to scale a little bit to fit even with these, feel free to ask for help with sizes)
- 14x8 (https://store.quietcoolsystems.com/collections/zone-air-pathway/products/zap-zoned-air-pathway)
- 12x12
- 12x4
- Material
- PLA (not super important because it is not under any real load.
- Logic I went with for this config, but have not idea if I'm correct on this, other than it seems to be working.
- Tested a few different configurations with my phone and a sound meter app to get an average over about 30secs.
- I played Shakira, Ed Sheeran, Beéle - Hips Don't Lie (Anniversary Version) on loop for this testing because that was the first thing i saw when I opened my player lol. https://www.youtube.com/watch?v=41ZY18JqI2A
- I set the receiver to -33db for all tests.
- Results table
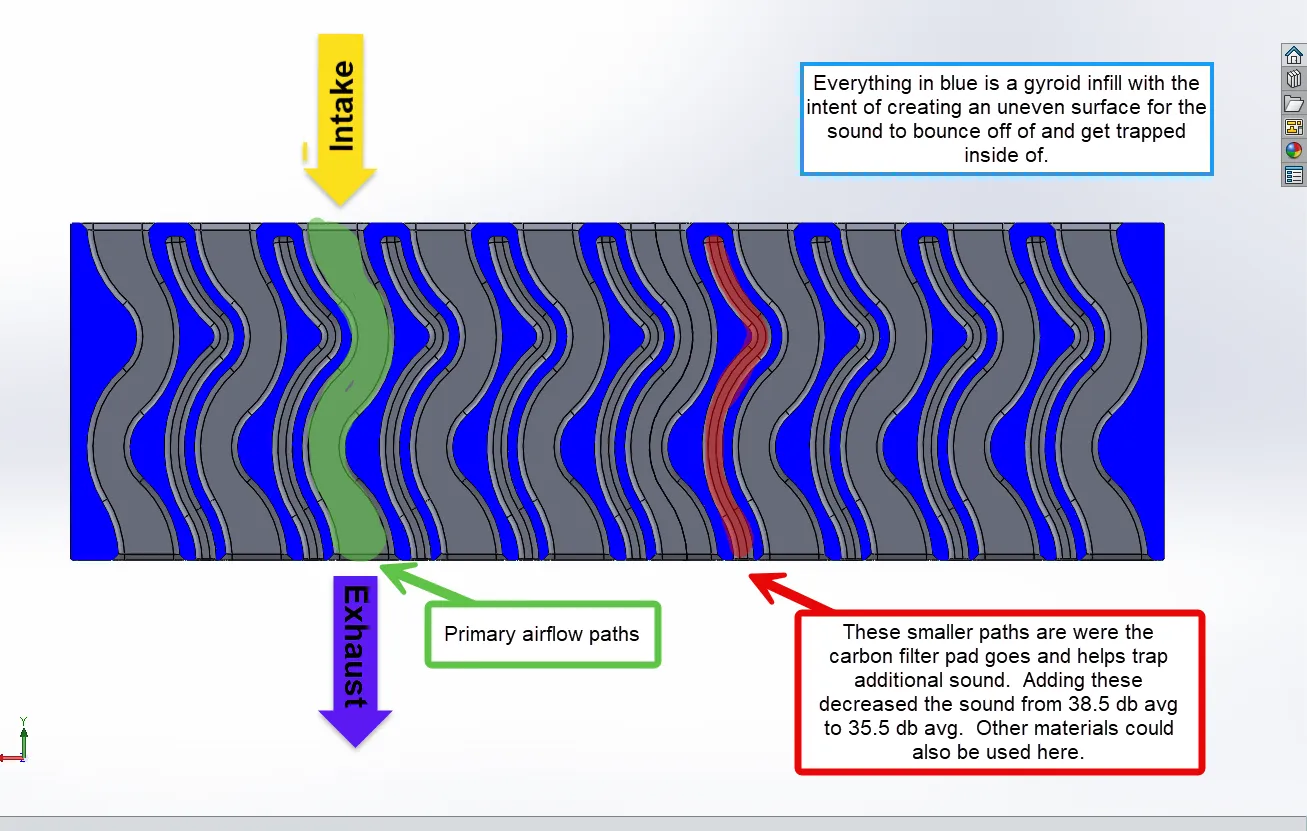
Room Door: Location: db Open 1ft in front of receiver: 54 Open Outside door: 45 Closed Outside door: 36 Closed Infront of vent (no stock insert): 40.5 Closed Infront of vent (stock insert): 38.5 Closed Infront of vent (foam lined only): 38.5 Closed Infront of vent with Sound Baffle but no Carbon Pad 38.5 Closed Infront of vent with Sound Baffle with Carbon Pad 35.5
- Flow Testing Results Table (to the best of my ability)
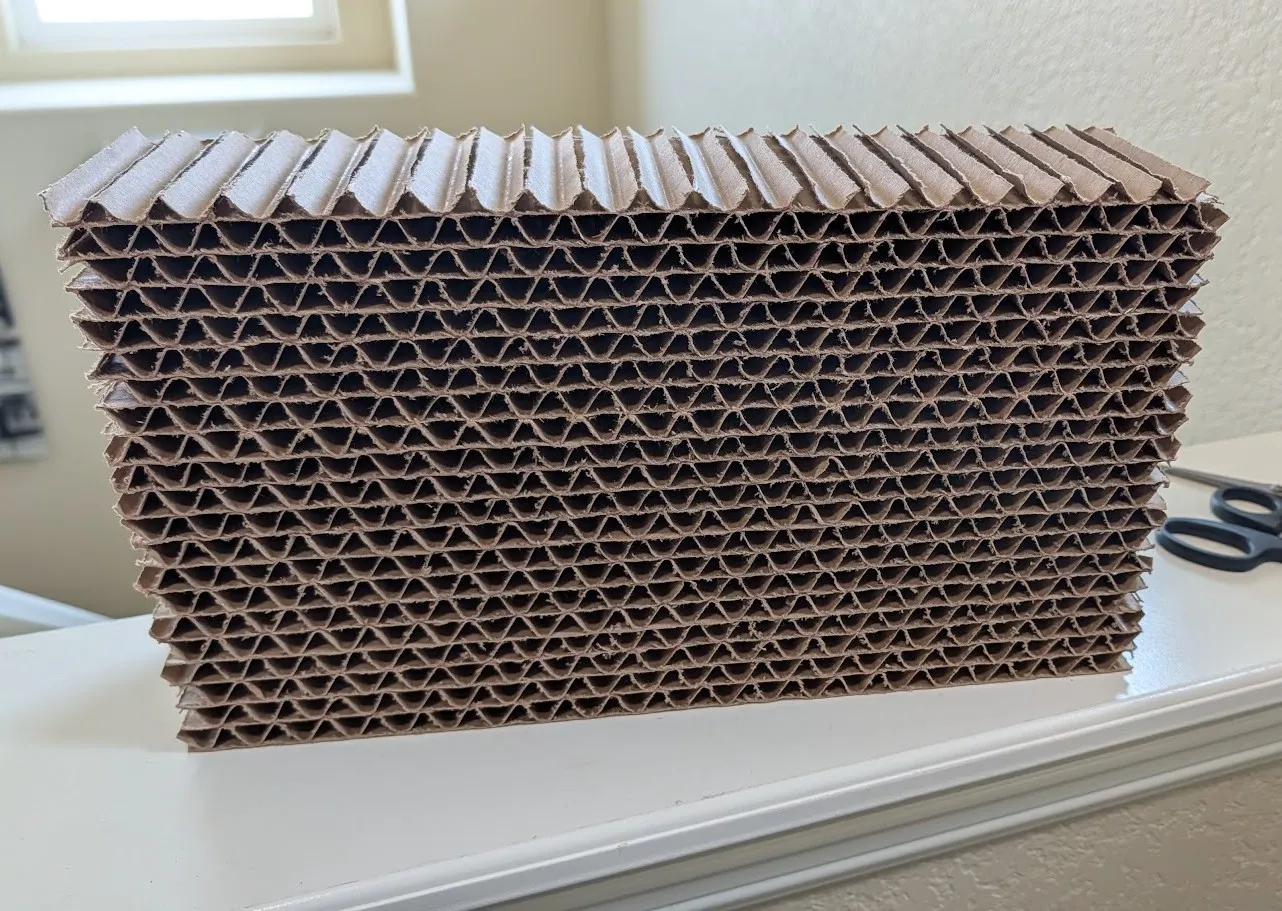
Exit Velocity (m/s) Exit Dimensions (mm) Exit Surface Area (m^2) Flow Rate (m^3/s) Reduction from Open Reduction from Card Board Open 3.5
190
344
0.065
0.229
0%
48%
Cardboard 2.8
190
344
0.055
0.154
-33%
0%
V1 Sound Maze 2
190
90
0.017
0.034
-85%
-78%
V3 Sound Baffle 2.2
0.035
0.077
-66%
-50%
- For my needs I found the airflow to be more than sufficient compared to my first iteration.
- Available vent sizes (These are the sizes they are designed around, make sure to check the size of your opening and account for padding the path with foam, you might need to scale a little bit to fit even with these, feel free to ask for help with sizes)
- Process
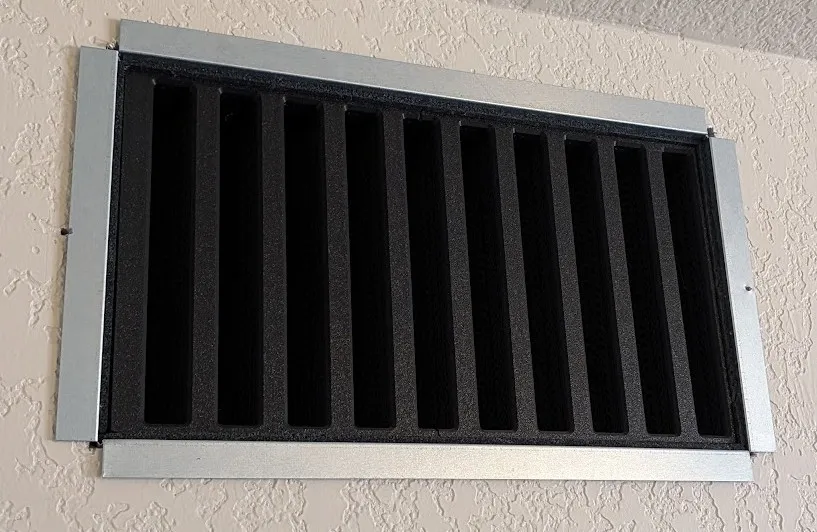
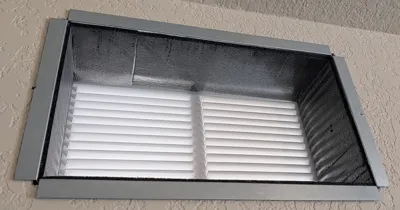
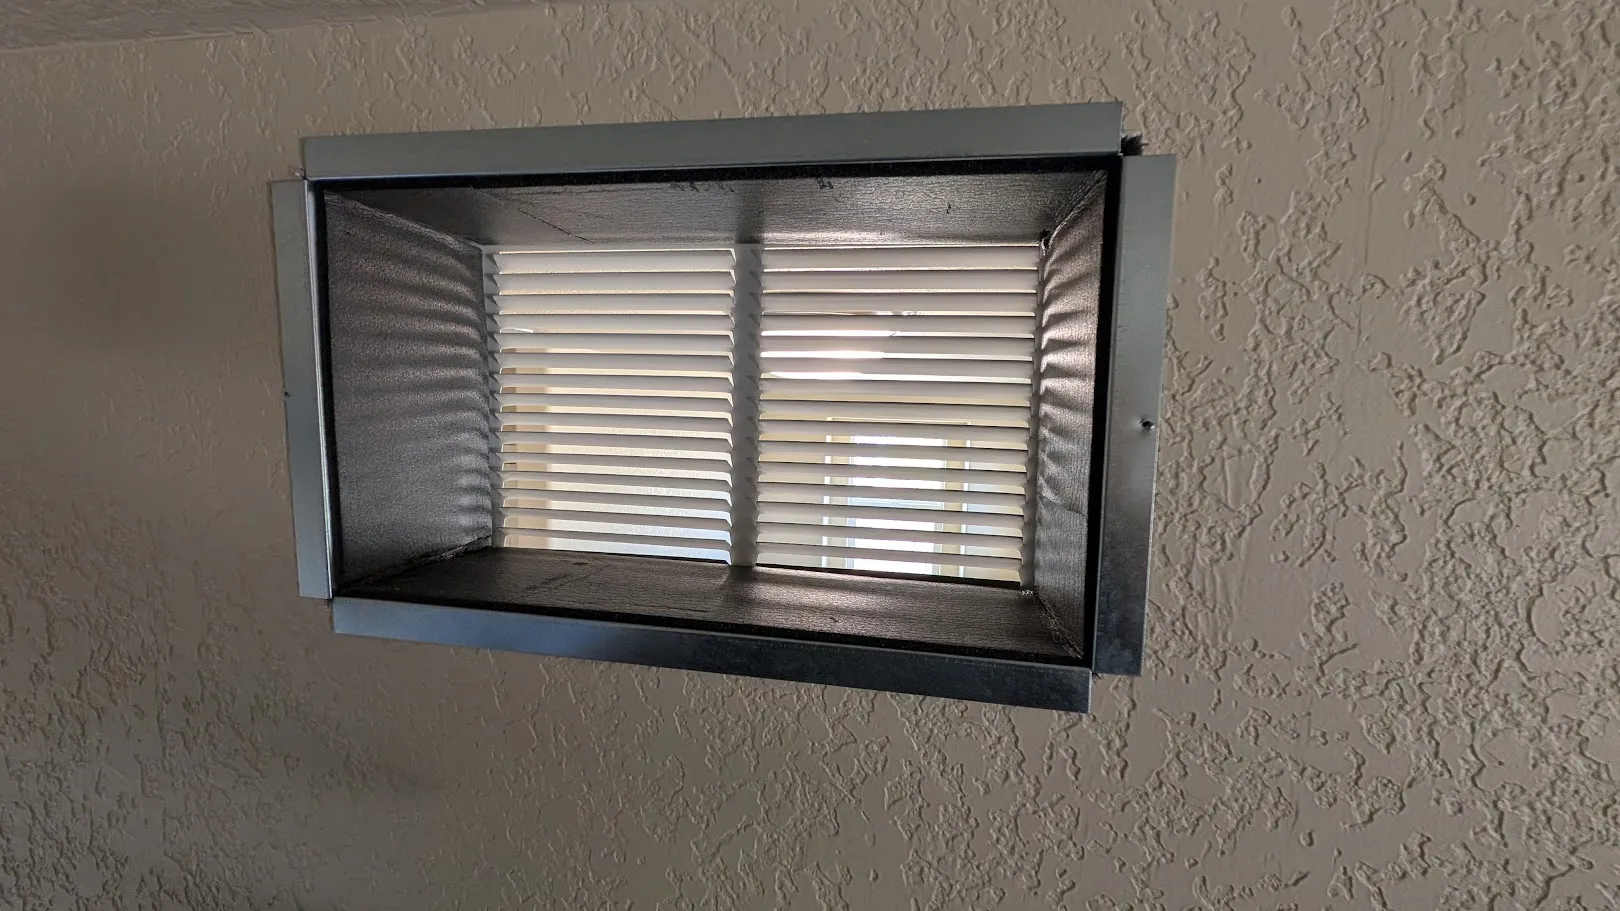
- I started by removing the insert and lining the vent with this foam, I imagine a similar foam would also work.
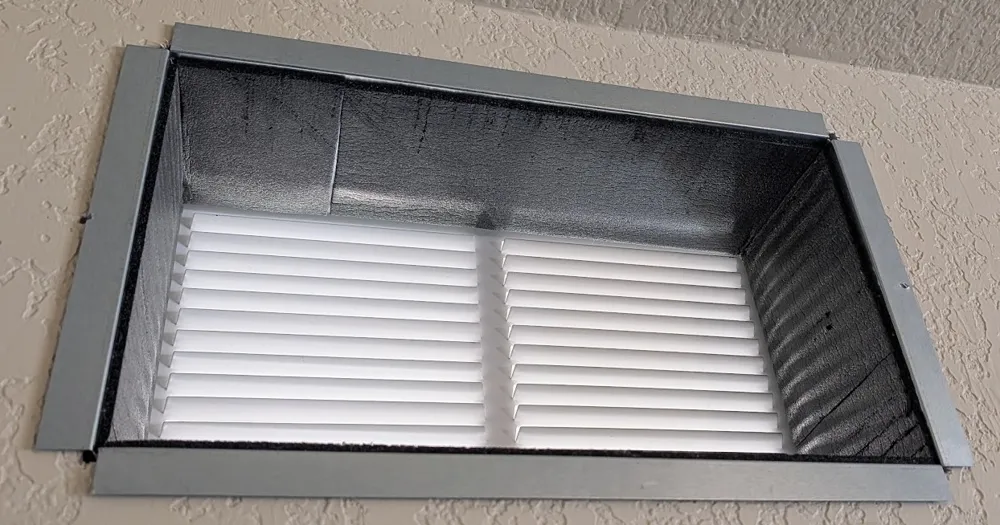
- This is the junk insert I removed
- This is the junk insert I removed
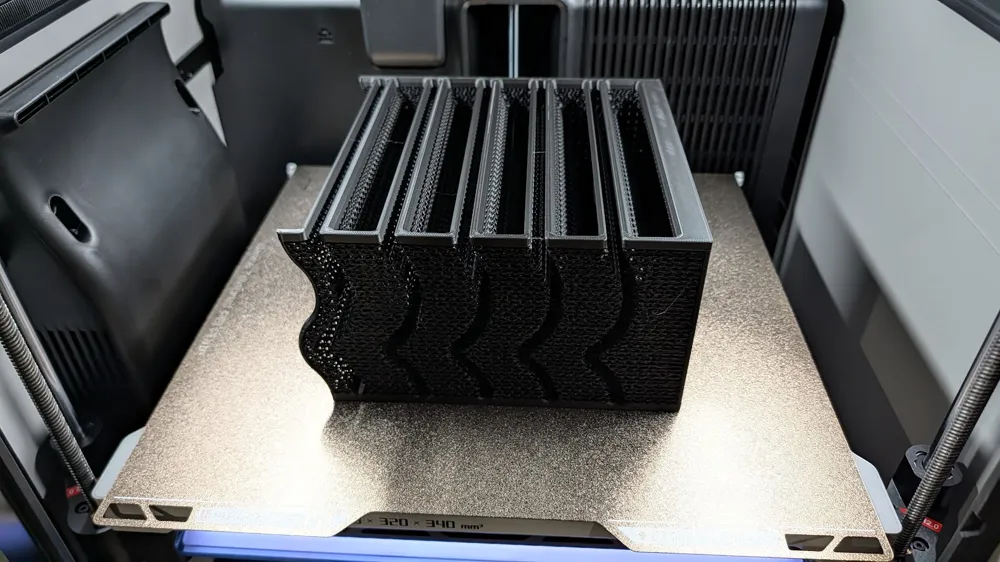
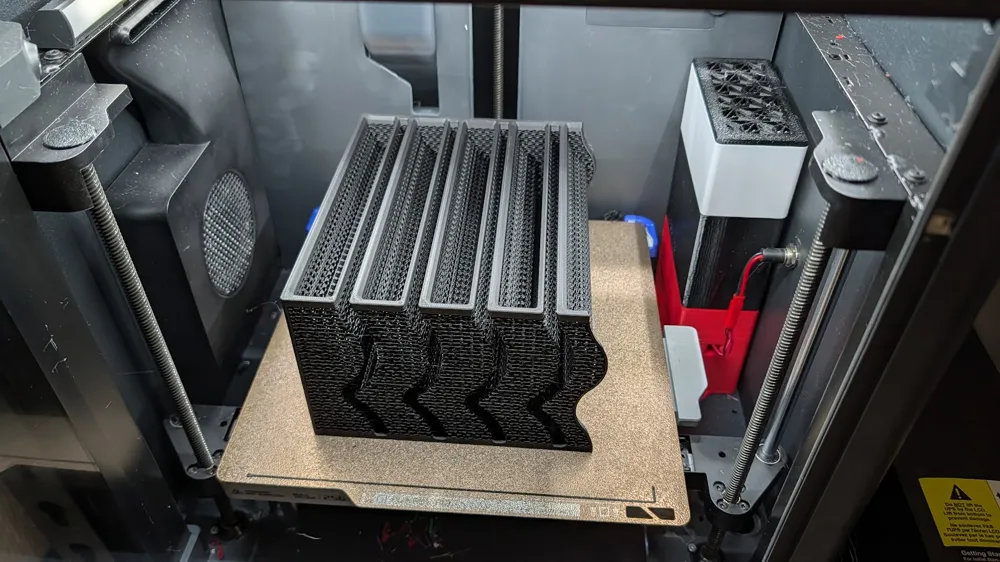
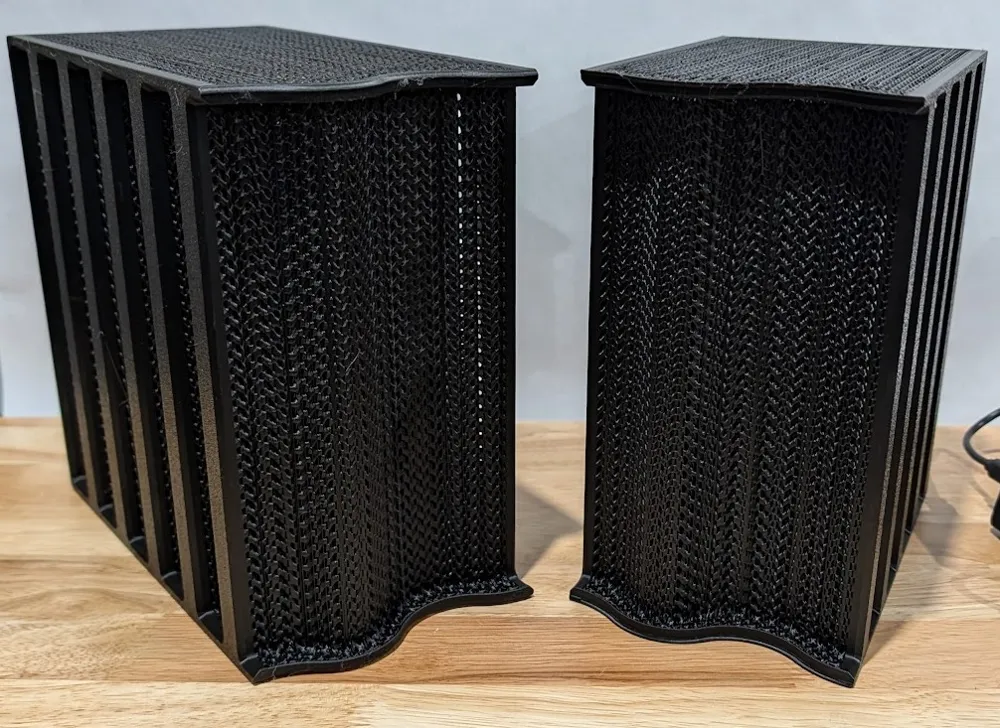
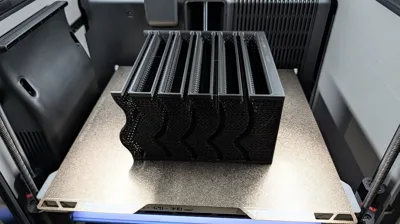
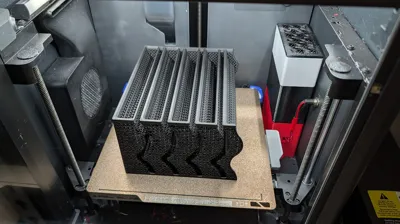
- I crated the maze based on the max sizes for the printer and created modifier bodies to remove the walls in some areas to help better trap the sound.
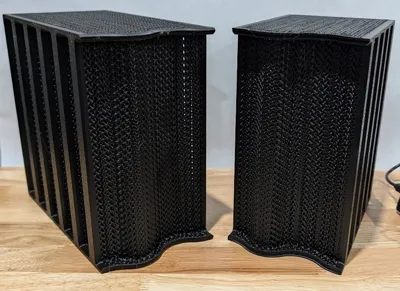
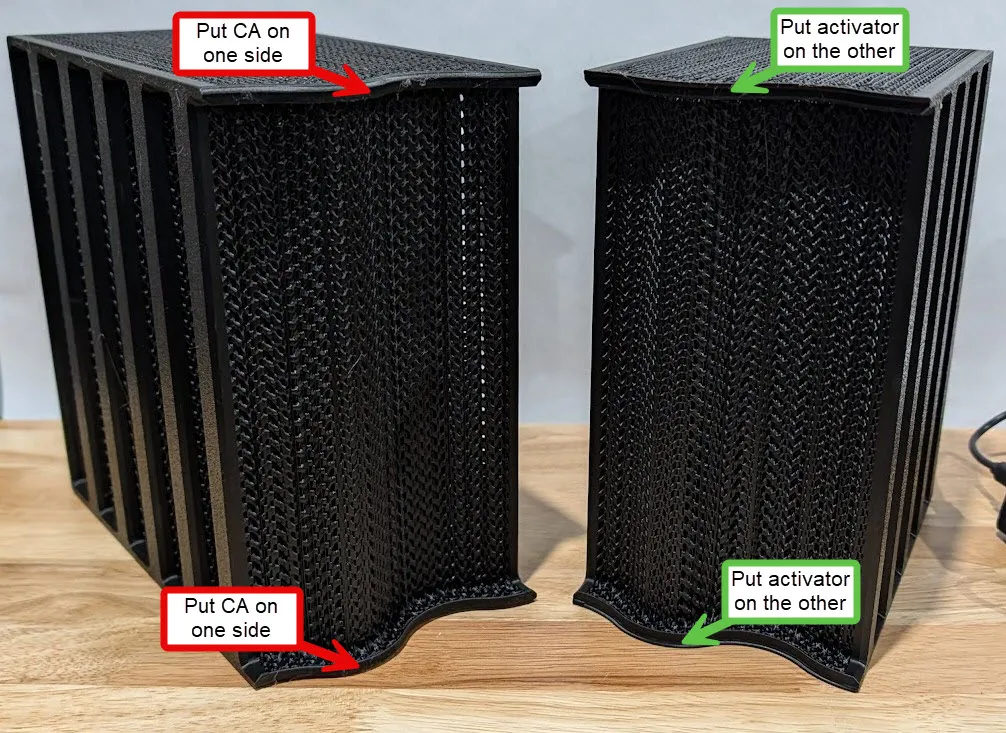
- After printing I glued the 2 halves together with some CA glue. A thicker CA glue is recommend for easie.
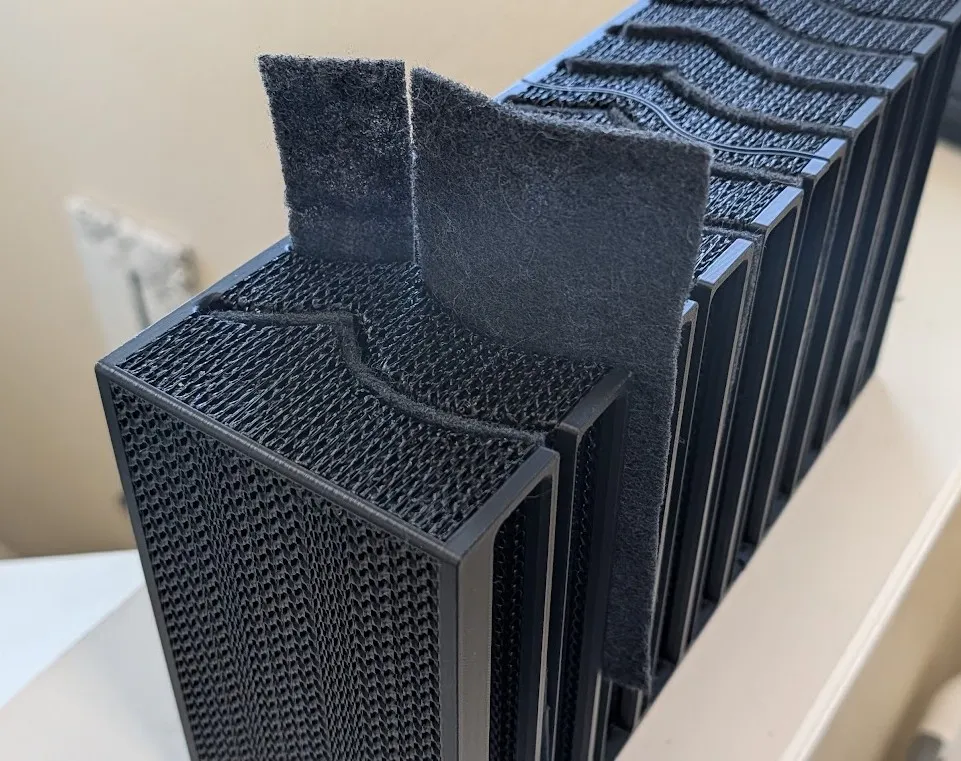
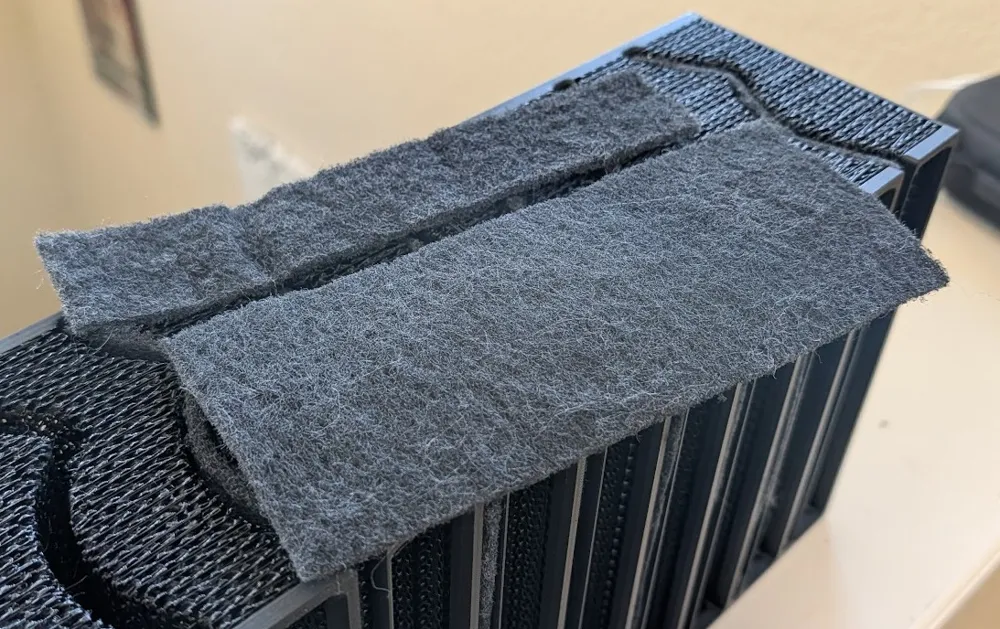
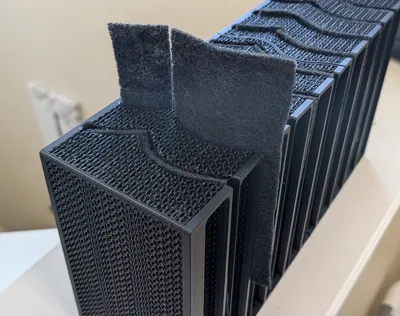
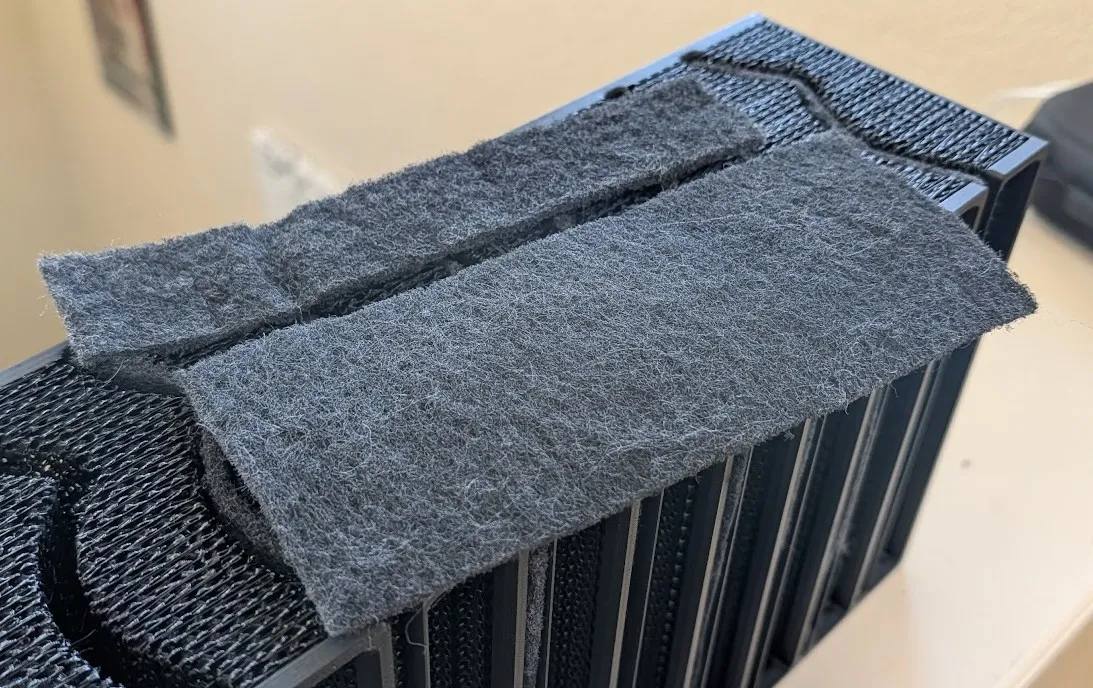
- Cut all your carbon pads to size and insert them.
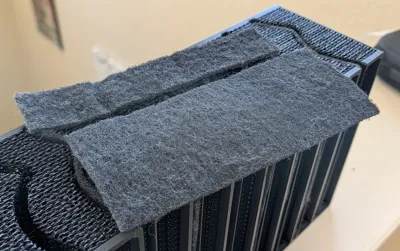
- For the 14x8 size I cut strips at 185mm (5mm shorter than the overall height) and then cut strips at 40mm and 75mm (I suggest test fitting the first set and adjusting from there. Being a little long or short is not a big deal. Mine were a little short in the picture.
- I found it much easier to insert the carbon pads from the top in 2 pieces rather than 1. It is possible to install it as 1 piece but it is a little bit of a pain.
- I also found having something to help work them down occasionally does help. I used a loose metal sawblade. A coat hanger would also probably help.
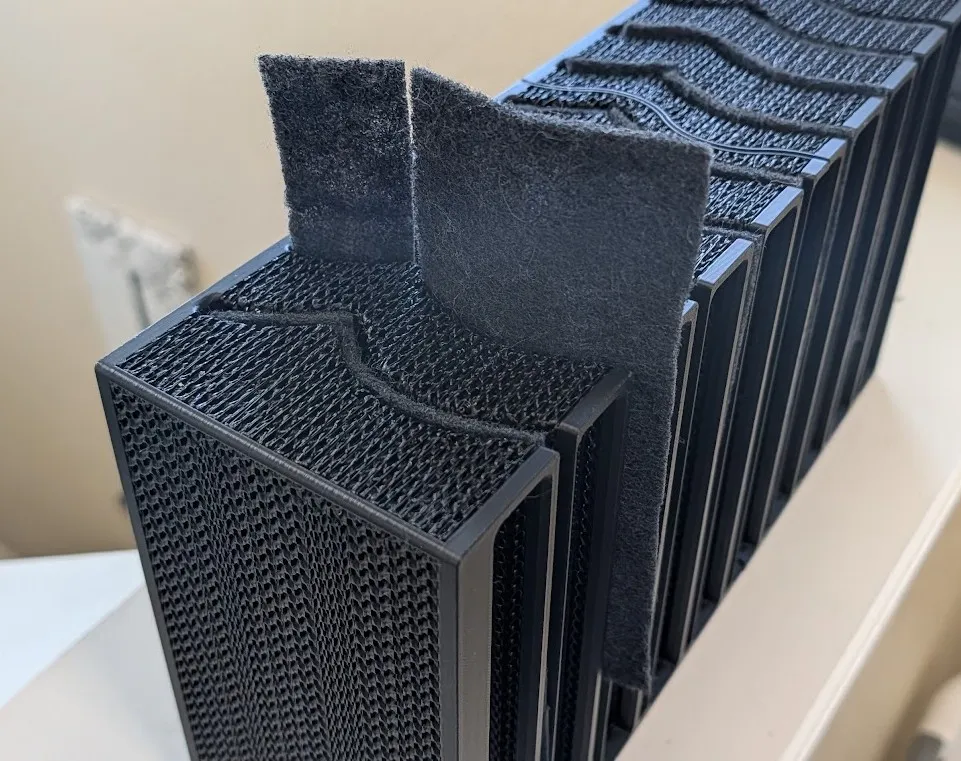
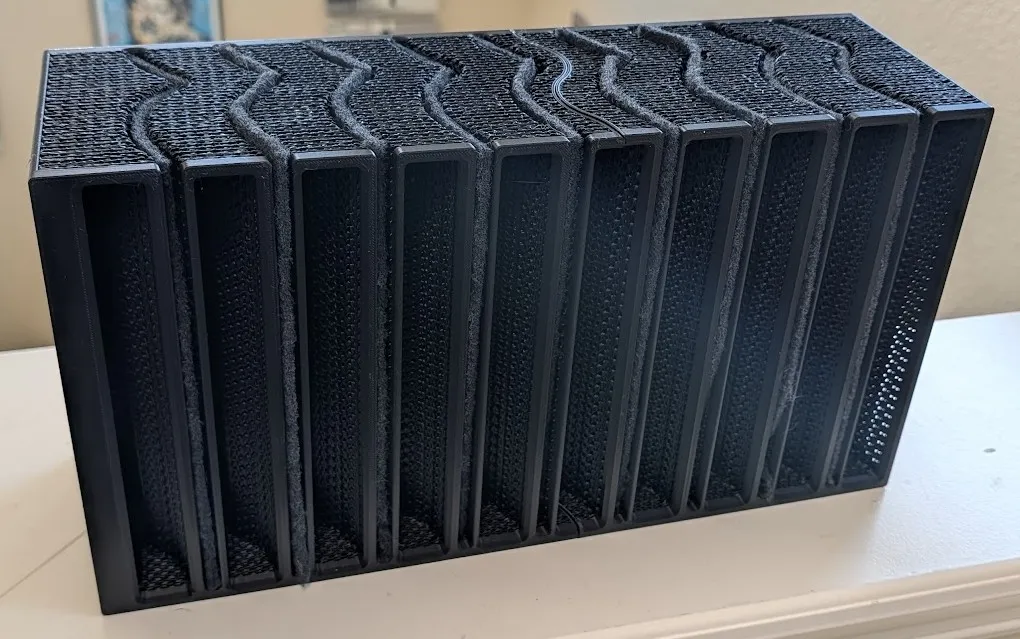
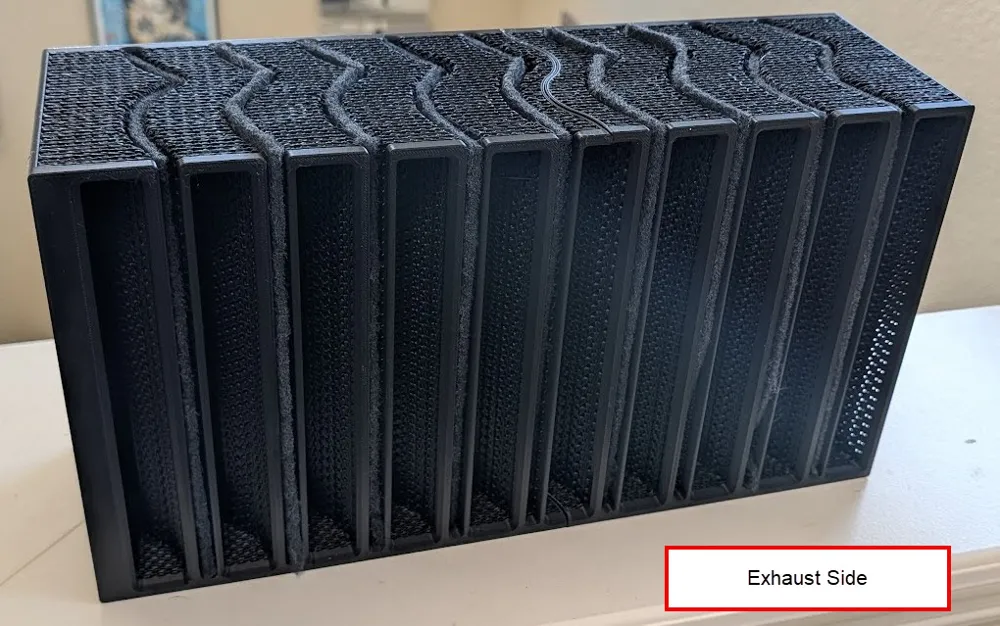
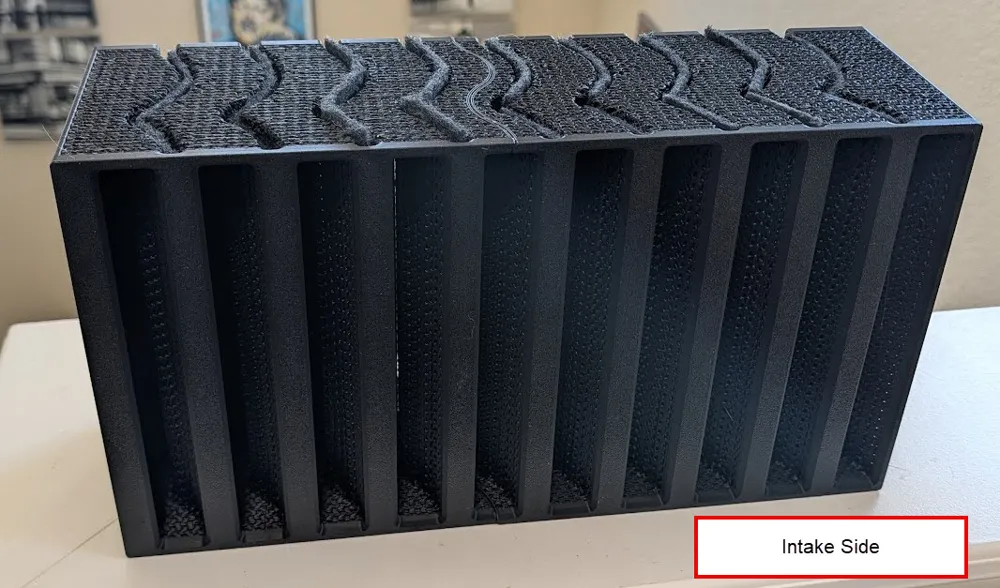
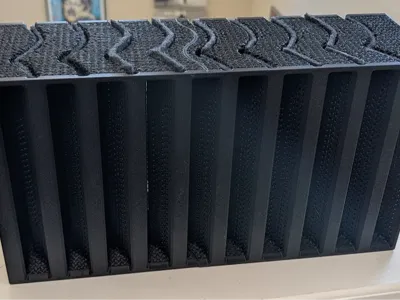
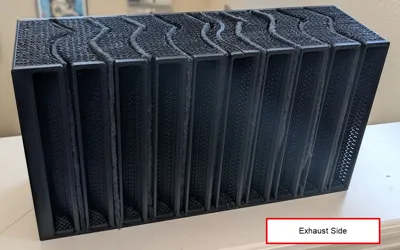
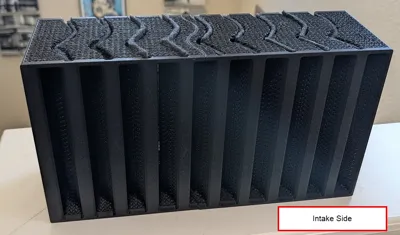
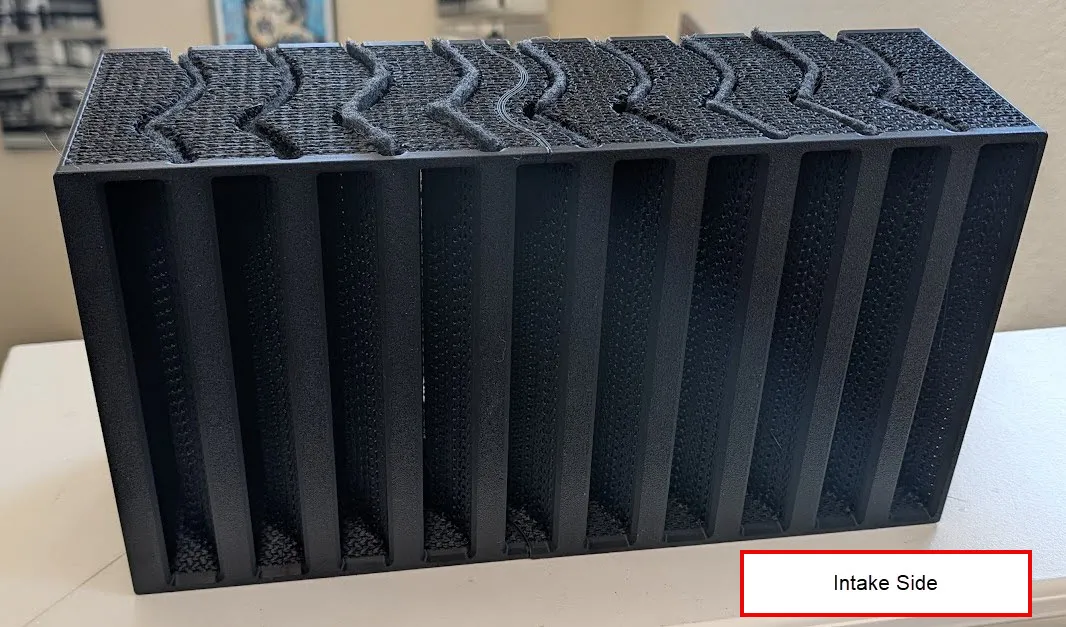
- When you go to install it into the vent maker sure the intake side, shown below, is face the side you expect the air to be coming from. It should work in both directions, but is designed to have the best results from the intake side.
- I started by removing the insert and lining the vent with this foam, I imagine a similar foam would also work.
- Modifications.
- Depending on your vent size you might need to adjust the sizing to fit. Happy to make different sizes if needed and upload them for everyone.
- You can try other materials in the slots. I really wanted rockwool, but couldn't find it in thin sheets.
- Misc Notes
- Because of how this is printed there will be some loose strings, it's not a big deal you can just pull them off.
License

You may create derivative works based on this object, provided that all such derivative works are published exclusively on the MakerWorld platform and include proper attribution to the original creator. You may not share, upload, host, distribute, or publish this object—or any derivative work of this object—on any other digital platform, marketplace, or distribution channel. Commercial use of this object and any derivative works is strictly prohibited. This includes, but is not limited to, selling, renting, sublicensing, or using the object in any context in which you receive monetary compensation or other financial benefits.


Comment & Rating (1)