
Eclipse Water Fountain
Print Profile(1)
Bill of Materials


Description
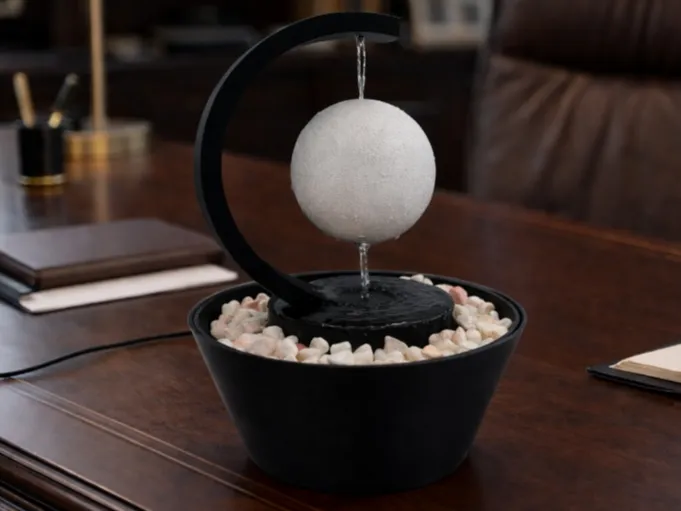

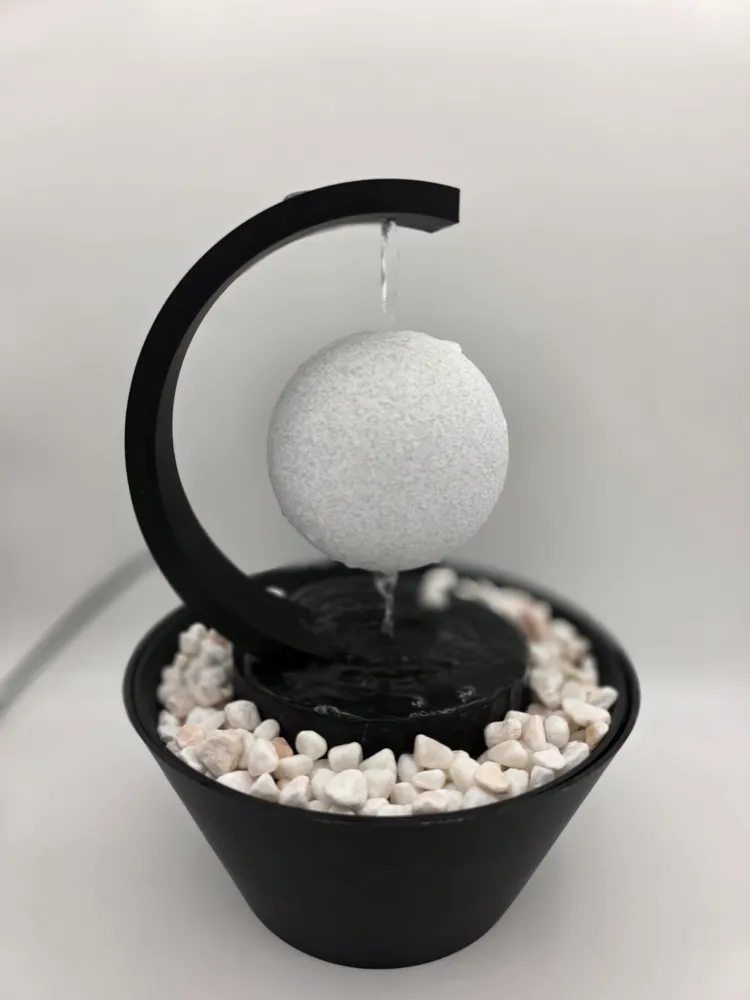
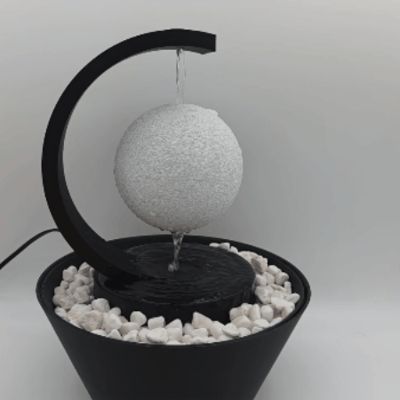
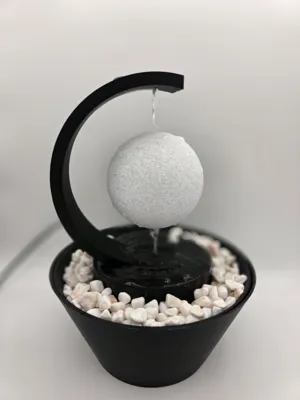
Bring a clean, modern vibe to your setup with the Eclipse Water Fountain. This one’s all about that floating effect — a suspended sphere with water flowing straight through it in a continuous stream.
Water drops from above, passes directly through the center of the ball, and falls into the basin below, giving off a smooth, relaxing sound that’s perfect for a desk, office, or nightstand. It’s simple, but definitely grabs attention once you see it running.
The curved arm and textured sphere give it that sleek “eclipse” look, especially with the contrast between the dark frame and lighter ball. Toss in some stones or switch up colors to match your setup.
Prints clean, goes together easy, and works with a small adjustable pump.
Boost Me (for free)
Membership
Assembly Instructions:
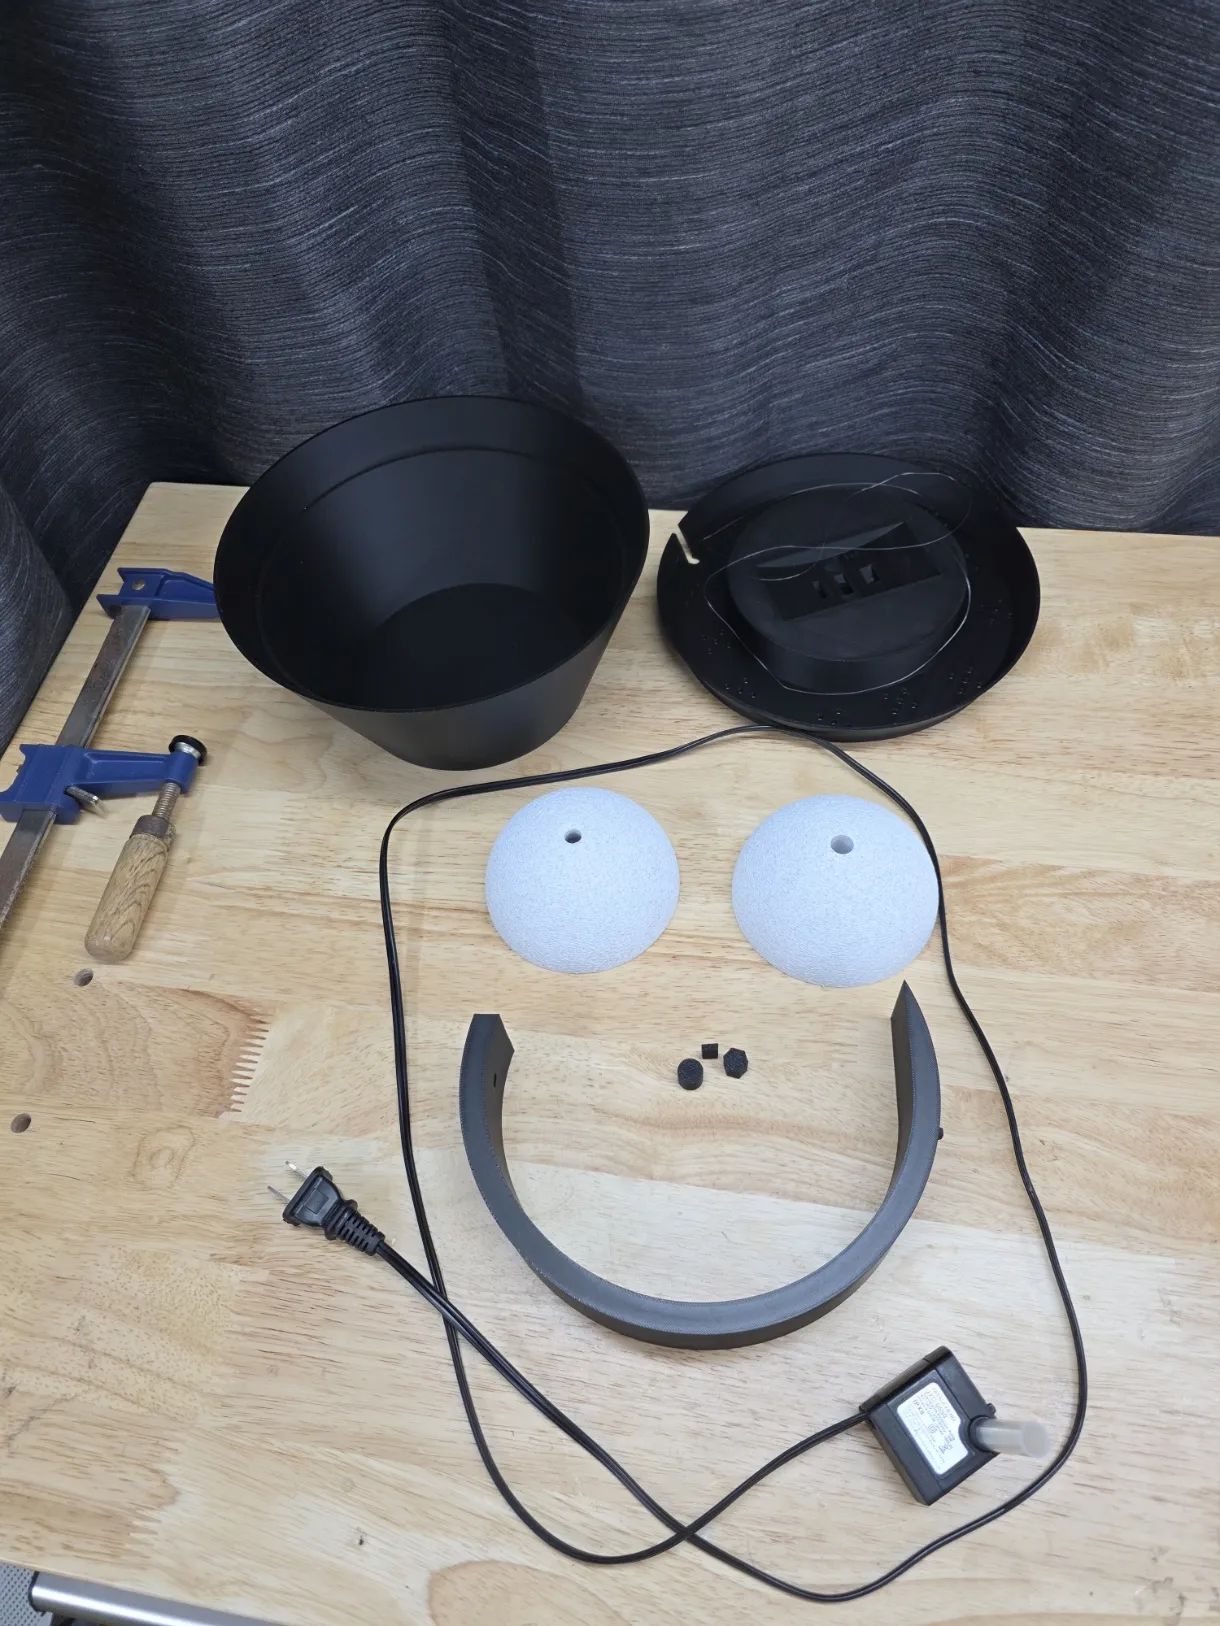
Step 1 – Gather everything
Lay out all your parts and materials:
- Super glue
- Arm & arm base
- Water basin
- Water pump https://www.amazon.com/DaToo-Submersible-Fountain-Aquarium-Hydroponics/dp/B0B6PQG9HV/ref=sr_1_6
- Nylon fishing line
- Flex Seal
Step 2 – Seal the basin
Apply Flex Seal to the inside of the water basin to prevent leaks.
Let it fully cure before moving on.
Step 3 – Attach the arm
Glue the arm to the arm base using super glue.
There are alignment tabs, so it will only fit one way.
Hold in place and let it fully dry.
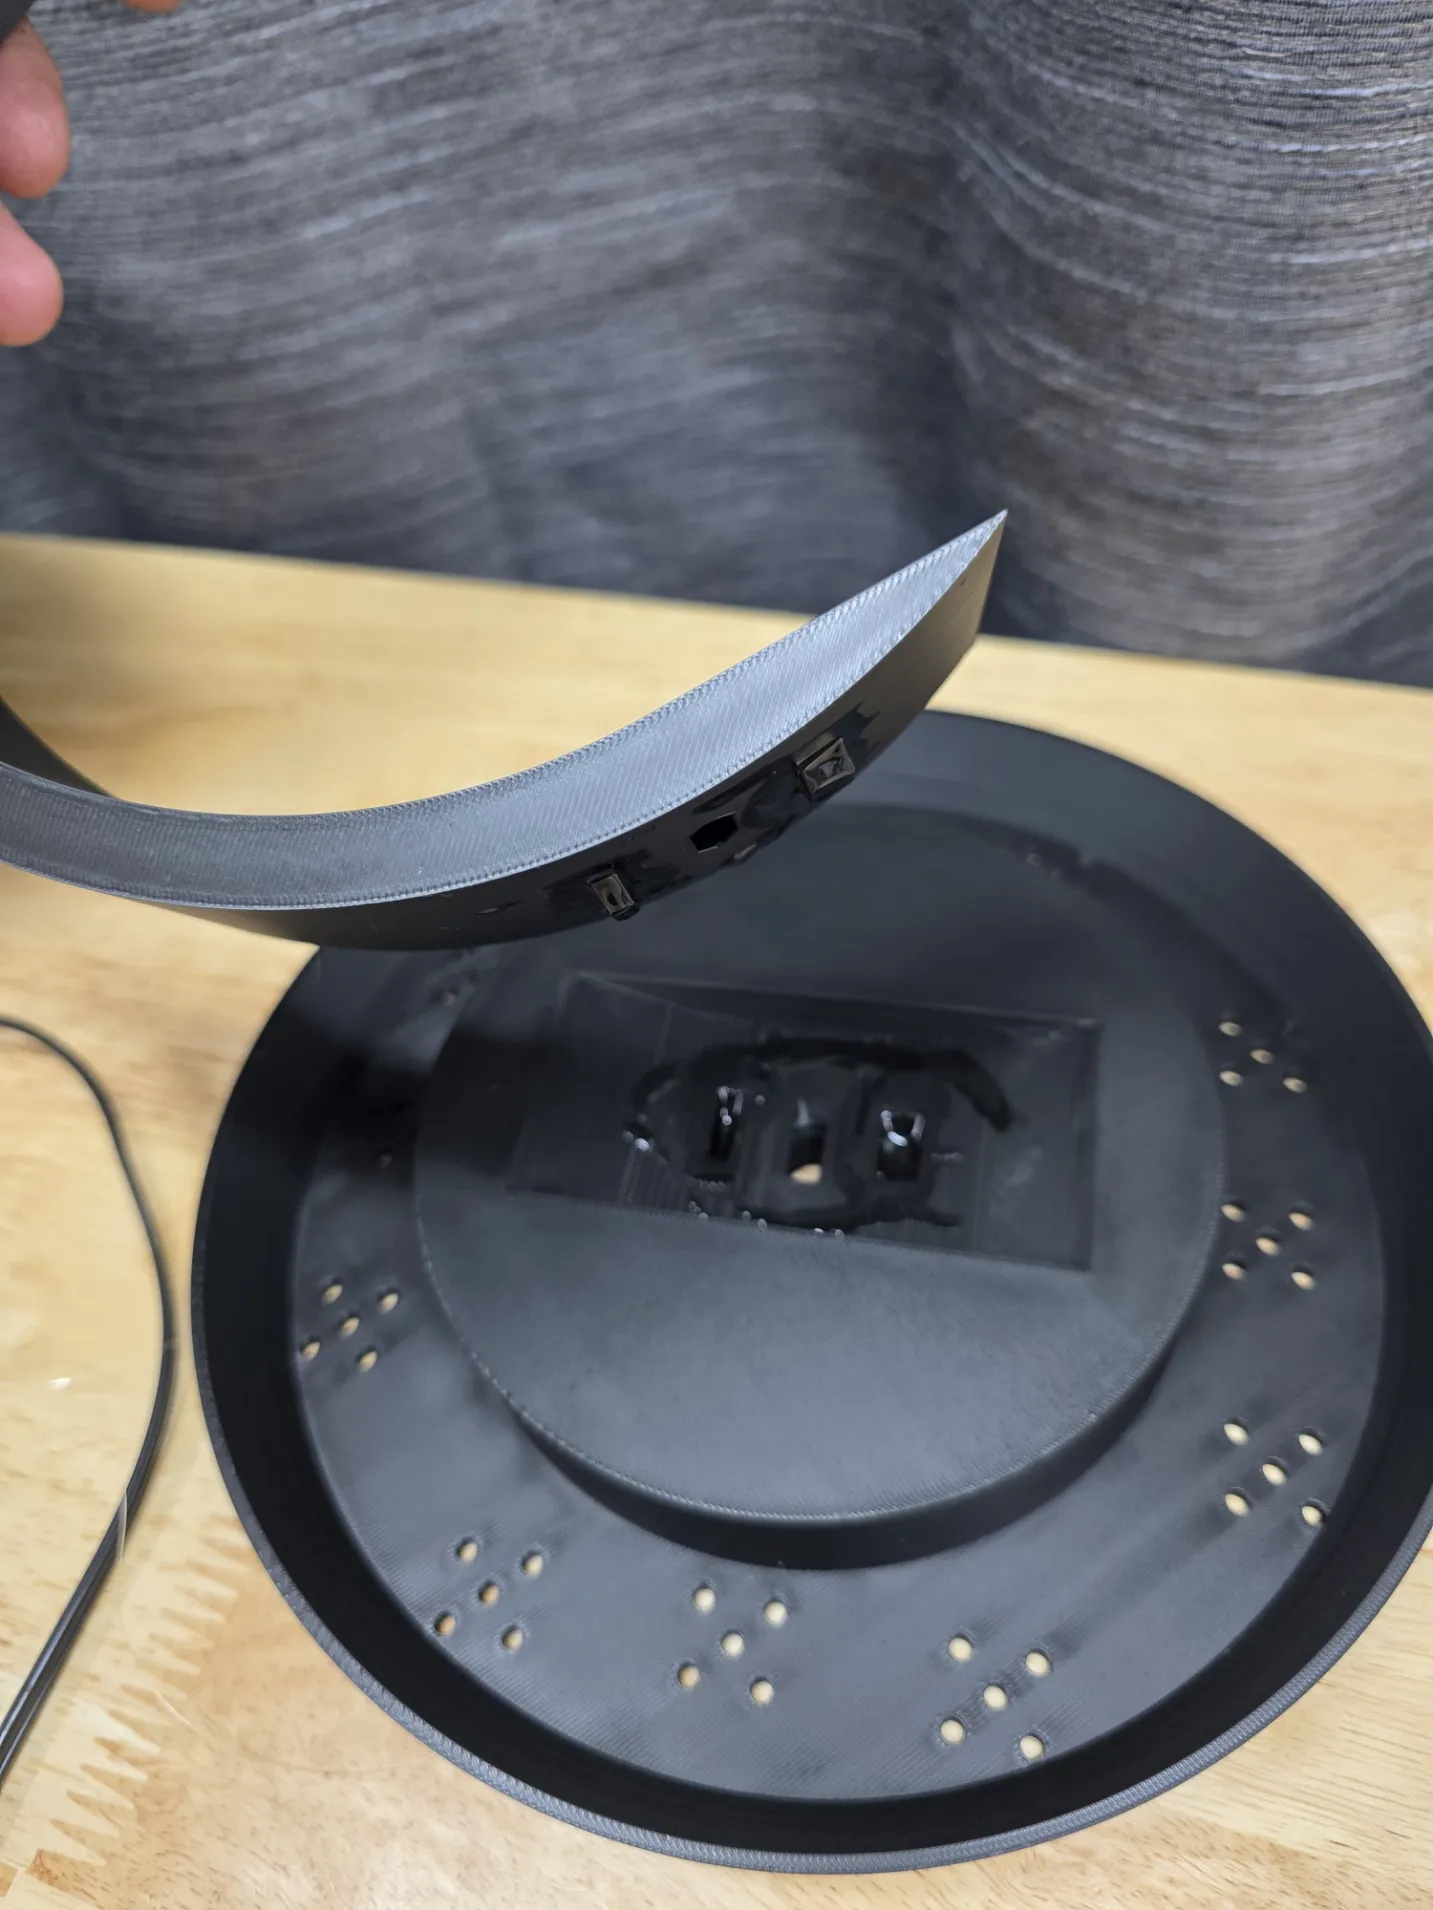
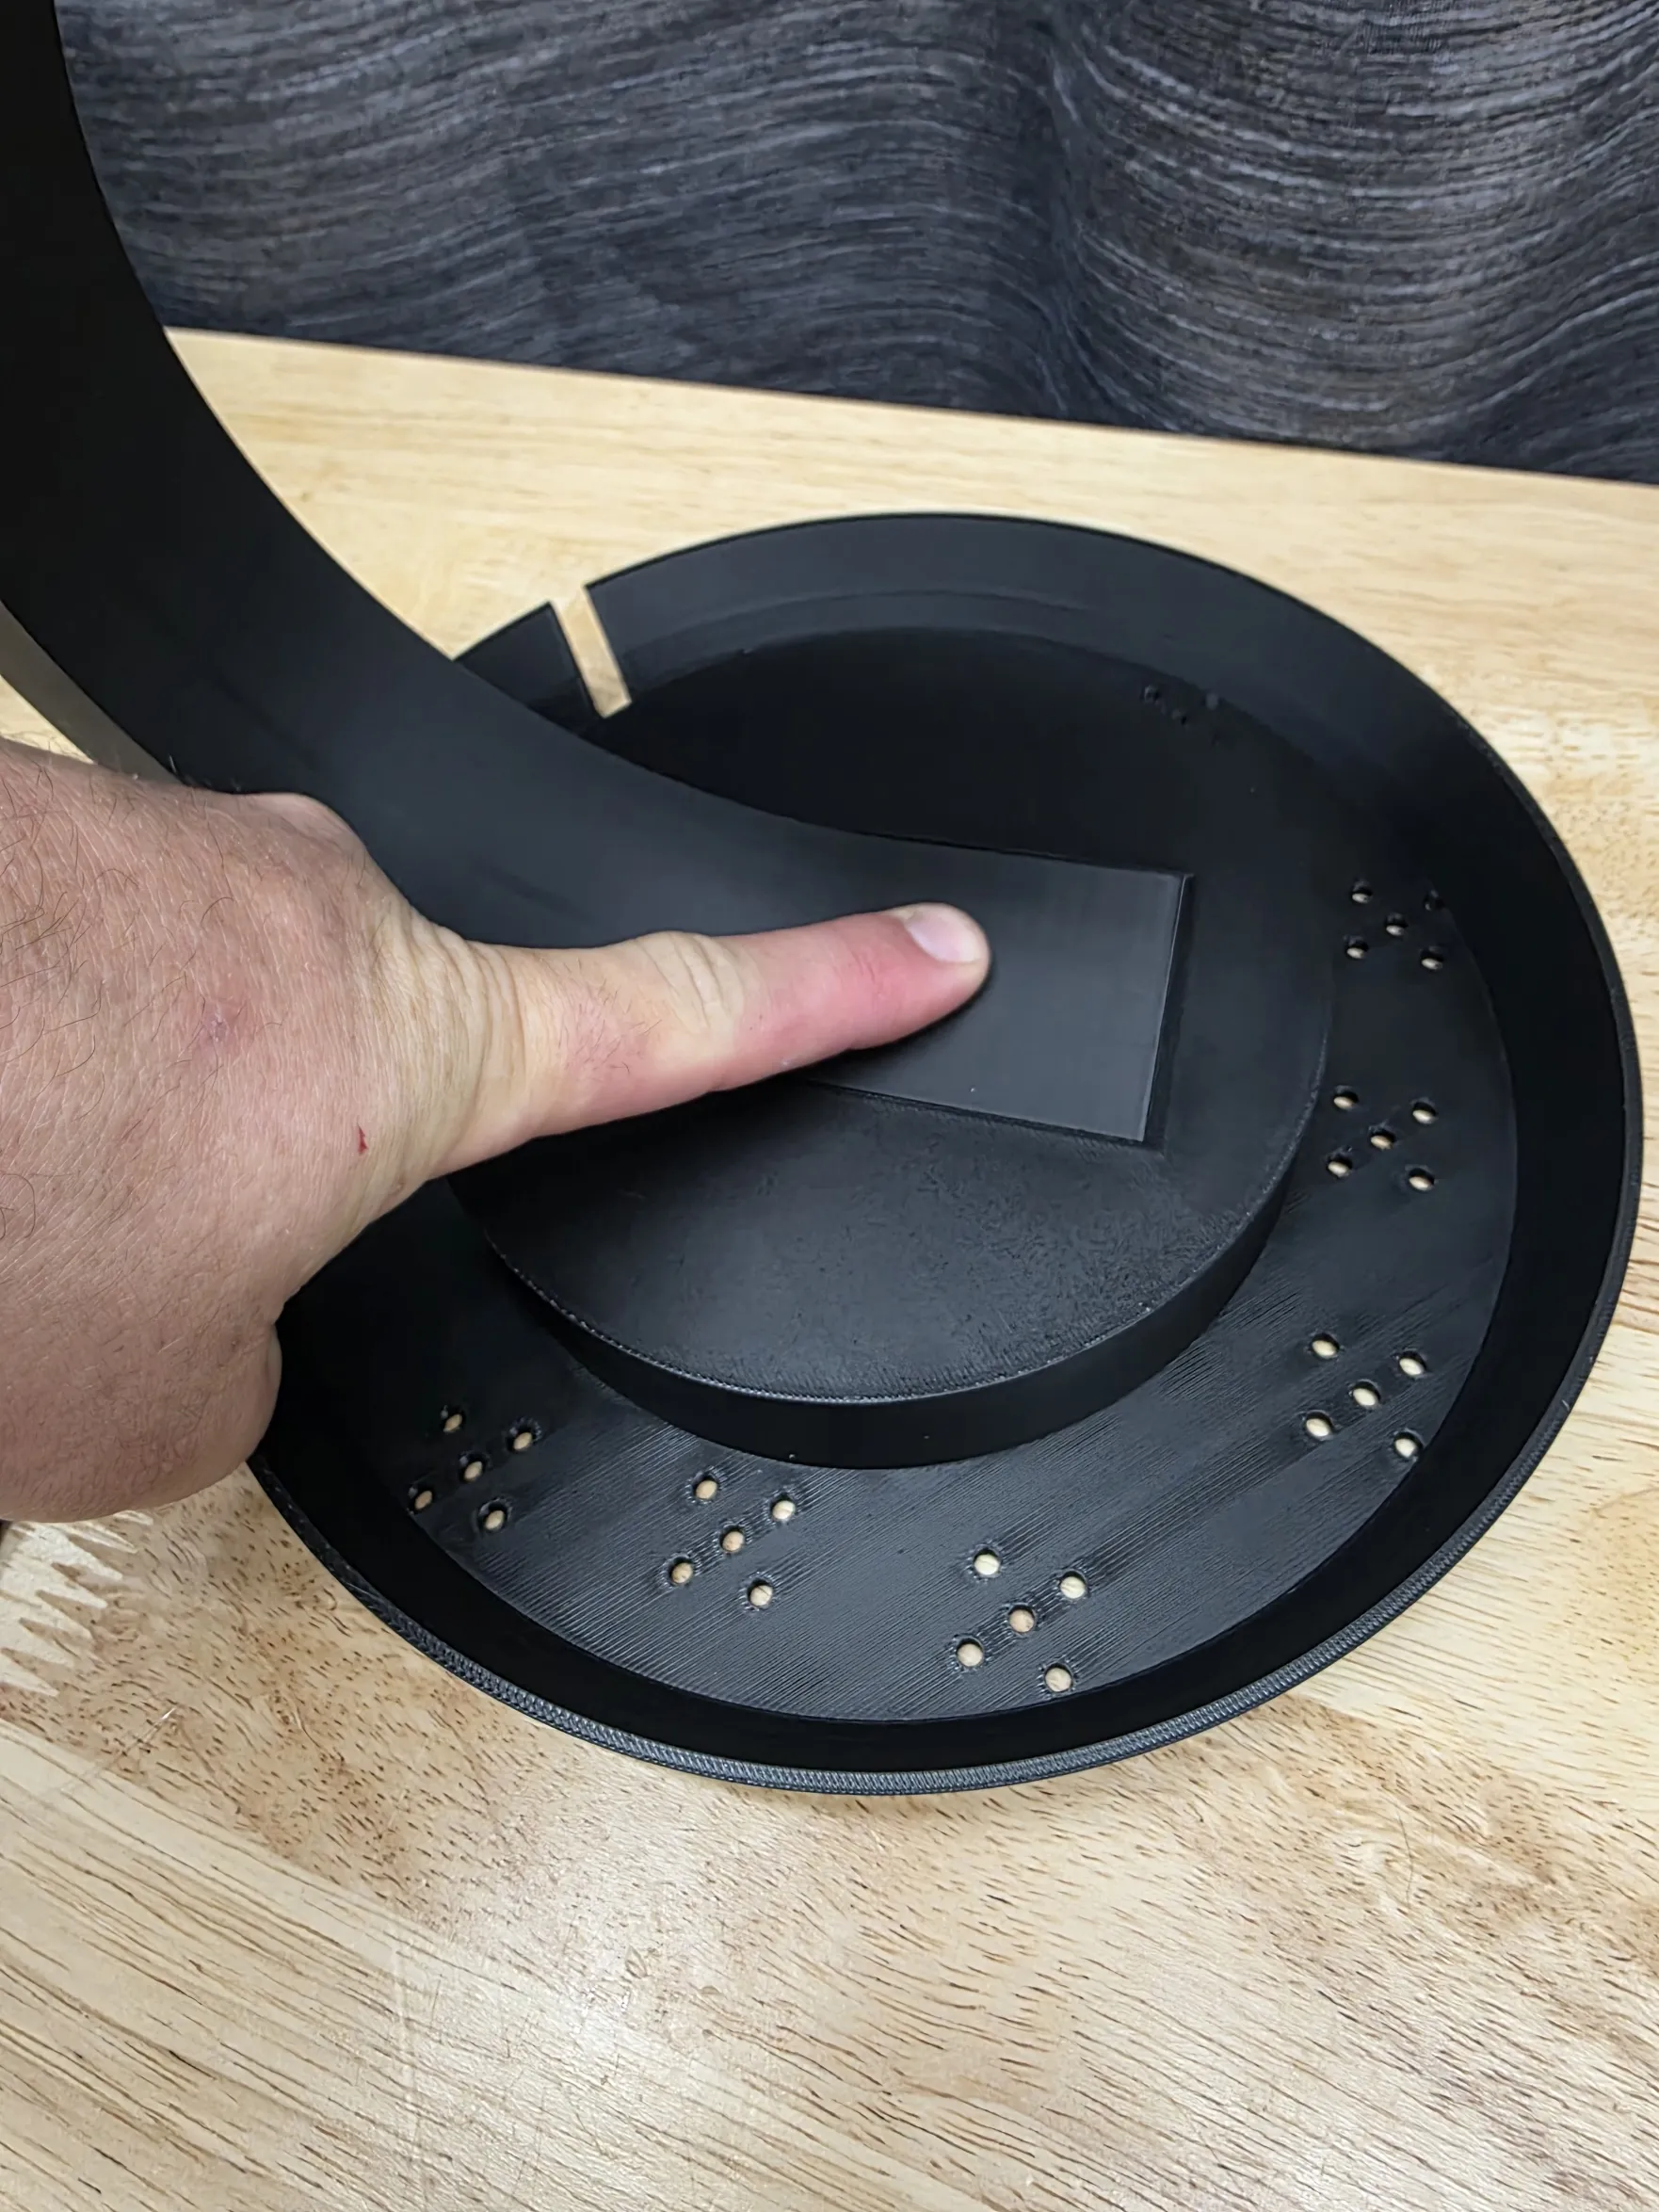
Step 4 – Assemble the sphere
Insert the two internal pegs into the ball.
Apply glue and join both halves together.
Use a clamp to hold it tight while drying to keep the seam as minimal as possible.
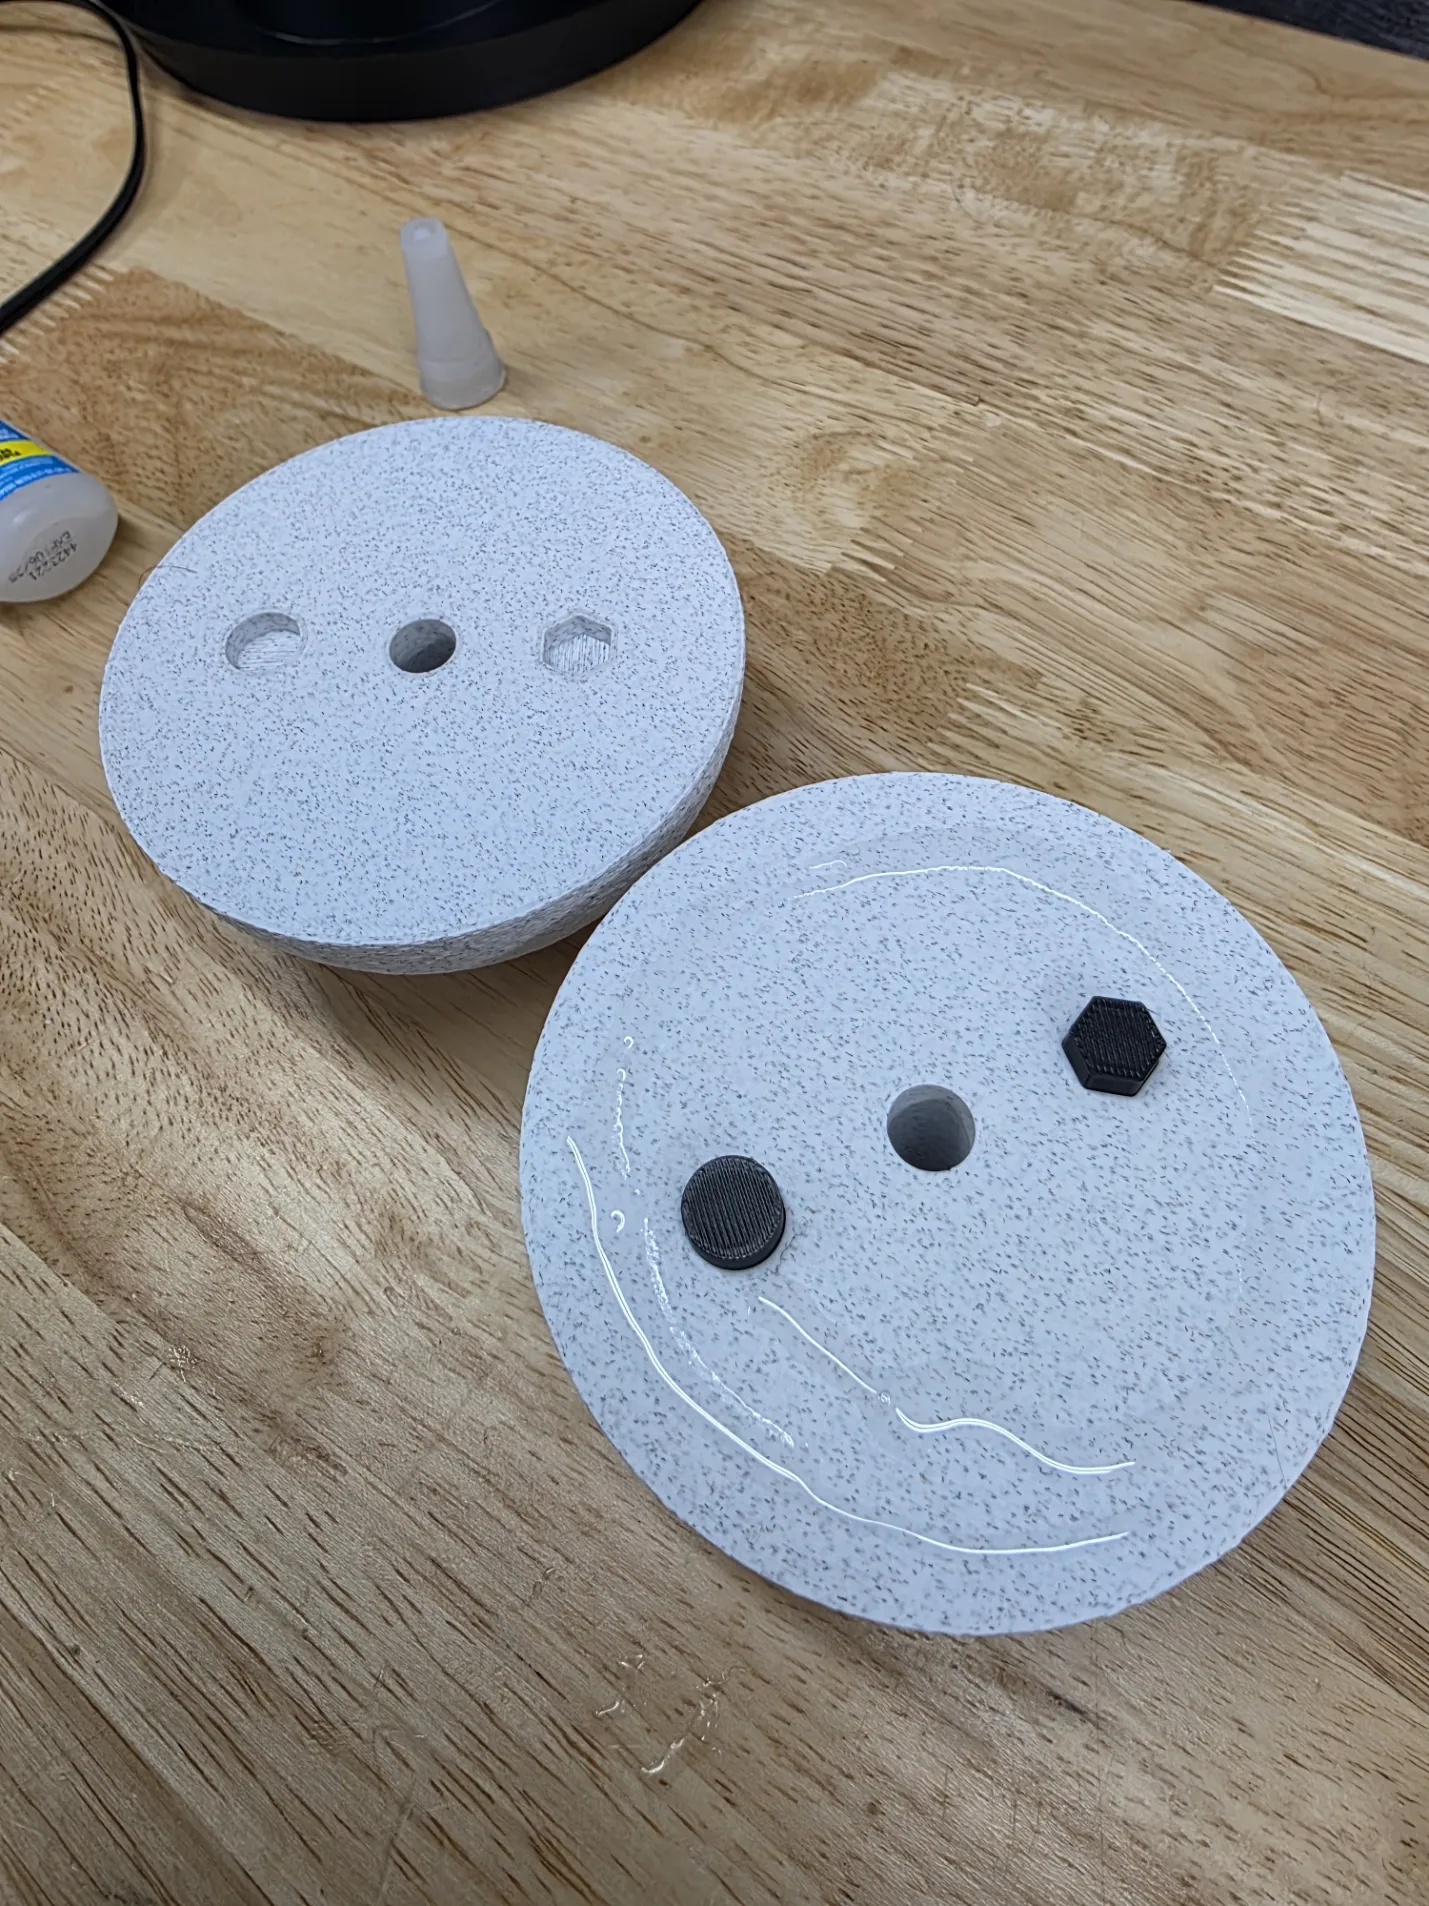
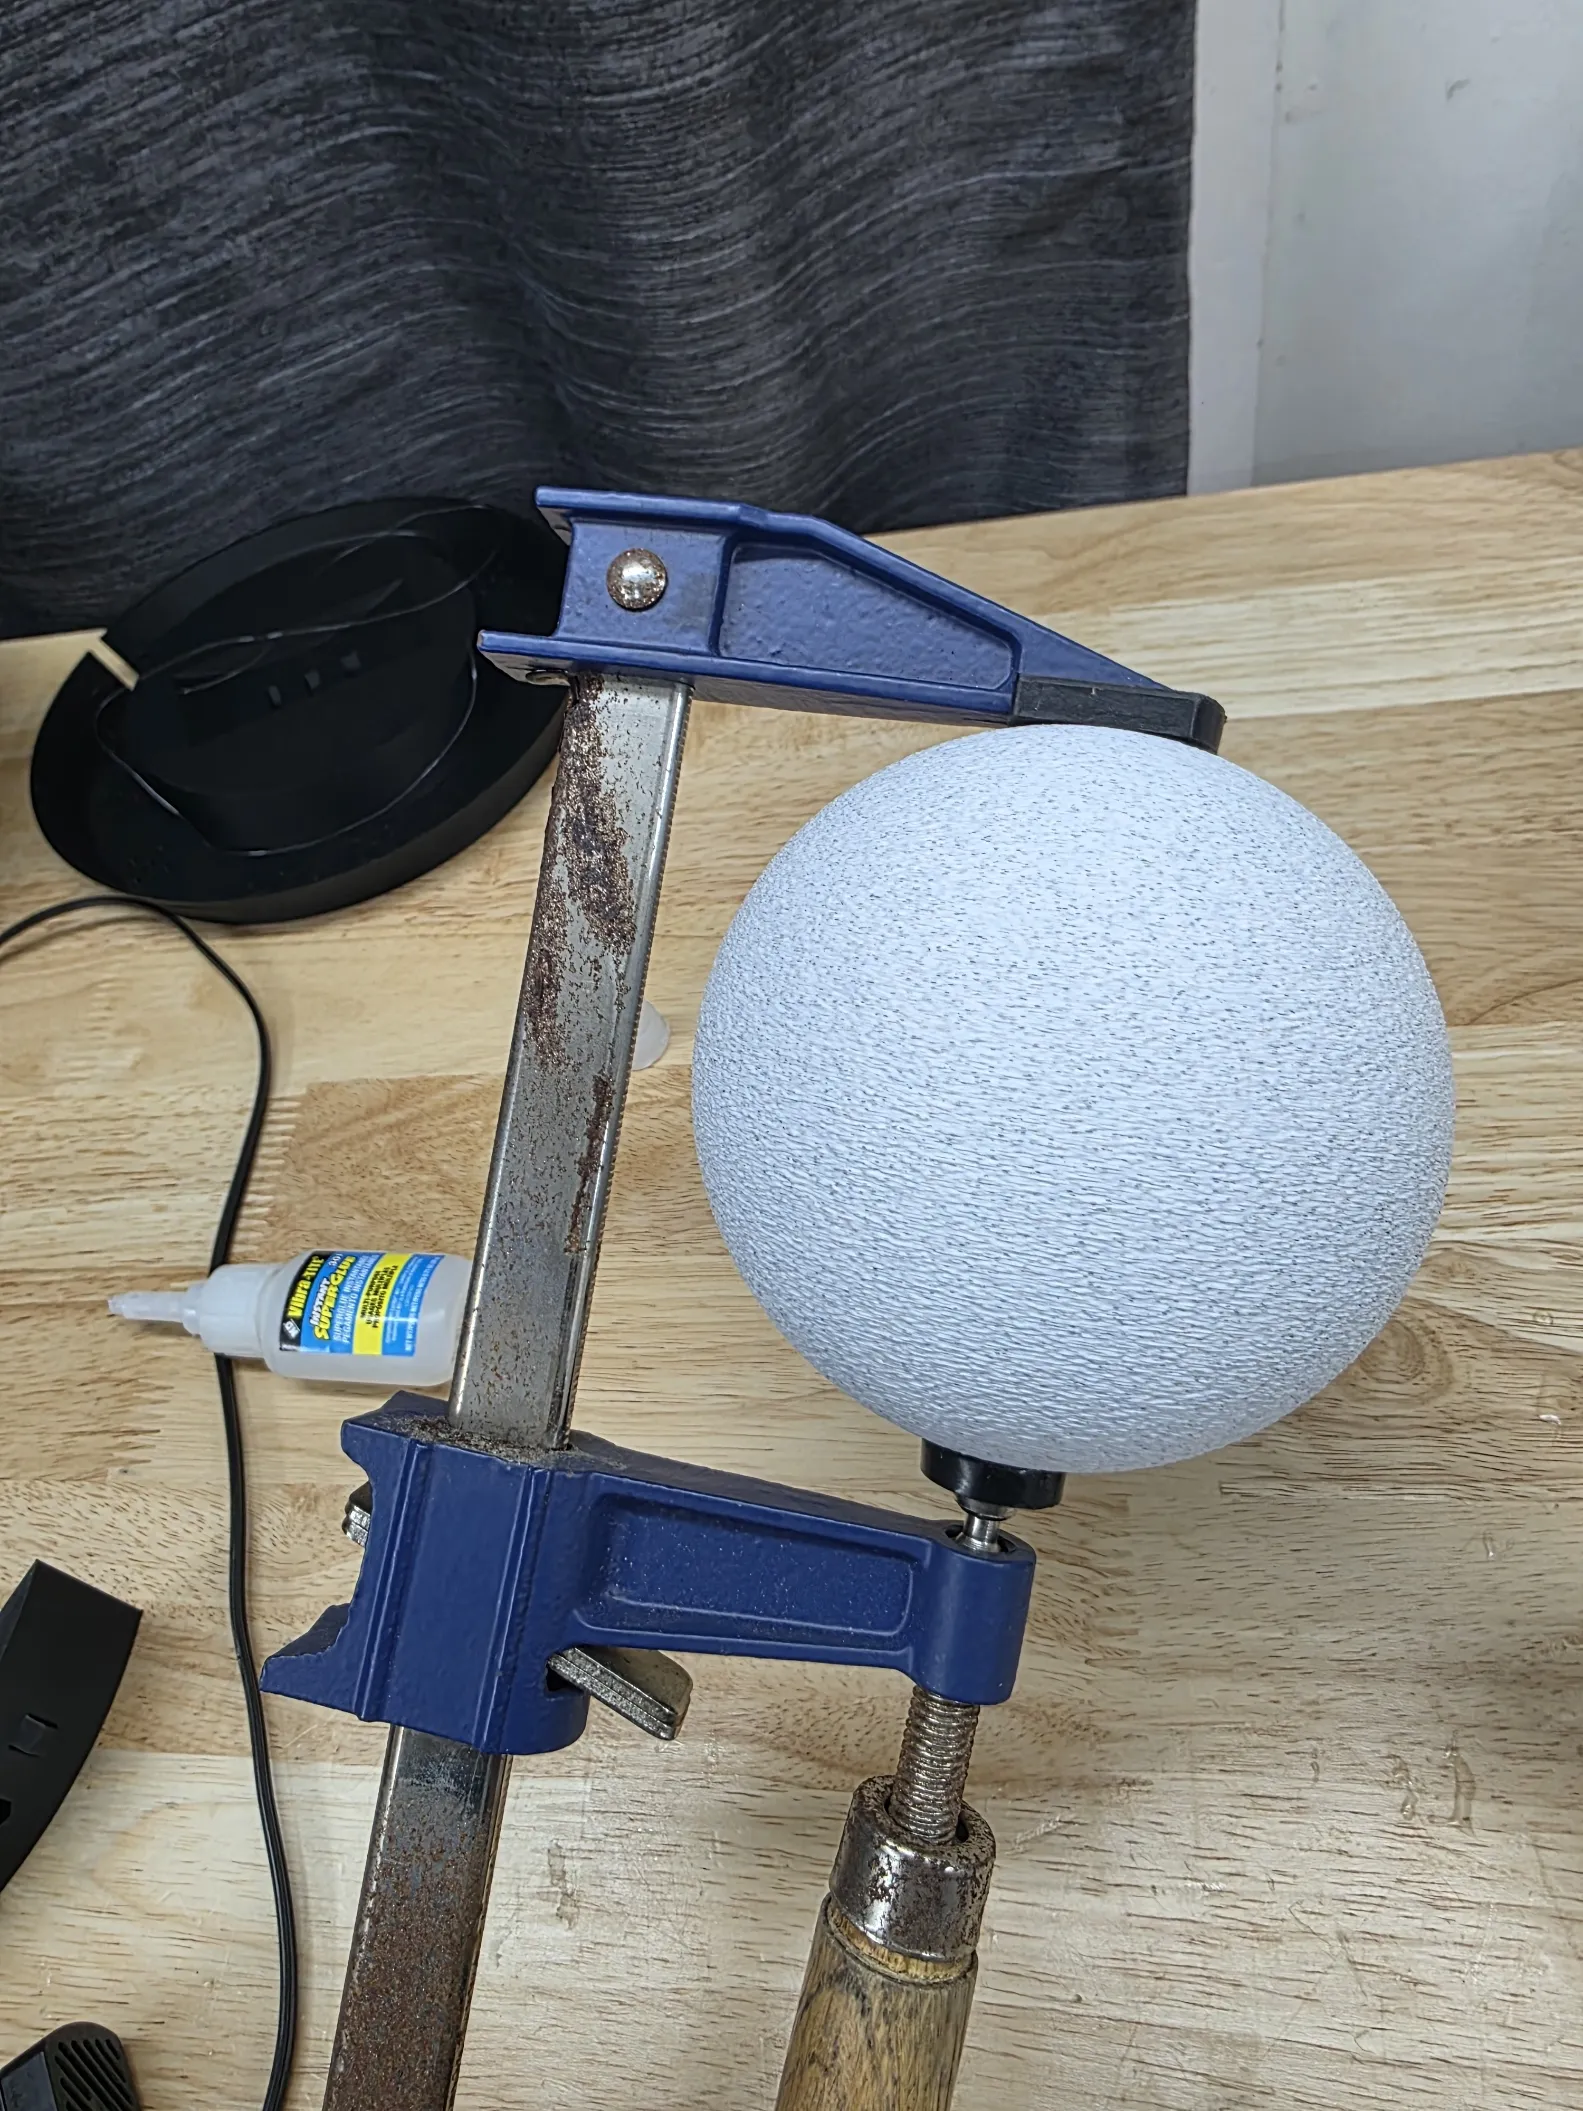
Step 5 – Install the fishing line
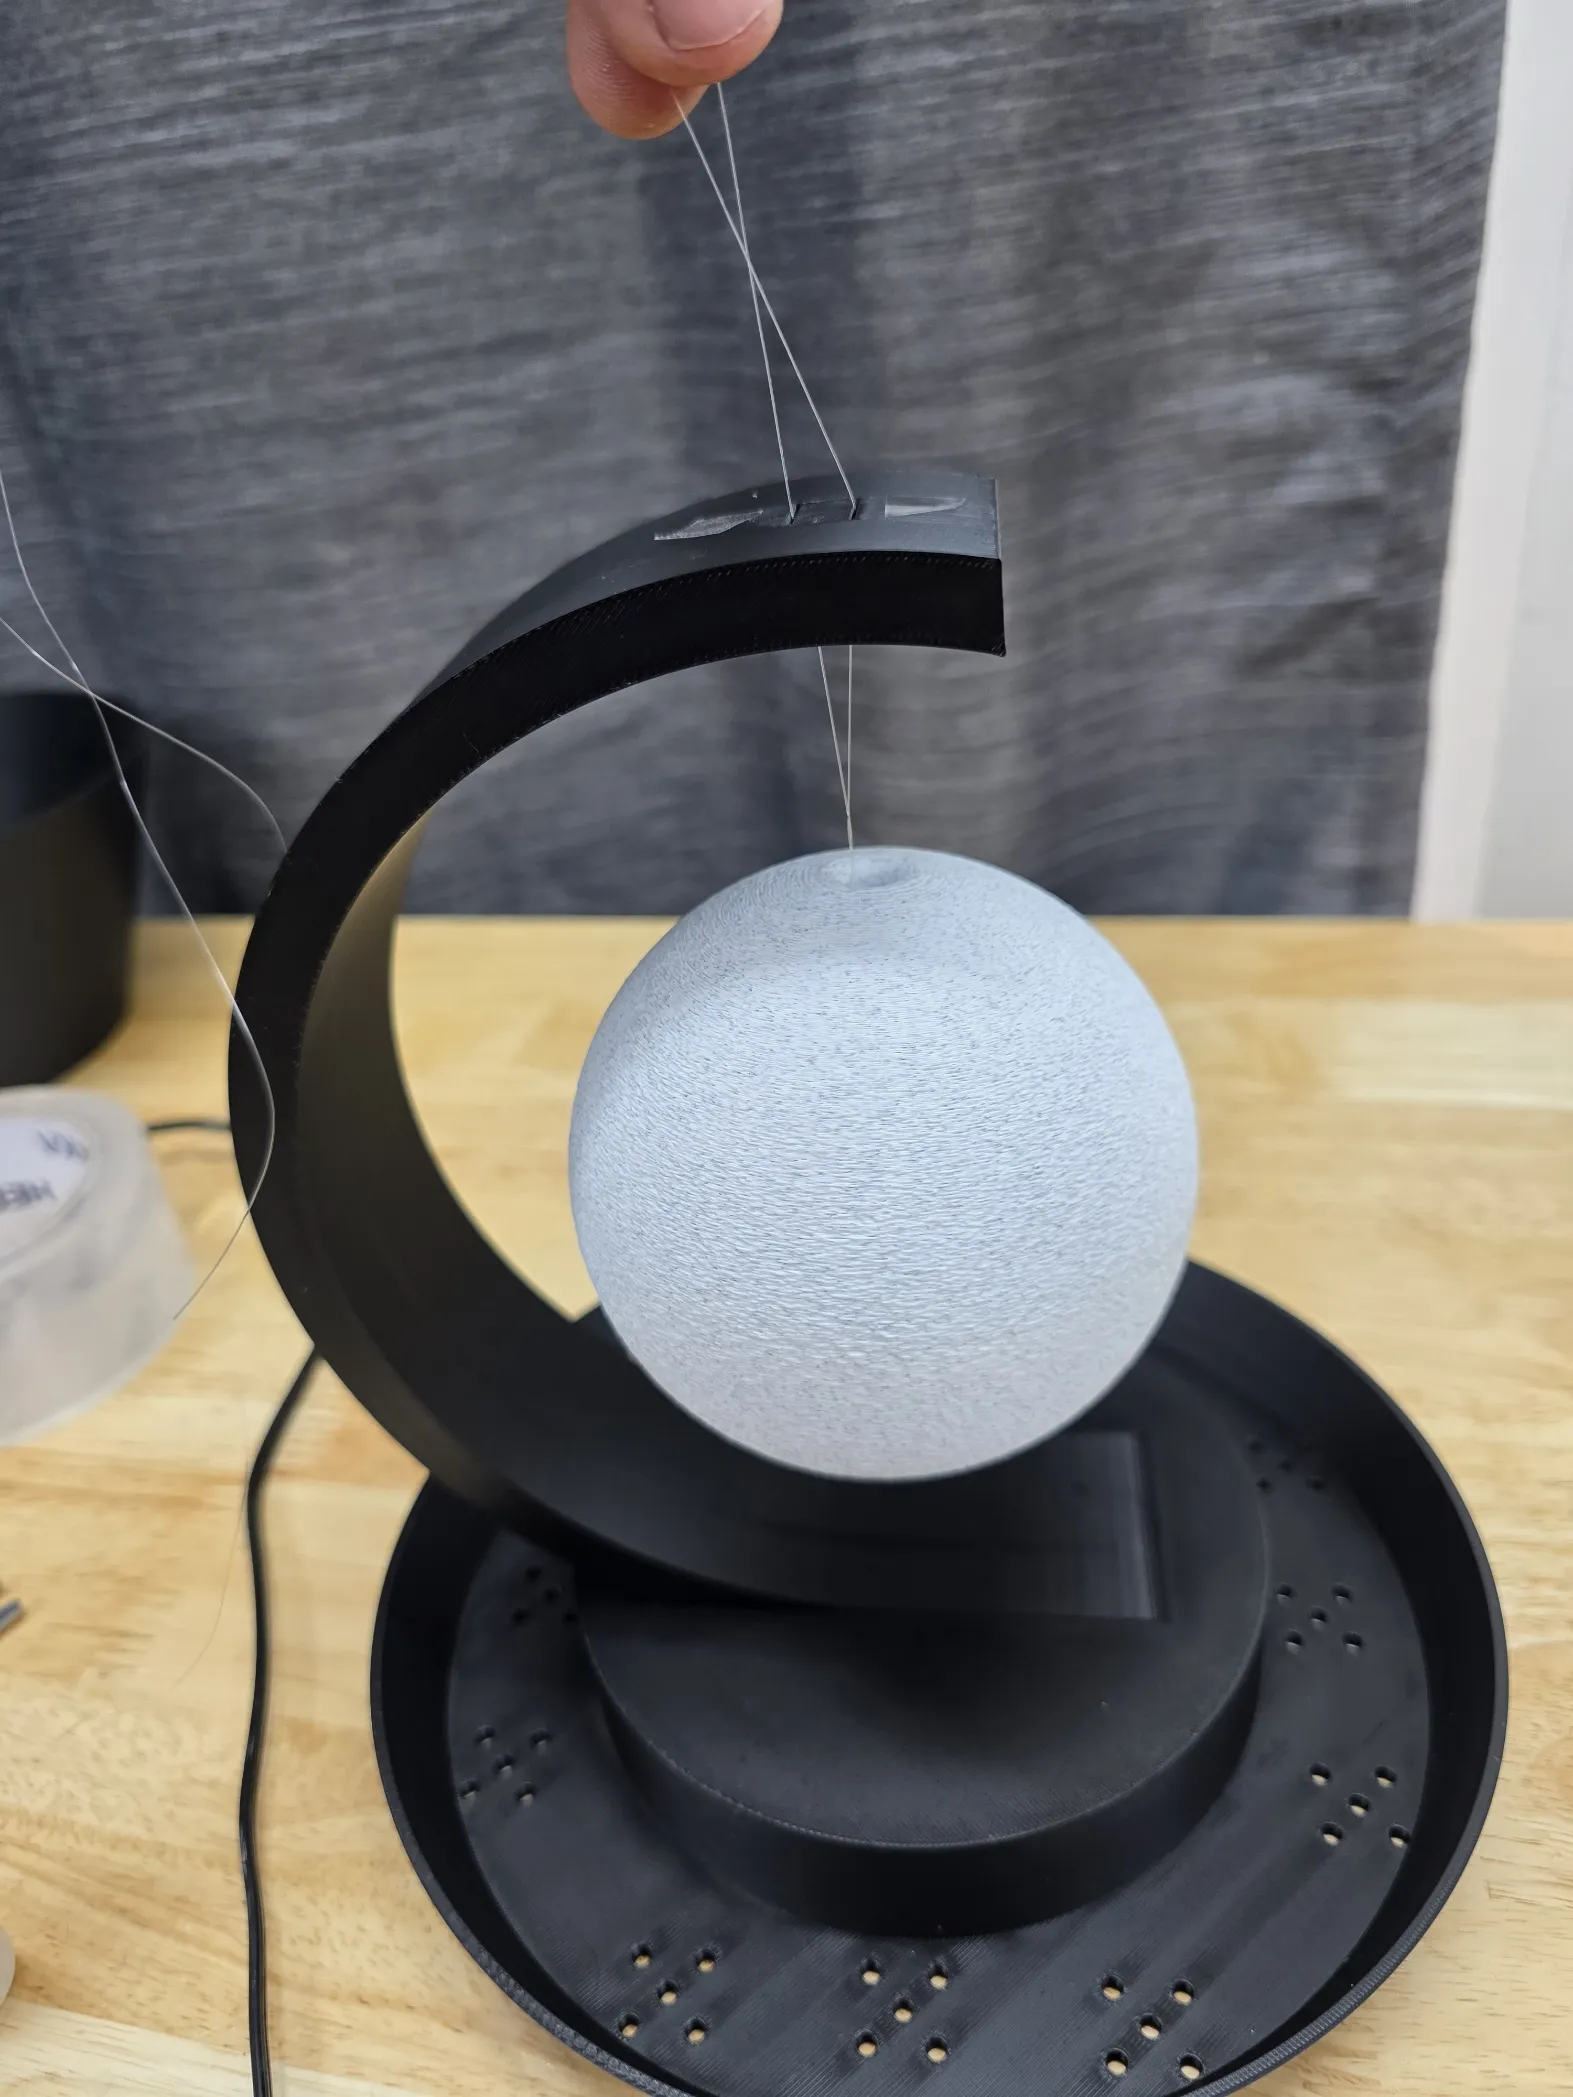
Run the fishing line all the way through the ball, then back through it again so it catches on the internal hanger.
The side with the internal hanger peg is the top of the ball.
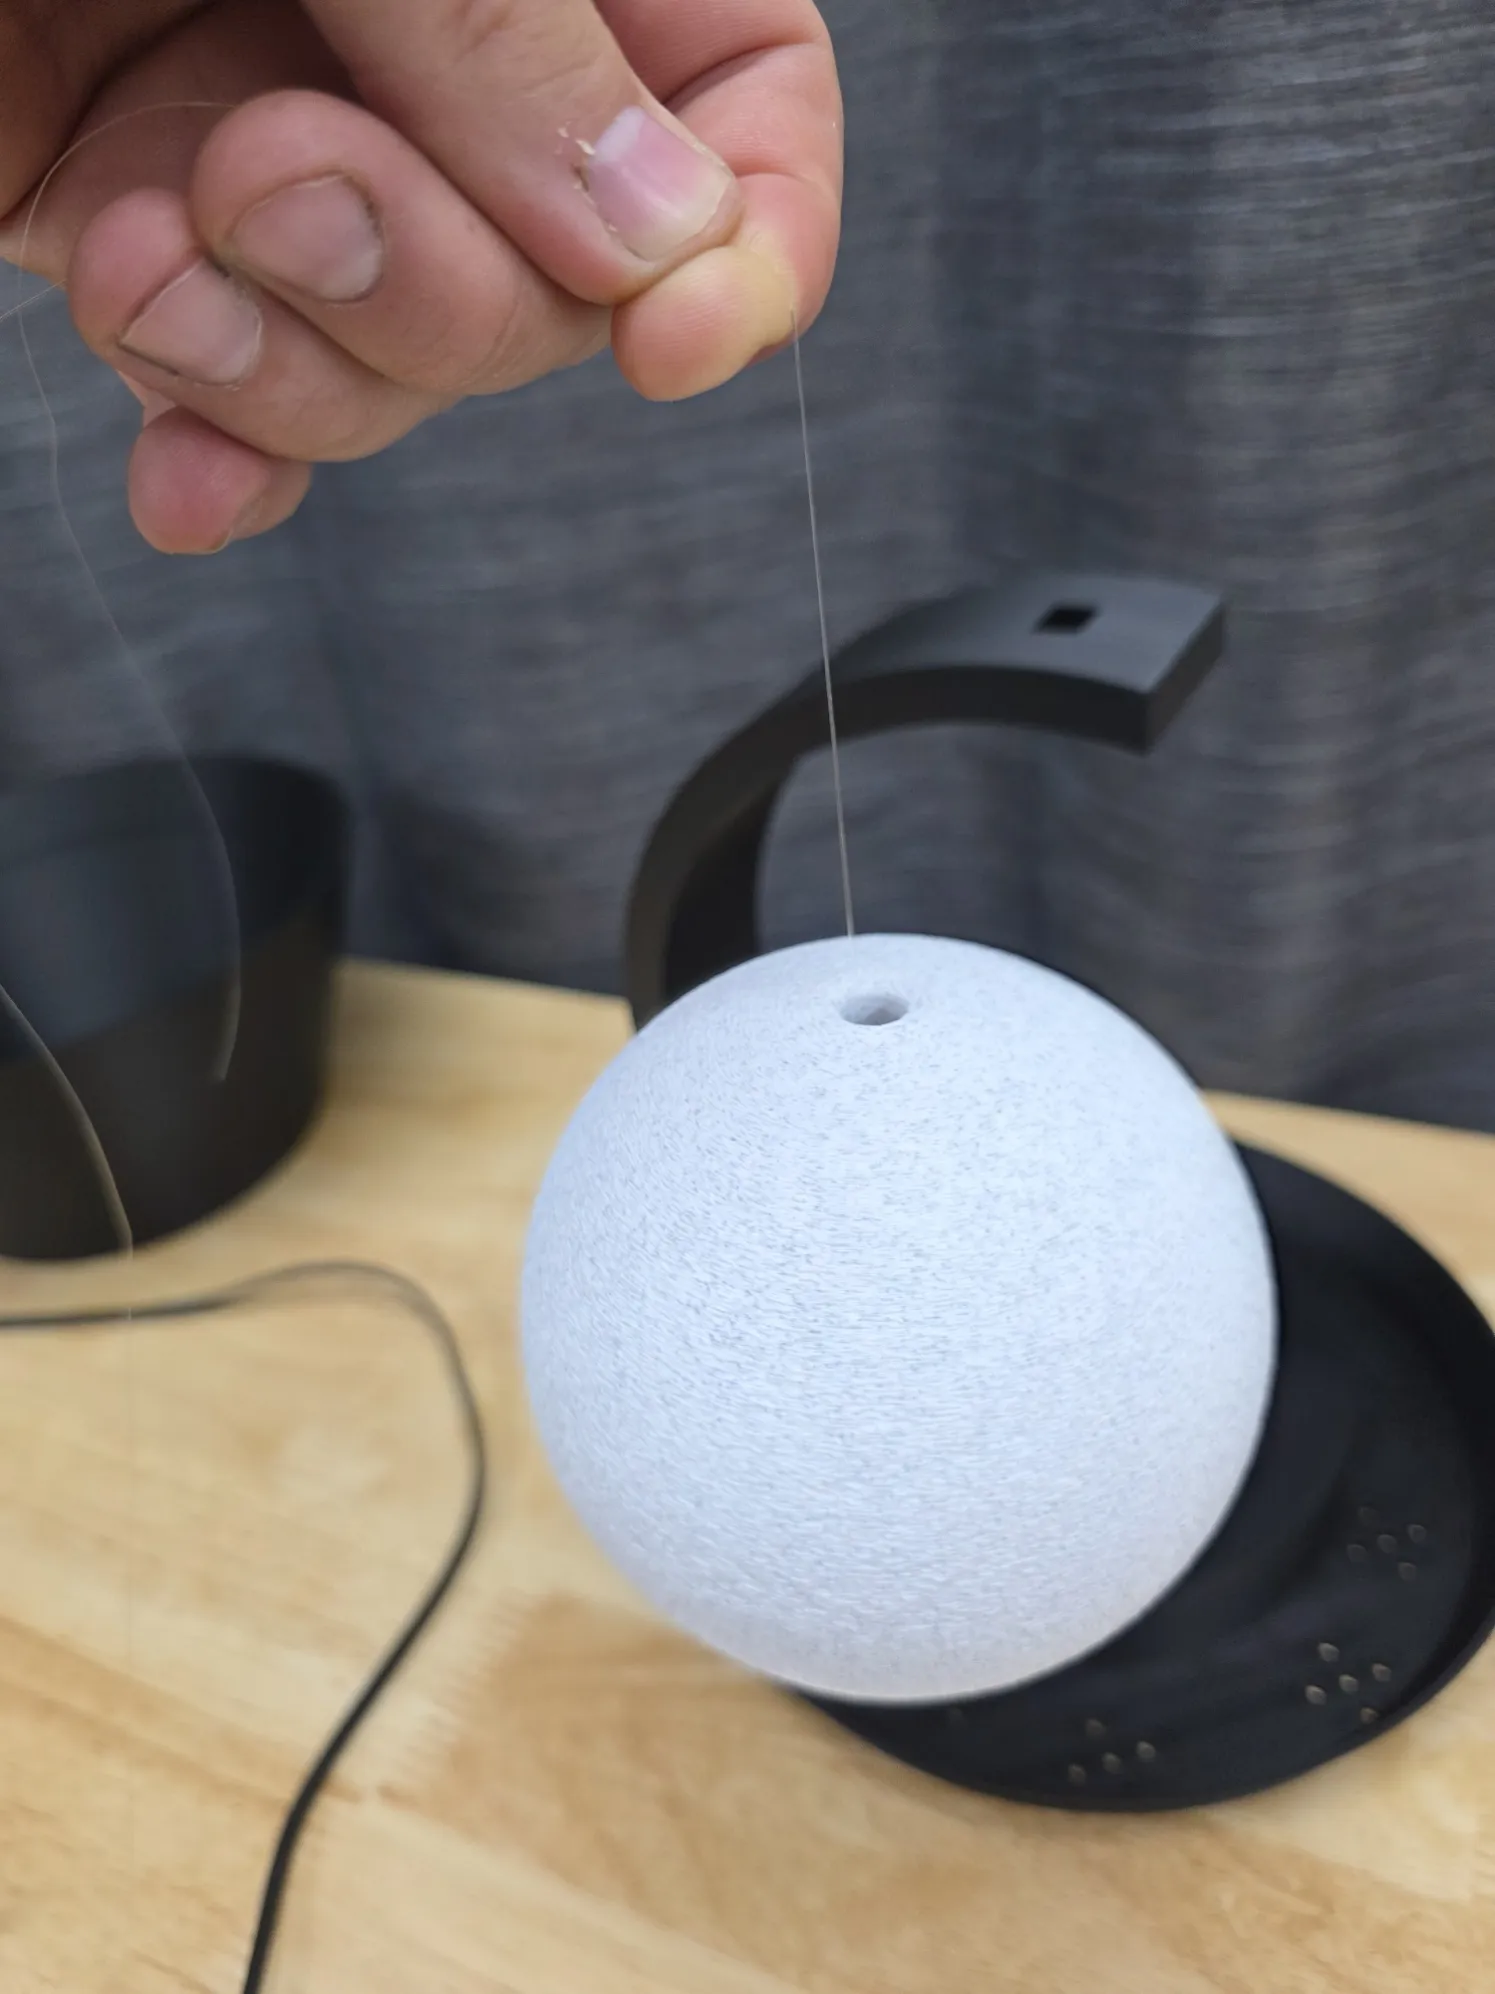
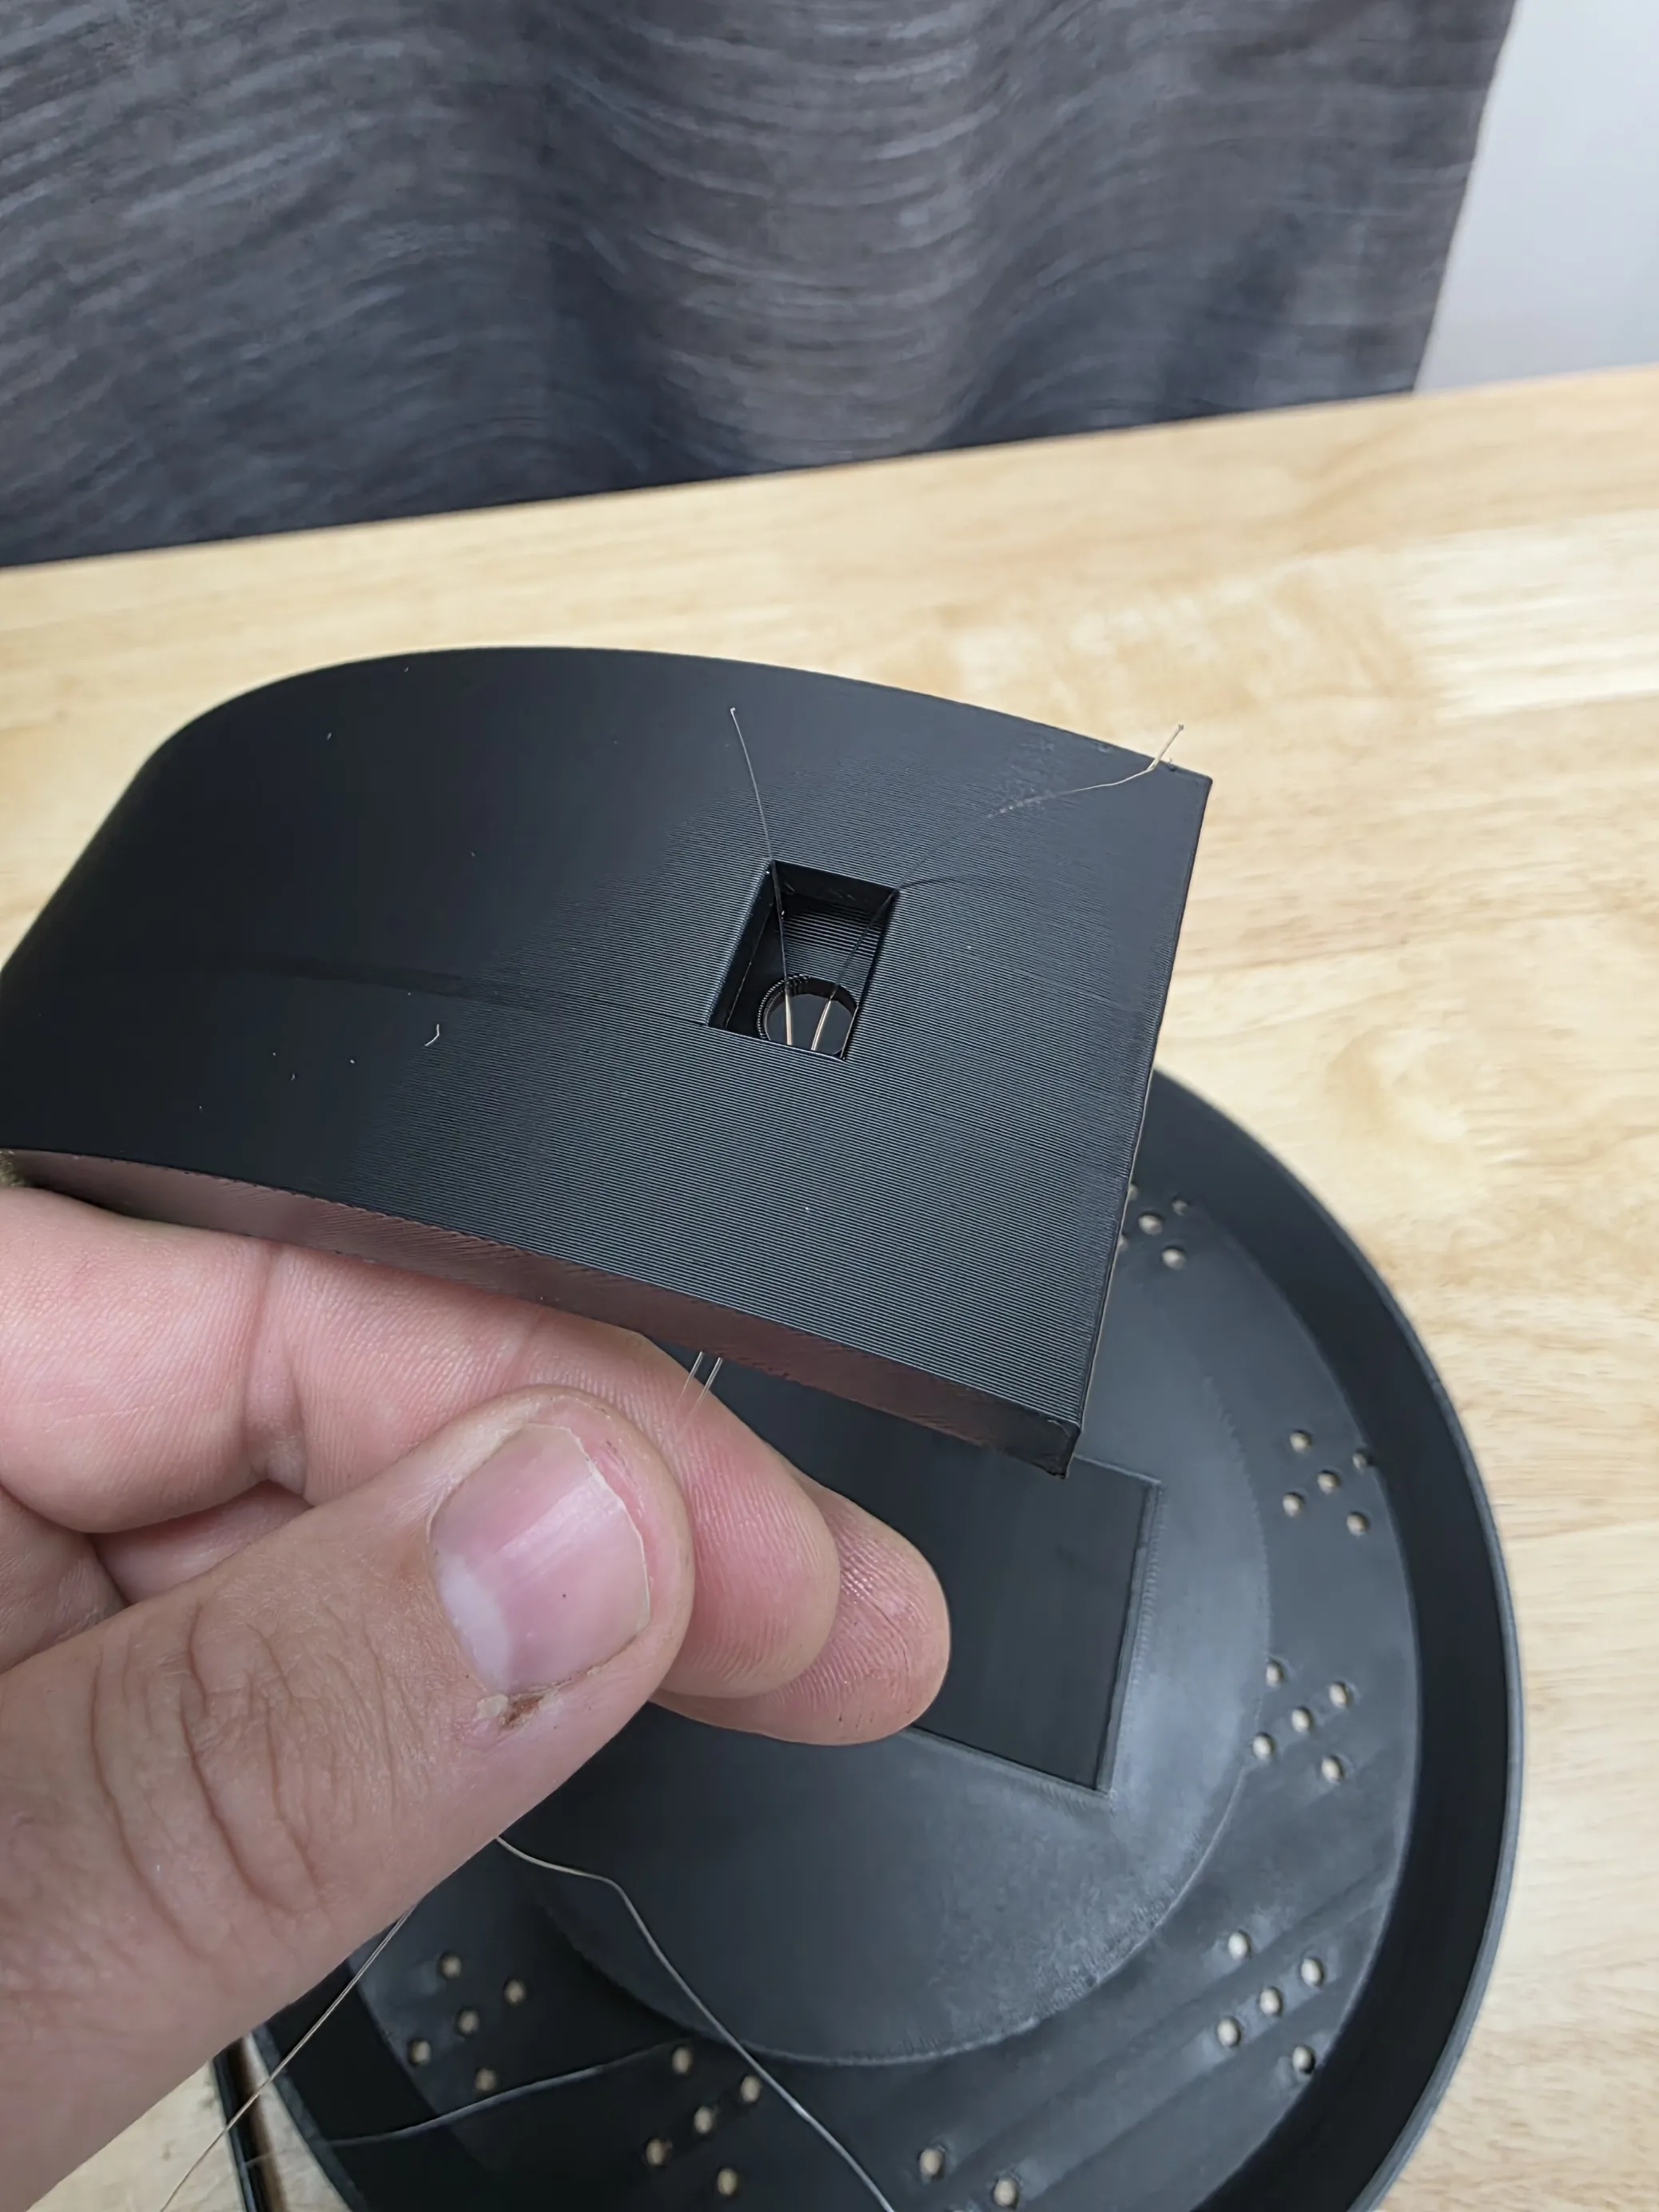
Step 6 – Feed line through the arm
Take both strands of fishing line and feed them through the arm from the bottom up to the top.
Make sure the lines are on opposite sides.
Temporarily secure them with tape so they don’t slip.
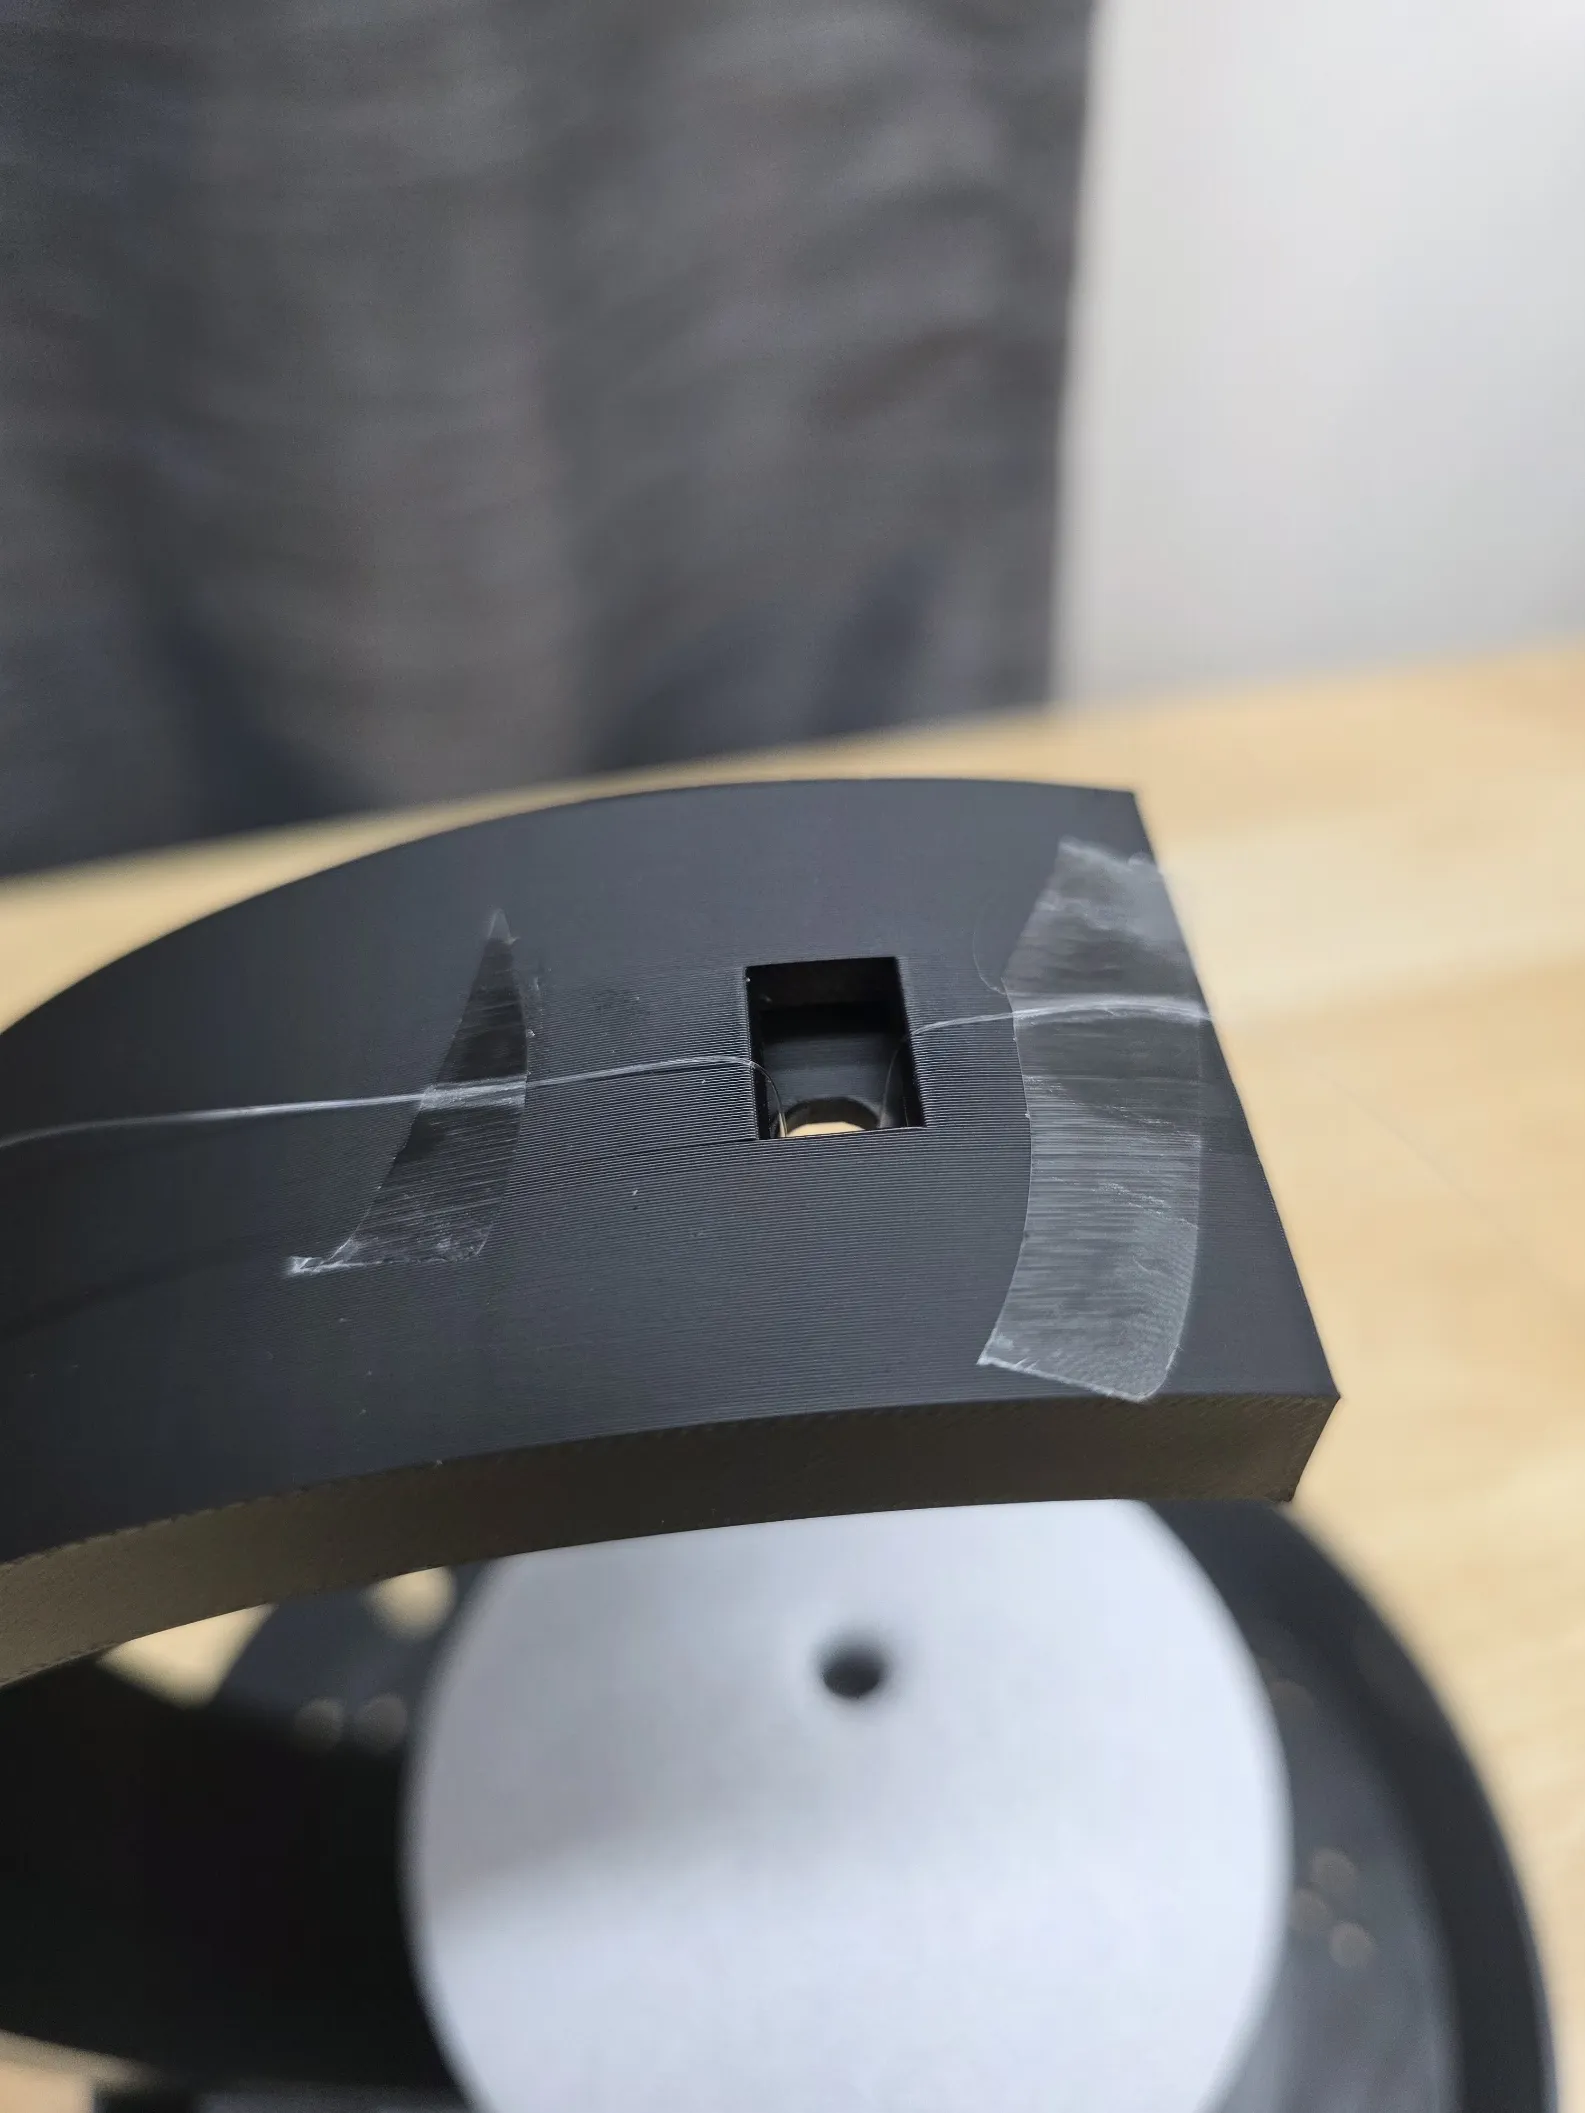
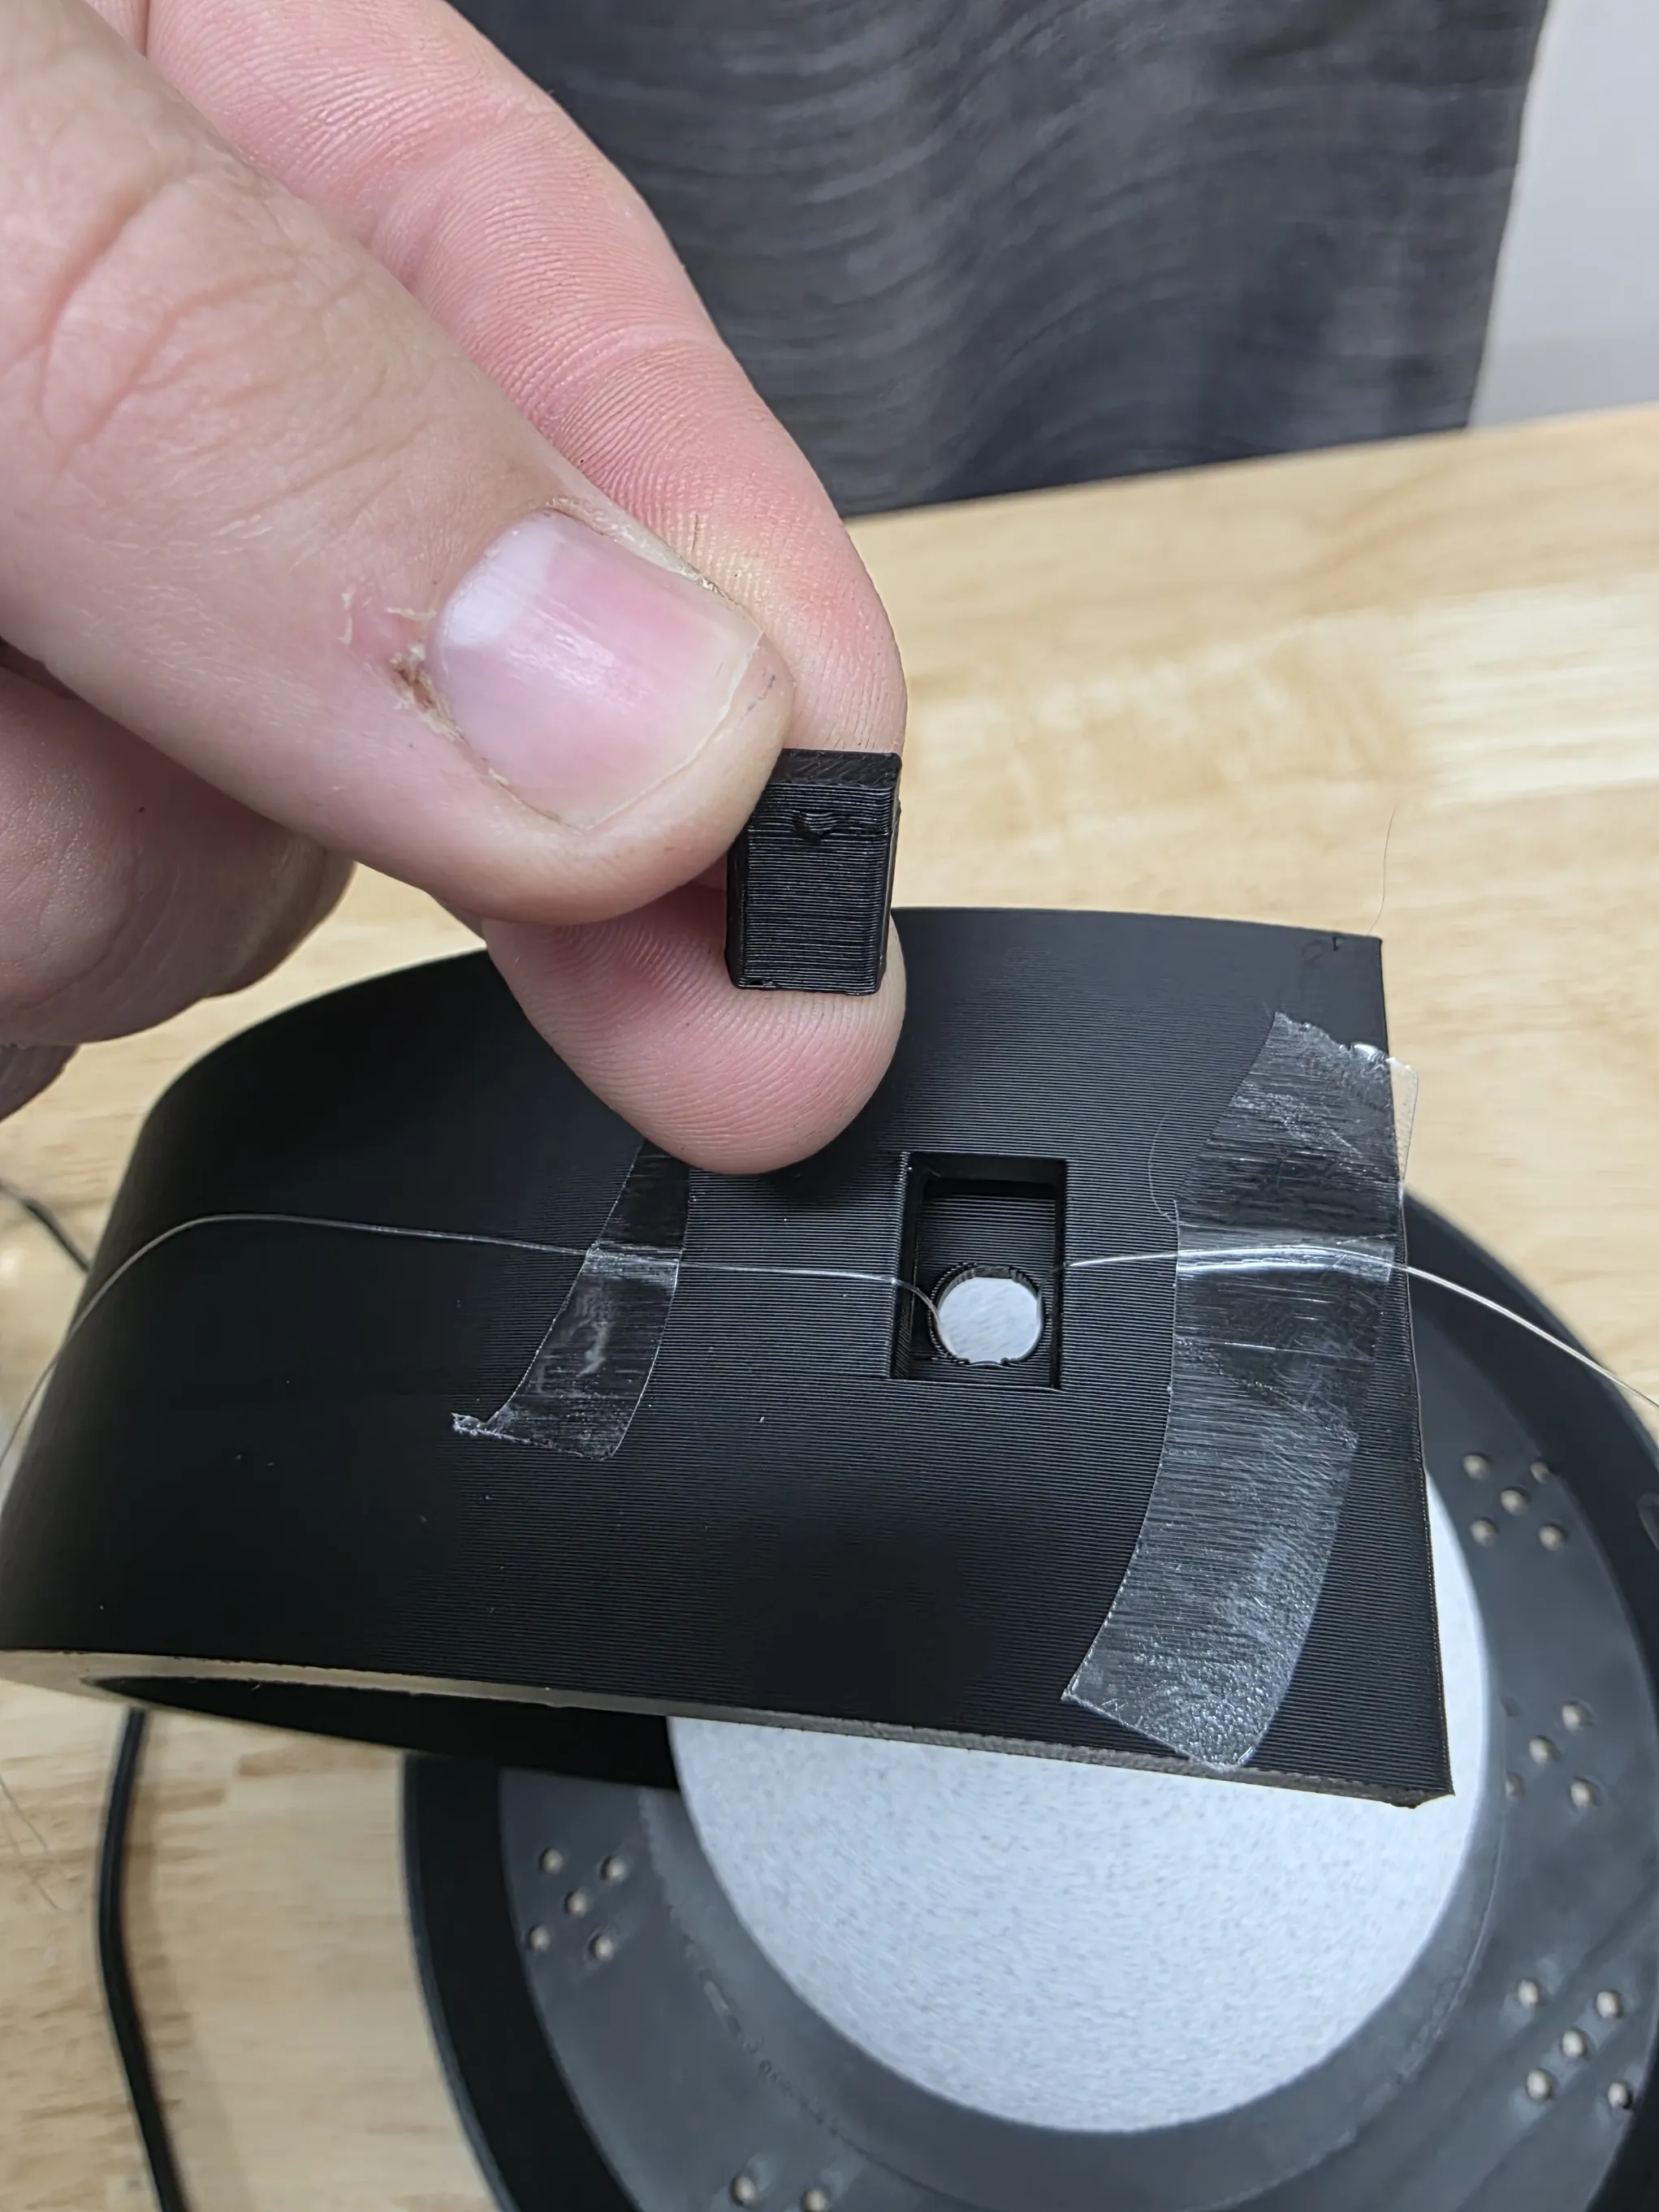
Step 7 – Install the top plug & set height
Take the small top plug (the one with the small button indent).
- The bump faces inward toward the front
Apply glue and press it into place.
Before the glue sets, pull both fishing lines evenly to adjust the height of the ball so it sits centered and secure.
Let everything fully dry.
Once set, trim off excess fishing line using flush cutters.
Step 8 – Final setup
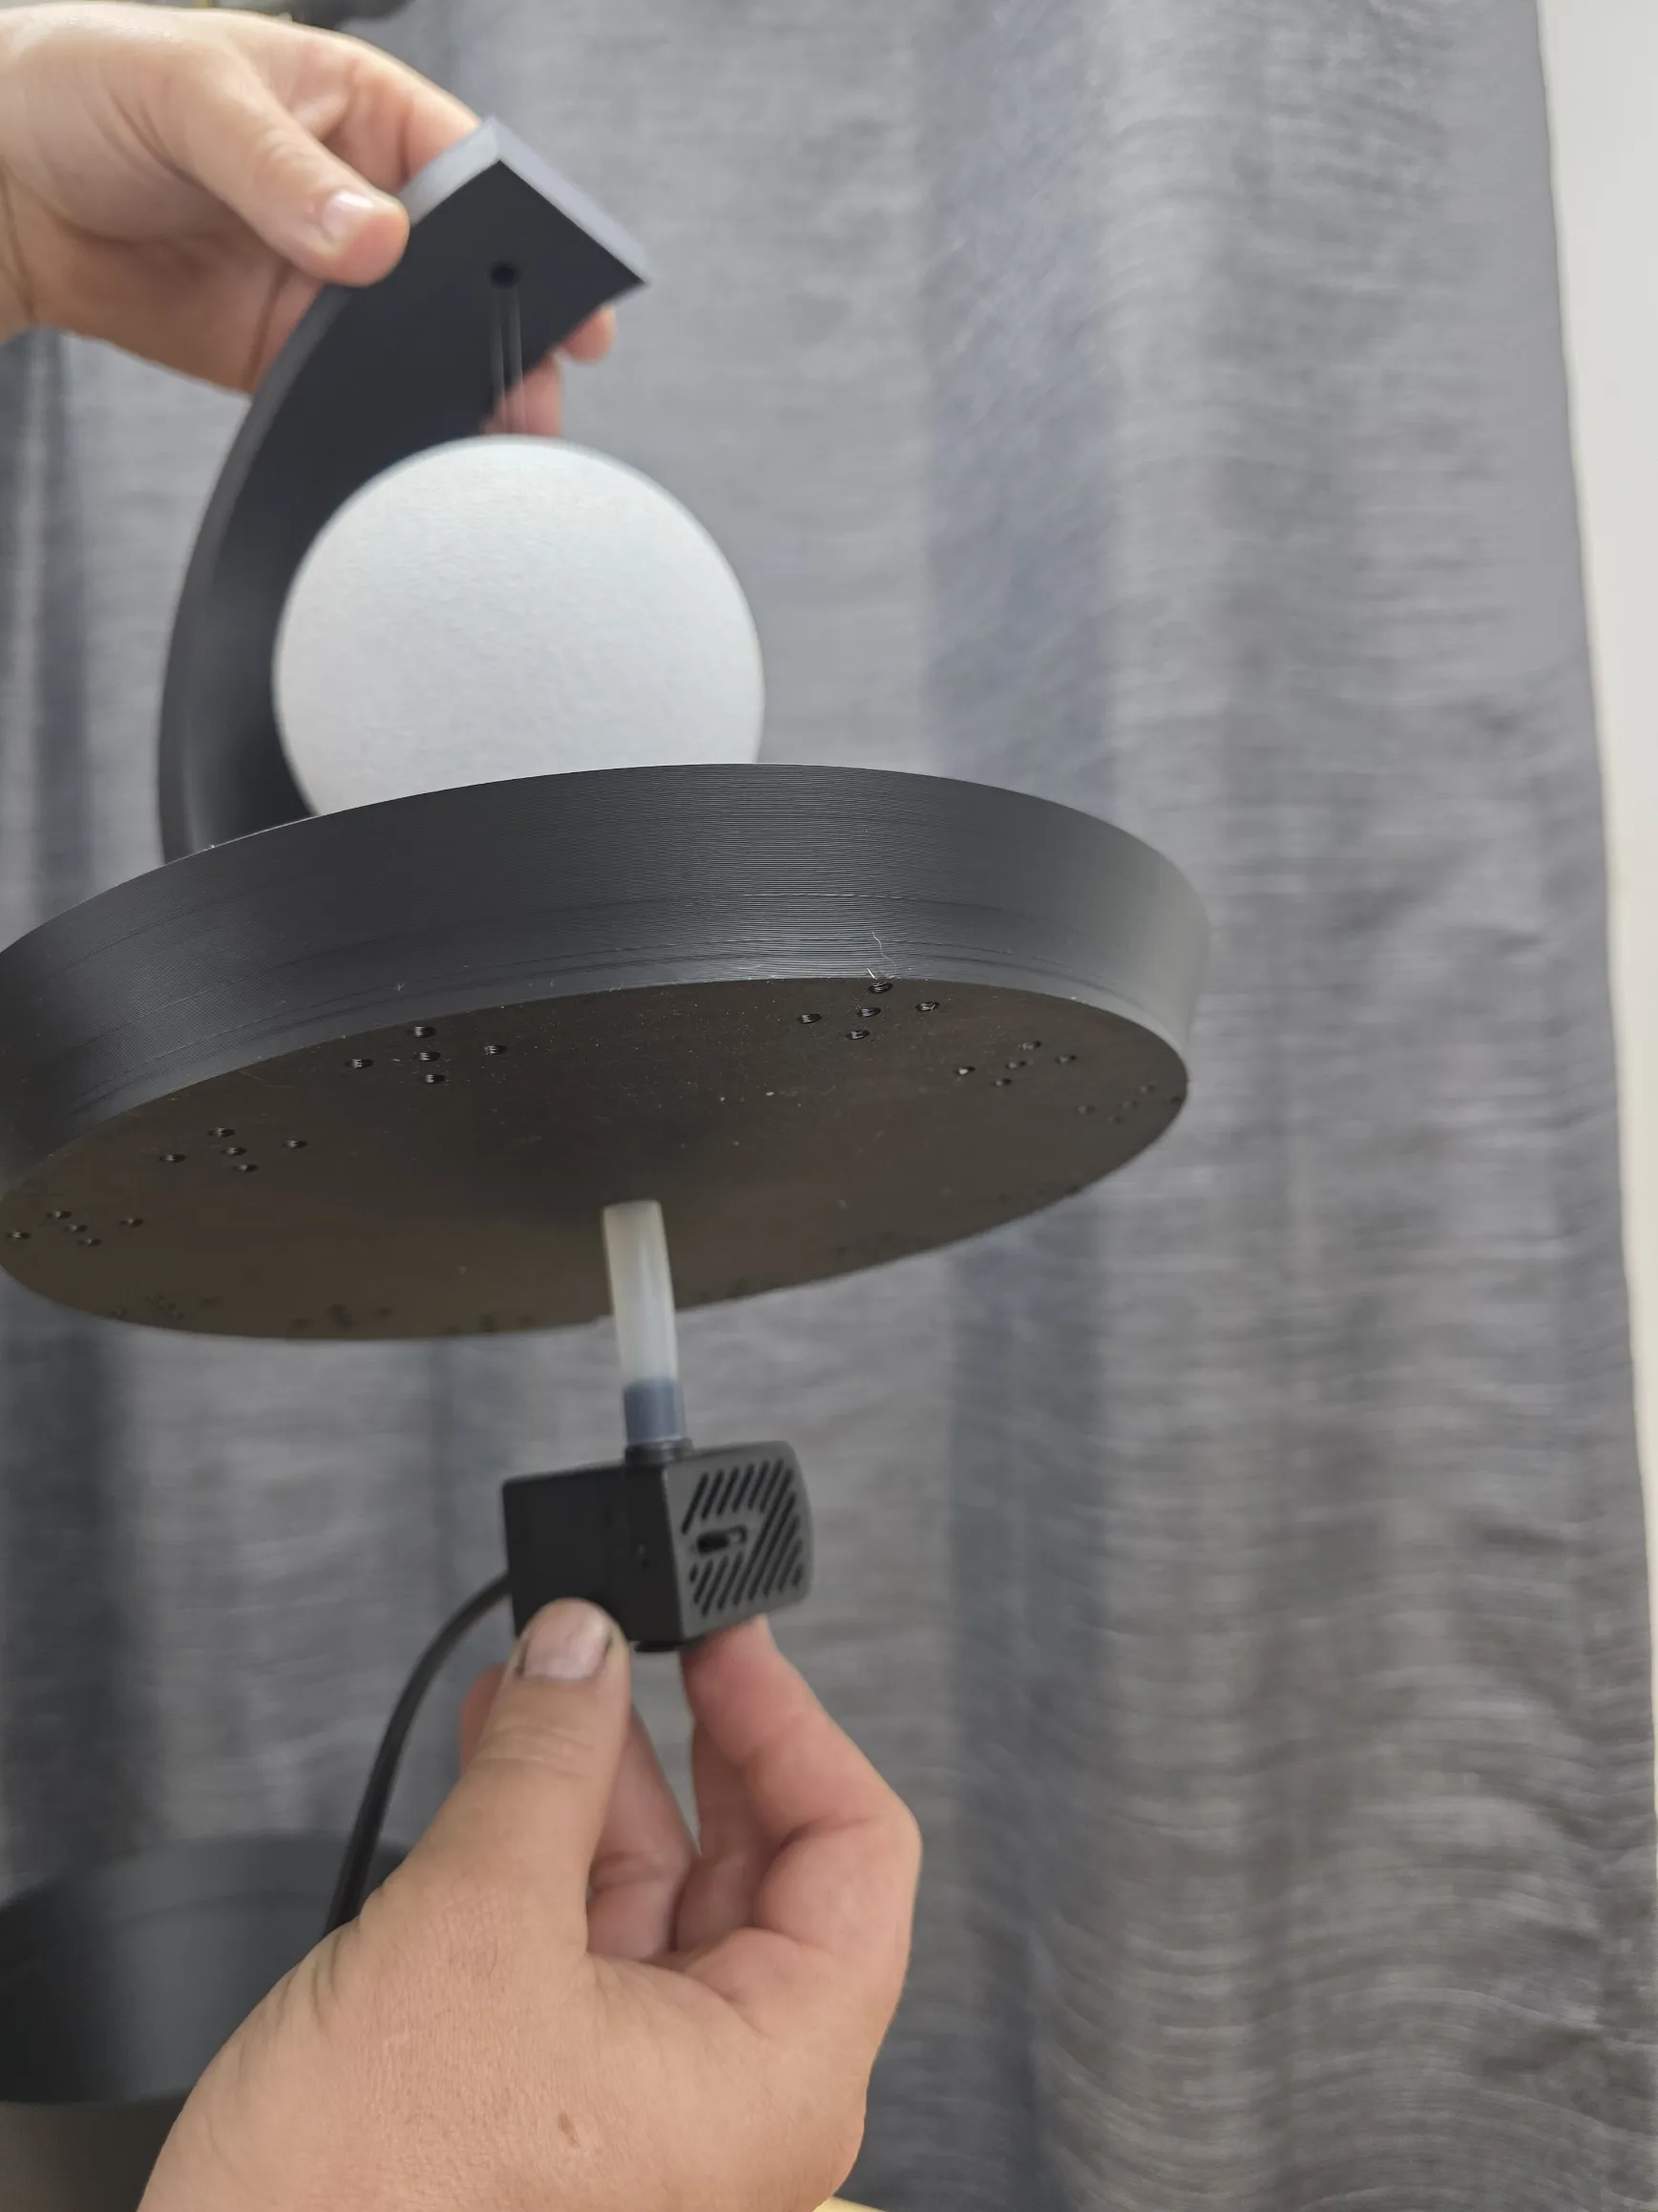
Insert the pump line into the bottom of the assembly.
Use an adjustable pump so you can fine-tune the water flow.
Add rocks and water, turn it on, and adjust the flow until it looks right.
License

You shall not share, sub-license, sell, rent, host, transfer, or distribute in any way the digital or 3D printed versions of this object, nor any other derivative work of this object in its digital or physical format (including - but not limited to - remixes of this object, and hosting on other digital platforms). The objects may not be used without permission in any way whatsoever in which you charge money, or collect fees.


Comment & Rating (3)