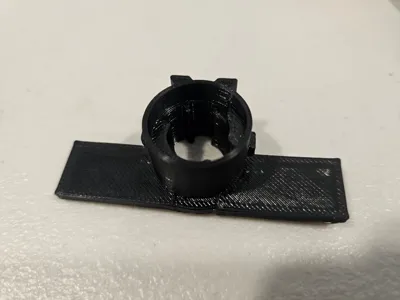
thule box lock housing


Print Profile(0)
Description
If you tried to drill out the lock core, then the gear is likely toast in addition to the housing. Filament must be heat-resistant because the roof box can be exposed to the sun and the temperature can increase too high for PLA-like materials. Also you need to choose a resistant material. Change to 100% infill. Drill out the three rivets, gently, avoid letting the drill spin and spin as it will melt the plastic. Remove the black housing.
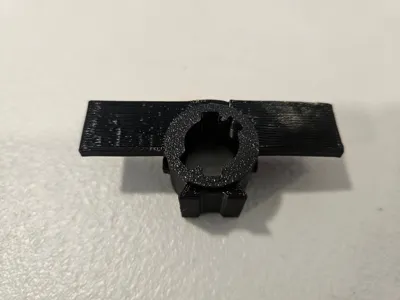
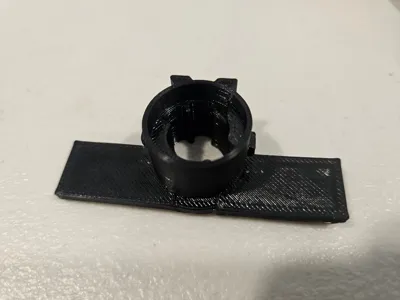
First, place the new metal lock core with master key is placed into the chrome key shield, then push that into this 3d printed housing. Take out the master key and make sure that the pin/fan in the back of the metal lock core clears the 3d printed housing. If it doesn't, the core will just pull back out - see the 3rd picture for reference. Now try the regular key in the core to make sure you can spin the key and take it out in locked and unlocked positions. If that seems to be working fine, put the master key back in and disassemble.
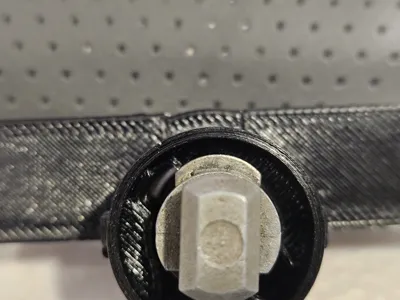
Next, the 3d printed gear (can be printed from here: https://makerworld.com/en/models/1065086-roof-box-locking-mechanism-gear?from=search#profileId-1053980) has to be aligned vertically on the right side of the existing black housing before this 3d printed piece is placed/clicked in the black housing (this can be a bit tricky as the position needs be just right). With the new gear and new core housing placed back in the larger existing housing, place the entire housing back inside of box. Make sure the nubs from the white plastic piece snap into the metal track that runs the length of the box (you can pull the metal track away from the side of the box to get this to snap - and you will hear an audible snap for each nub). Otherwise, it won't engage the front and rear locks, which would be very dangerous. Holding this all in place with one hand (or a helper's hands), the new metal lock core with master key is again placed into the chrome key shield, then push that into this 3d printed housing from the outside of the box. Remove the master key - I pressed the lock housing gently with a screwdriver so that it wouldn't pull out while I pulled the master key back. It should all be very snug at this point. Test the key to make sure you have the unlock and lock positions correct and that you have the key pushed all the way in and the core is not going to fall out. At this point, I replaced the rivets with 10-24 size one inch bolts and lock nuts to make any future repairs and adjustments easier. Drilling out the rivets gets them hot and they start to melt the plastic so repeated drilling should be avoided.

Comment & Rating (0)