
Ironhold Flame Torch
Print Profile(2)
Bill of Materials






Description
Boost Me (for free)
FOR THE KING!
Membership
FOR THE EMPEROR!
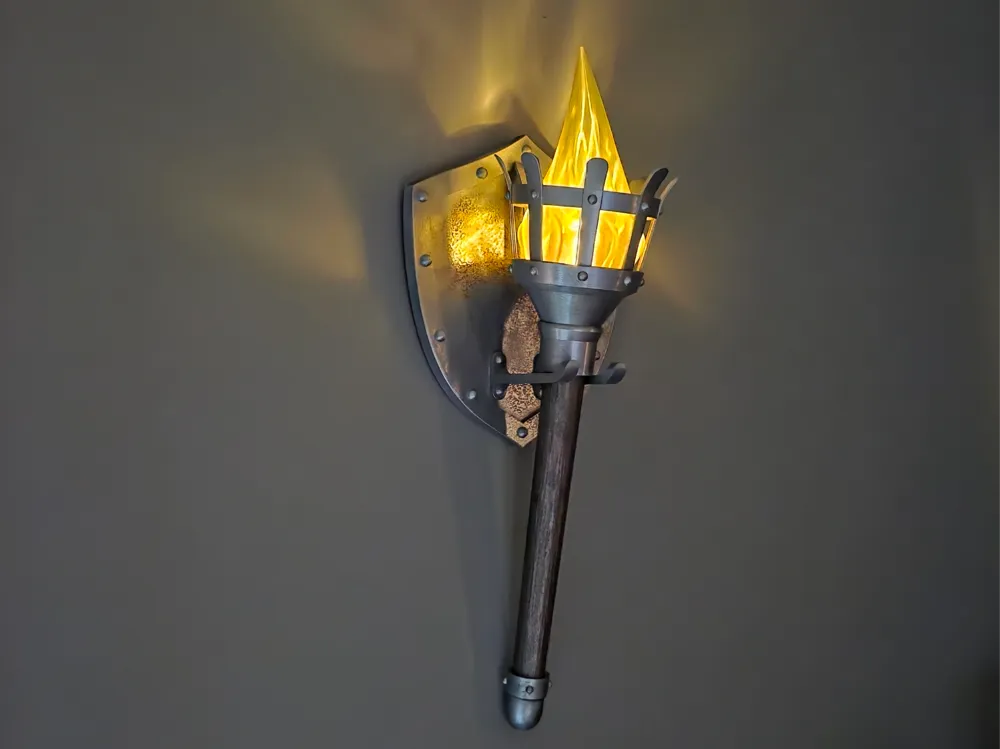
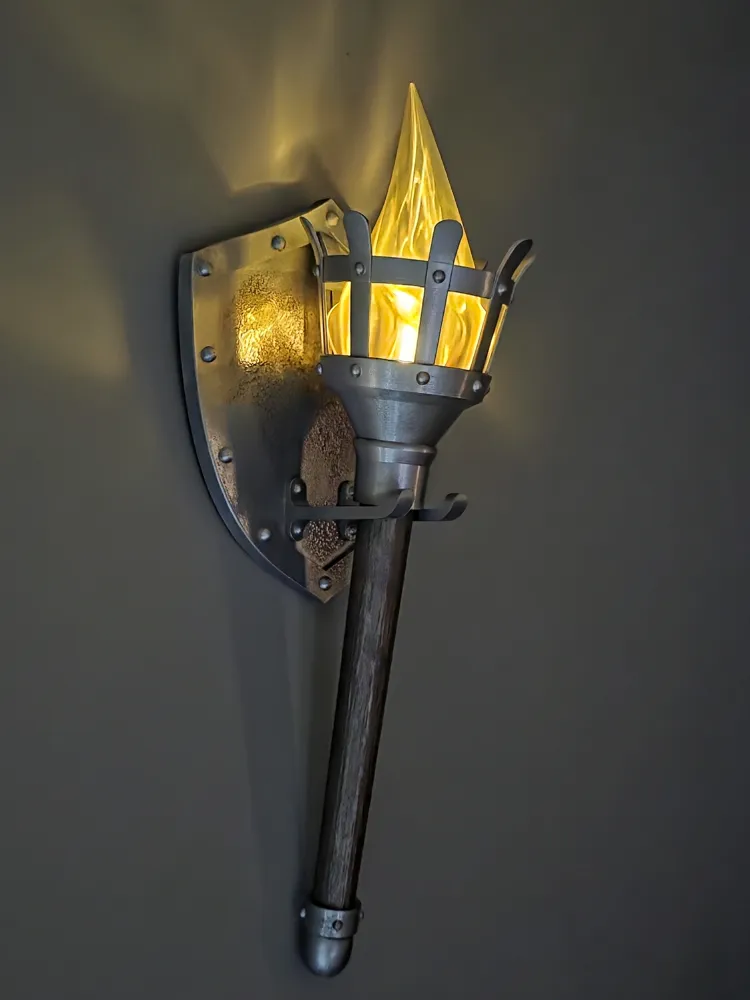
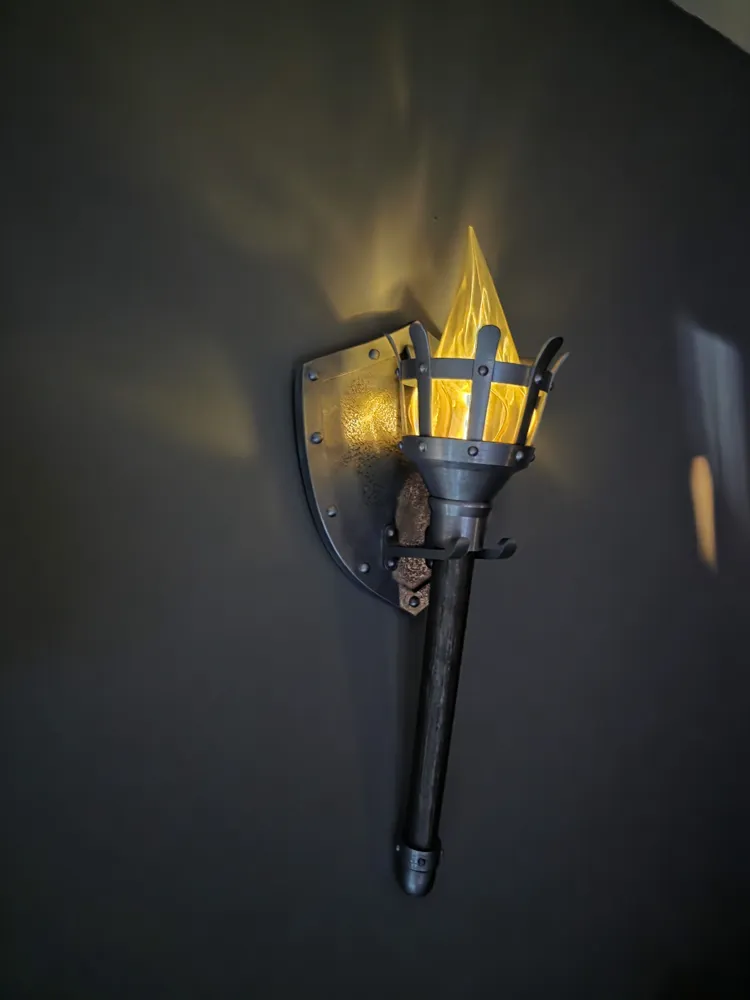
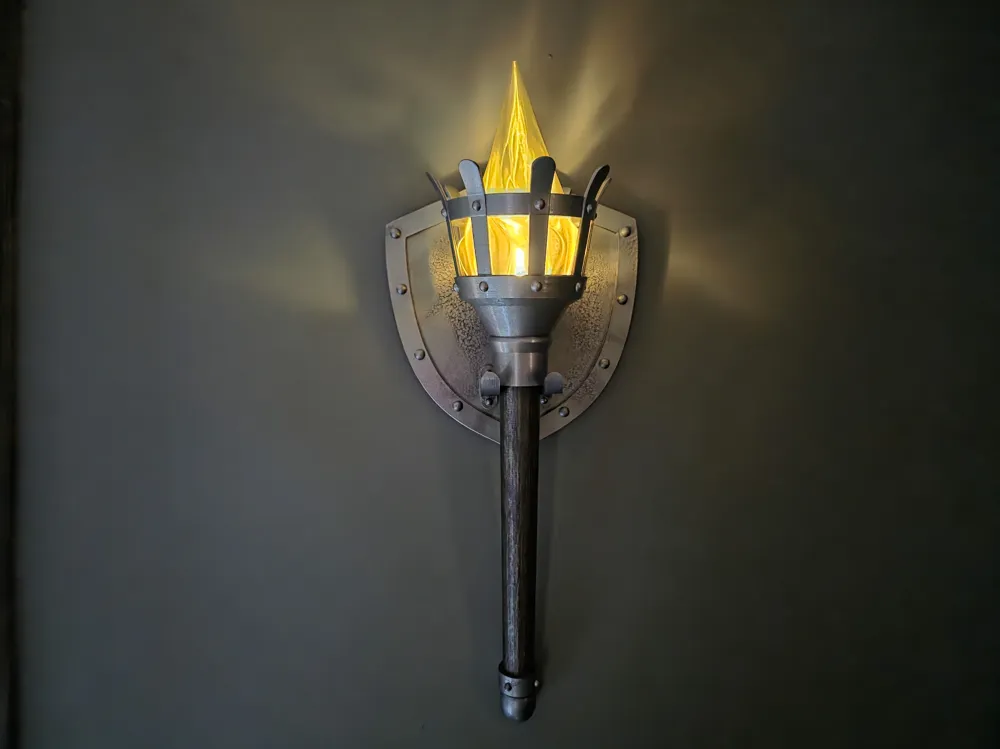
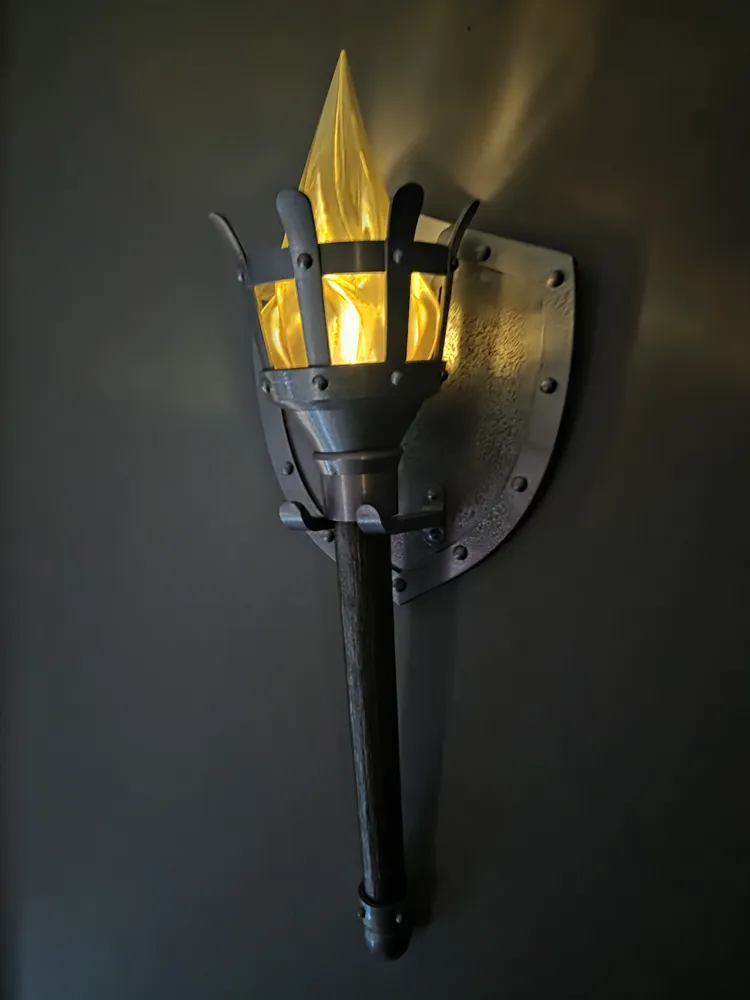
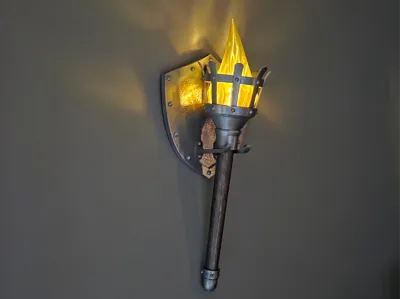
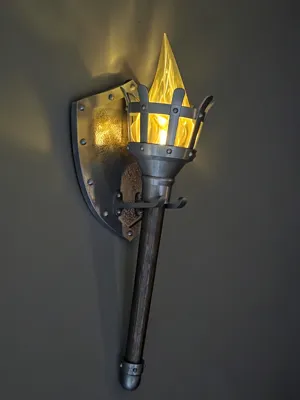
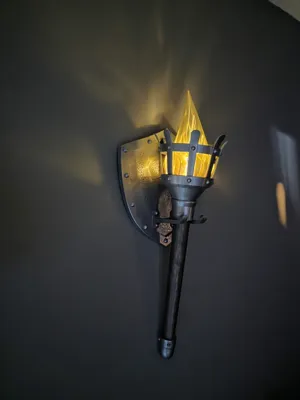
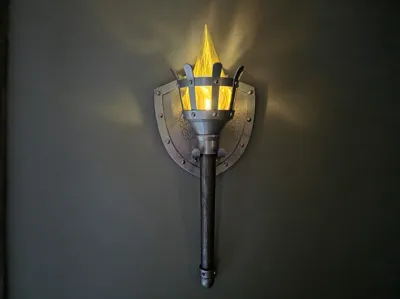
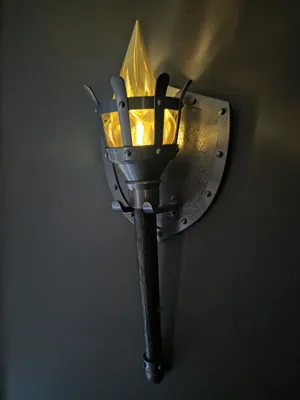
A clean, medieval-style wall torch that adds some serious atmosphere without being a pain to print. Uses a simple tea light to create a warm flame effect that throws light onto the wall for a really nice glow.
The shield backplate, rivets, and cage give it that forged iron look, while the handle can be finished for a wood grain effect. Everything is lightweight, easy to assemble, and prints clean on most setups.
Print Notes:
- Easy prints overall
- Looks best with a thicker coat of hammered paint
- Handle: print in black, dry brush or wipe for wood grain effect
- Flame is designed for vase mode
Assembly Instructions (H2D Version)
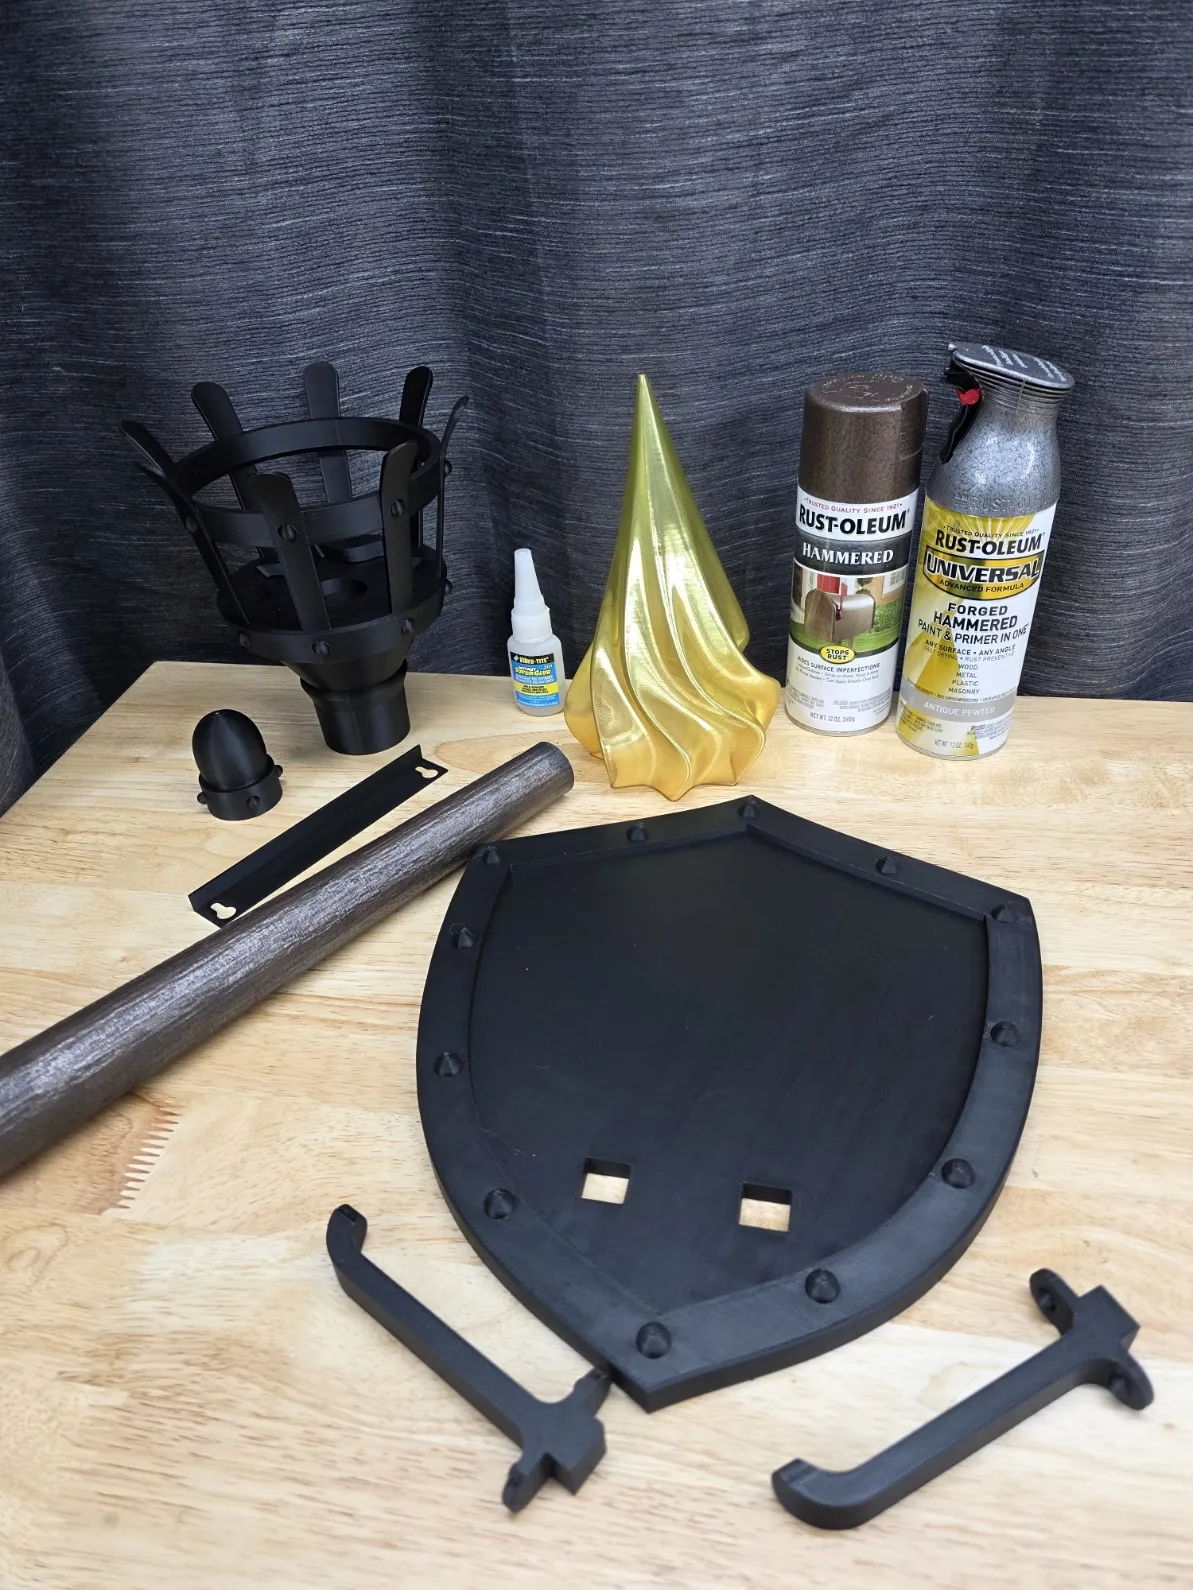
Step 1: Lay Out All Parts
Start by laying out all of your 3D printed parts so everything is easy to access.
You will need:
- All printed components
- Super glue
- Rust-Oleum Hammered Gray paint
- Rust-Oleum Hammered Bronze paint
- A glove
A tea light candle
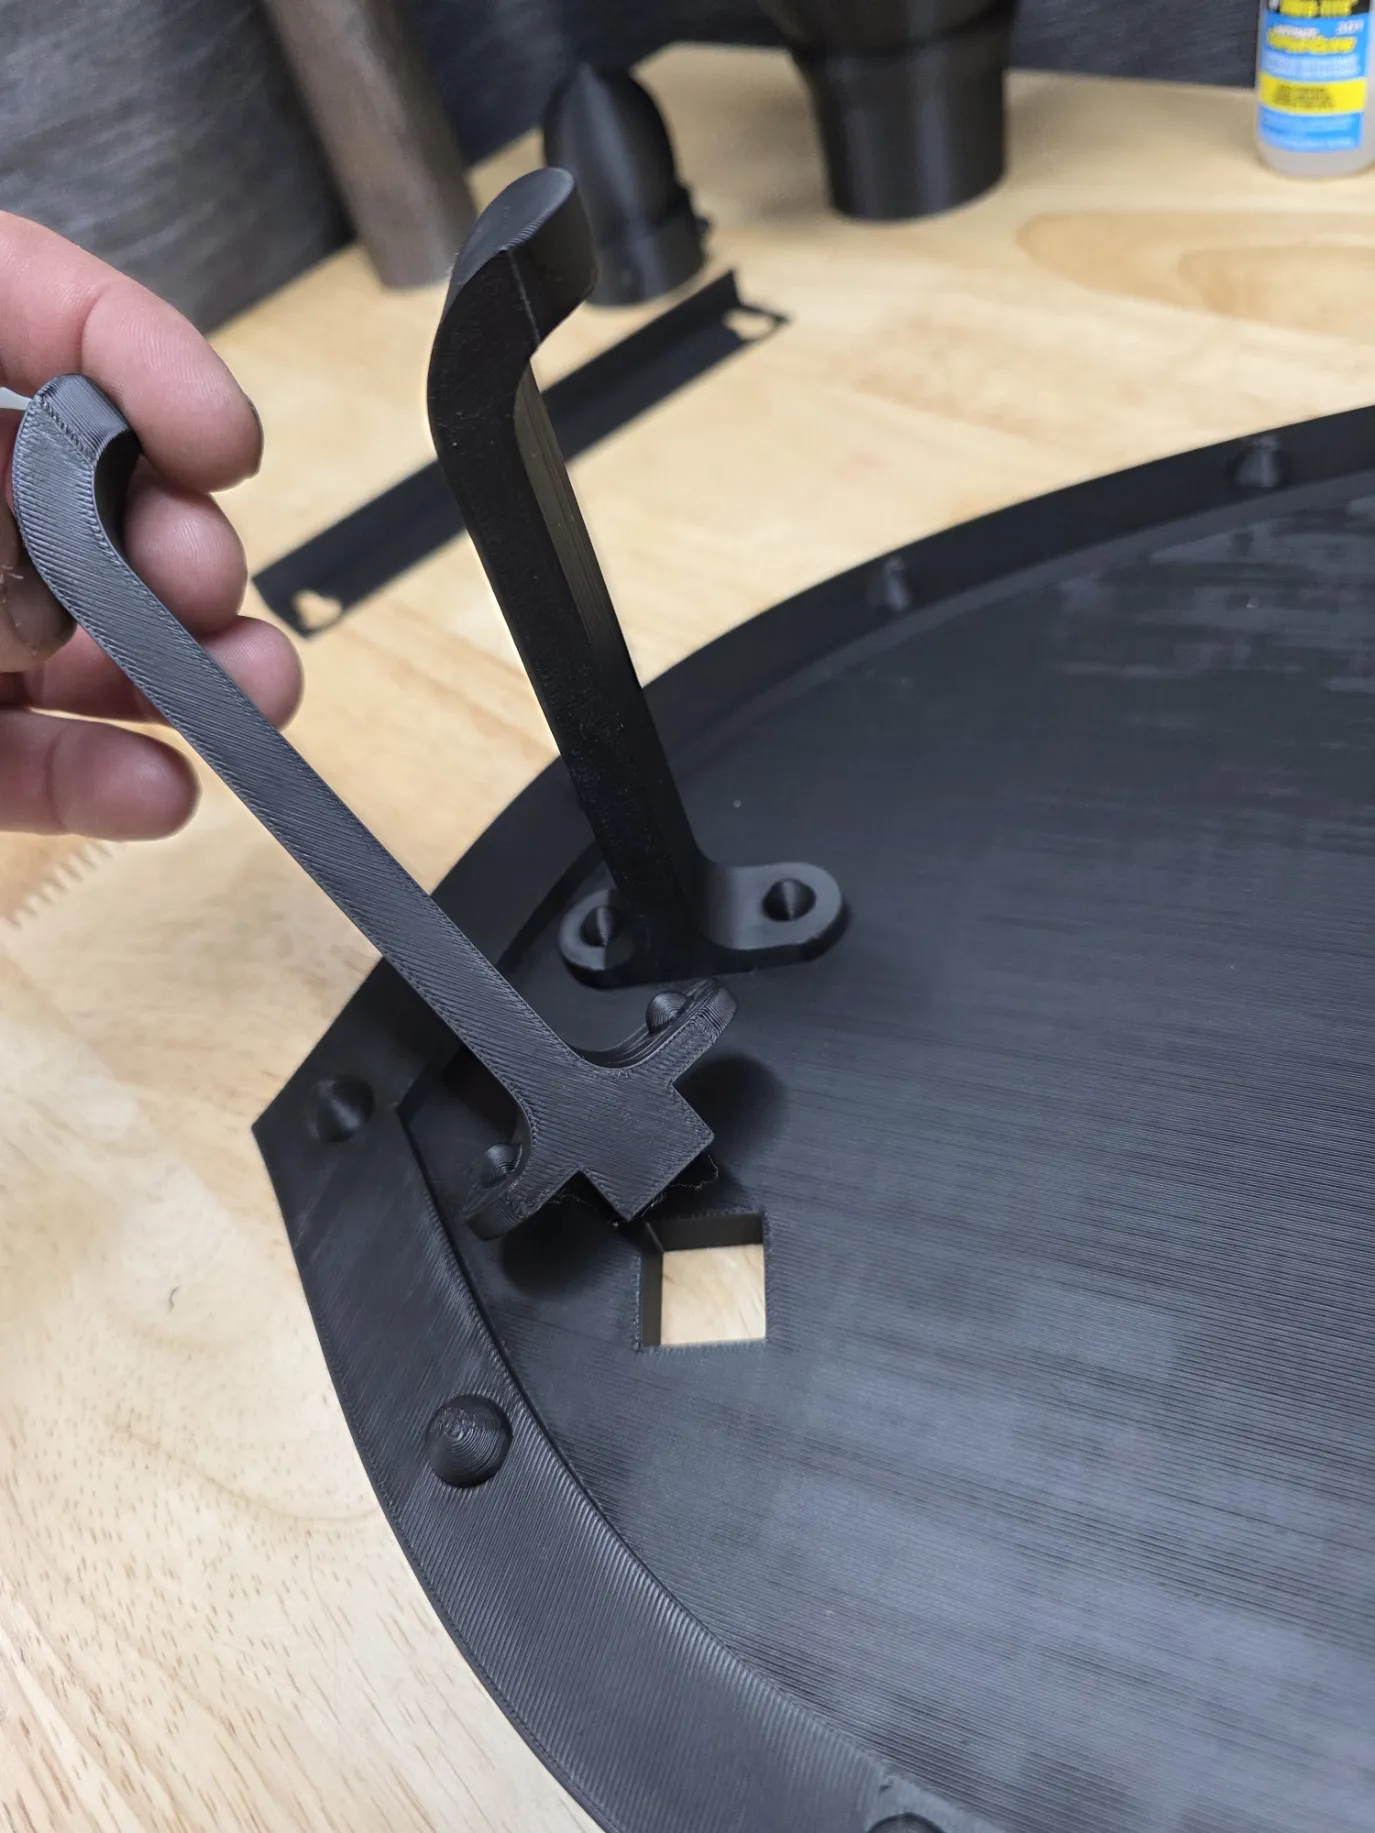
Step 2: Install Hanger Hooks
Insert the hanger hooks into the shield.
These do not have to be glued, but it is recommended for a more secure hold.
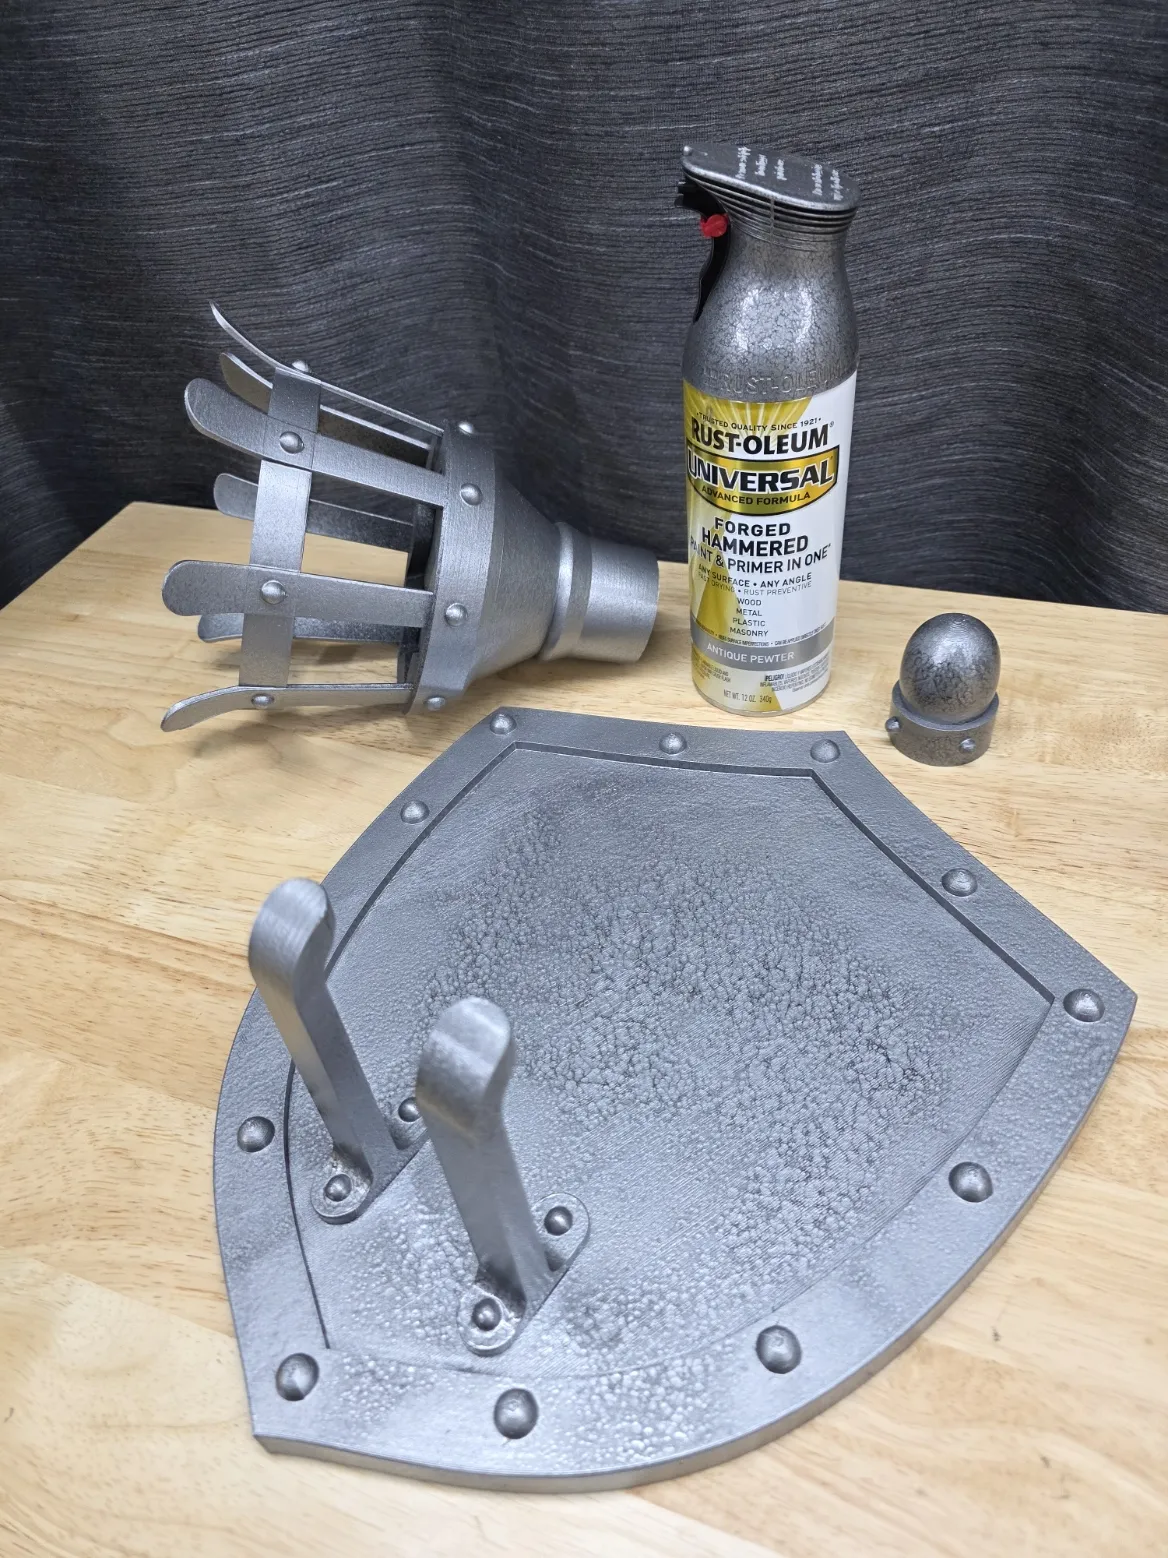
Step 3: Paint Components
Paint all parts using Rust-Oleum Hammered Gray.
- Apply a thick coat to achieve a stronger hammered effect
Keep in mind: thicker coats = longer drying time
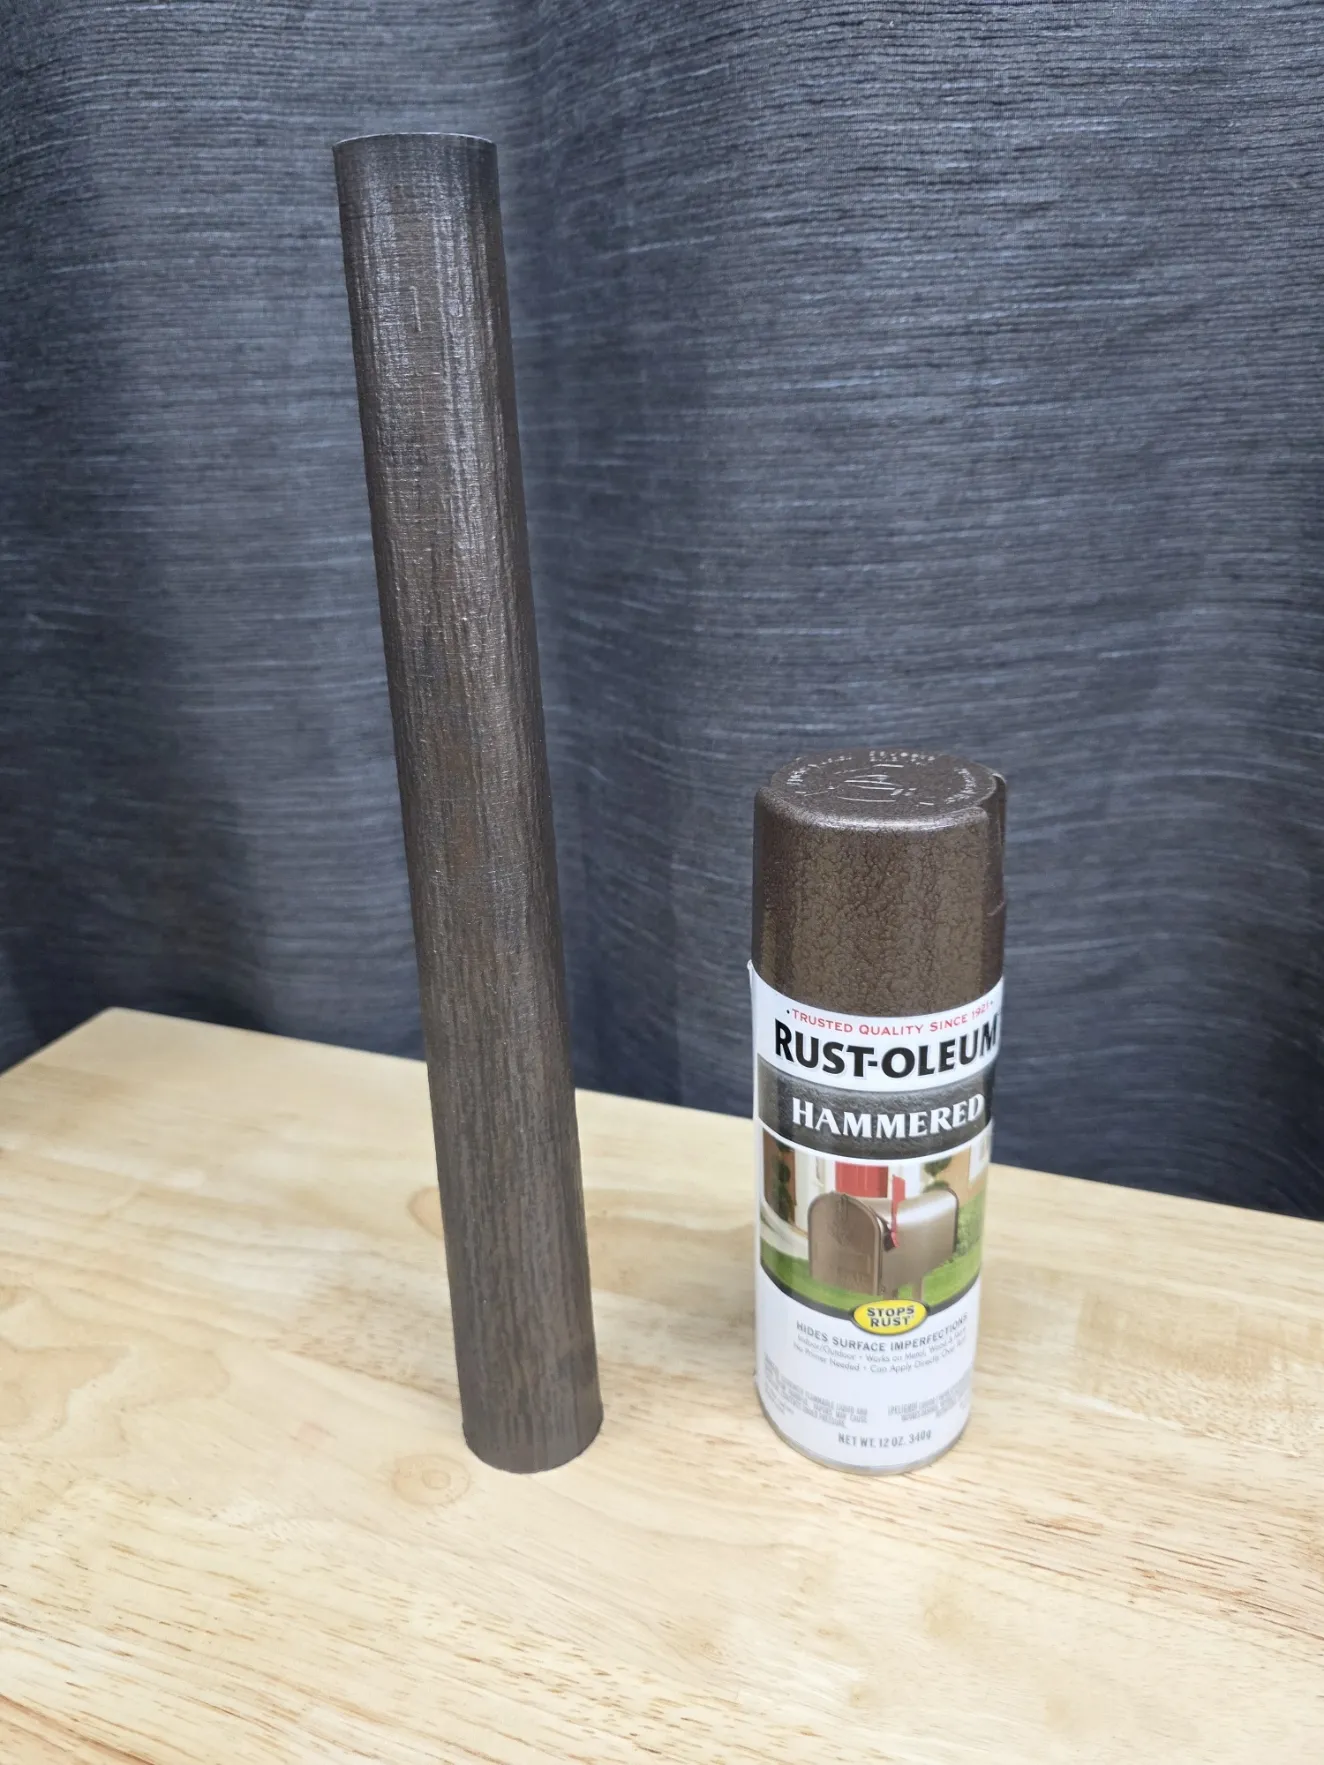
Handle Finish Tip
For the wooden handle look:
- Print the handle in black
- Spray with Hammered Bronze
- While wearing a glove, slide your hand downward along the handle
- This removes some paint and lets the black show through
Creates a natural wood grain effect
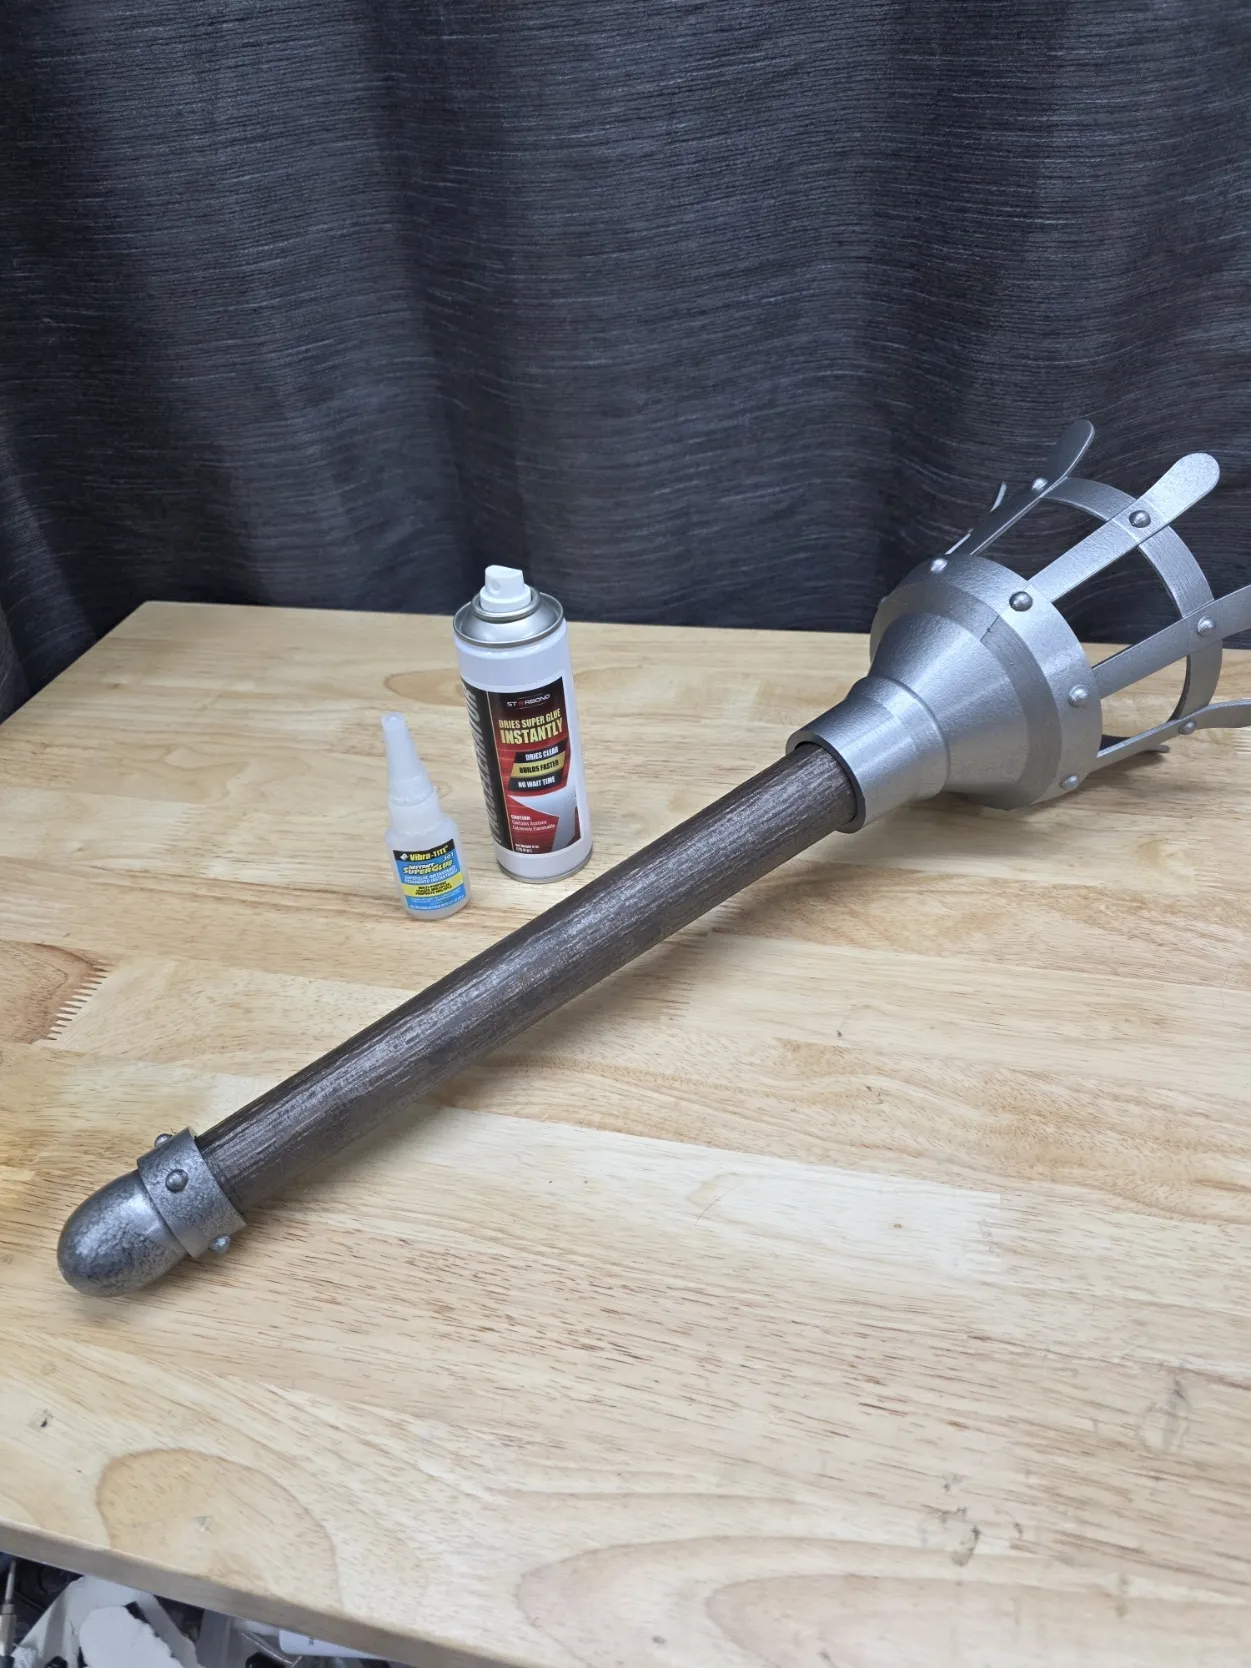
Step 4: Assembly
- Glue all components together using super glue
Ensure everything is aligned before the glue sets
Step 5: Install Tea Light
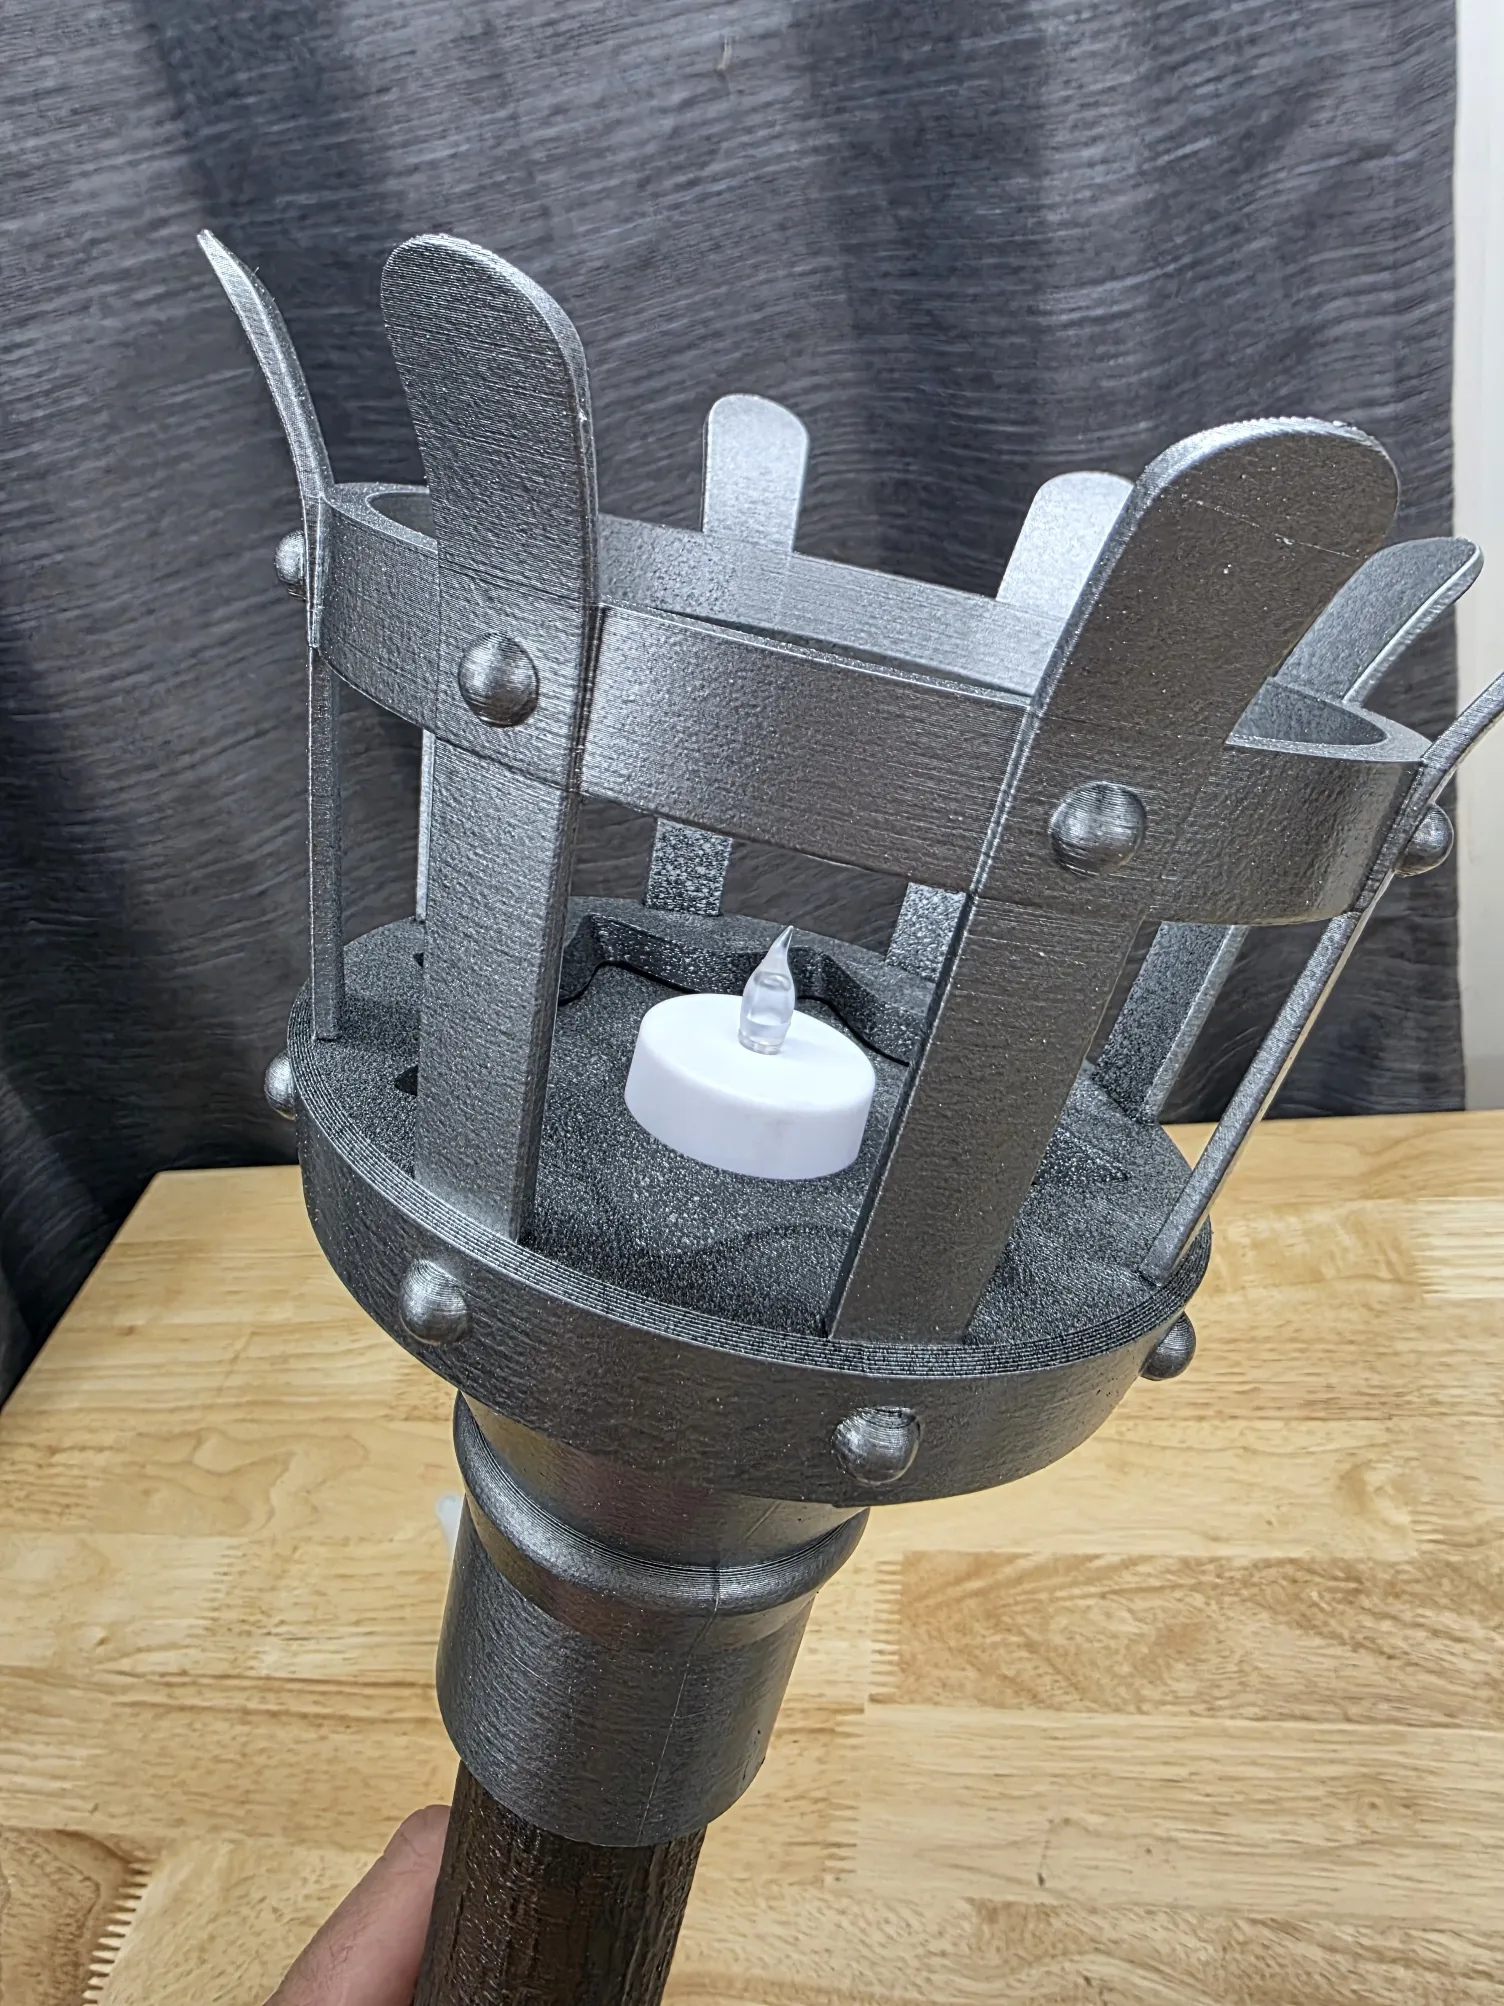
- Turn the tea light ON
Insert it into the torch cage
Step 6: Install Flame
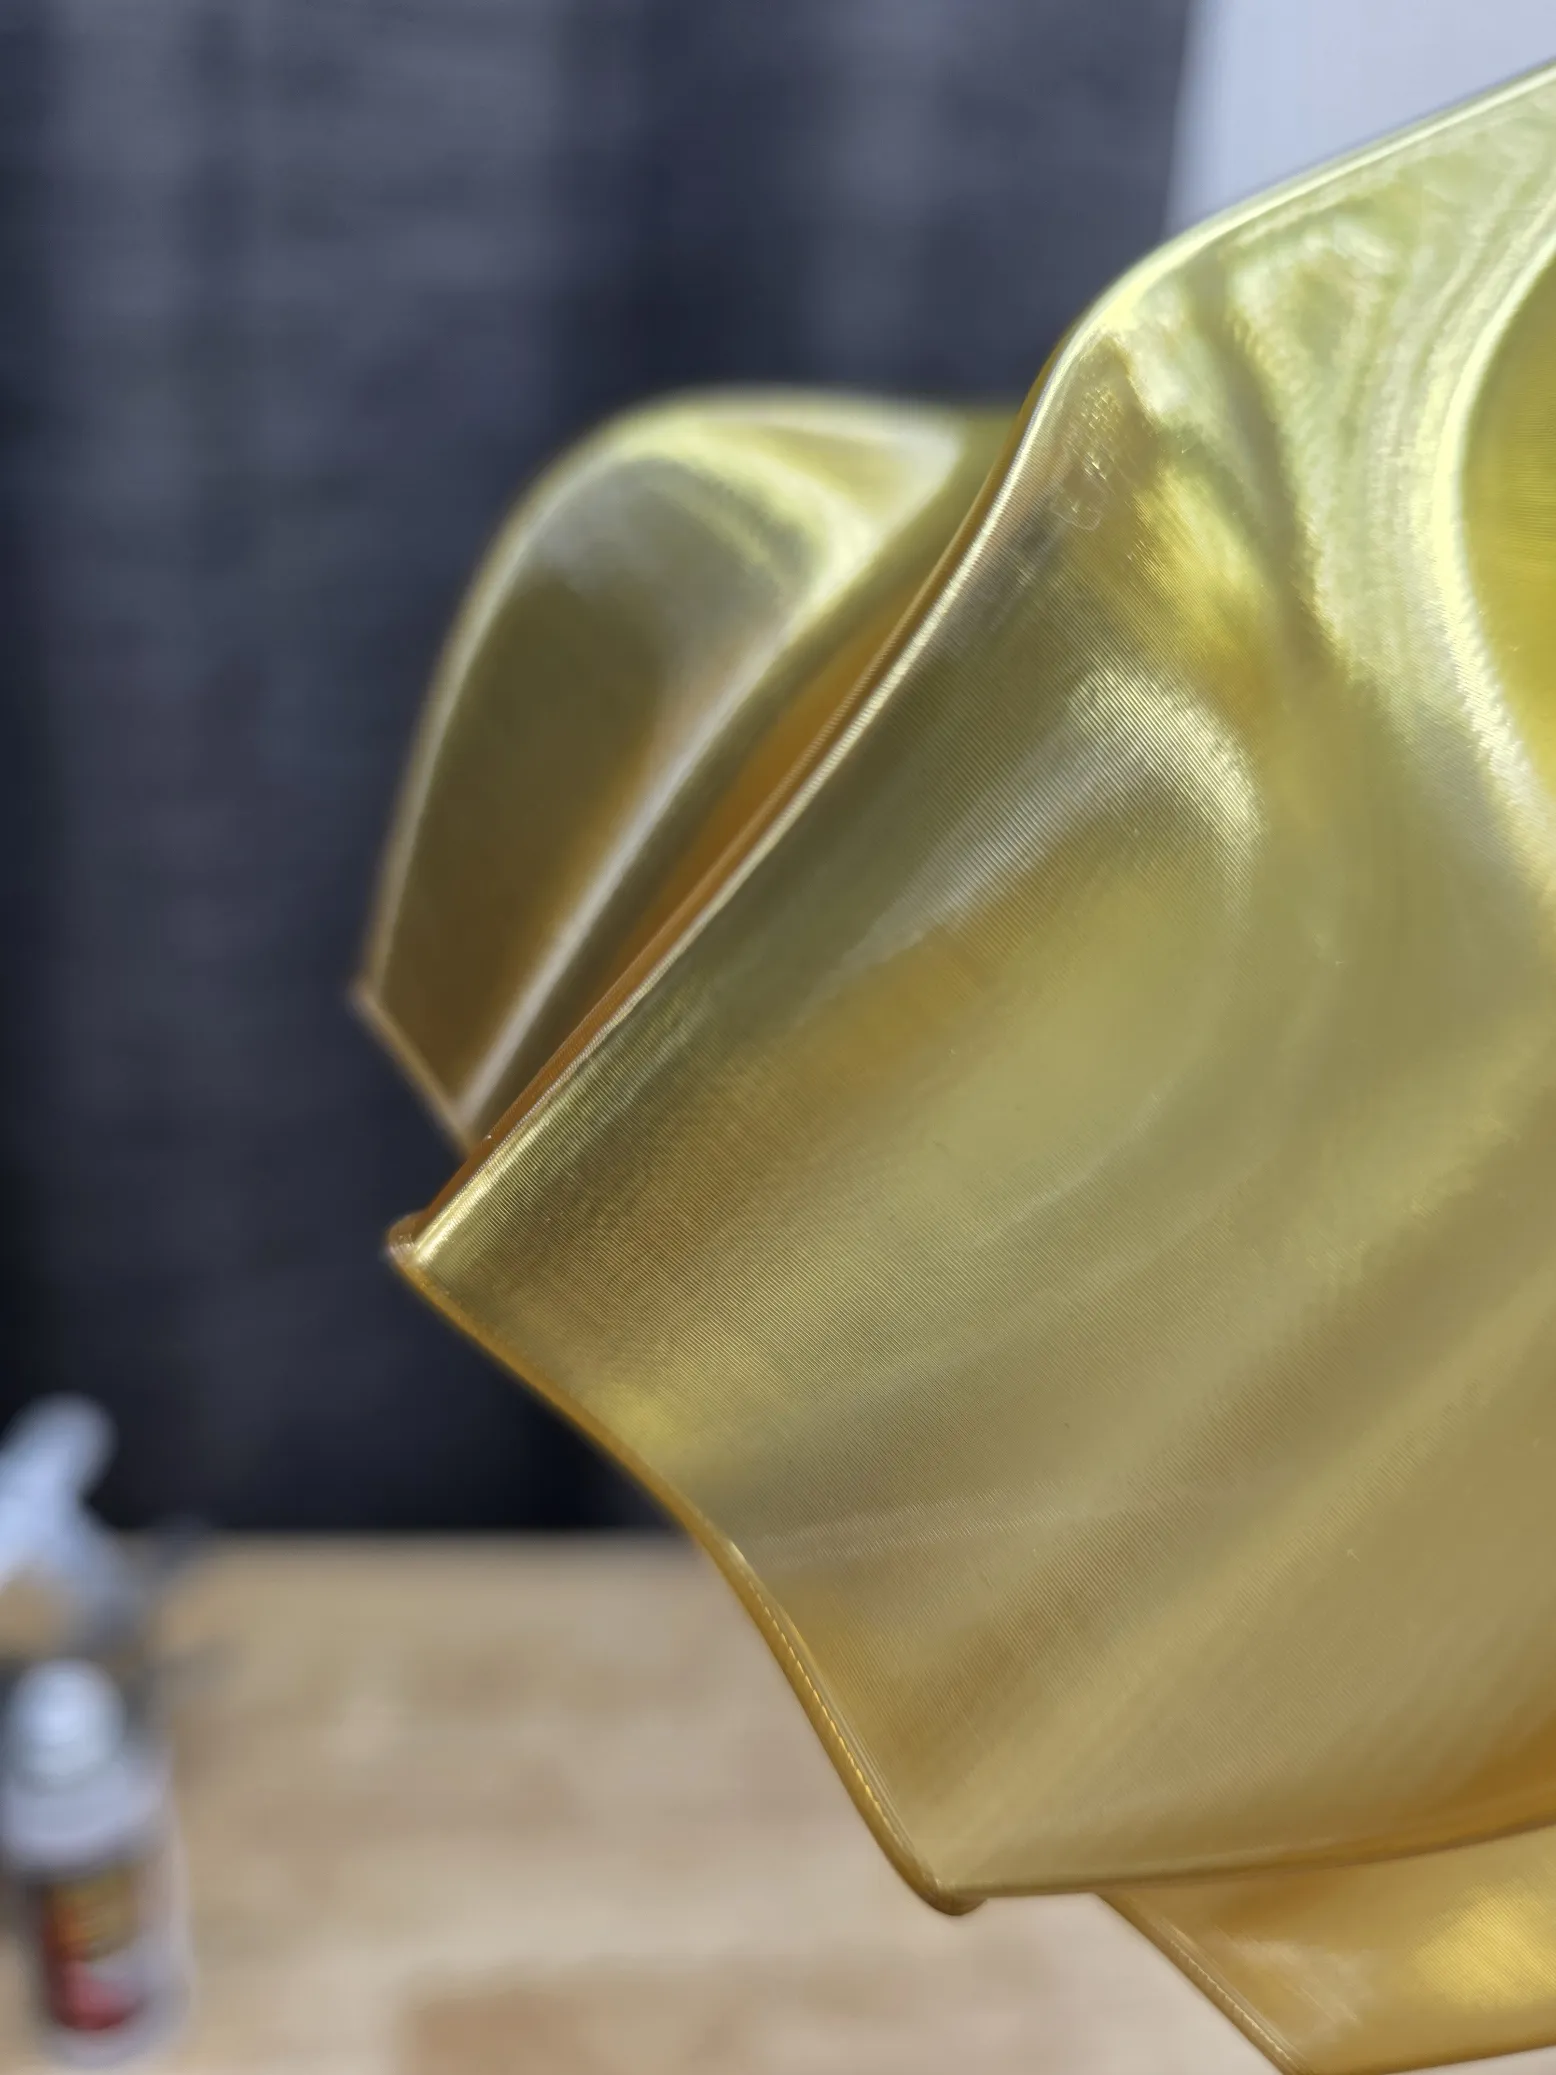
The flame (printed in spiral vase mode) should have a small lip on the bottom.
Press it into place until it clicks and locks into the cage
Step 7: Mounting the Torch
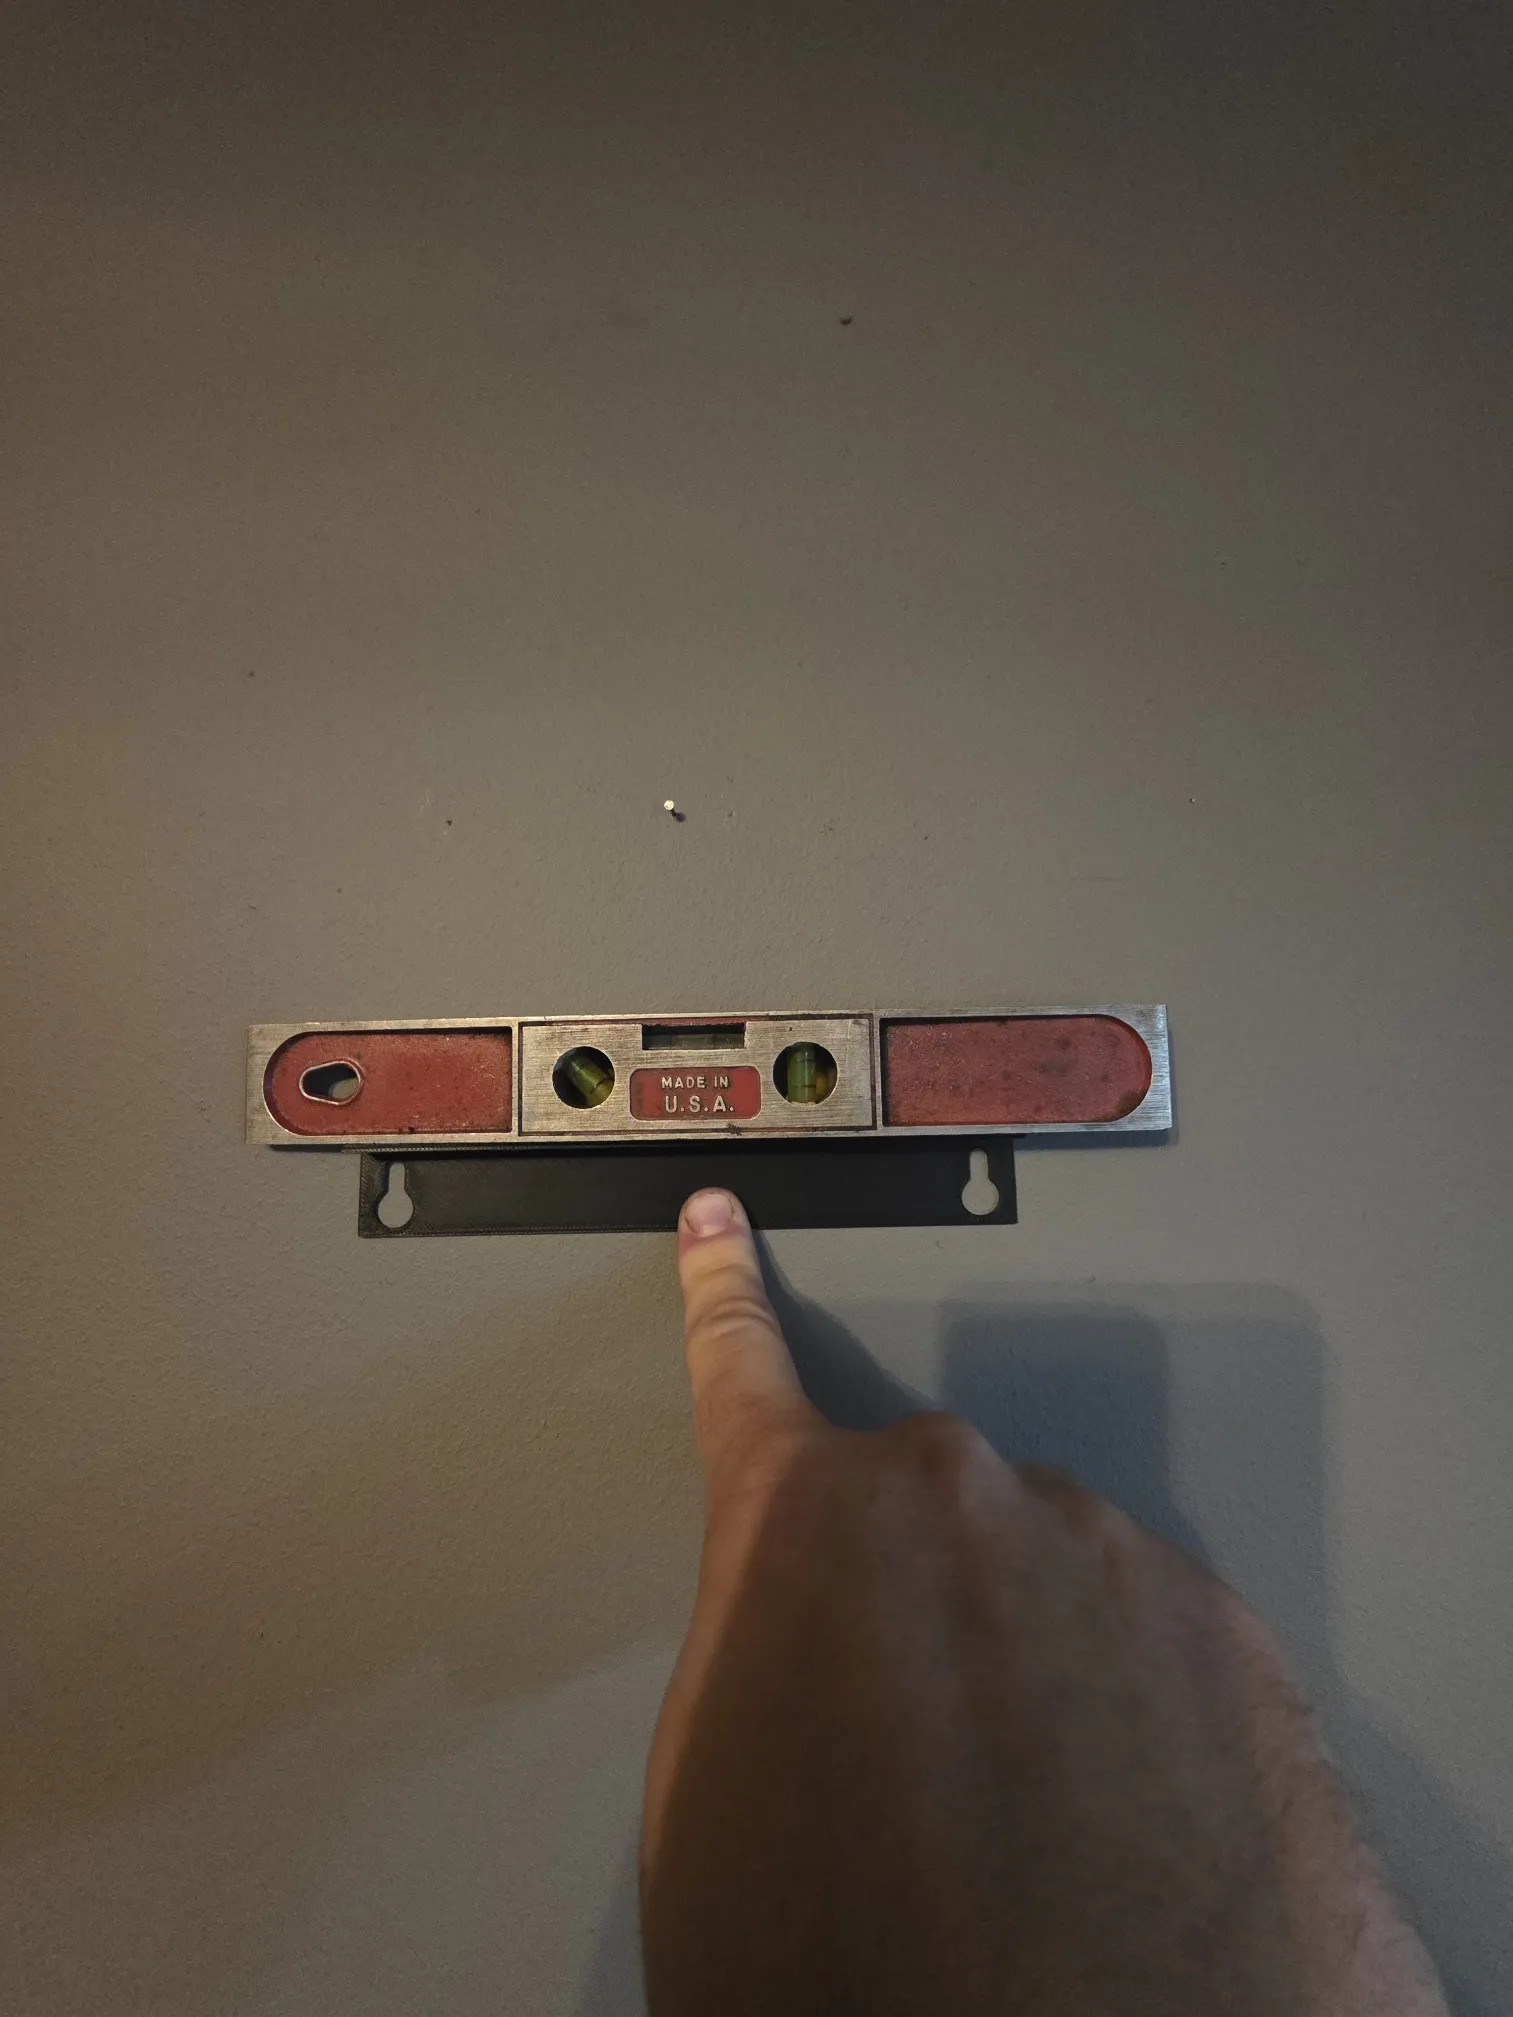
- Use the provided mounting bracket to position the torch
- Use a bubble level to ensure it is straight
Mark your holes and install into the wall
Final Notes
- Allow all paint to fully cure before final assembly for best results
- The hammered paint finish will continue to improve as it dries
- Take your time—this piece really shines with careful finishing
License

You shall not share, sub-license, sell, rent, host, transfer, or distribute in any way the digital or 3D printed versions of this object, nor any other derivative work of this object in its digital or physical format (including - but not limited to - remixes of this object, and hosting on other digital platforms). The objects may not be used without permission in any way whatsoever in which you charge money, or collect fees.


Comment & Rating (3)