Gridfinity 9x3 Bin (2U) Dovetail Split to Fit


Print Profile(4)

Description
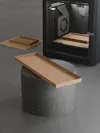
I couldn’t find an 9x3 Gridfinity bin that would still fit on my printer bed, so I designed my own.
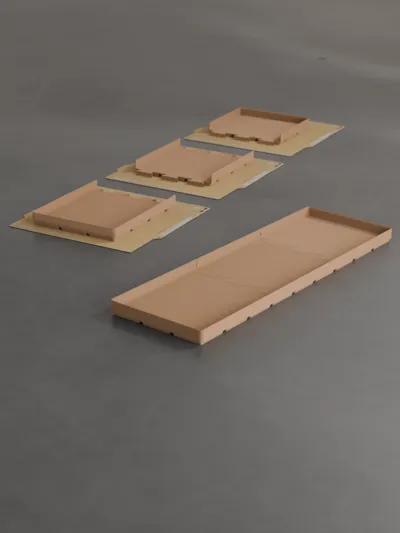
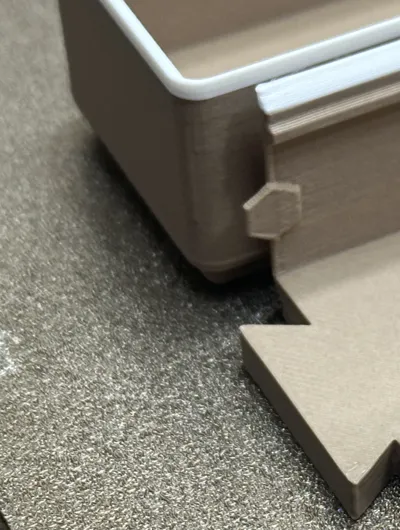
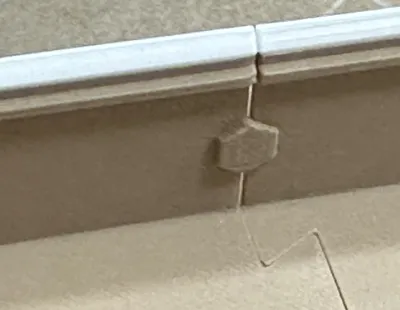
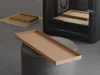
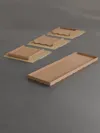
This model is a 2-unit-tall Gridfinity bin, split into two parts using a precision dovetail joint so it prints cleanly on my Bambu Lab P1S. I also created a print profile (the 3 piece version) that can fit on the A1 Mini plate. I’ve added alignment tabs along the split so the sections self-register during assembly, keeping the sides perfectly aligned and preventing lateral movement. The tabs allow the bin to fit tightly without glue, while still giving you the option to glue permanently if desired.
There is a tight print profile and a looser profile. I like the tight version myself, it is very snug but doesn't move. I made the looser version for people who may want to take it apart regularly or for printers with slightly looser tolerances.
✨ Features
- ✅ True Gridfinity standard sizing
- ✅ 9x3 footprint
- ✅ 2 units tall for stackability
- ✅ Dovetail split for strength with alignment tabs for easy alignment and to prevent side-to-side movement
- ✅ Prints flat, no supports required
- ✅ Works great with PLA, PETG, or ABS
See my other models for more sizes. If you need any specific sizes, just ask in the comments, I should be able to make one fast.
Perfect for:
- Long tools
- Electronics parts
- Desk organization
- Modular drawer systems
- Zip tie storage
- Chip clips
🔹 Printing Instructions
Recommended Settings
- Layer height: 0.2 mm
- Walls: 3–4
- Infill: 10–20% (Gyroid or Cubic)
- Supports: None
- Brim: Optional (only if your material tends to warp)
Assembly
- Dry-fit first
- The tight version shouldn't need it, but for extra security you can glue with CA glue or plastic-safe adhesive
Boost Me (for free)
If this bin was useful, please consider boosting it so more makers can find it.Boosts help surface practical, functional designs for DIY projects.
Comment & Rating (1)