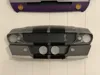
1967 Mustang - 'Eleanor' from Gone in 60 Seconds


Print Profile(5)
Bill of Materials


Description
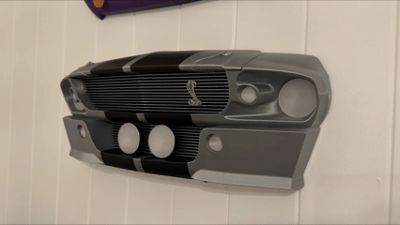
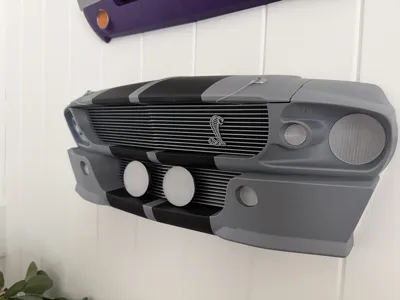
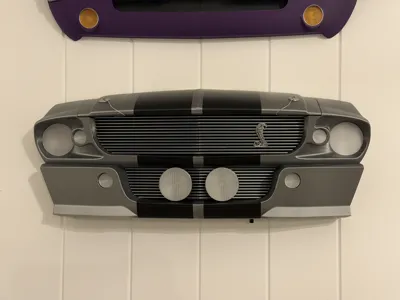
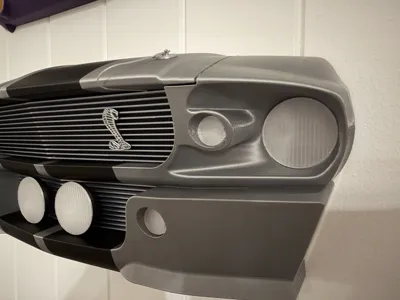
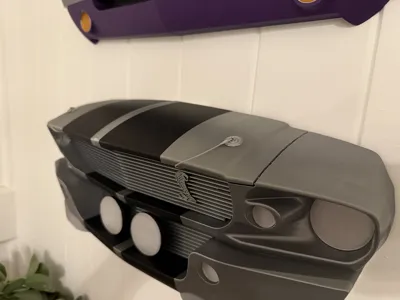
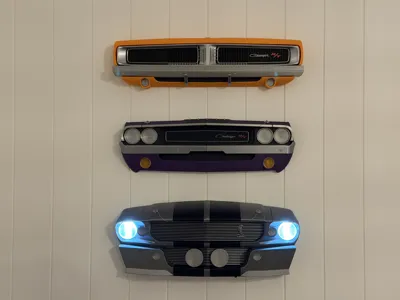
'Eleanor' from Gone in 60 Seconds - 1967 Mustang Fastback (Shelby GT500)
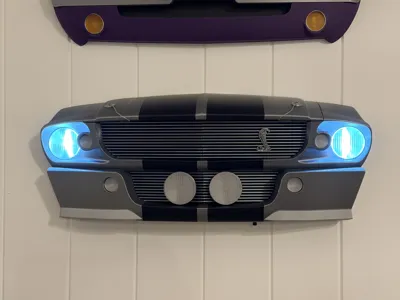
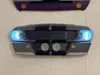
One of my all time favorite cars after seeing Gone in 60 seconds as a child. Decorate your room, Man cave or Garage with this model, or use it as a light.
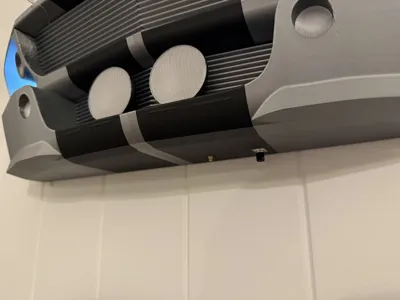
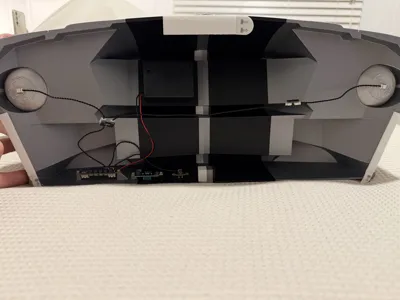
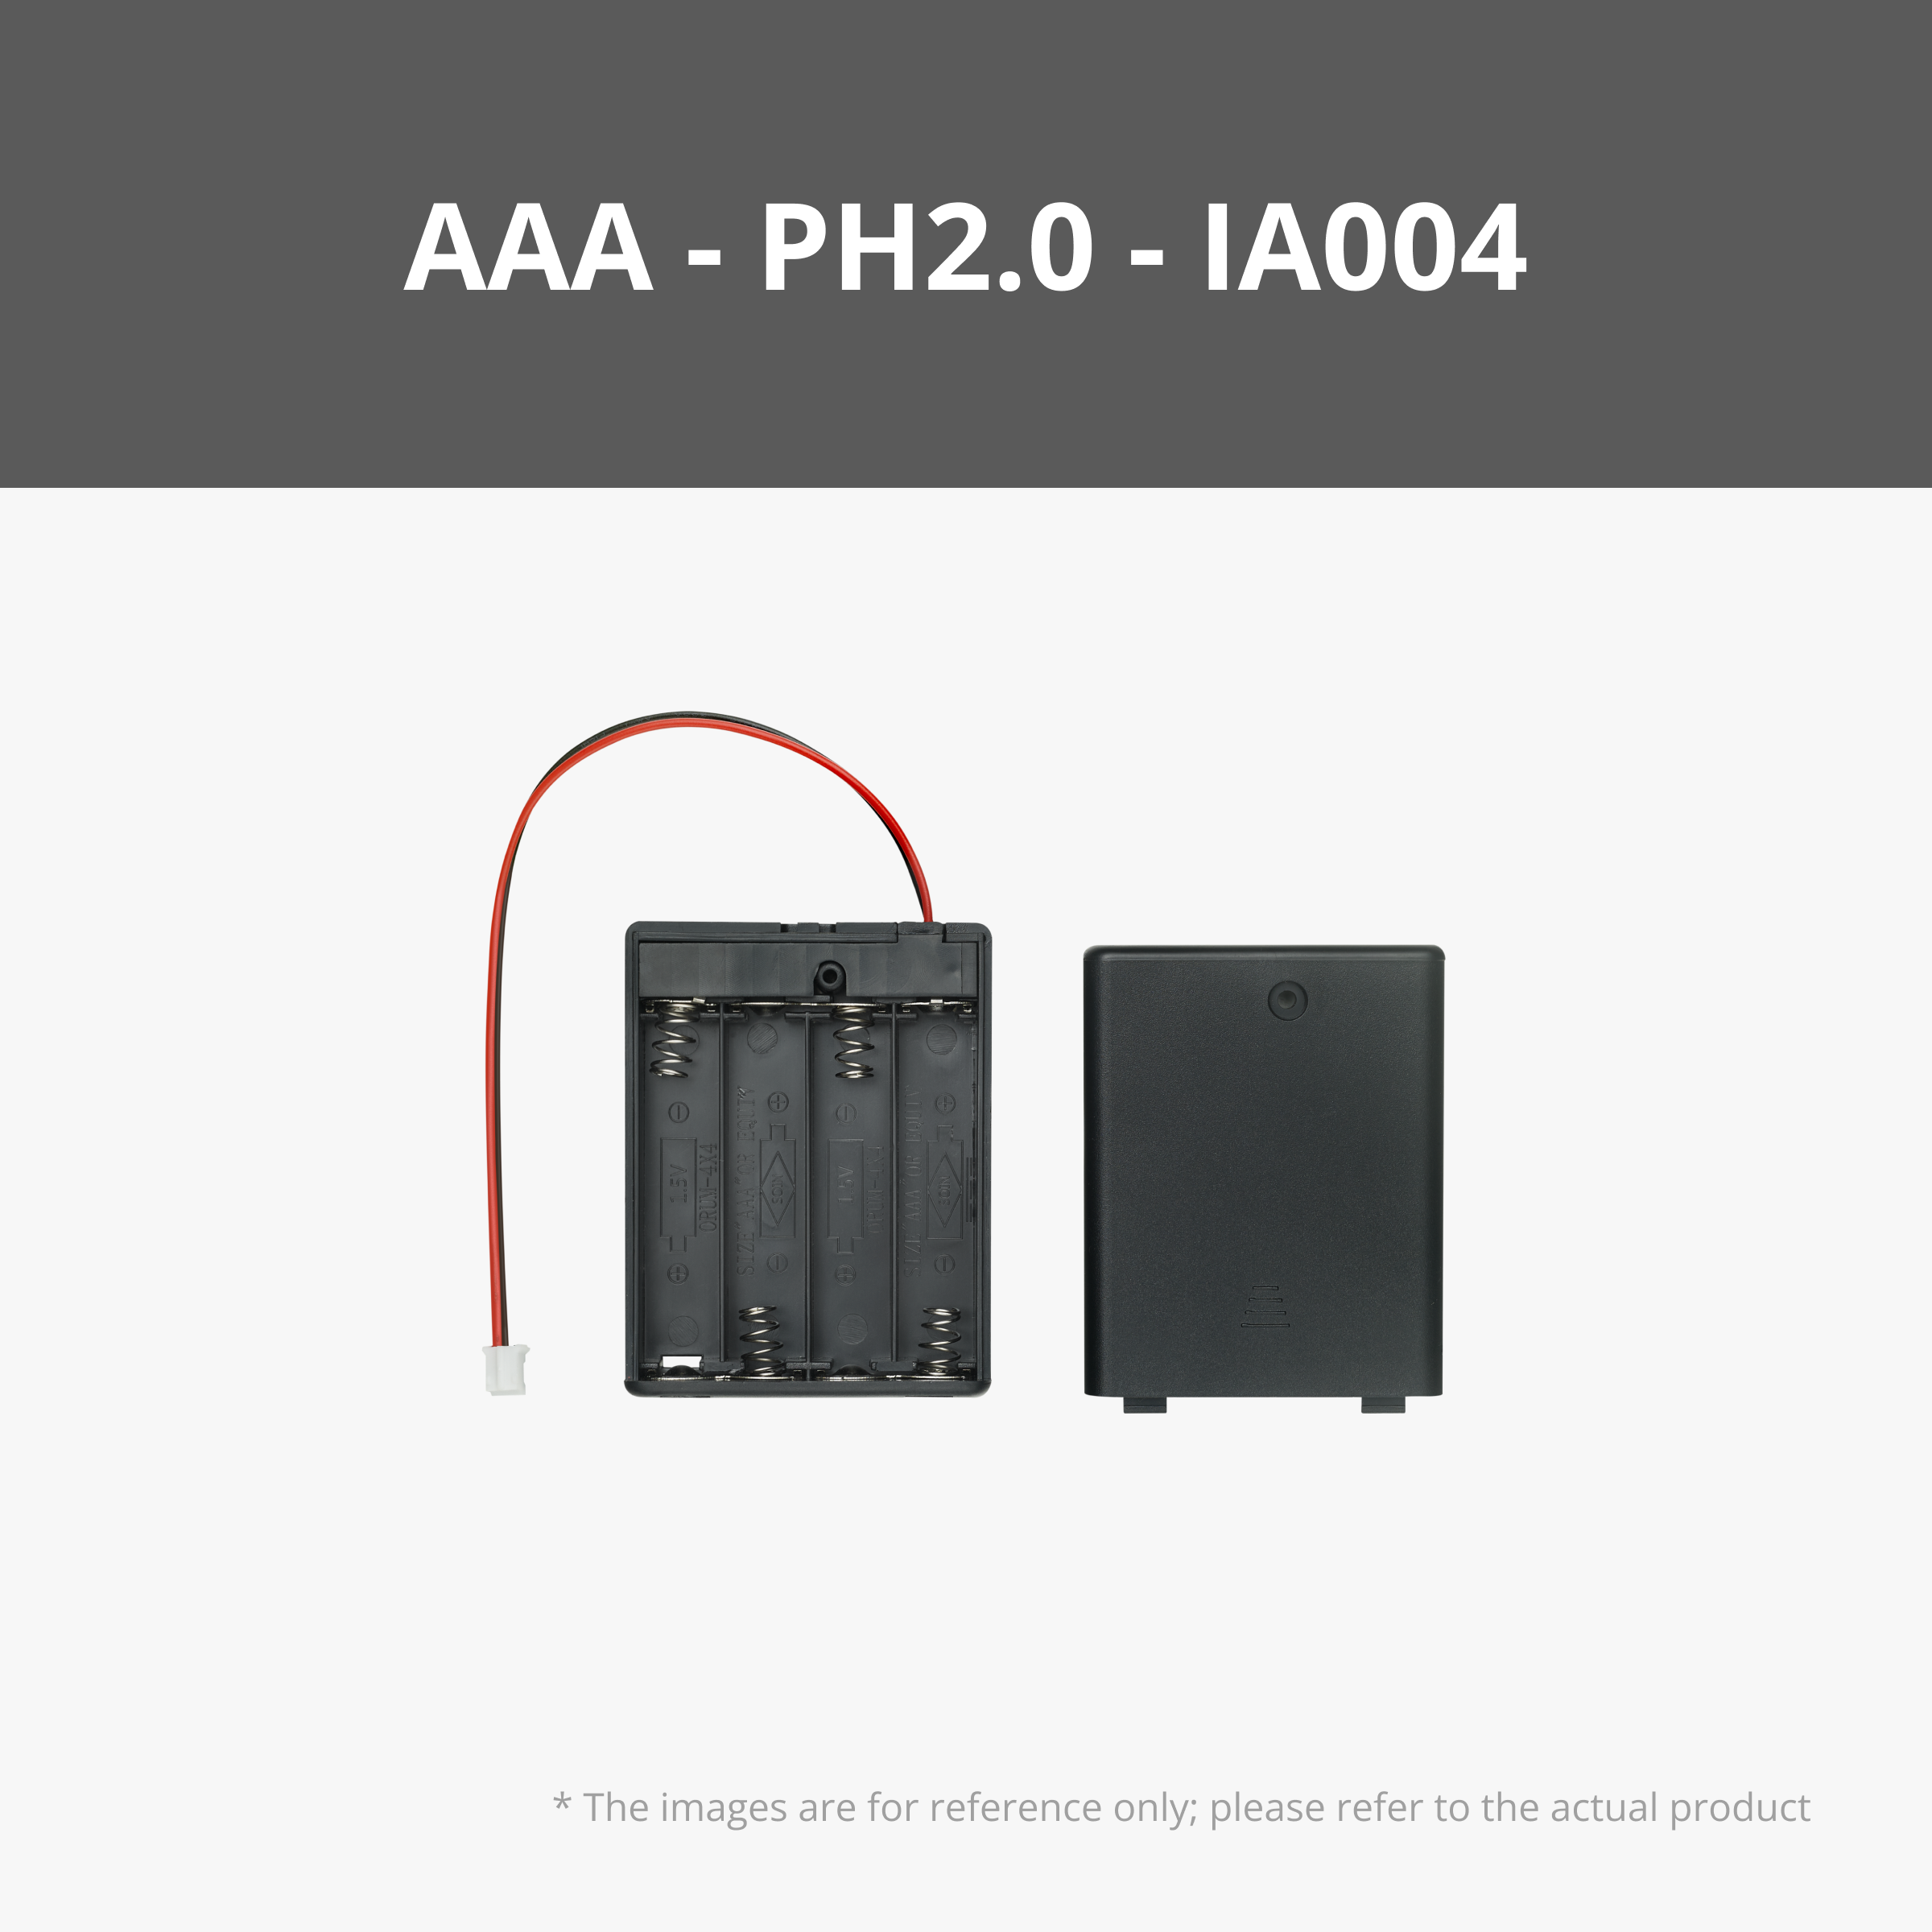
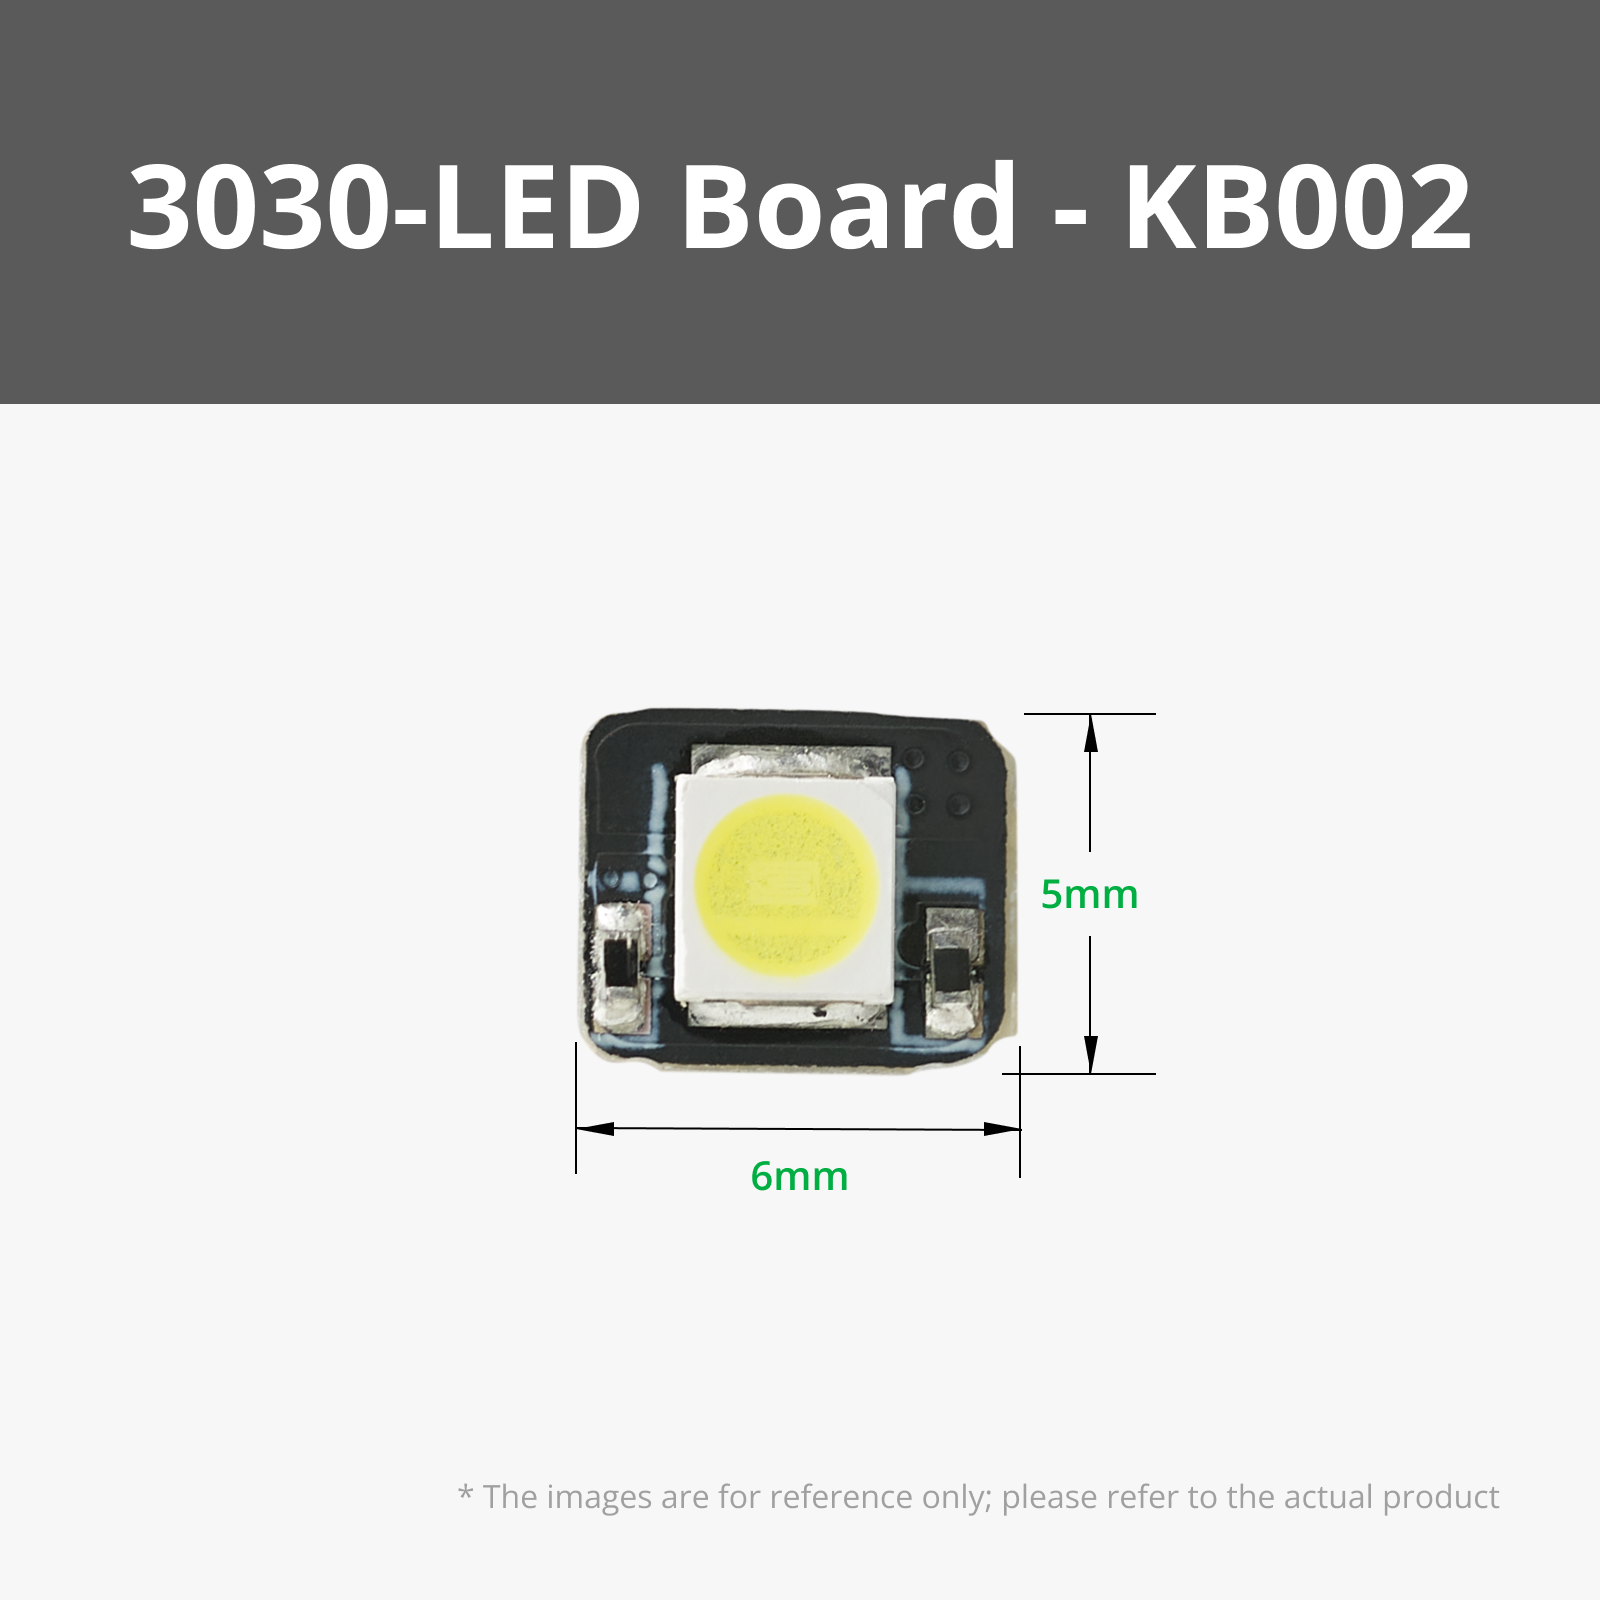
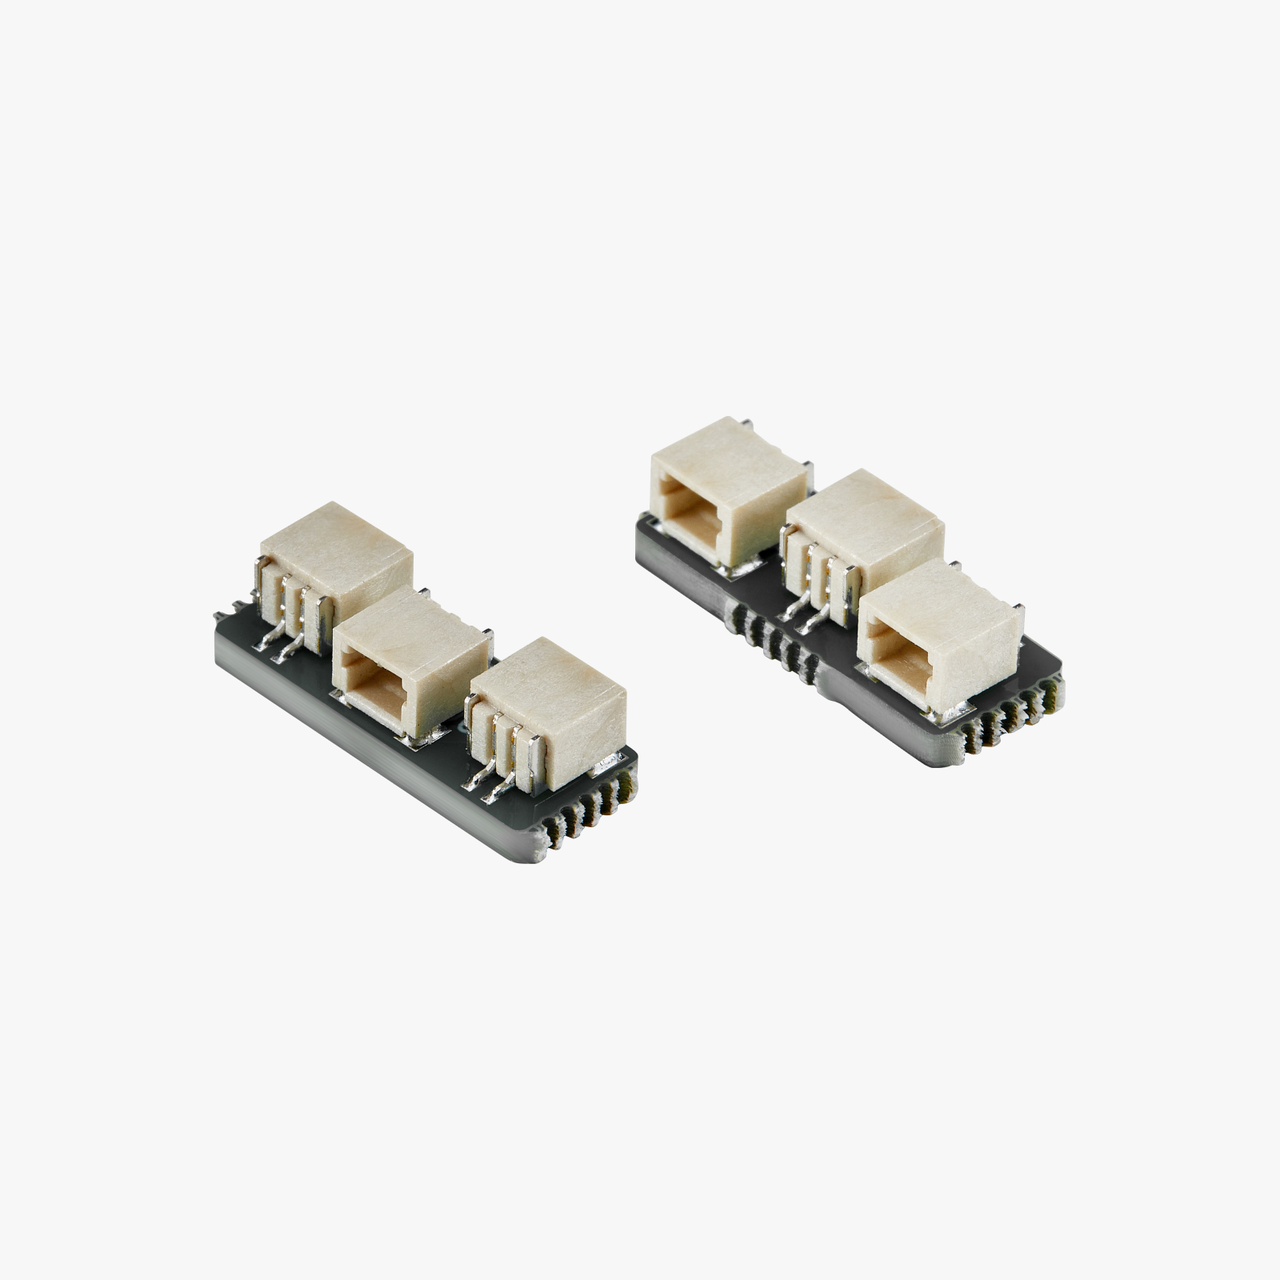
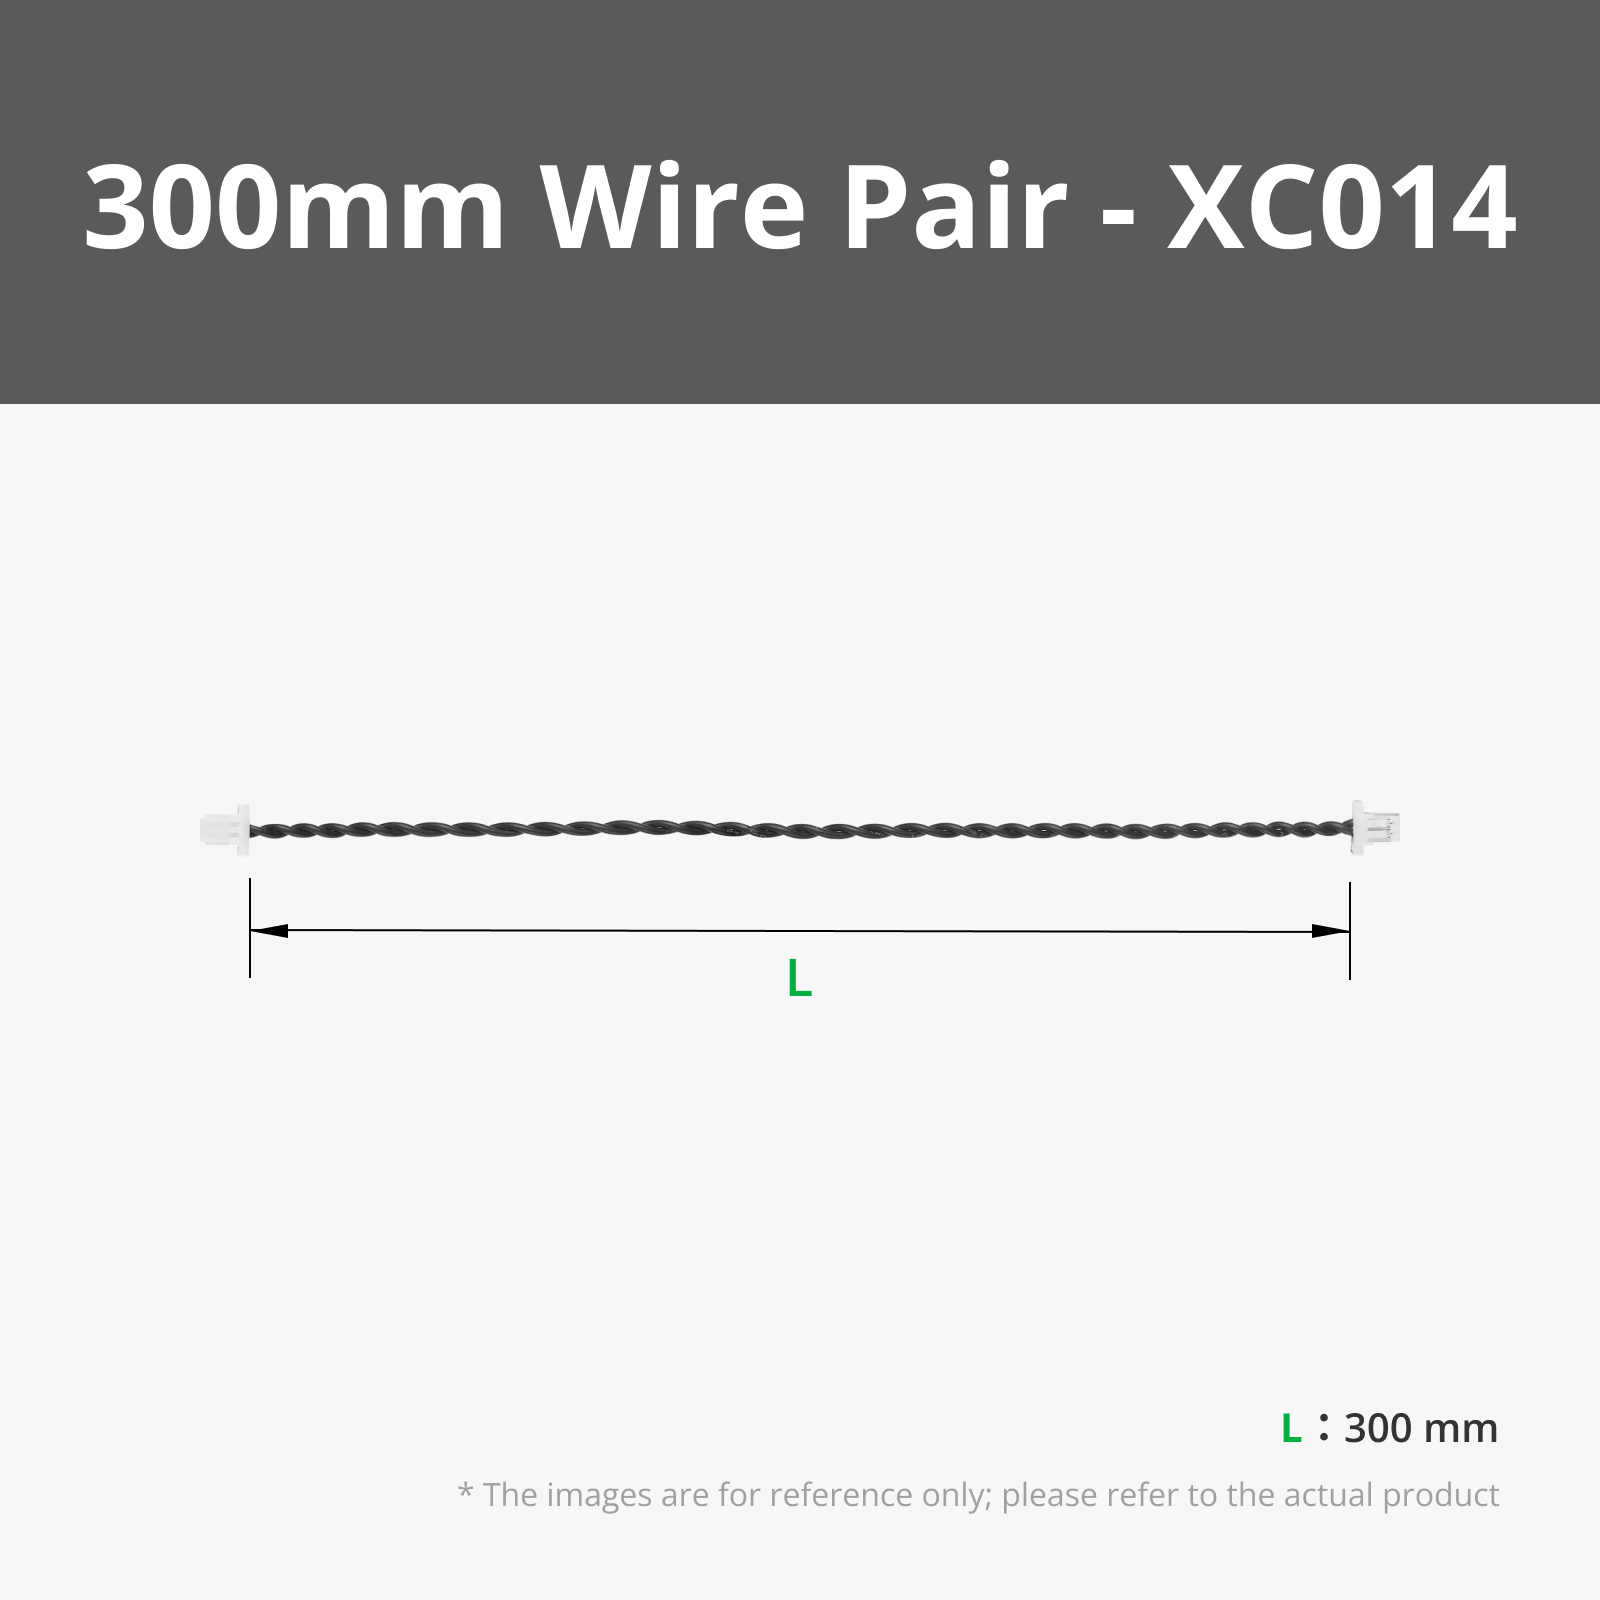
The headlights electronics are all from Bambu lab supply.
Assembly instructions (detailed instructions with pictures are attached as a PDF):
- Assembly the left-hand-side and right-hand-side main bodies using the rectangular dowels and superglue.
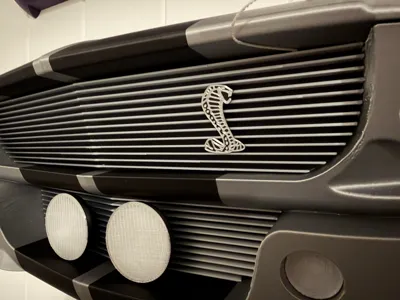
- Glue in the 4 grill pieces while making sure the lines line up in the center.
- Assemble the lights using super glue.
- Glue the lights into the main body and grille using super glue.
- Glue the Shelby badge to the grille (optional, not on original car in the movie).
- Connect the electronics.
- Fix the Power Distribution Board, Power button and Potentiometer to the main body using M2x4 fasteners.
- Glue LED’s to the back of the of the headlights.
My other models available here:


Boost Me (for free)
If you like this model and want to see different car models, please consider giving me a boost. Chur.
Documentation (1)
License
You shall not share, sub-license, sell, rent, host, transfer, or distribute in any way the digital or 3D printed versions of this object, nor any other derivative work of this object in its digital or physical format (including - but not limited to - remixes of this object, and hosting on other digital platforms). The objects may not be used without permission in any way whatsoever in which you charge money, or collect fees.
Comment & Rating (49)