
SKADIS Infinite Wave Lattice Board – Lightweight
Print Profile(2)
Description
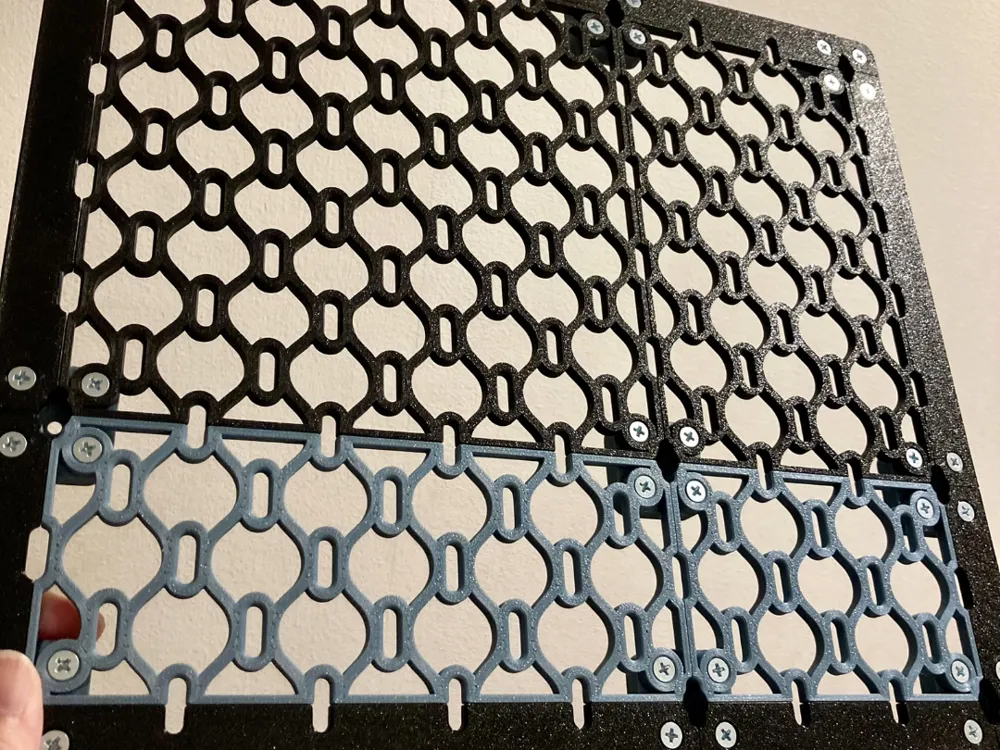
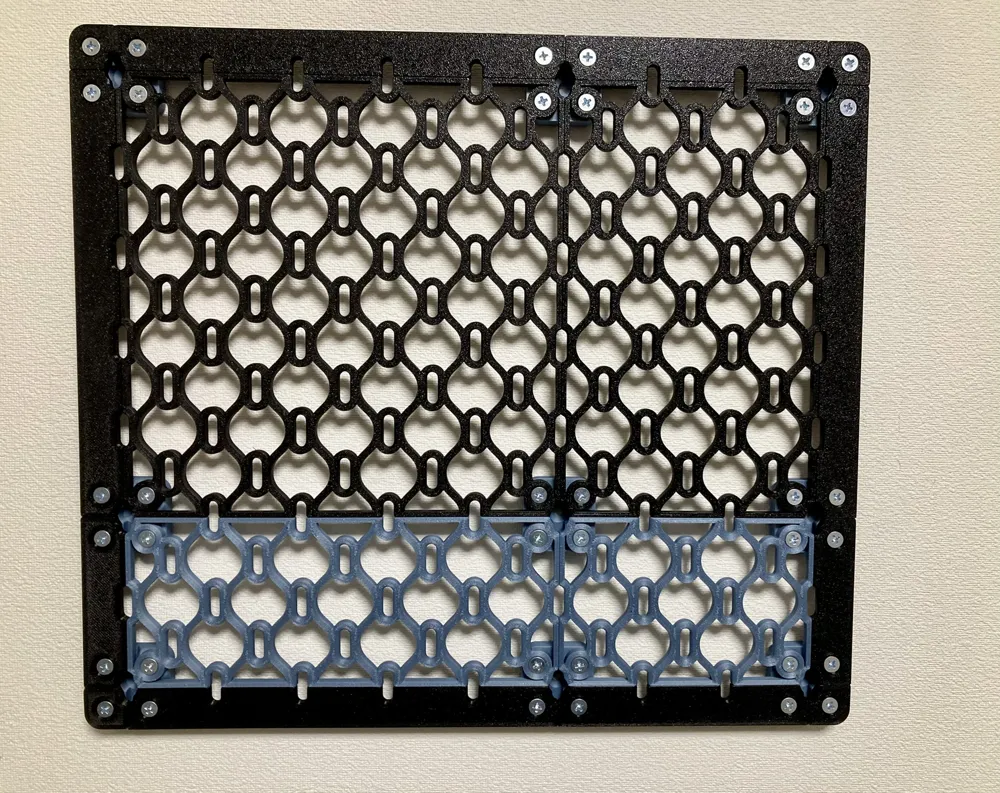
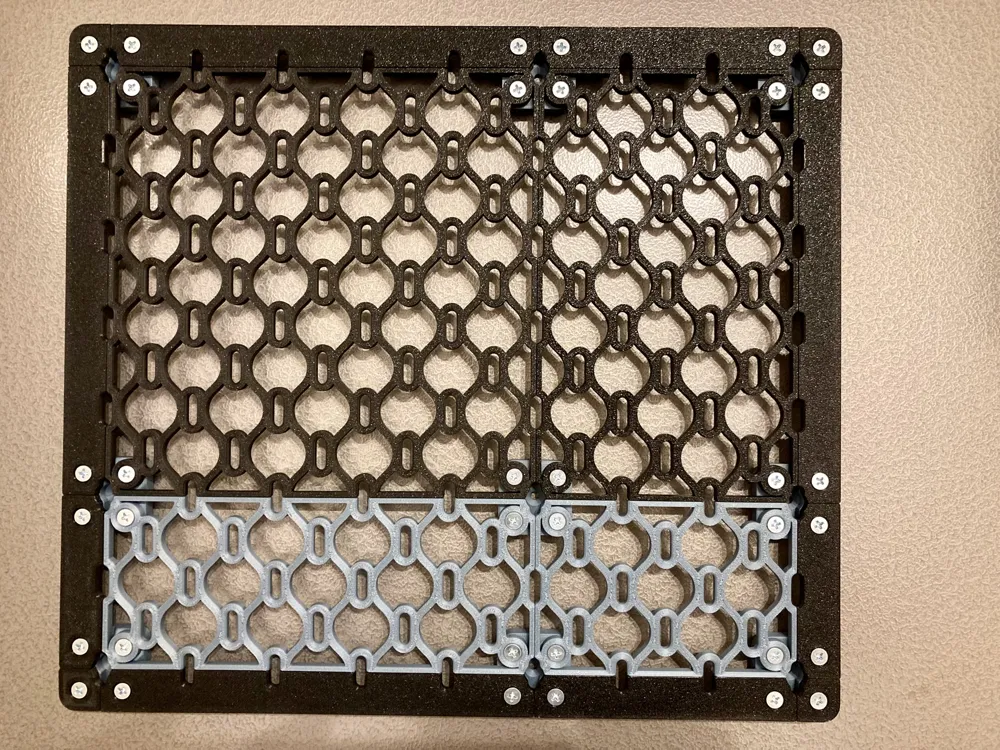
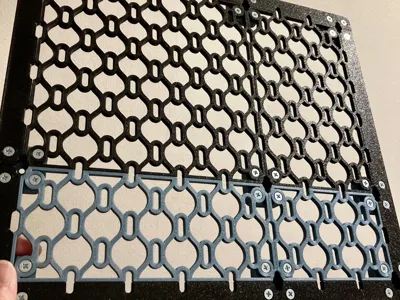
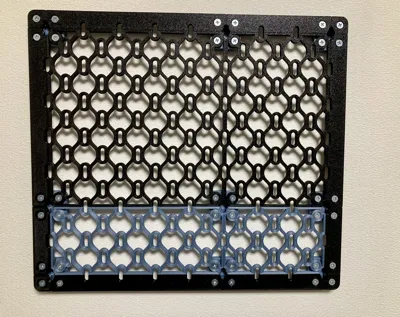
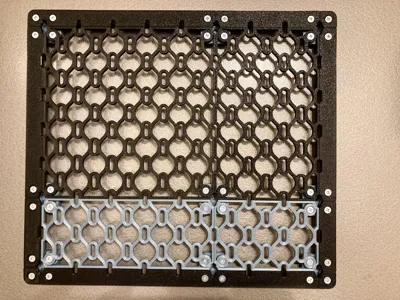
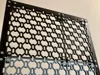
This version introduces a new lightweight Wave Lattice Board using a continuous repeating wave structure.
After testing Voronoi-style lightweight patterns, I found two common issues:
- The visual pattern does not repeat cleanly across modular layouts
- Strength around hook holes varies depending on the local cell shape
This Wave Lattice design was created to solve both problems.
The Vertical Wave version keeps the wave pattern flowing continuously across the board, creating a clean and distinctive modular look while maintaining more consistent support around hook holes.
It also prints faster than typical Voronoi-style lightweight boards.
A 200 × 200 mm board uses only about 74 g of PLA.
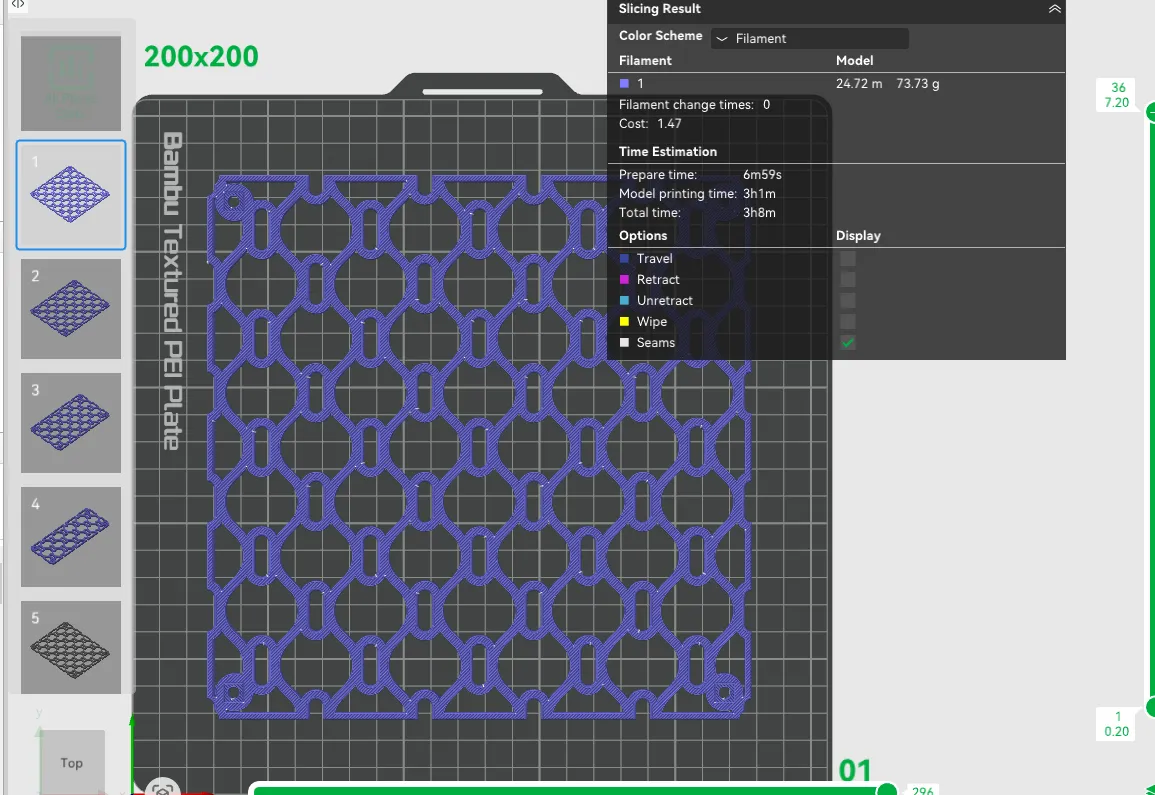
The same frame system and connector parts from the standard version can be used.
Key Features
- Lightweight board design
- Continuous wave lattice pattern
- Clean infinite repeating appearance
- More consistent strength around hook holes
- Faster printing than Voronoi-style boards
- Only about 74 g PLA for a 200 × 200 mm board
- Compatible with existing frame parts and connectors
- Vertical Wave version
Why This Version?
Unlike random lightweight patterns, the Wave Lattice structure provides:
- Cleaner repeating layouts
- More balanced support around hook holes
- Lower filament usage
- Faster printing
- Practical rigidity for daily use
Usage Notes
This lightweight version is recommended for lightweight items and everyday accessories.
For heavier loads or maximum rigidity, please check the standard board version here
Recommended Print Settings (Board)
- Walls: 3
- Infill: 10%
Increase walls or thickness if extra rigidity is needed.
Strength may vary depending on material, printer tuning, and board size.
Recommended Print Settings (Frame)
- Walls: 3 (standard use)
- Walls: 4 (for increased rigidity)
- Infill: 10–15%
Installation Notes
The included connectors are 8.5 mm thick, which is thinner than the original design.
When securing the board to the connectors, use self-tapping countersunk screws (4 × 12 mm).
Mounting to Drywall (New 4-Way Connector)
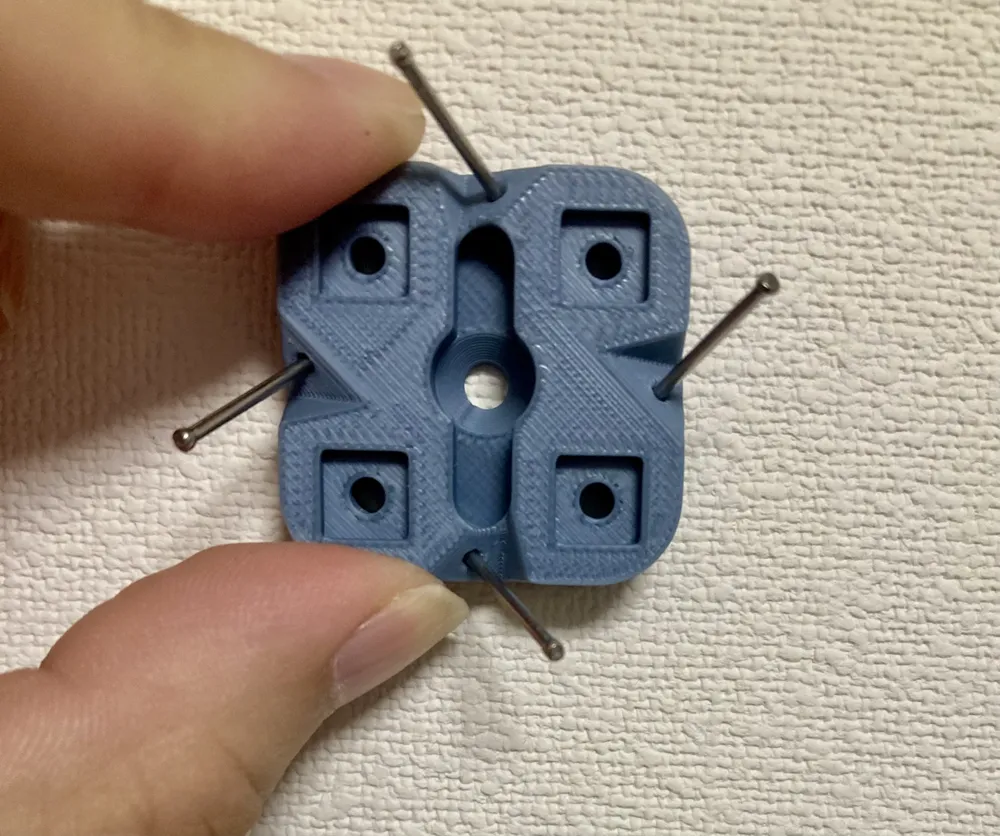
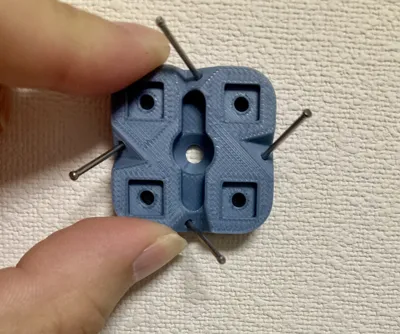
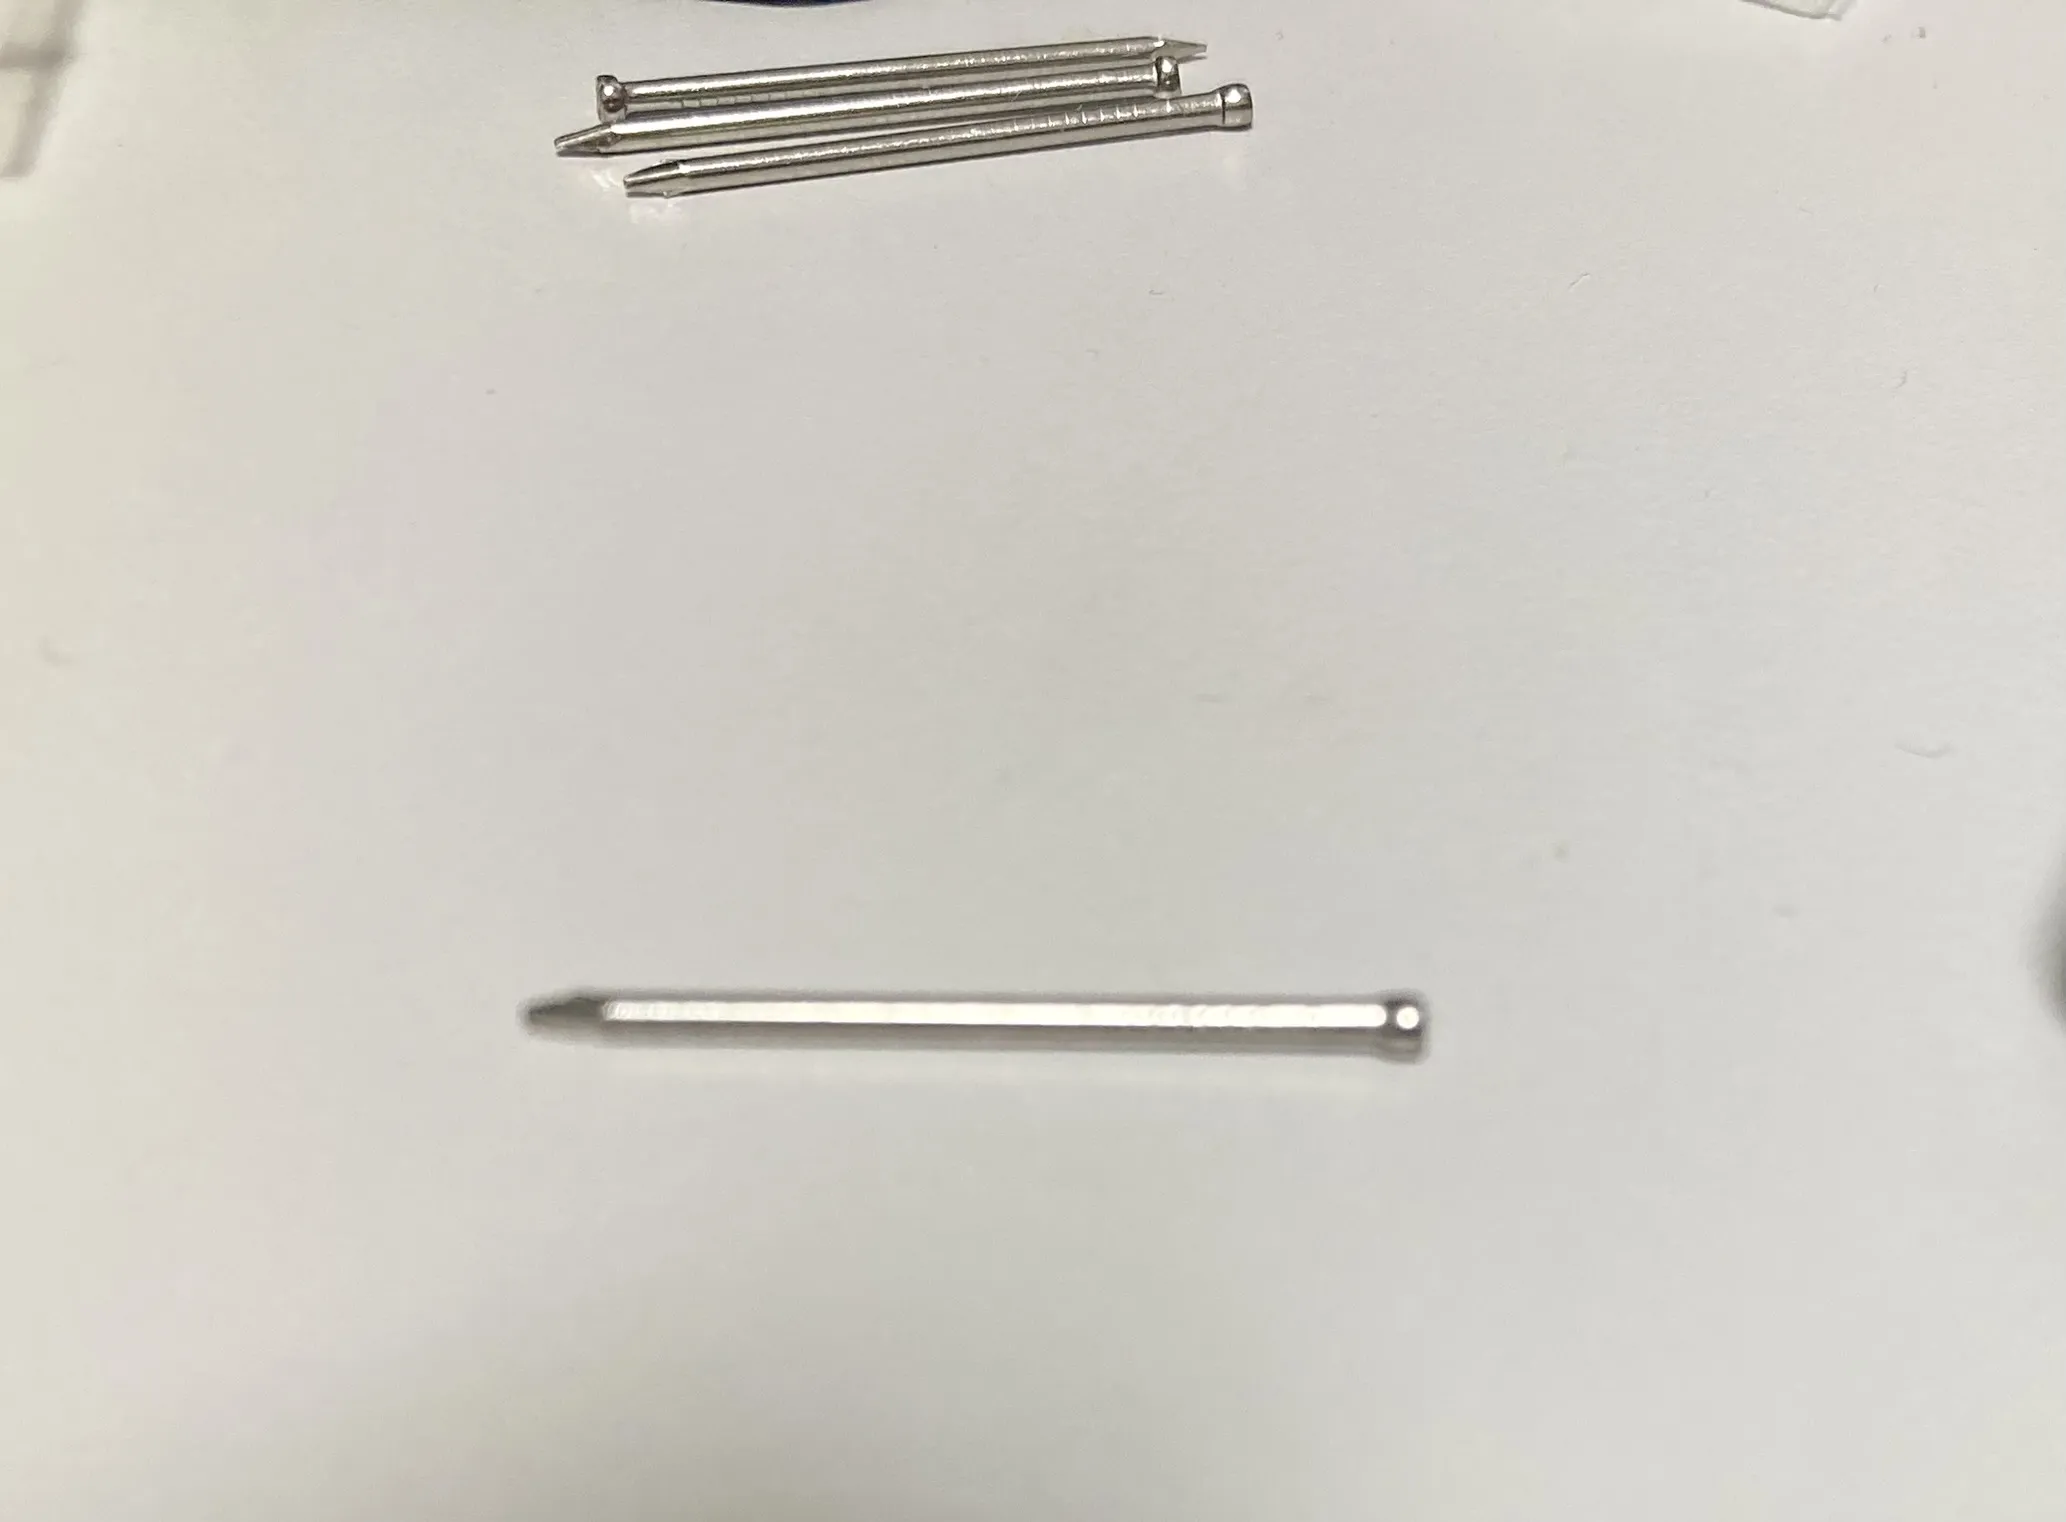
Now supports installation to drywall using 1.2 mm pins / nails with the new 4-Way Connector.
Required Hardware
- New 4-Way Connector
- 1.2 mm pins / nails
- Pegboard frame set
How to Install
Prepare four 1.2 mm pins / nails.
Place the connector on the wall.
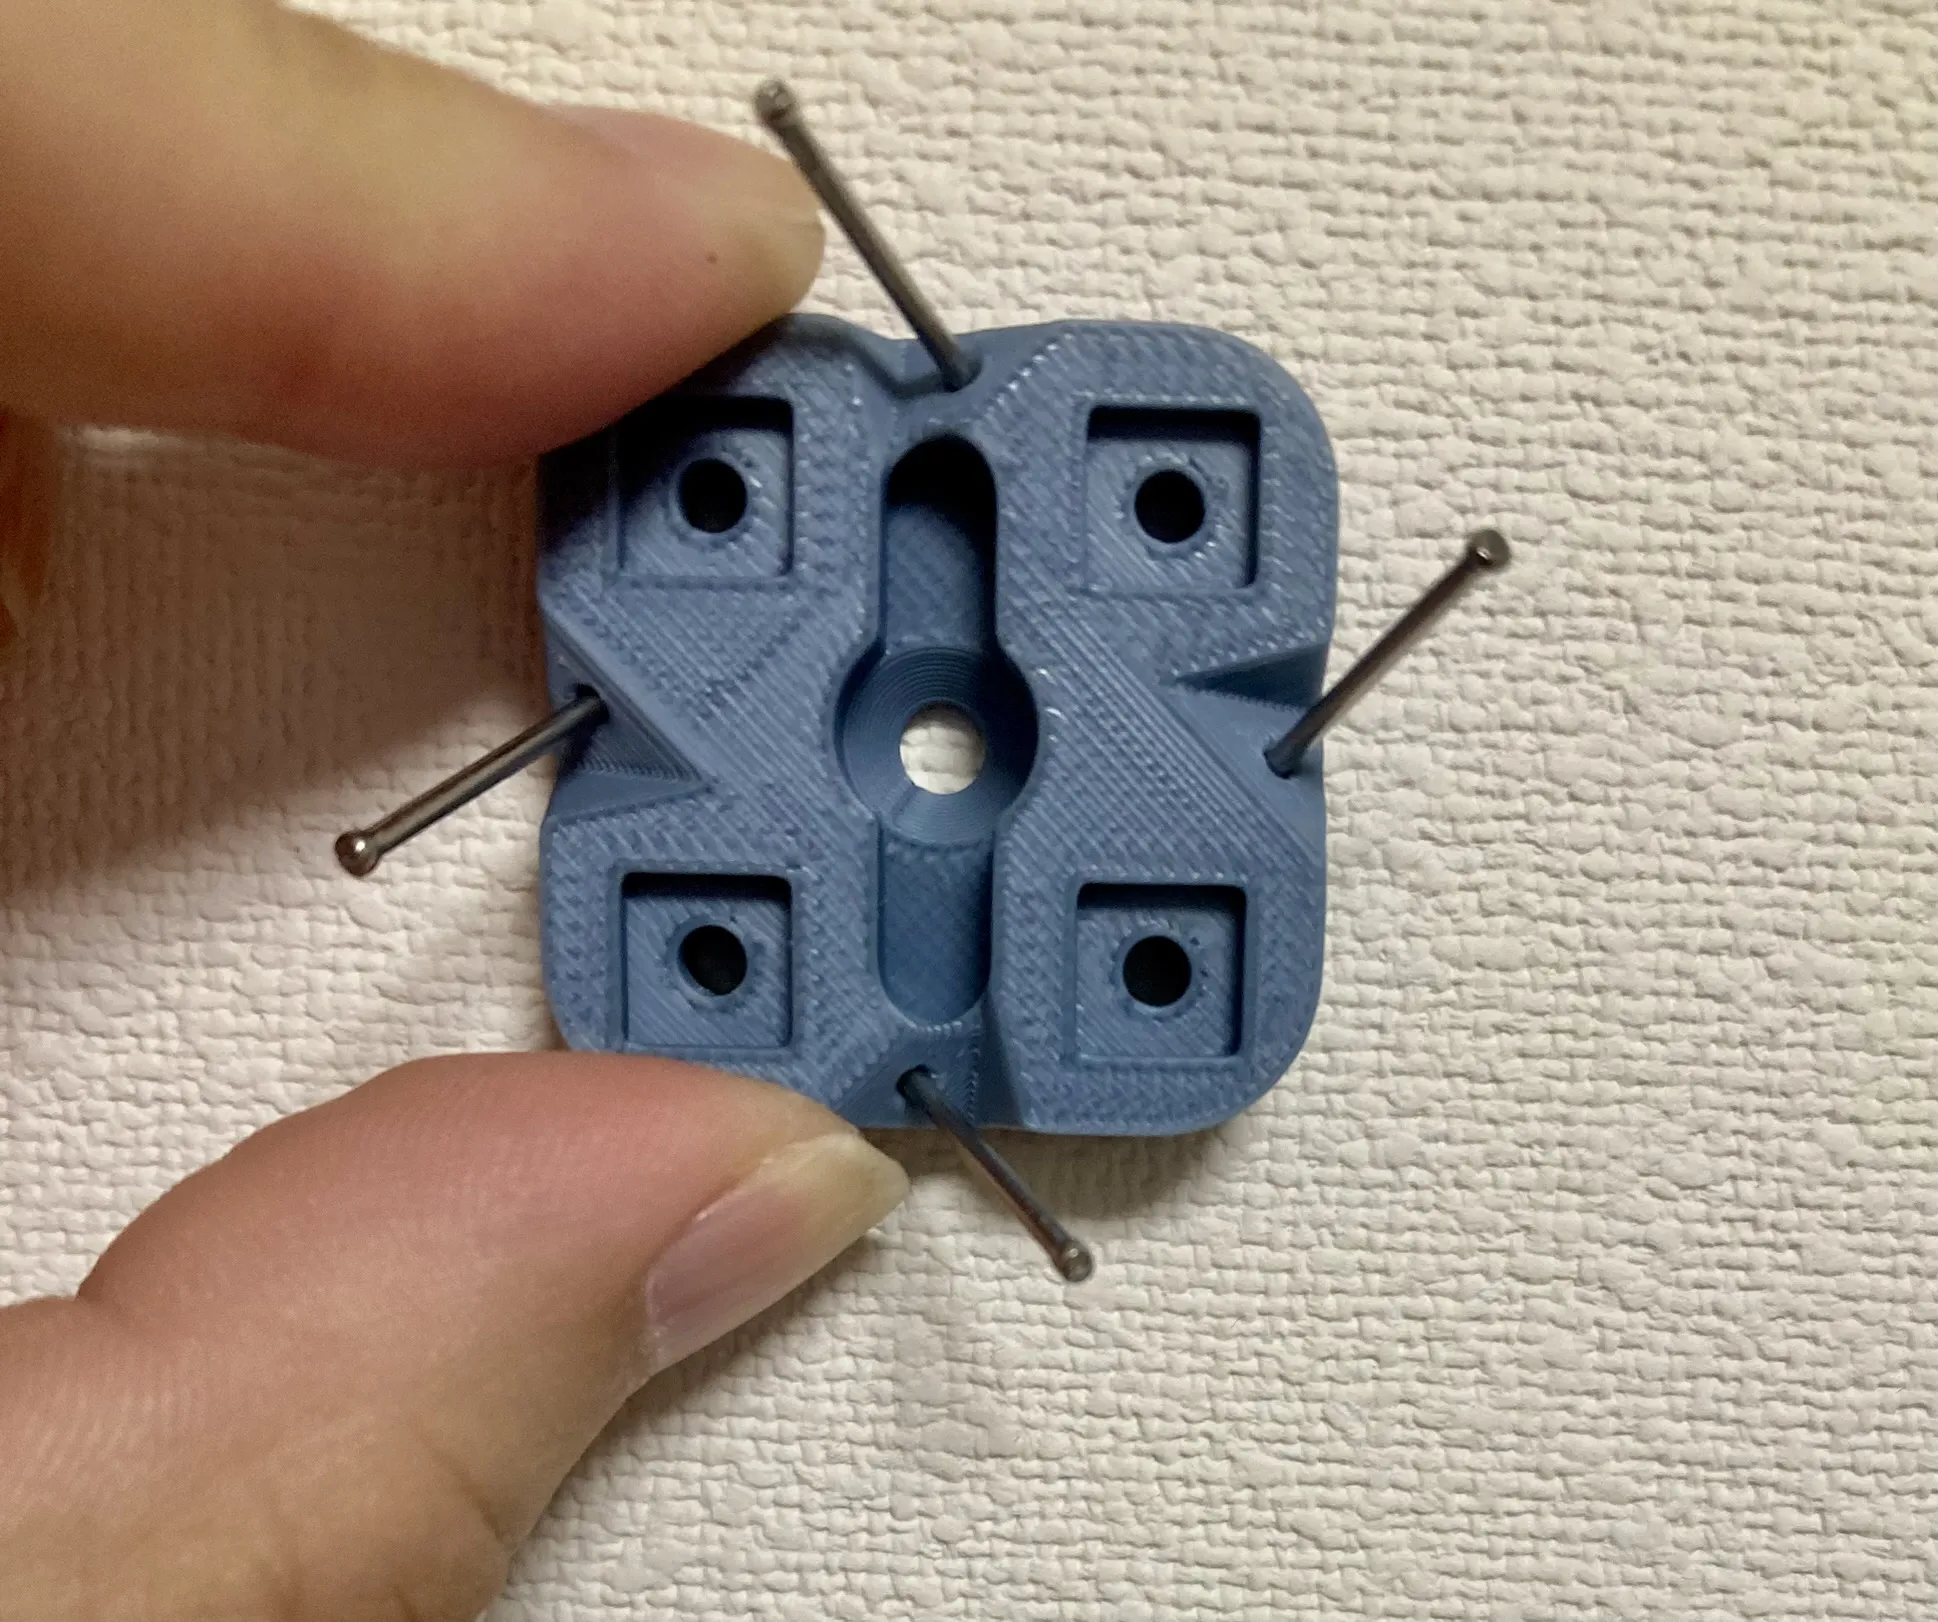
Push the pins in until secure.
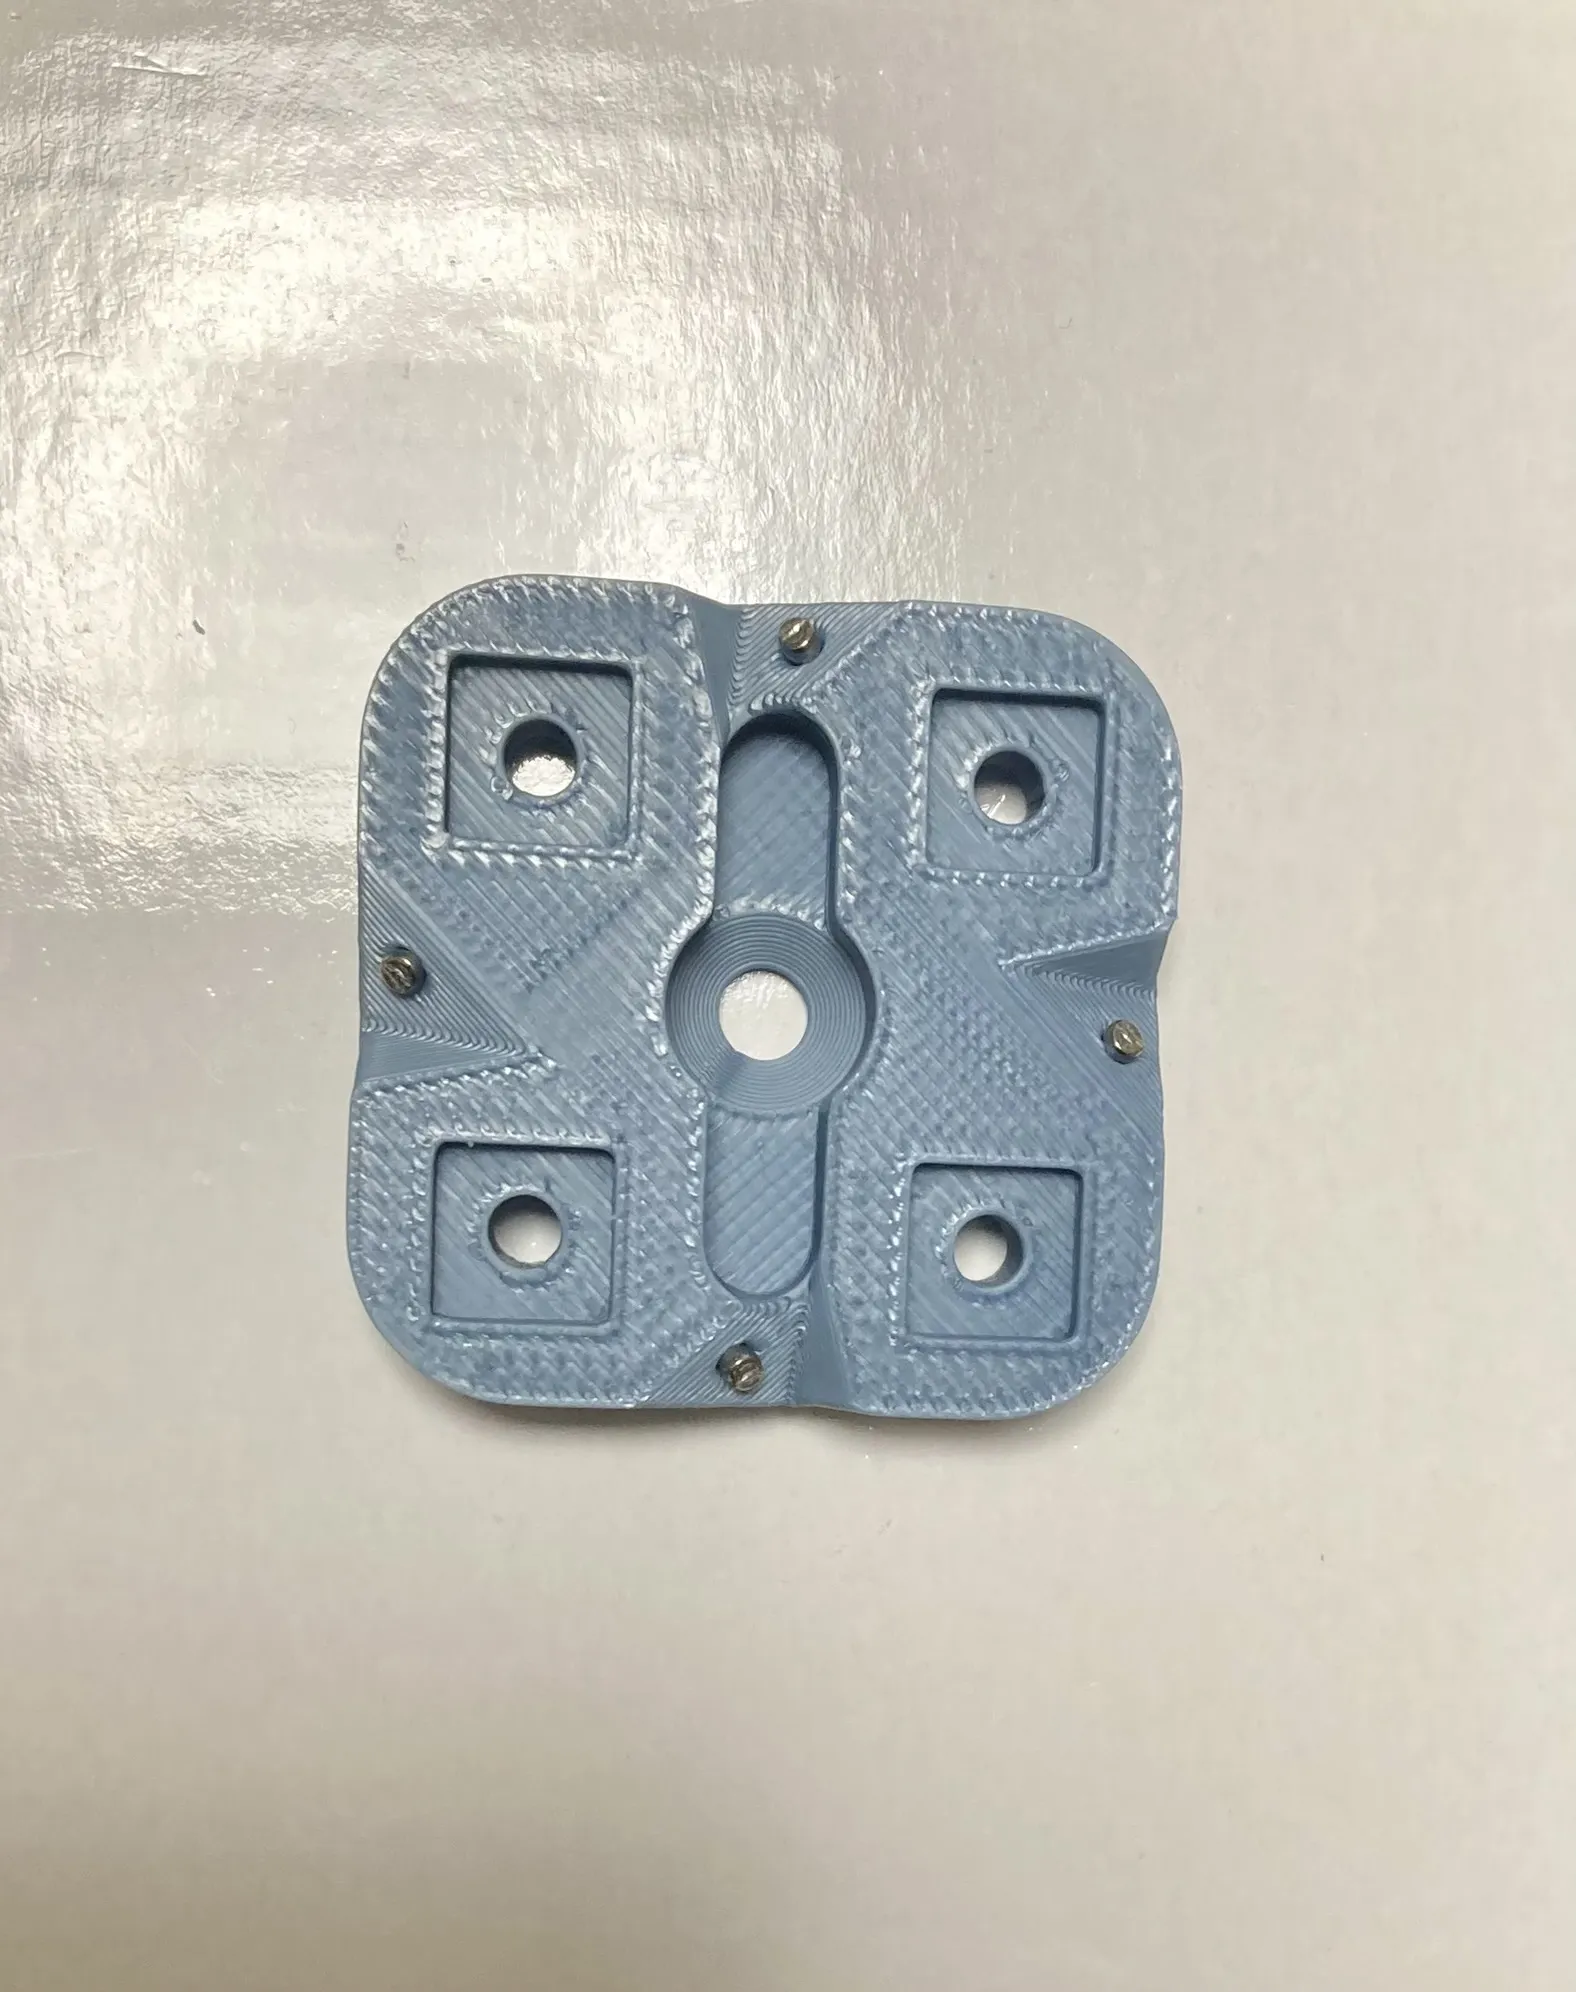
- Attach the pegboard frame to the connector.
How to Remove
Grip the connector, twist it to the left (counterclockwise), and pull it away from the wall.

Notes
- The pin holes are designed for drywall / gypsum board walls.
- For other wall types, use the center screw hole for mounting.
- Please test load capacity depending on wall condition and mounted weight.
- Use at your own risk.
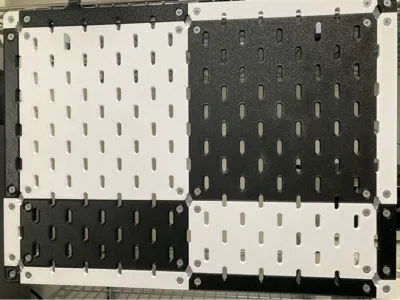
This remix is based on
License

You may create derivative works based on this object, provided that all such derivative works are published exclusively on the MakerWorld platform and include proper attribution to the original creator. You may not share, upload, host, distribute, or publish this object—or any derivative work of this object—on any other digital platform, marketplace, or distribution channel. Commercial use of this object and any derivative works is strictly prohibited. This includes, but is not limited to, selling, renting, sublicensing, or using the object in any context in which you receive monetary compensation or other financial benefits.


Comment & Rating (3)