
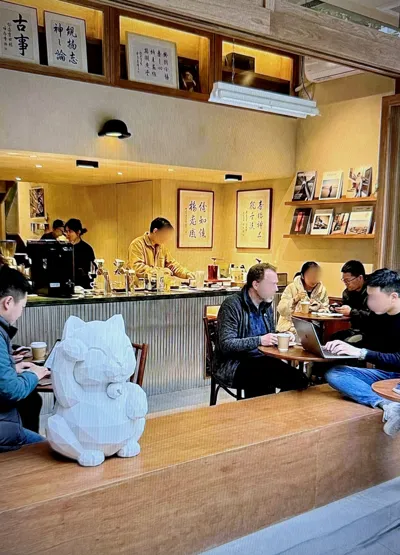
Low Poly Style Maneki-neko

Print Profile(1)

Description
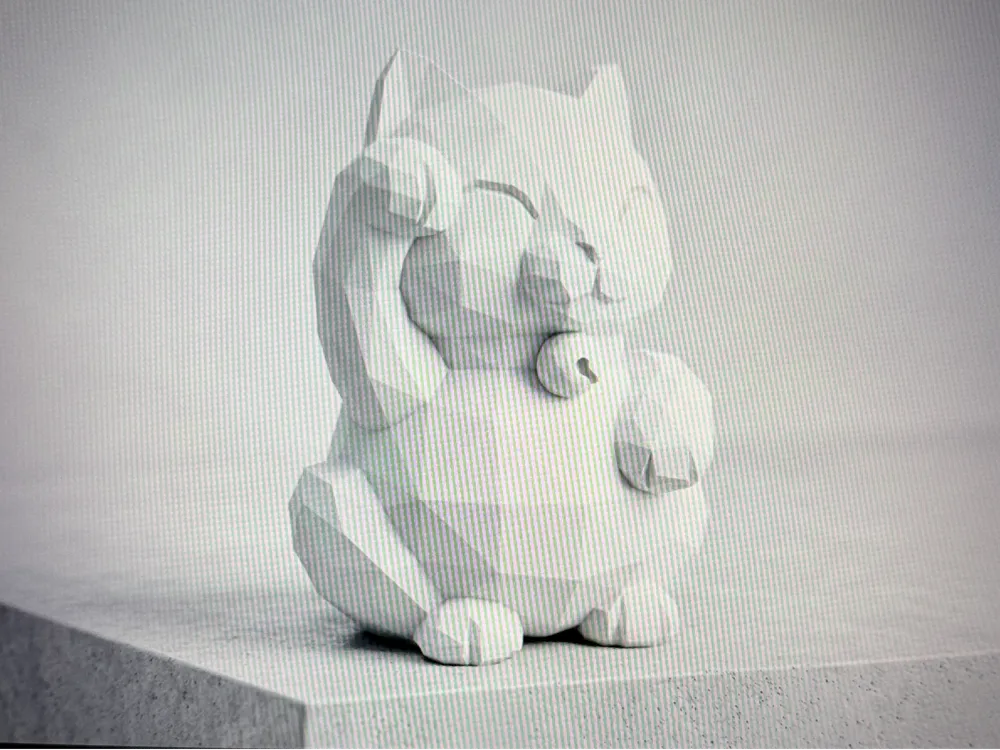
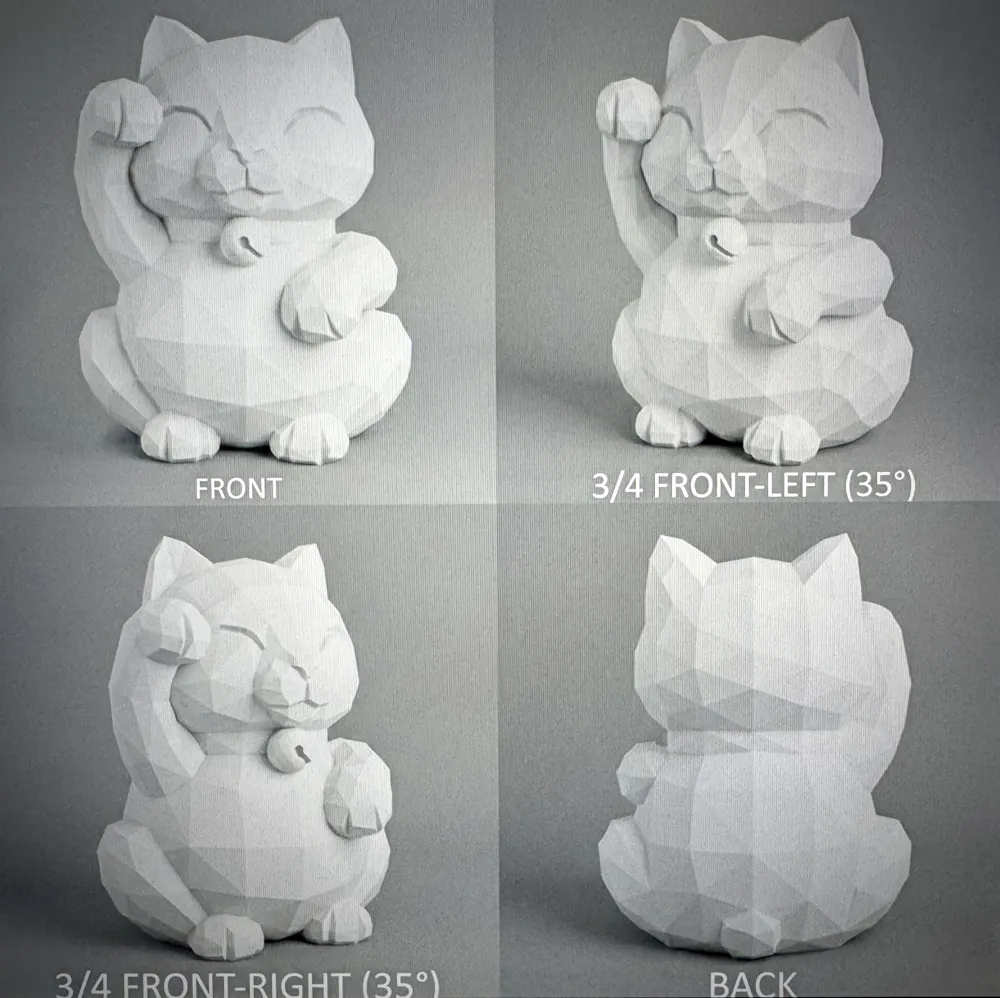
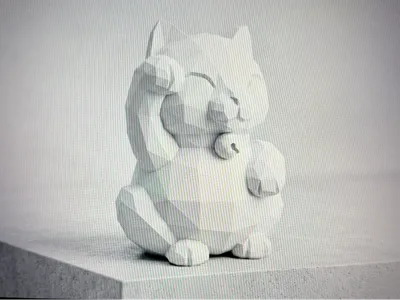
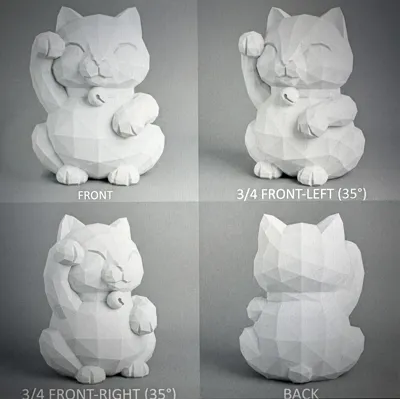
Original Low poly geometric Maneki-neko design , Modern minimalist style combined with traditional Japanese Lucky Cat.
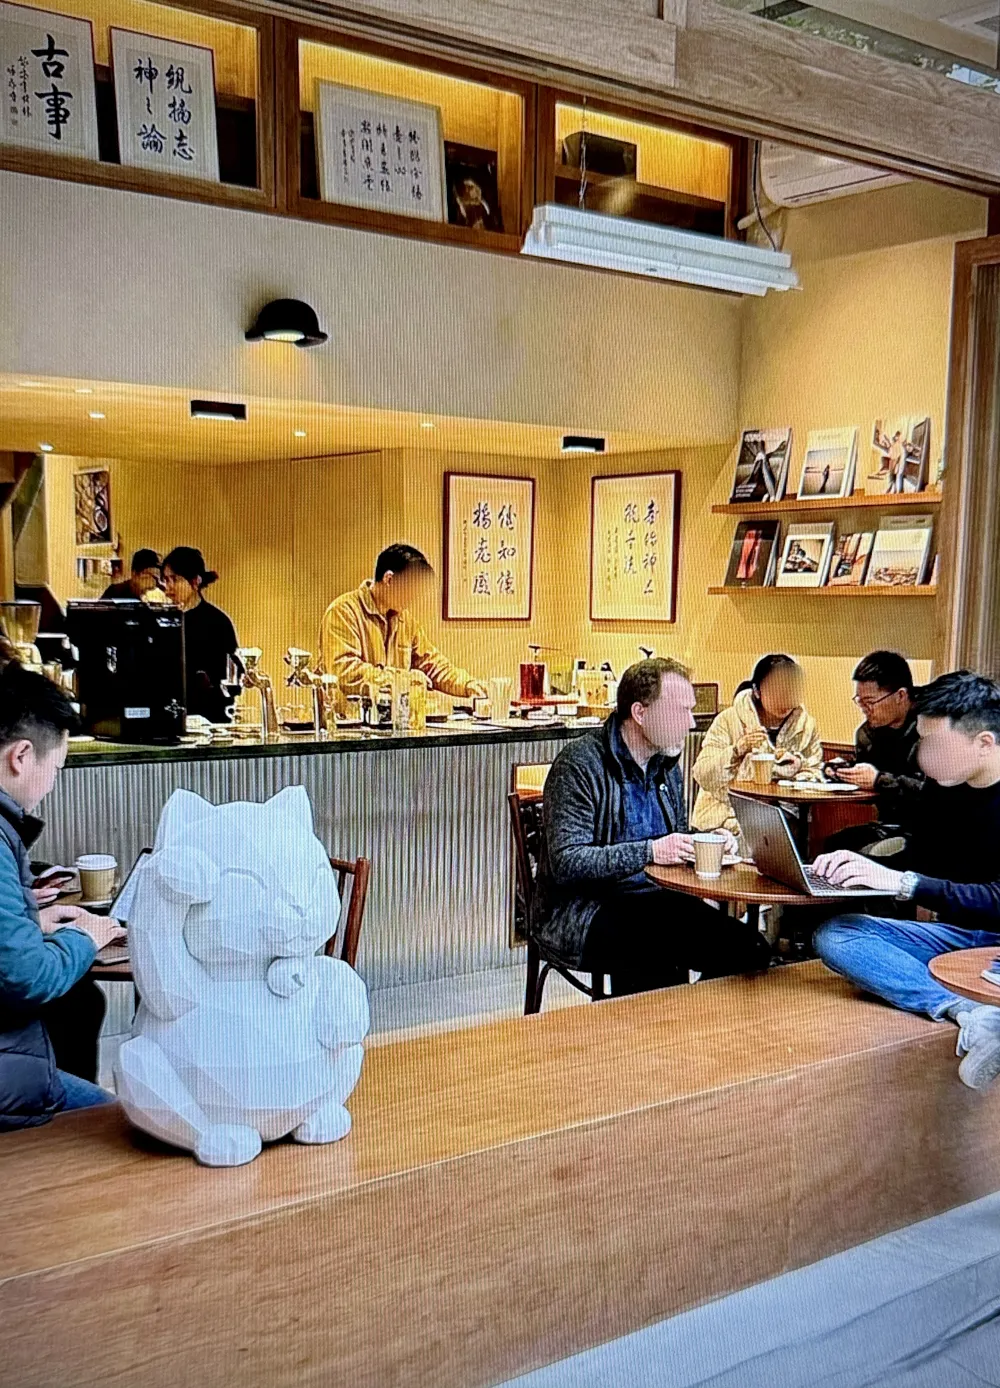
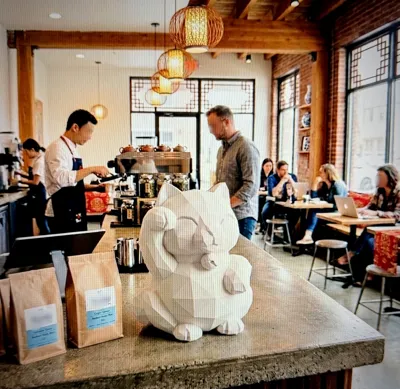
Perfect for home decor , cafe display , desk ornament and gift
Model features:
- Original design
- Orignal Tall around 20cm
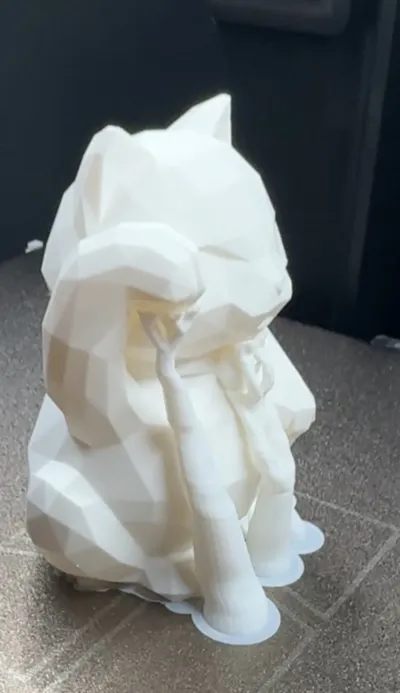
- Easy FDM printing
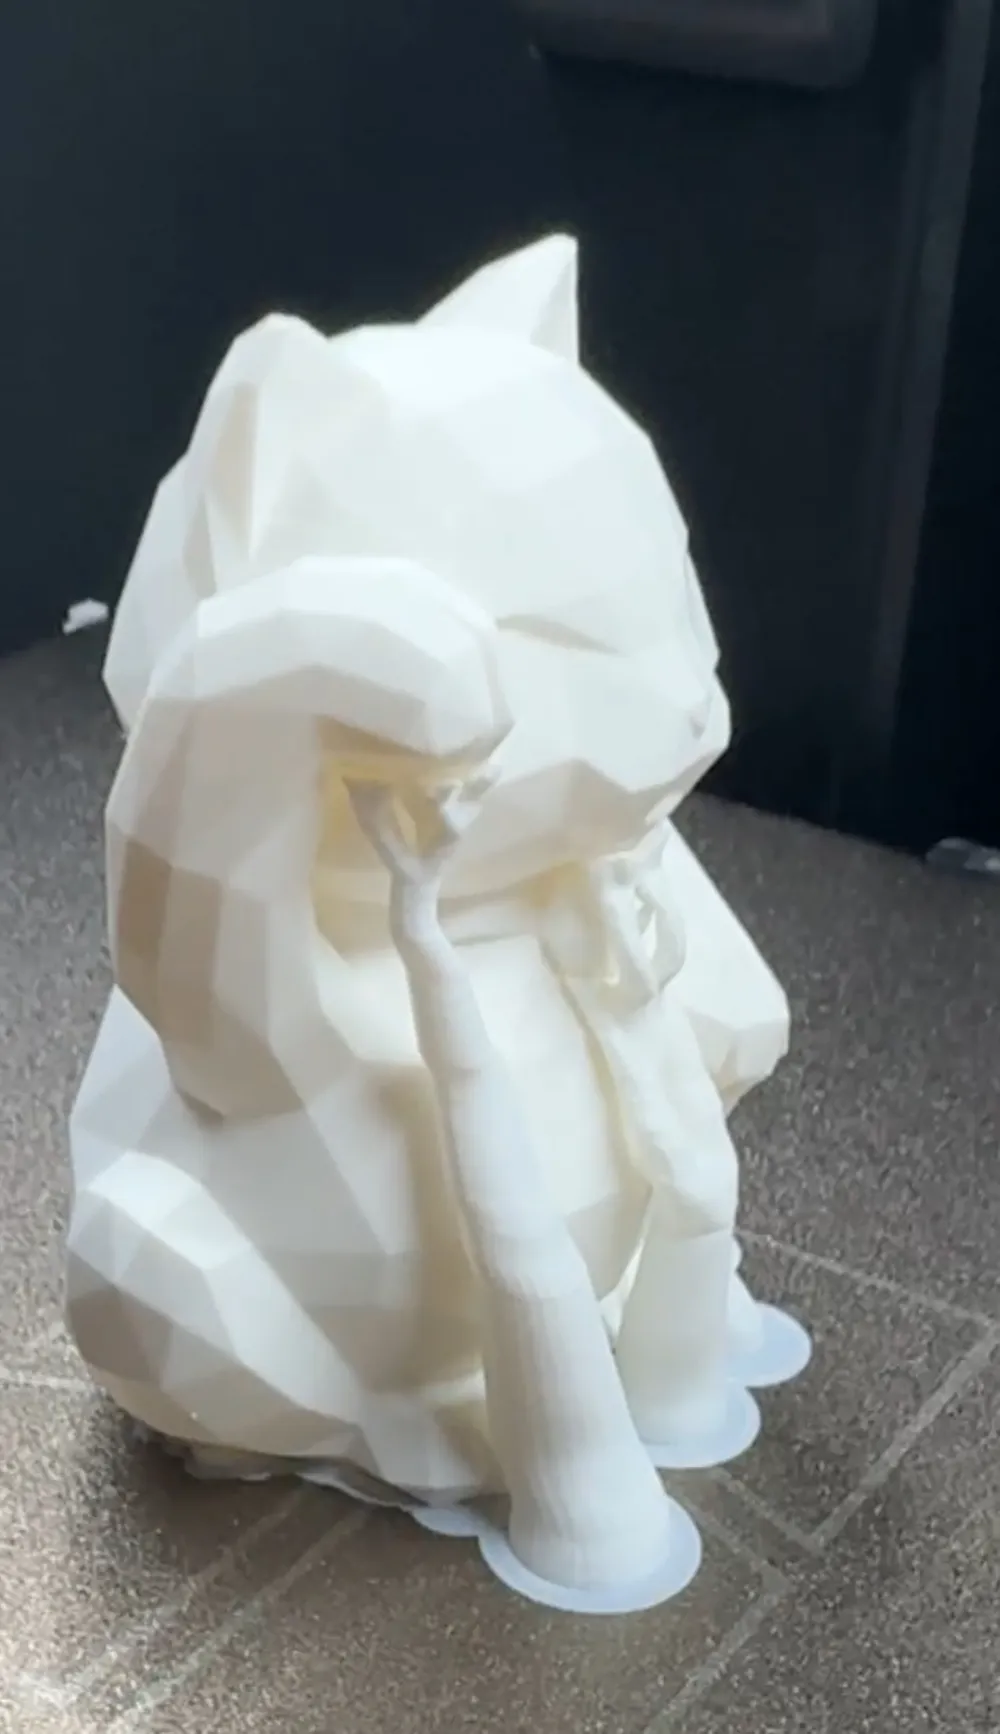
- Minimal support
- Easy to print and customize
Recommended print settings :
Full Path: Printer
Recommended Value: H2D or A1 (match your machine)
Reason: Ensures correct motion limits, cooling profile, and build volume
Alternative: Use specific nozzle profile (0.4mm recommended for best balance)
Setting Name: Nozzle Diameter
Full Path: Printer > Nozzle
Recommended Value: 0.4mm
Reason: Best balance of surface smoothness and detail for low poly models
Alternative: 0.2mm for ultra‑fine detail (much slower), 0.6mm for faster prints but more visible layers
🧵 Filament Settings
Setting Name: Filament Type
Full Path: Filament > Type
Recommended Value: Bambu Lab PLA
Reason: Pre‑tuned material profile for optimal flow and cooling
Alternative: Generic PLA (may require manual tuning)
Setting Name: Nozzle Temperature
Full Path: Filament > Temperature > Nozzle
Recommended Value: 210°C
Reason: Slightly higher temp improves layer bonding and surface blending
Alternative: 205°C for sharper edges but slightly more visible layer lines
Setting Name: Bed Temperature
Full Path: Filament > Temperature > Bed
Recommended Value: 55°C
Reason: Ensures strong adhesion without elephant’s foot
Alternative: 60°C if adhesion issues occur
Setting Name: Cooling Fan Speed
Full Path: Filament > Cooling
Recommended Value: 100% after first 3 layers
Reason: Maximum cooling improves surface quality and sharp low‑poly edges
Alternative: 80% if experiencing layer adhesion weakness
⚙ Process Settings
🎯 Quality
Setting Name: Layer Height
Full Path: Process > Quality > Layer Height
Recommended Value: 0.12mm
Reason: Reduces visible layer lines for smoother outer surface
Alternative: 0.16mm for faster print with still good finish
Setting Name: Initial Layer Height
Full Path: Process > Quality > Initial Layer Height
Recommended Value: 0.2mm
Reason: Improves first layer reliability
Alternative: 0.16mm for slightly smoother bottom
Setting Name: Line Width
Full Path: Process > Quality > Line Width
Recommended Value: 0.42mm
Reason: Slightly wider extrusion improves wall blending
Alternative: 0.4mm for sharper geometric accuracy
Setting Name: Outer Wall Speed
Full Path: Process > Speed > Outer Wall
Recommended Value: 40 mm/s
Reason: Slower outer wall reduces ringing and improves surface finish
Alternative: 30 mm/s for ultra clean surfaces
Setting Name: Outer Wall Acceleration
Full Path: Process > Speed > Acceleration > Outer Wall
Recommended Value: 2000 mm/s² (H2D) / 1500 mm/s² (A1)
Reason: Lower acceleration reduces ringing artifacts
Alternative: Reduce further if ghosting appears
💪 Strength
Setting Name: Wall Loops
Full Path: Process > Strength > Wall Loops
Recommended Value: 3
Reason: Ensures solid surface without infill showing through
Alternative: 2 for decorative lightweight figures
Setting Name: Top Surface Layers
Full Path: Process > Strength > Top Shell Layers
Recommended Value: 6
Reason: Ensures smooth solid top finish
Alternative: 5 if model has minimal flat tops
Setting Name: Infill Density
Full Path: Process > Strength > Infill
Recommended Value: 10–15%
Reason: Keeps print light while structurally stable
Alternative: 5% if purely decorative
Setting Name: Infill Pattern
Full Path: Process > Strength > Infill Pattern
Recommended Value: Gyroid
Reason: Smooth internal support with minimal vibration
Alternative: Grid for faster slicing
🚀 Speed
Setting Name: Print Speed (General)
Full Path: Process > Speed > Standard
Recommended Value: 150 mm/s (H2D) / 120 mm/s (A1)
Reason: H2D handles higher speed with stability
Alternative: Reduce by 20% for maximum surface refinement
Setting Name: Silent Mode
Full Path: Device > Speed Mode
Recommended Value: Off (Normal Mode)
Reason: Maintains consistent flow and surface quality
Alternative: Silent for overnight printing
🧱 Support
Setting Name: Support Type
Full Path: Process > Support > Generate Support
Recommended Value: Tree (Organic)
Reason: Easier removal and fewer surface scars
Alternative: Normal supports for flat overhangs
Setting Name: Support Placement
Full Path: Process > Support > Placement
Recommended Value: Touching Build Plate
Reason: Reduces marks on visible surfaces
Alternative: Everywhere if necessary
Setting Name: Top Z Distance
Full Path: Process > Support > Top Z Distance
Recommended Value: 0.24mm (2 layers at 0.12)
Reason: Allows clean breakaway without fusing
Alternative: 0.2mm for slightly cleaner underside but harder removal
Setting Name: Support Interface
Full Path: Process > Support > Interface
Recommended Value: On
Reason: Produces smoother supported surfaces
Alternative: Off for faster print
🔧 Others
Setting Name: Seam Position
Full Path: Process > Quality > Seam Position
Recommended Value: Rear or Aligned
Reason: Hides seam on low poly edge
Alternative: Random to avoid seam stacking
Setting Name: Ironing
Full Path: Process > Quality > Ironing
Recommended Value: On (Top Surfaces Only)
Reason: Creates smooth flat top faces
Alternative: Off for faster printing
Documentation (1)
License



Comment & Rating (0)