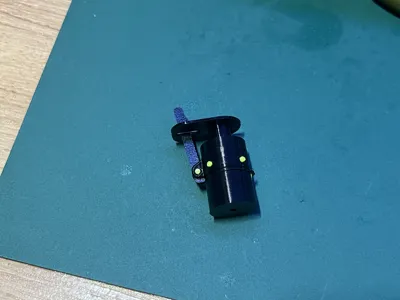
Tonearm Lifter - 99% 3D Printed! Everything is 3D printed except for the double-sided tape


Print Profile(1)
Bill of Materials
- 15mm丸型両面テープ x 1:
- M6×2.5mmマグネット x 2: マグネットバージョンの場合
Description
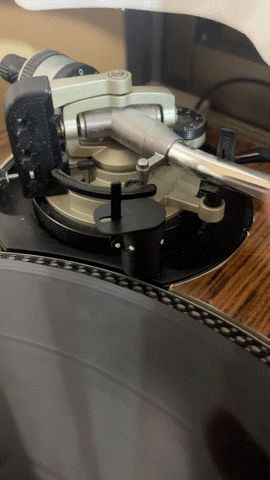
This part lifts the needle off the record when playback on the record player finishes.
99% can be made with only a 3D printer.
(Only double-sided tape is needed for fixing)
For those who want to use it for a long time,
a version that operates with Φ6mm x 2.5mm magnets is also available.
The standard height is 26.5mm, but variations with 5mm height increments are also available.
[Assembly Instructions - Spring Version]
First, print it out.

Please print the spring with TPU.
PLA and PETG were too strong.

Insert the TPU spring into the base.

Attach the stopper part and insert the TPU filament.
Please straighten the TPU filament by heating it with a lighter or similar tool.
Greasing it slightly at this point will make it move smoother.

Cut cleanly.

Attach the upper part first.

Assemble it like this.
[Assembly Instructions - Magnet Version]
The magnet version operates more stably.


Insert magnets into the round part.


Attach magnets to the opposite side of the previously installed magnets, then fit the magnets into the upper part.

[Assembly Instructions - Common Steps]
The following steps are the same for both versions.

At this point, press the top down and check if it clicks into place and locks.
Also check if the lock is released by pushing from the opposite side.

Fix the lever with PETG filament.

Here, confirm that it locks with a click when pressed from above, and moves up when the lever is pressed.
It's fine if the lock is released with just a light press of the lever.

If the lever's travel distance when pressed is a bit too large,
shave the claw part to fine-tune it so that it lifts up even with weak arm force.
Alternatively, grease the stopper and the lever to ensure smoother operation.

Insert PETG filament into the four holes and cut it.
This secures the top and bottom parts.
It's a bit stiff, so please use pliers or similar tools to insert it.

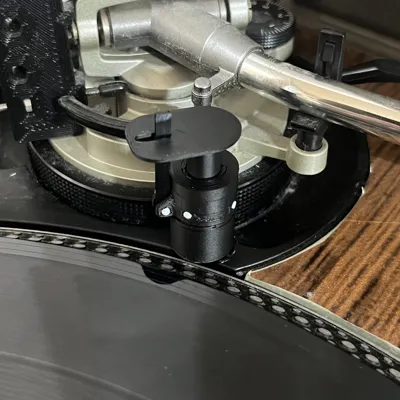
Attach 15mm double-sided tape to the bottom.

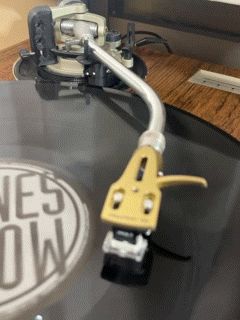
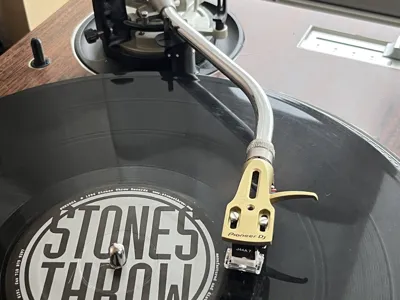
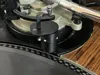
Check the position so that the arm hits the lever at the desired height, then attach it.

Play a record to check if it works correctly, and if so, it's complete.
In some cases, the lever may not move, so please adjust the claw, ensure smooth lever movement, and grease it as needed.
Boost Me (for free)
If you successfully lift the arm, please also press the Boost button.
License
You shall not share, sub-license, sell, rent, host, transfer, or distribute in any way the digital or 3D printed versions of this object, nor any other derivative work of this object in its digital or physical format (including - but not limited to - remixes of this object, and hosting on other digital platforms). The objects may not be used without permission in any way whatsoever in which you charge money, or collect fees.
Comment & Rating (0)