3D Night Light / Ambient Light - Super Mario


Print Profile(1)


Description
Boost Me (for free)
The rules are simple: Like the design? Boost! 🚀 Have leftover filament? Print it & Boost! 🧵 Want to make me happy? Just hit the rocket! My printer needs new food, and I need validation from strangers on the internet to feel like a true master maker. Happy Printing & Don't forget to Boost! 🚀✨
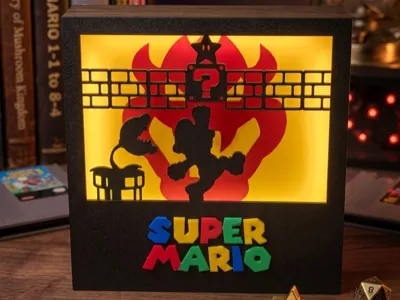
Level Up your Setup: Handmade Super Mario 3D Shadowbox
Bring a piece of video game history directly to your desk. This intricately designed Shadowbox Lamp celebrates the eternal battle between Mario and Bowser in an elegant, multi-layered diorama style.
Unique Depth Effect & Nostalgia
This collector's item is much more than just a lamp. By using different layers, an impressive 3D effect is created: Mario bravely jumps towards the goal, while in the background, the menacing silhouette of King Koopa watches over the scene. The warm, yellow glow creates a cozy atmosphere and perfectly brings out the colors of the iconic logo.
Your Highlights:
- Iconic Design: Featuring Mario, Bowser silhouette, Piranha Plant, and the legendary Question Mark Block.
- 3D Layer Technique: Multi-layered construction for maximum plastic depth.
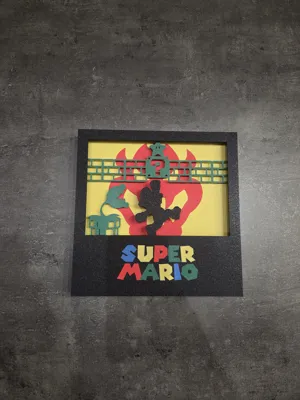
- Multicolor Logo: The classic "SUPER MARIO" lettering in original colors adds a vibrant accent to the black frame.
- Mood Light: Perfect as indirect lighting for gaming rooms, offices, or as a night light for small (and big) heroes.
Required Materials:
LED - https://www.amazon.de/dp/B0DZB9JWY1?ref=ppx_yo2ov_dt_b_fed_asin_title&th=1
USB C Port - https://www.amazon.de/dp/B0CL9F34GT?ref=ppx_yo2ov_dt_b_fed_asin_title
Connector - https://www.amazon.de/dp/B0DR1WG2DB?ref=ppx_yo2ov_dt_b_fed_asin_title
Battery - https://www.amazon.de/dp/B0F18HV7P6?ref=ppx_yo2ov_dt_b_fed_asin_title
Charging Board - https://www.amazon.de/dp/B0BZSB3SBN?ref=ppx_yo2ov_dt_b_fed_asin_title&th=1
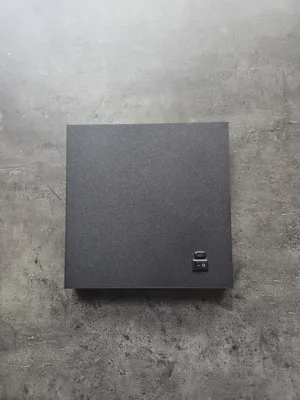
Switch - https://www.amazon.de/dp/B083NLCDQG?ref=ppx_yo2ov_dt_b_fed_asin_title&th=1
Assembly:
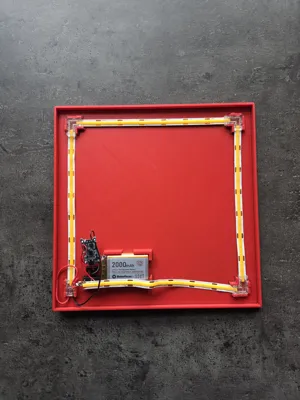
- The plates are inserted into each other
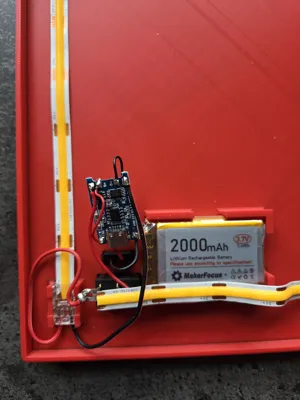
- The electronics are located entirely on the last plate; make sure to insert the switch and connector first before soldering the electronics
- The electronics are soldered to the charging board
- The plug connections are a bit stiff at first and require some force
- You can also use the lamp without a battery and only with a cable; for this, you can attach the USB port directly to the LED with the connectors (no soldering necessary)
The circuit looks like this:

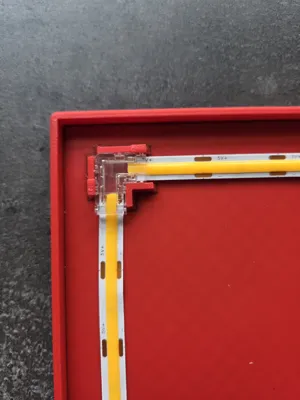
The LEDs are connected like this:

And here again the electronics:

Should any questions arise during assembly, let me know and I will answer them as soon as possible.
License
You shall not share, sub-license, sell, rent, host, transfer, or distribute in any way the digital or 3D printed versions of this object, nor any other derivative work of this object in its digital or physical format (including - but not limited to - remixes of this object, and hosting on other digital platforms). The objects may not be used without permission in any way whatsoever in which you charge money, or collect fees.
Comment & Rating (2)