
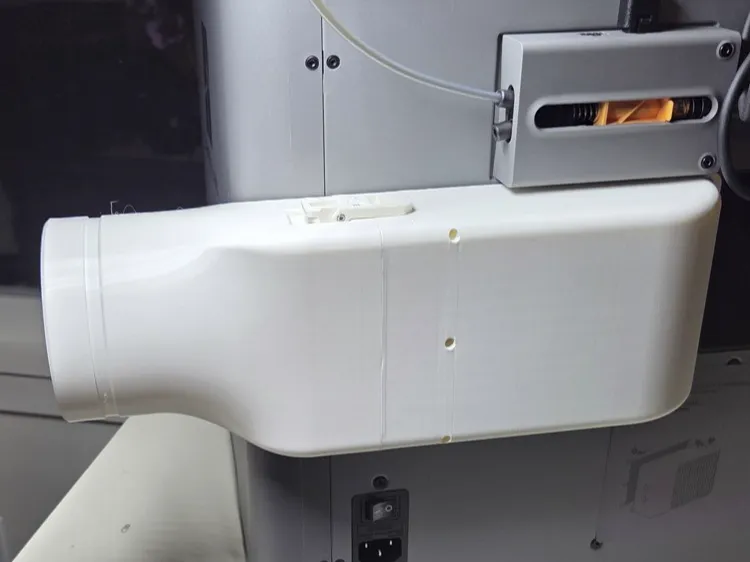
Low Profile X2D,P2S Exhaust Vent V3
Print Profile(2)
Bill of Materials

- uxcell Sealing Foam Tape 5mm Wide 1mm Thick 5m/16.4ft Long, Self Adhesive Weather Strip x 1: https://www.amazon.com/uxcell-Thick-Adhesive-Weather-Strip/dp/B07L6M4PN1
Description
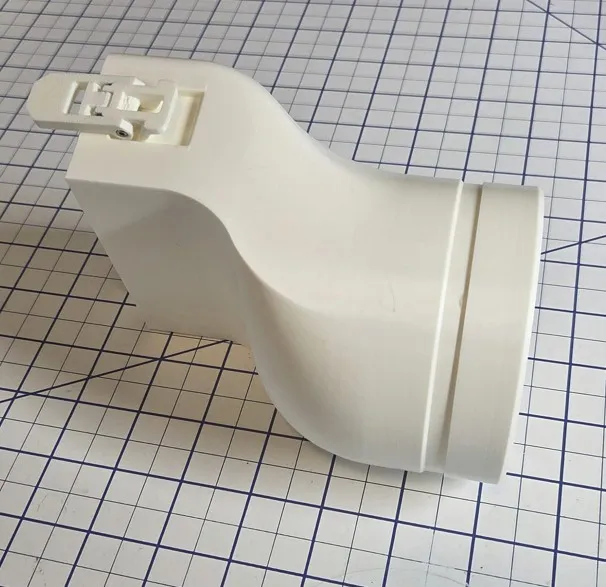
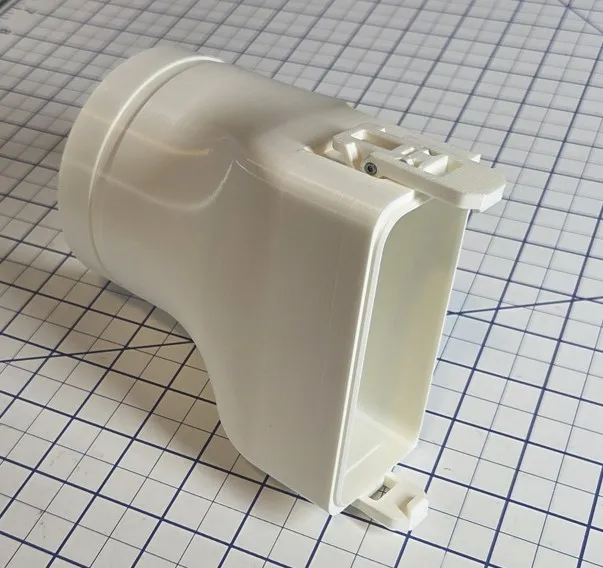
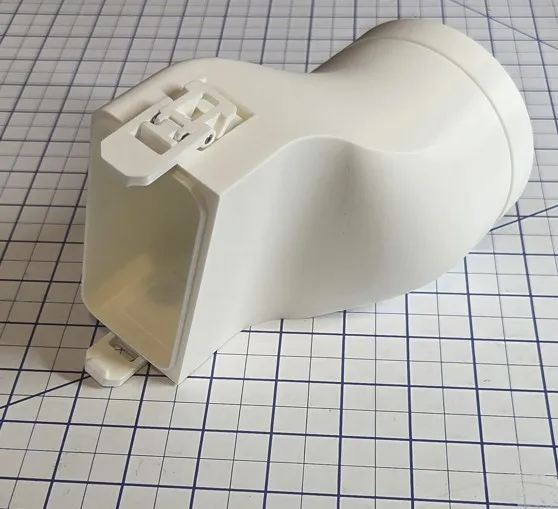
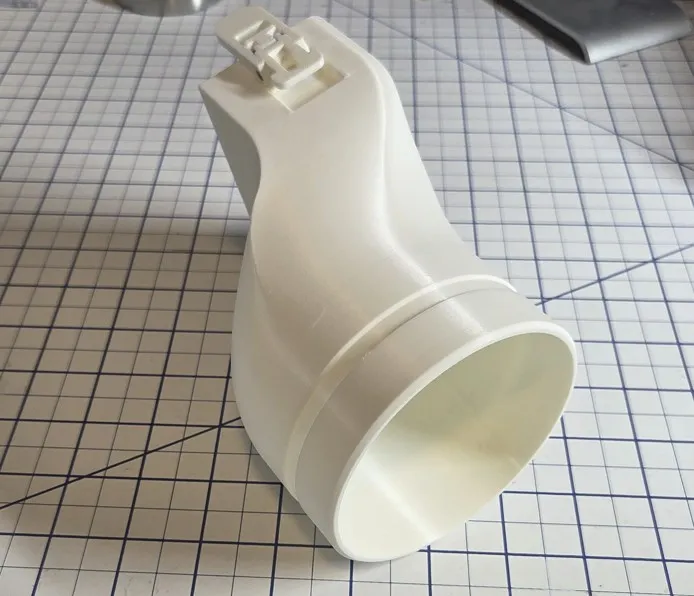
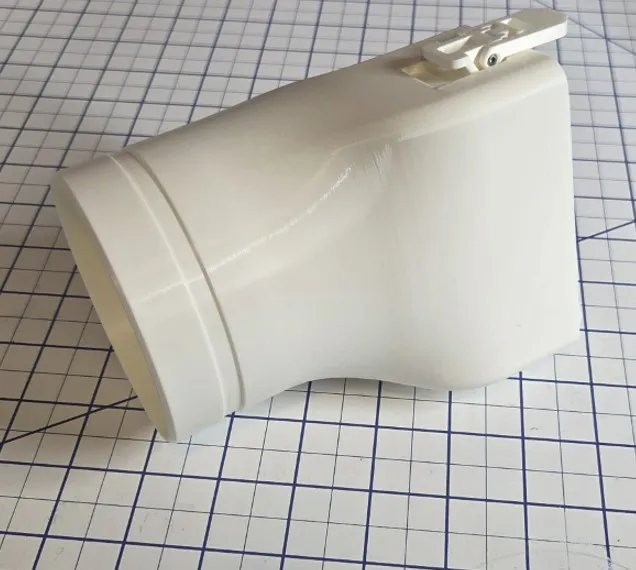
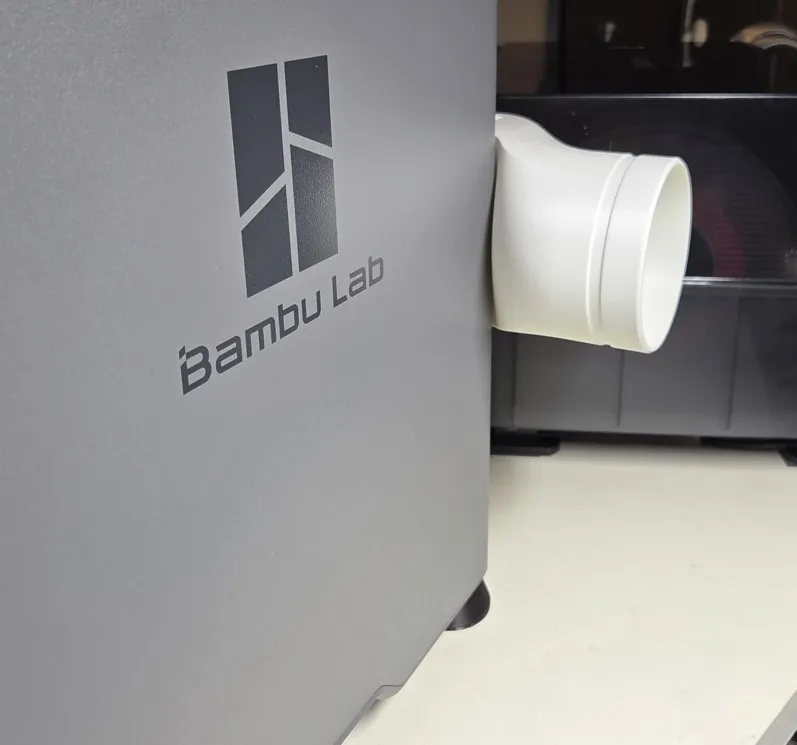
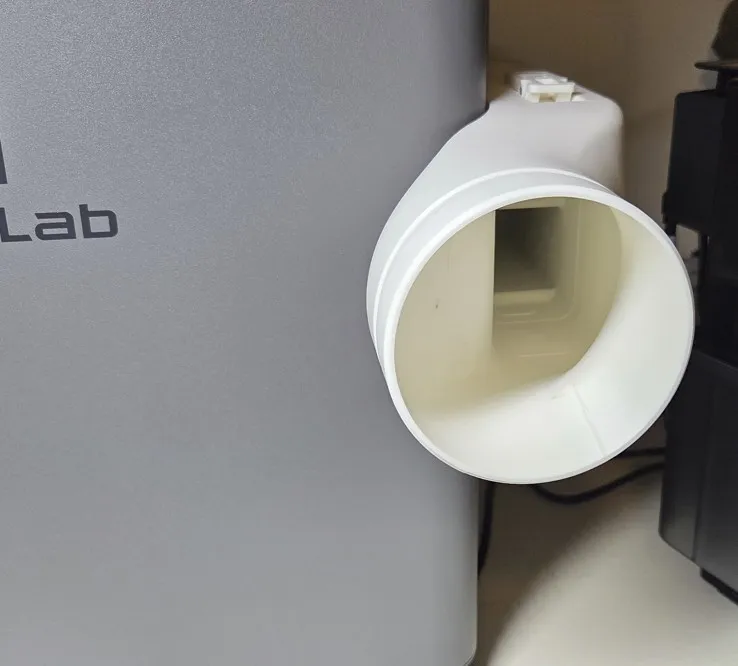
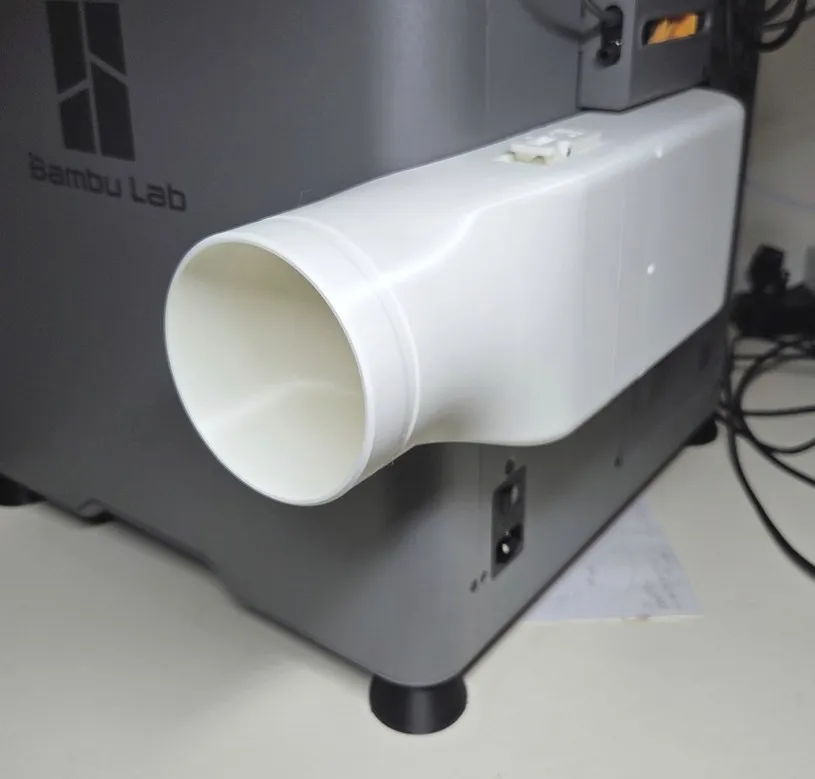
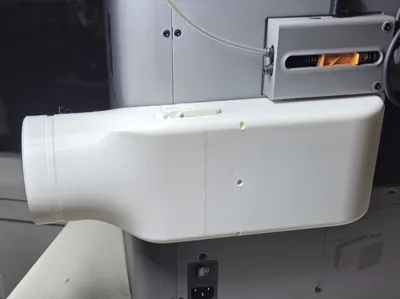
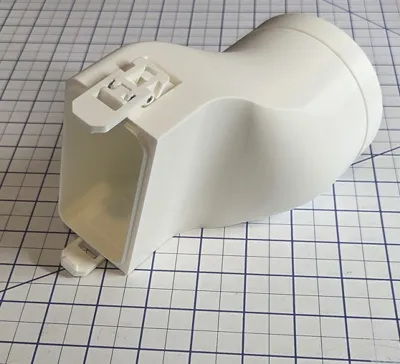
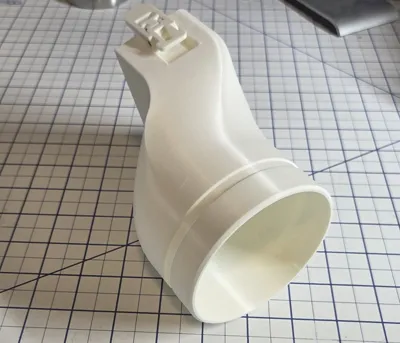
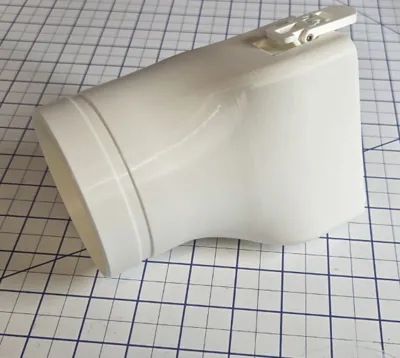
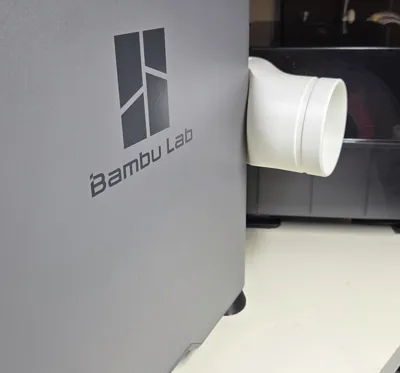
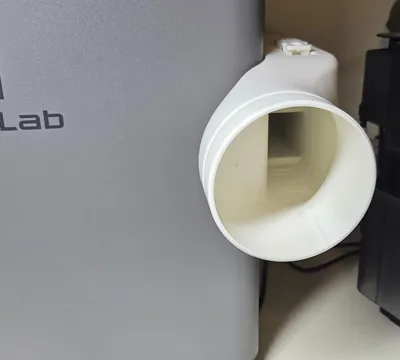
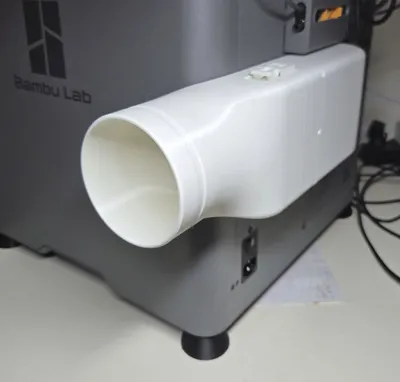
This model allows adding a side vent that can attach to a 3.75 inch (92.25mm) diameter exhaust hose to a P2S (or an X2D) printer while only adding 53mm to the overall depth of the printer.
Note: An external spool cannot be used when this design is installed.
Note: This design is passive, i.e., it does not support the Bambu P2S External Exhaust Fan Kit. It simply connects the exhaust vent on the back of the printer to a hose. You will need to use another mechanism (e.g., a dust collector, or an shop exhaust fan) to pull air from the printer.
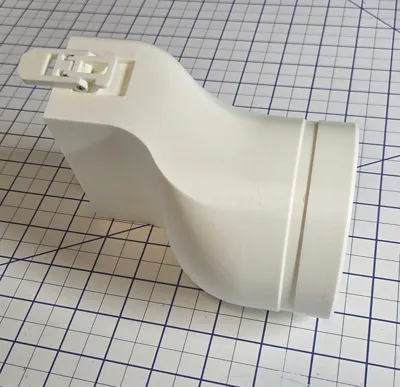
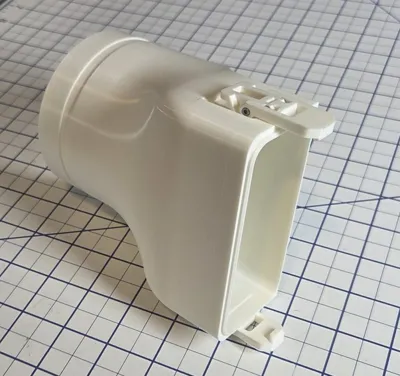
The model is divided into 2 parts: the Base Module and Hose Adapter. This partitioning allows easy modification of any component without needing to reprint the other components. For example, the Hose Adapter can be easily replaced to support different hose sizes.
Assembly
Base Assembly
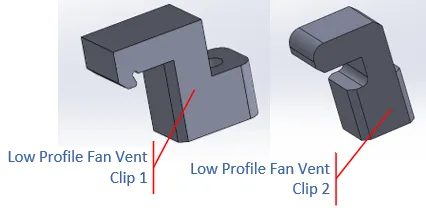
The first step is to assemble the Fan Vent Base. The two types of clips (as shown in Figure 1) are inserted into the Fan Vent Base (Low Profile Fan Vent P2S V4.stl) in the positions indicated in Figure 2.
Figure 1: Low Profile Fan Vent Clips
Be sure to orientate all the clips to point in the same direction, as indicated by the green arrow in Figure 2. Then secure the Clips with the BT2x5 BHCS Self Tapping Screws (AA213).
Figure 2: Base Clip Attachment
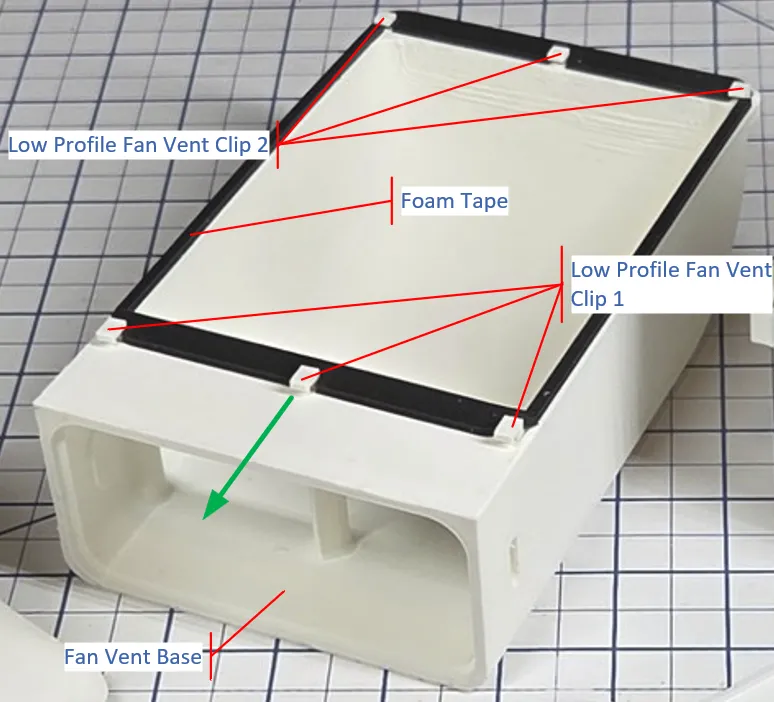
Finally cut and apply low density 1mm inch thick adhesive foam tape to act as a seal between the Base Module and the case, as shown in Figure 2.
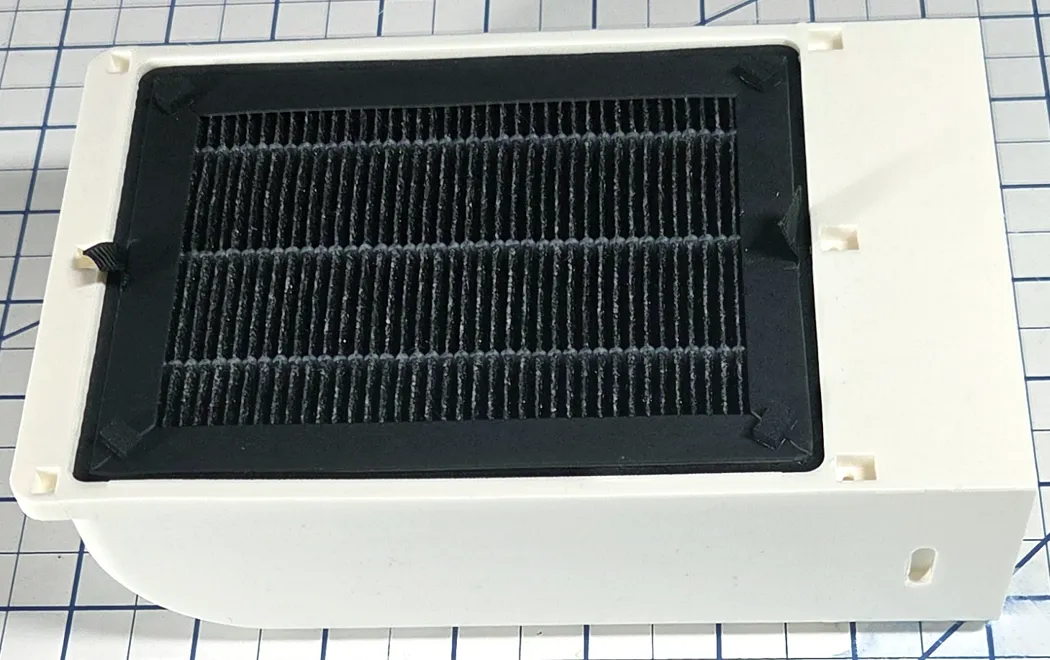
If available, insert the External Exhaust Air Filter as shown below.
Hose Module
The next step is to assemble the Hose Module.
Latches
Each Latch consists of two parts: Body and Latch.
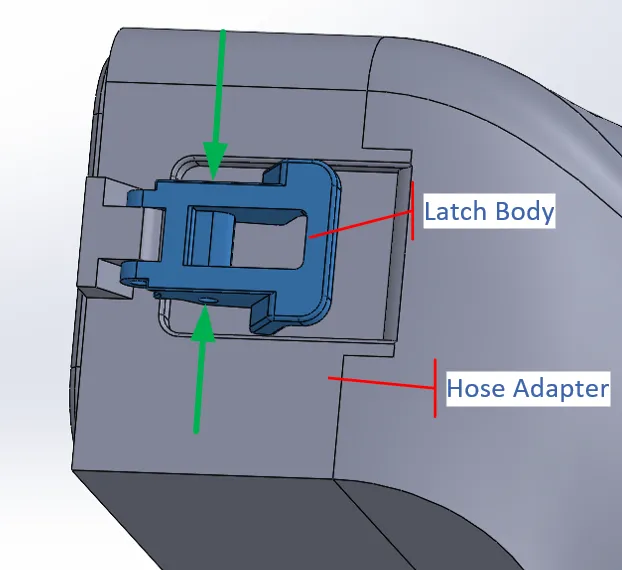
First install the Latch Body part (Figure 3) on the fan Module connector, then insert two BT2x5 self-tapping screws as indicated by the green arrows and tighten them on the both sides to attach it to the Latch Body.
Note: The screws act as shafts. Do not over-tighten them otherwise the Latch will not work smoothly.
Figure 3: Latch Body Installation
Next install the Latch Latch part (Figure 4) on the fan Module connector, then insert two BT2x5 self-tapping screws as indicated by the green arrows and tighten them on the both sides to attach it to the Latch Body.
Figure 4: Latch Body Installation
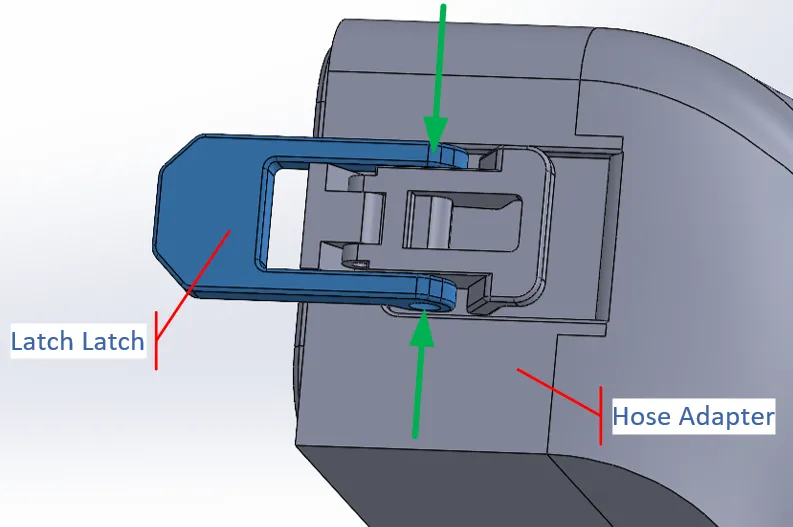
Now use the same process to attach the Latch components on the opposite of the Hose Adapter Module.
Final Installation
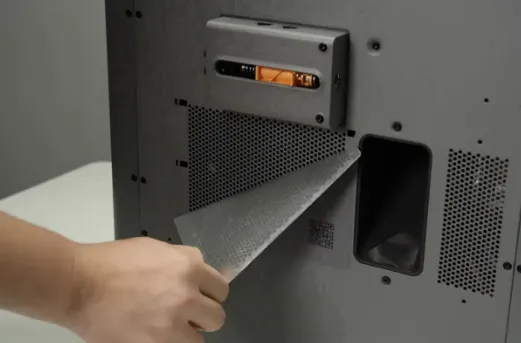
If attached, tear off the sticker on the printer’s rear panel exhaust port. If there is no exhaust port on the back panel, they you will need to order the “External Exhaust Fan Kit + Rear Panel” option from Bambu.
Figure 11: Sticker Removal
Base Module
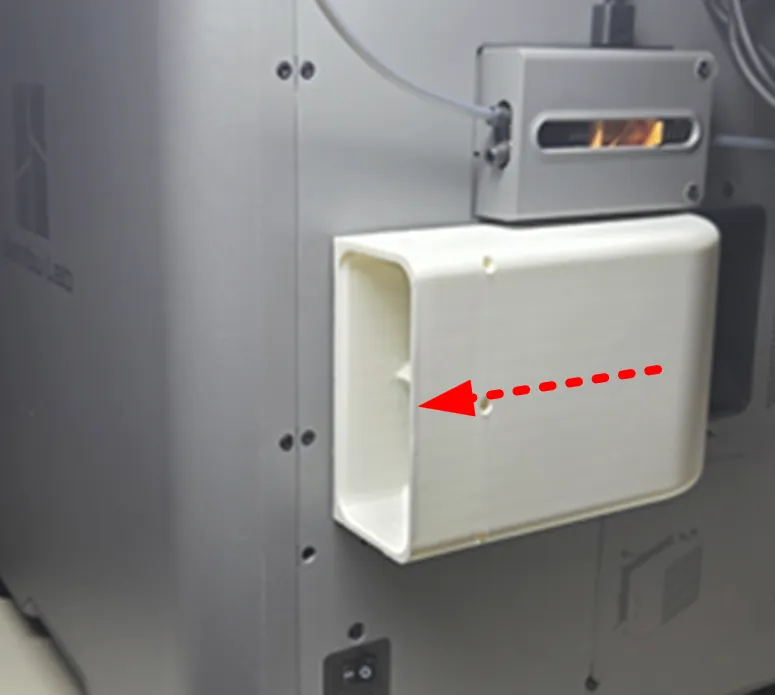
Hold the Base Module and align the clips with the slots on the rear panel. Press the Base Module firmly against the rear panel to compress the foam gasket, then slide it to the left (as indicated by the red dashed arrow). You should feel the module snap into place to the preset installation position of the rear panel.
Figure 12: Base Module Installation
Hose Adapter
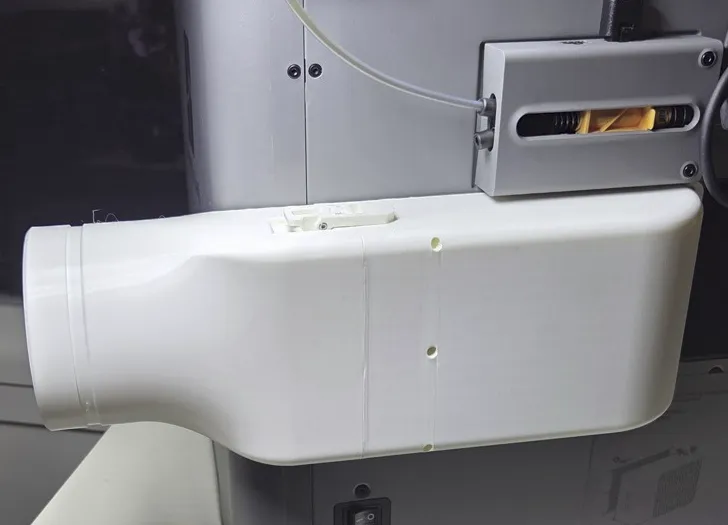
Finally, fit the Hose Adapter to the Fan Module then use the latches to secure it in place.
Figure 14: Hose Adapter Installation
V1 26/04/14 - Initial Release
V2 26/05/13 - Added support for External Exhaust Air Filter and 75mm hoses.
V3 7/15/26 - Relaxed tolerances on the Adapter Gasket so it is easier to insert.
License



Comment & Rating (15)