TP-Link VIGI Heavy-Duty Wall Mount Box


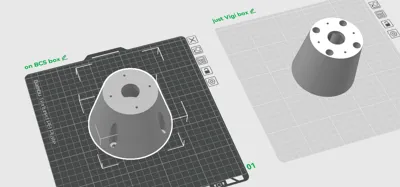
Print Profile(1)
Description
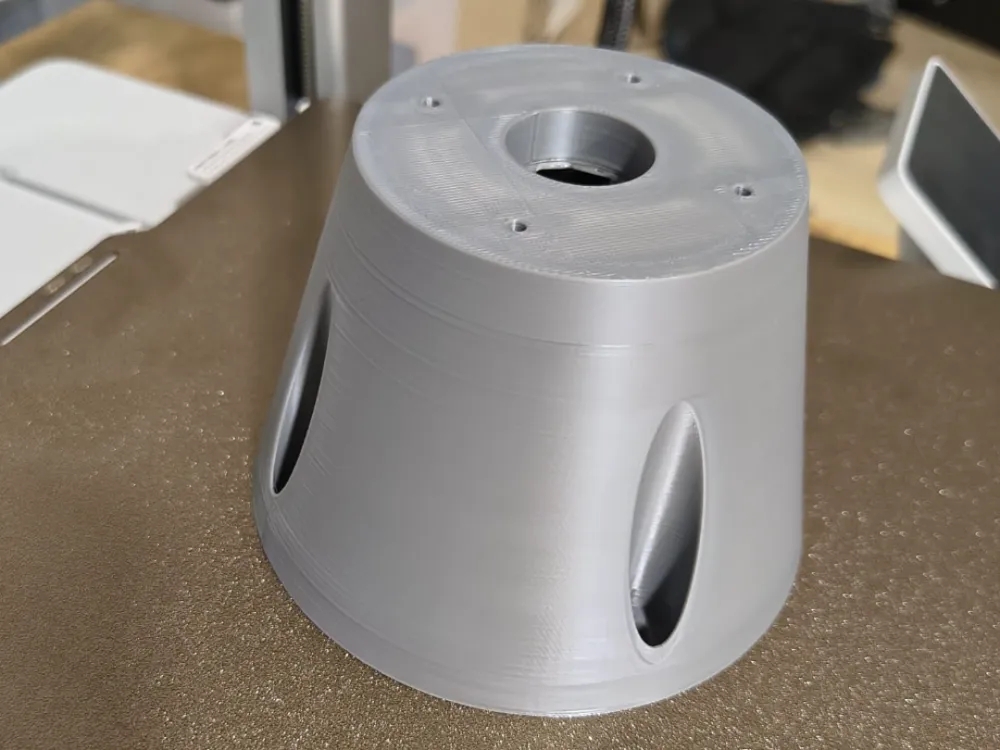
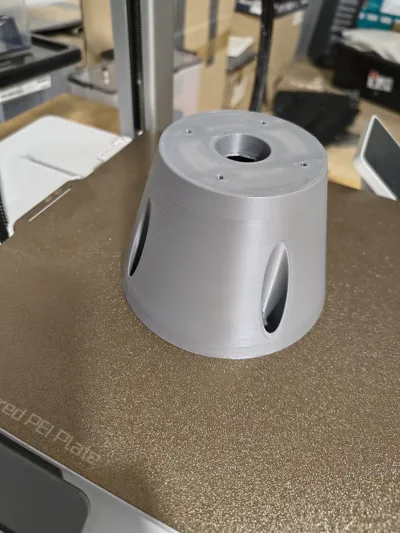
TP-Link VIGI Heavy-Duty Wall Mount Box
This is a rugged, reinforced mounting solution specifically engineered for the TP-Link VIGI C340 and C330 IP cameras. Built to withstand harsh environmental conditions, this design is tough enough to survive direct impacts, such as falling ice from rooftops.
Available Versions
- Universal Wall Mount: A standalone bracket for direct installation on flat surfaces.
- BCS Adapter Mount: Specifically designed to fit on top of the BCS-B-DT/MT junction box for a seamless integrated setup.
Optimized Print Settings
To ensure the "heavy-duty" claim holds up, we recommend the following print specifications:
| Parameter | Recommended Setting |
|---|---|
| Material | PET or PETG (UV and impact resistant) |
| Wall Count | 4 – 5 Perimeters (for structural rigidity) |
| Infill | 20 – 25% Gyroid (provides equal strength in all directions) |
| Layer Height | 0.2 mm or 0.24 mm |
Pro Tip: Using PETG is highly recommended for this project due to its superior layer adhesion and flexibility, which prevents the mount from cracking under the cold temperatures or sudden impacts mentioned.
OPENSCAD script:
$fn = 150;
// --- PARAMETRY GŁÓWNE ---
h_puszki = 80;
d_podstawy = 120;
d_gory = 75;
grubosc_podstawy = 8;
grubosc_topu = 10;
d_kabla = 25;
// BCS-B-DT/MT (70x70mm -> przekątna 98.99mm)
rozstaw_sciana = 98.99;
d_sruby_sciana = 6.2; // Lekki luz dla śruby M6
d_tunelu_sciana = 13;
// VIGI C340
rozstaw_kamera = 55;
d_sruby_kamera = 3.2;
d_kolumny_kamera = 16;
glebokosc_wkreta = 40;
module puszka_vigi_bcs_final_pro() {
difference() {
// 1. KORPUS (Stożek + Filary)
union() {
cylinder(h = h_puszki, d1 = d_podstawy, d2 = d_gory);
// Filary kamery (wtopione, przycięte do obrysu)
intersection() {
cylinder(h = h_puszki, d1 = d_podstawy, d2 = d_gory);
for(i = [0 : 90 : 270]) {
rotate([0, 0, i])
translate([rozstaw_kamera/2, 0, 0])
cylinder(h = h_puszki, d = d_kolumny_kamera);
}
}
}
// 2. OPTYMALIZOWANE WYCIĘCIE WNĘTRZA (V-SHAPE)
// Dół zostaje gruby (ściana 20mm), góra staje się lżejsza
translate([0, 0, grubosc_podstawy])
cylinder(
h = h_puszki - grubosc_podstawy - grubosc_topu,
d1 = 80, // Daje 20mm ścianki u dołu (120-80)/2
d2 = d_gory - 10 // Daje ~5mm ścianki u góry
);
// 3. PRZELOTY I MONTAŻ
// Centralny kanał kablowy
translate([0, 0, -1]) cylinder(h = h_puszki + 2, d = d_kabla);
// Otwory ścienne BCS (70x70)
for(i = [0 : 90 : 270]) {
rotate([0, 0, i + 45])
translate([rozstaw_sciana/2, 0, -1]) {
cylinder(h = h_puszki + 2, d = d_sruby_sciana);
// Tunel na śrubę/klucz
translate([0, 0, grubosc_podstawy + 0.5])
cylinder(h = h_puszki + 1, d = d_tunelu_sciana);
}
}
// Otwory pod wkręty VIGI
for(i = [0 : 90 : 270]) {
rotate([0, 0, i])
translate([rozstaw_kamera/2, 0, h_puszki - glebokosc_wkreta])
cylinder(h = glebokosc_wkreta + 1, d = d_sruby_kamera);
}
// DOSKONALENIE: Odpływy wody z fazą (4 sztuki)
for(i = [22.5 : 90 : 360]) {
rotate([0, 0, i])
translate([42, 0, -1]) {
cylinder(h = grubosc_podstawy + 2, d = 4.5);
// Faza odpływowa od góry
translate([0, 0, grubosc_podstawy])
cylinder(h = 3, d1 = 4.5, d2 = 8);
}
}
}
}
puszka_vigi_bcs_final_pro();
Comment & Rating (1)