
Print Profile(2)
Description
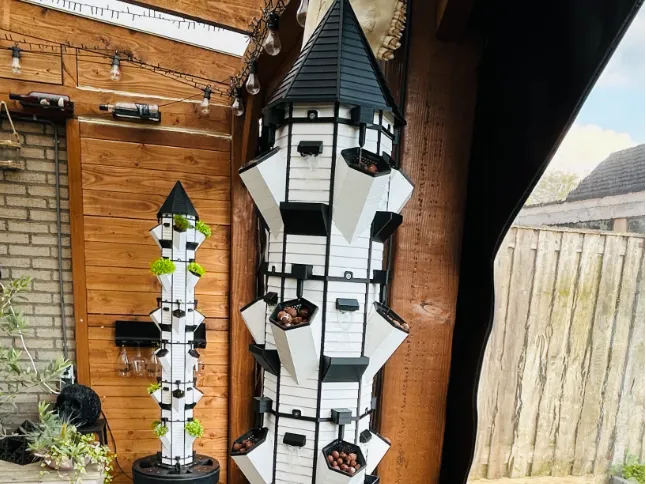
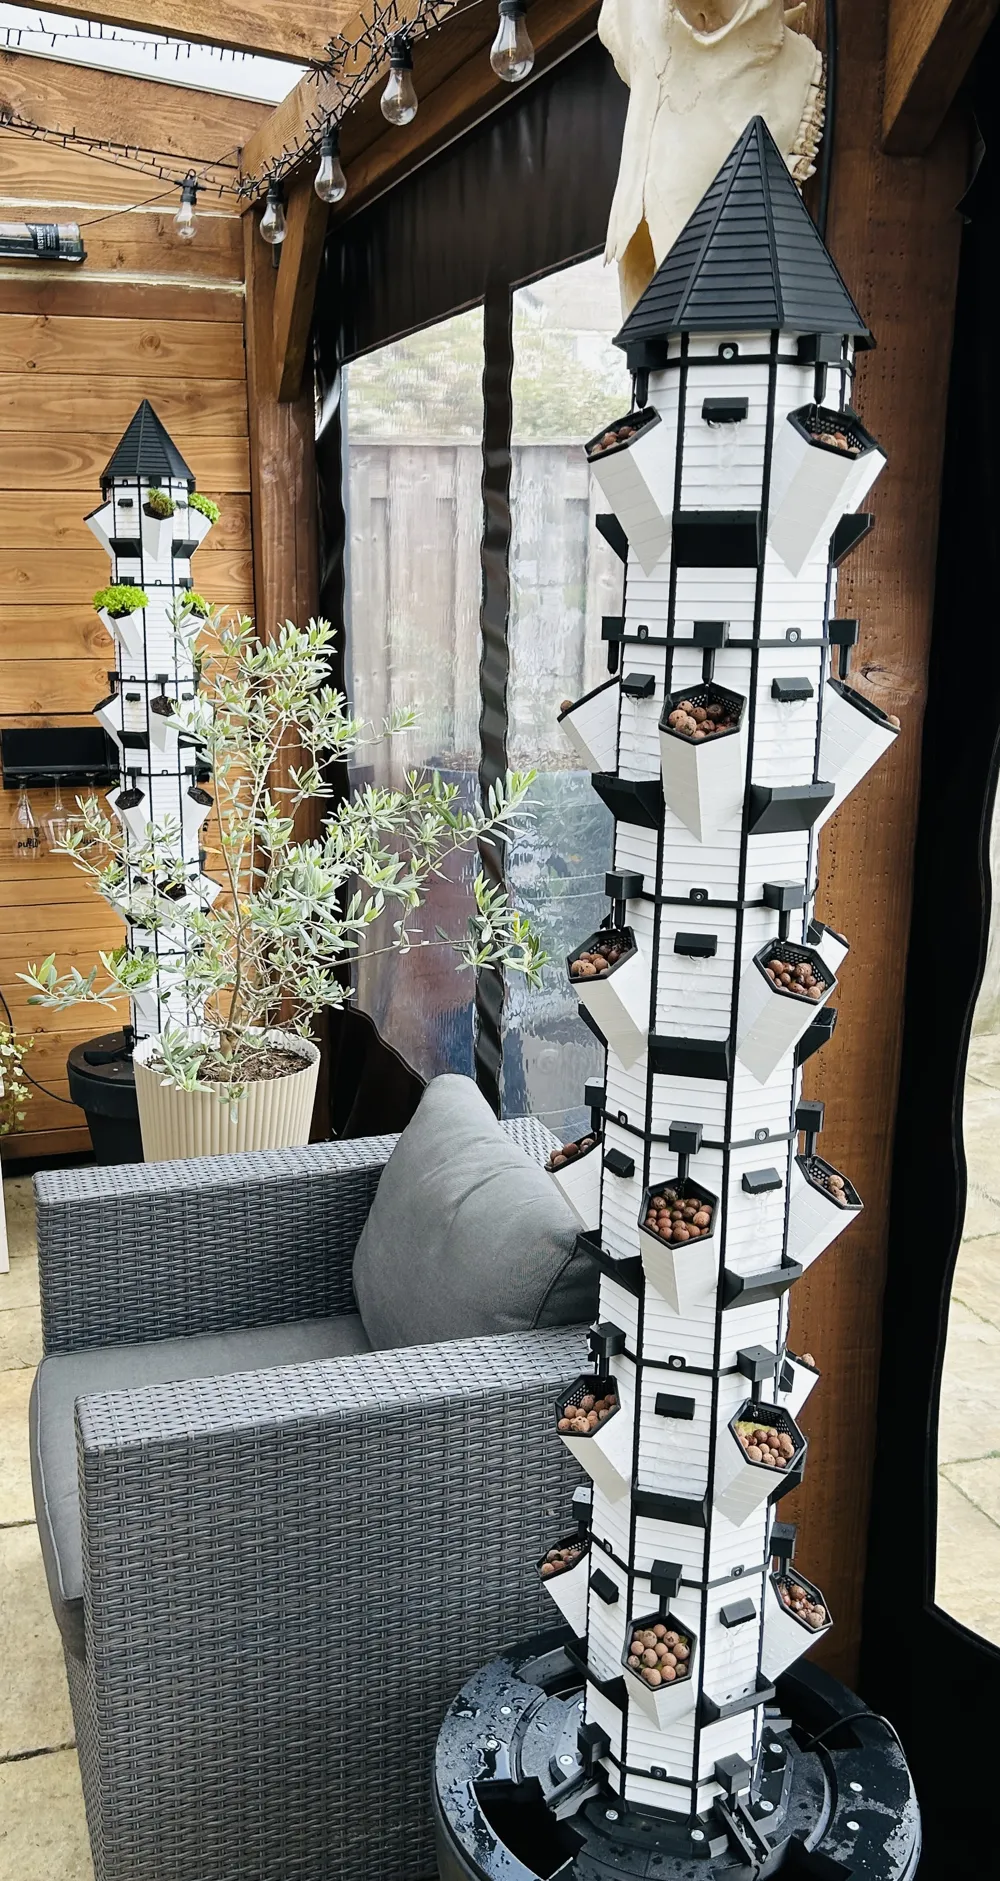
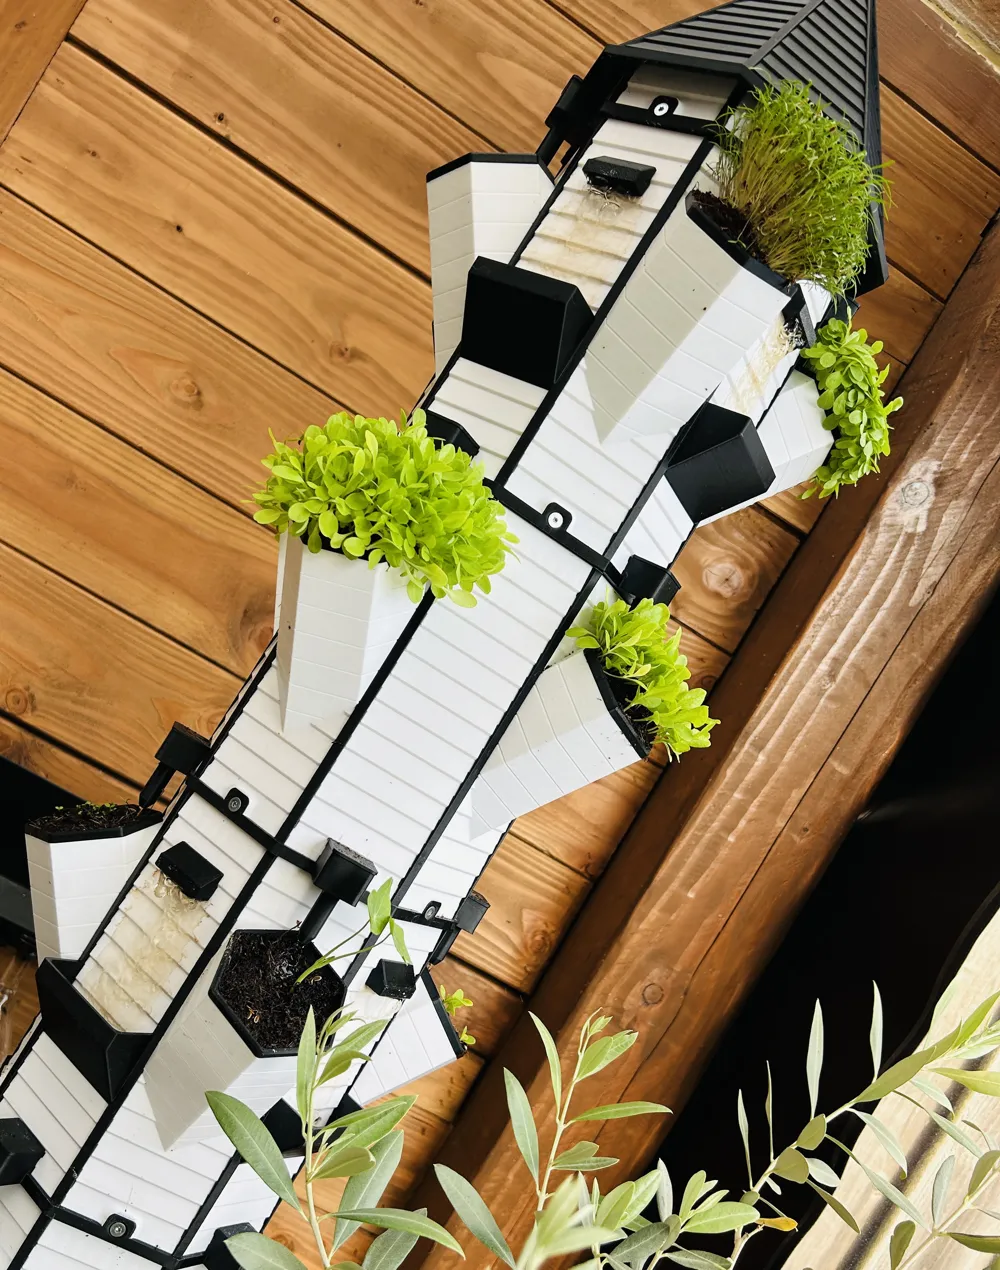
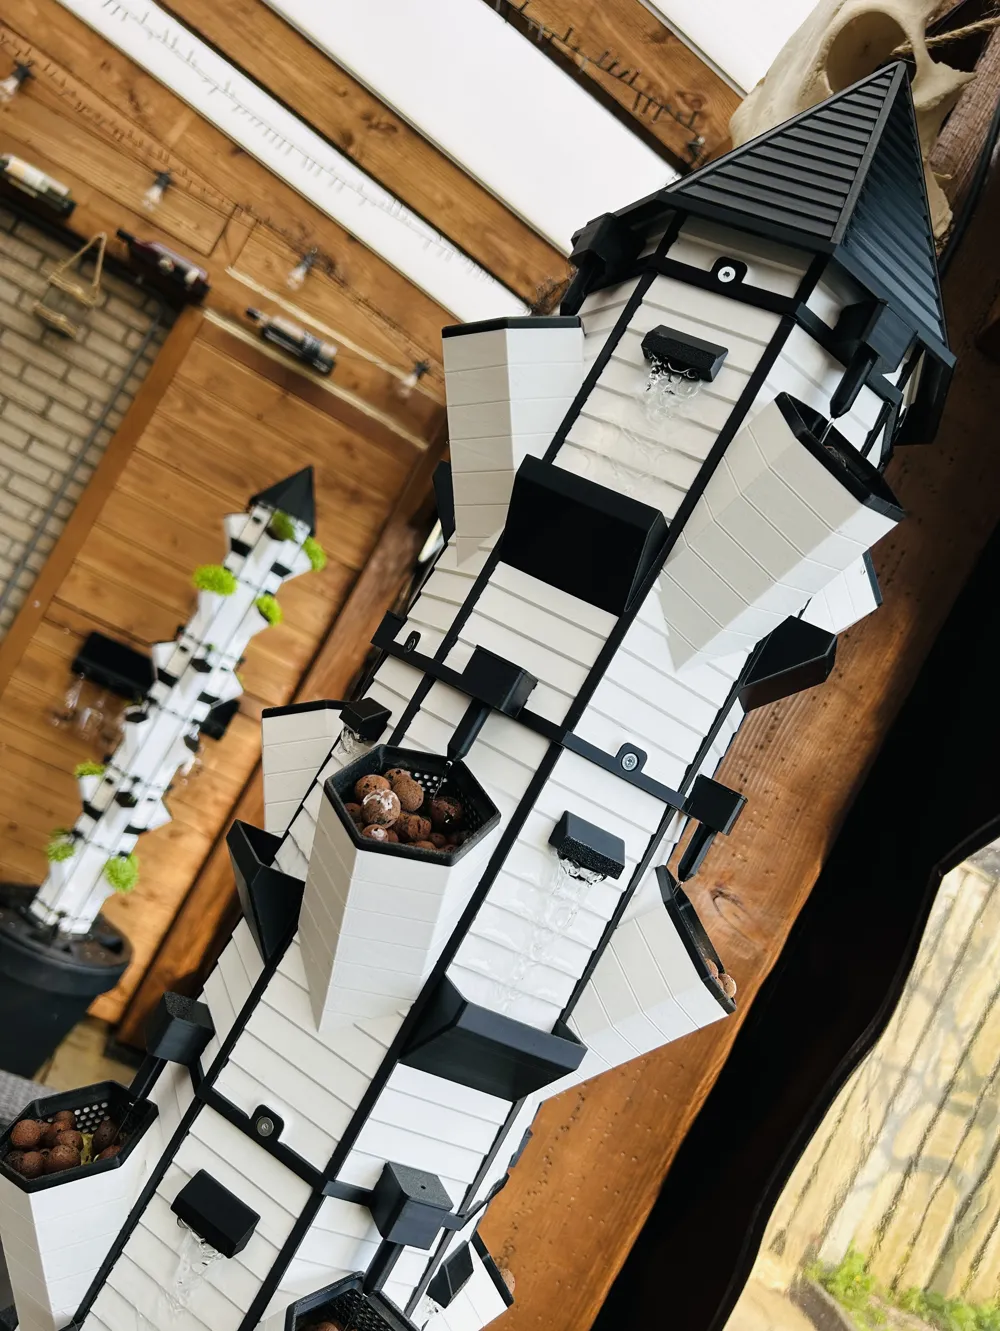
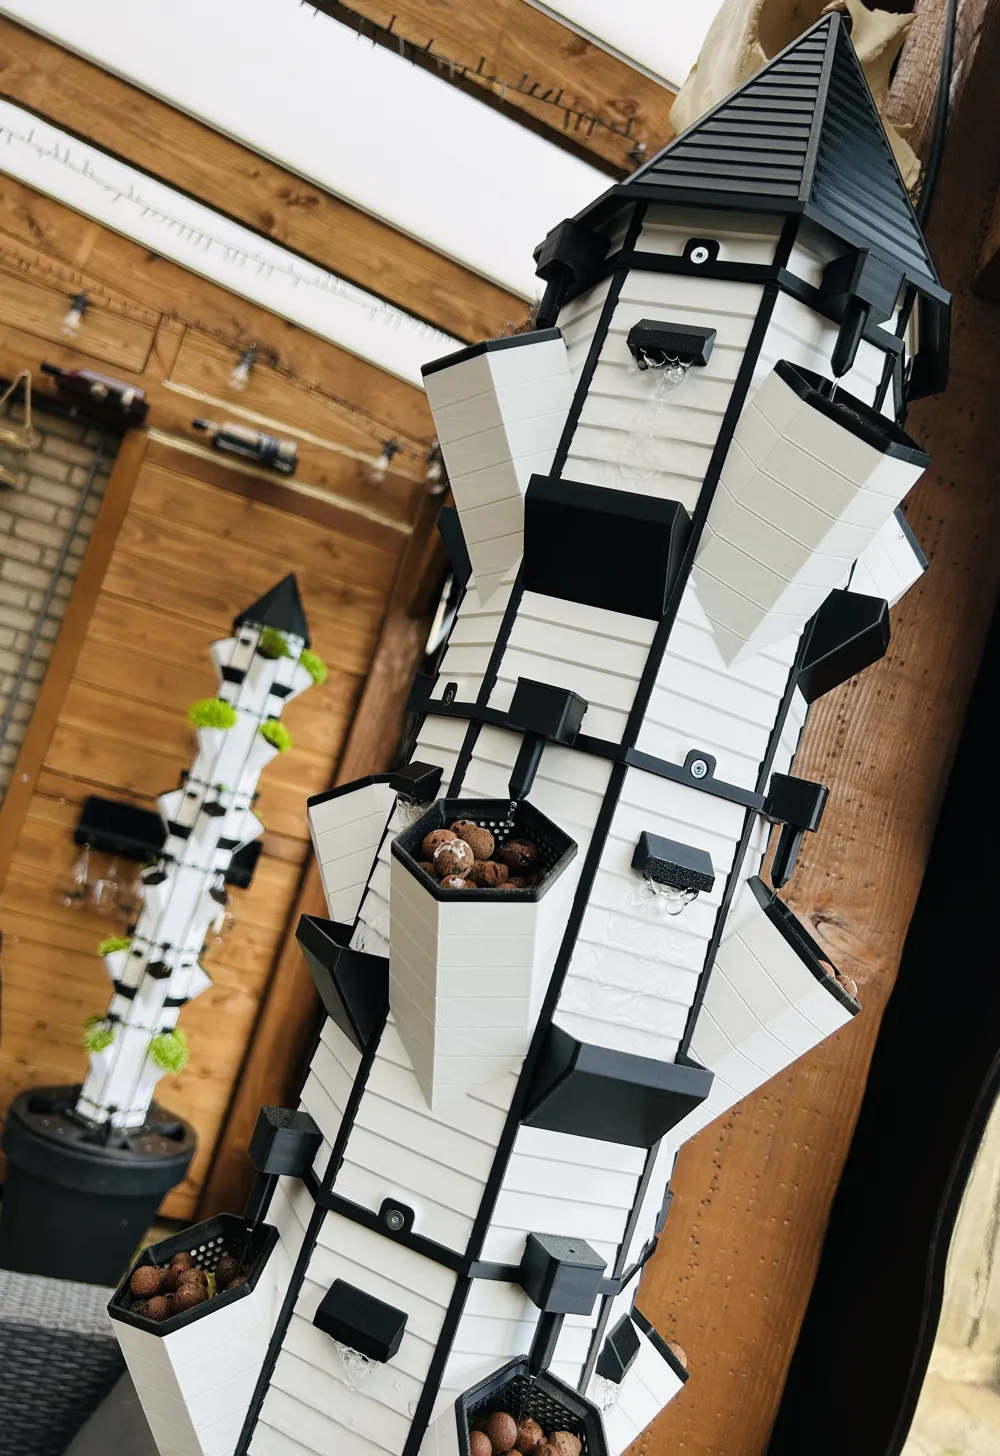
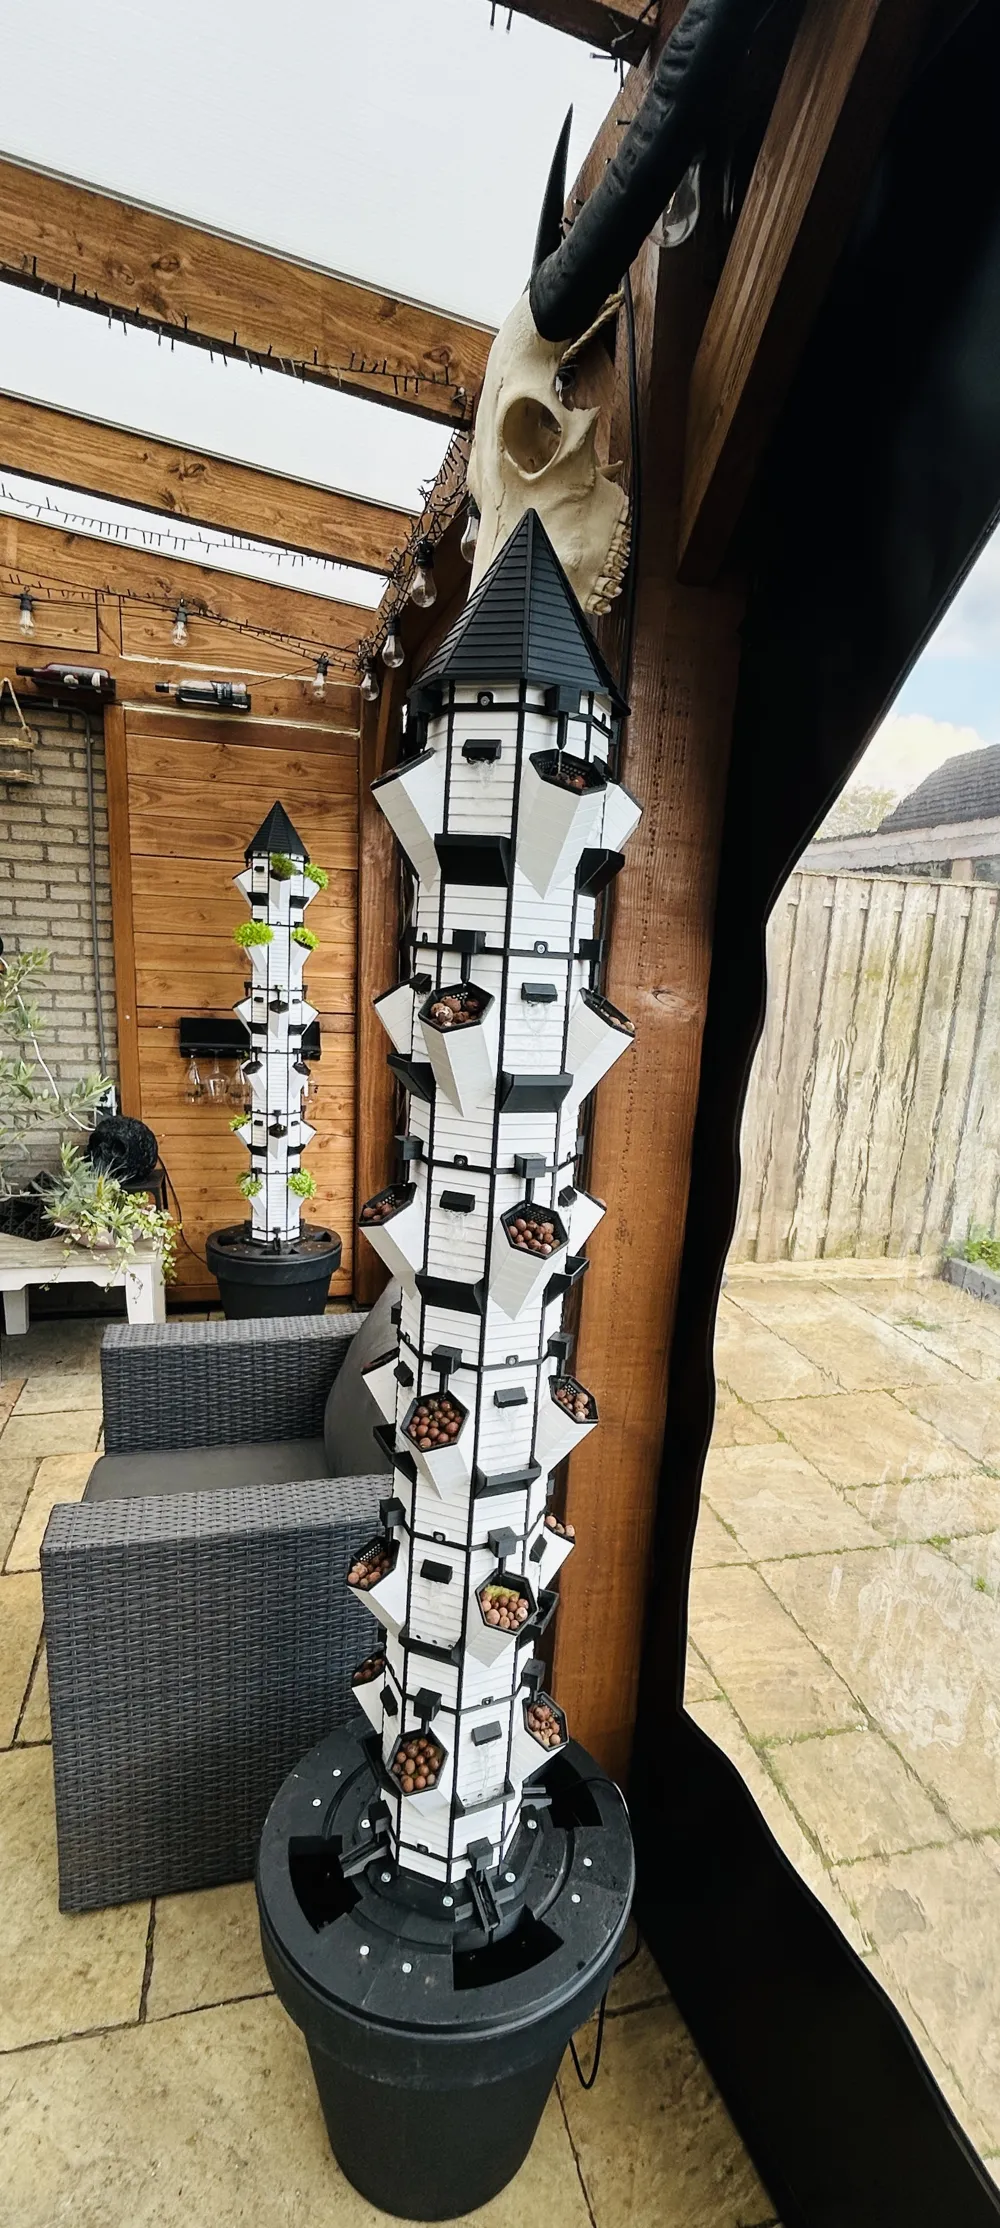
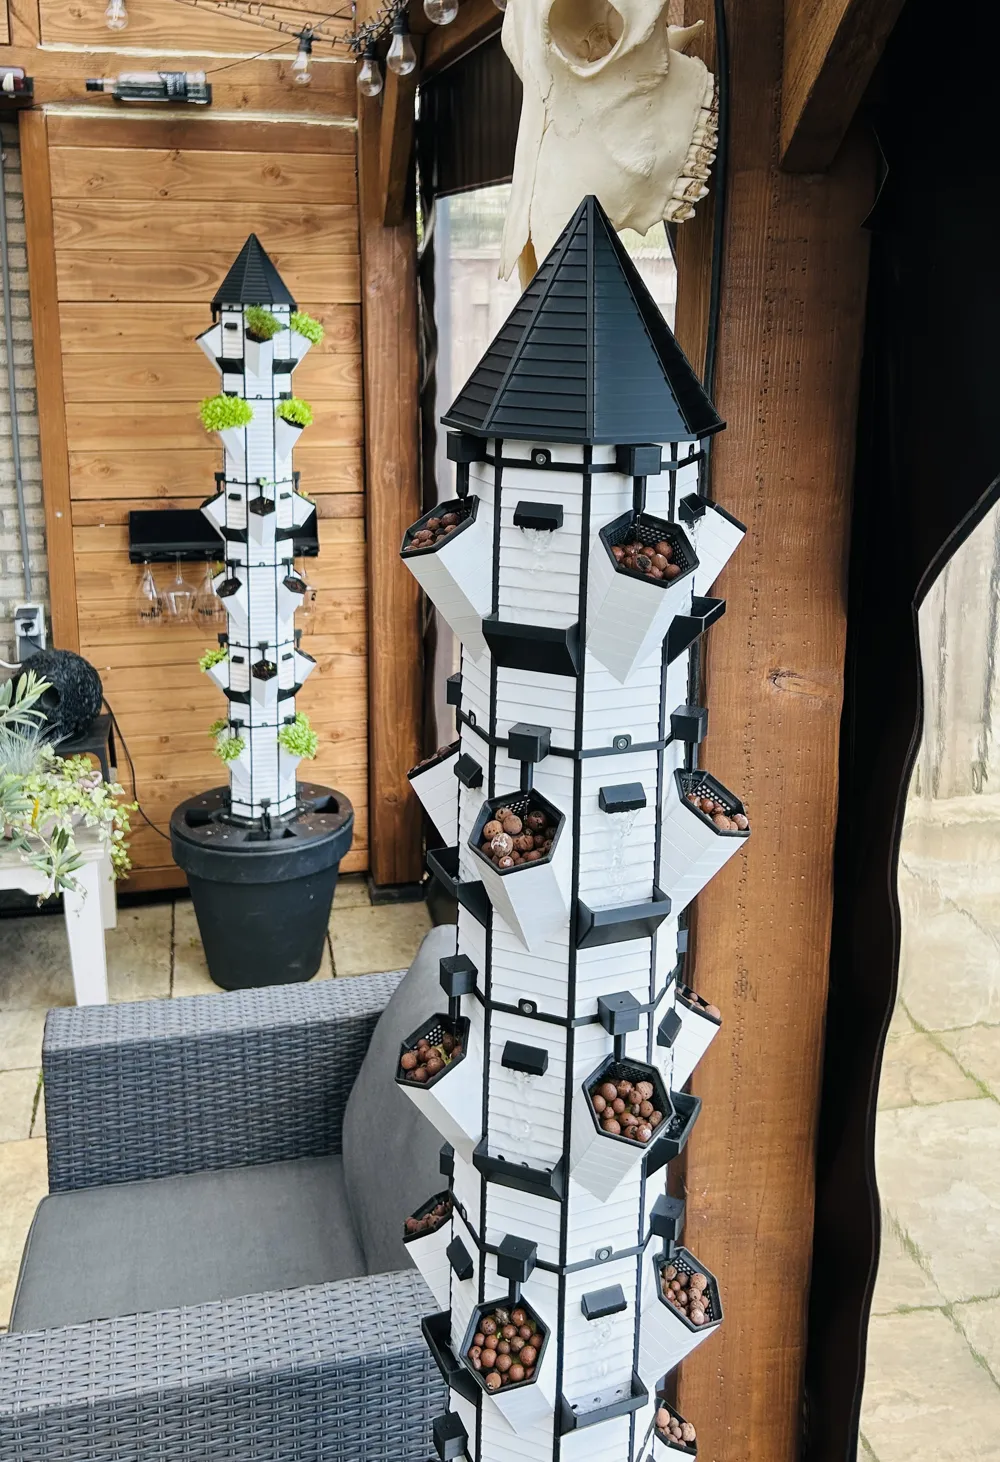
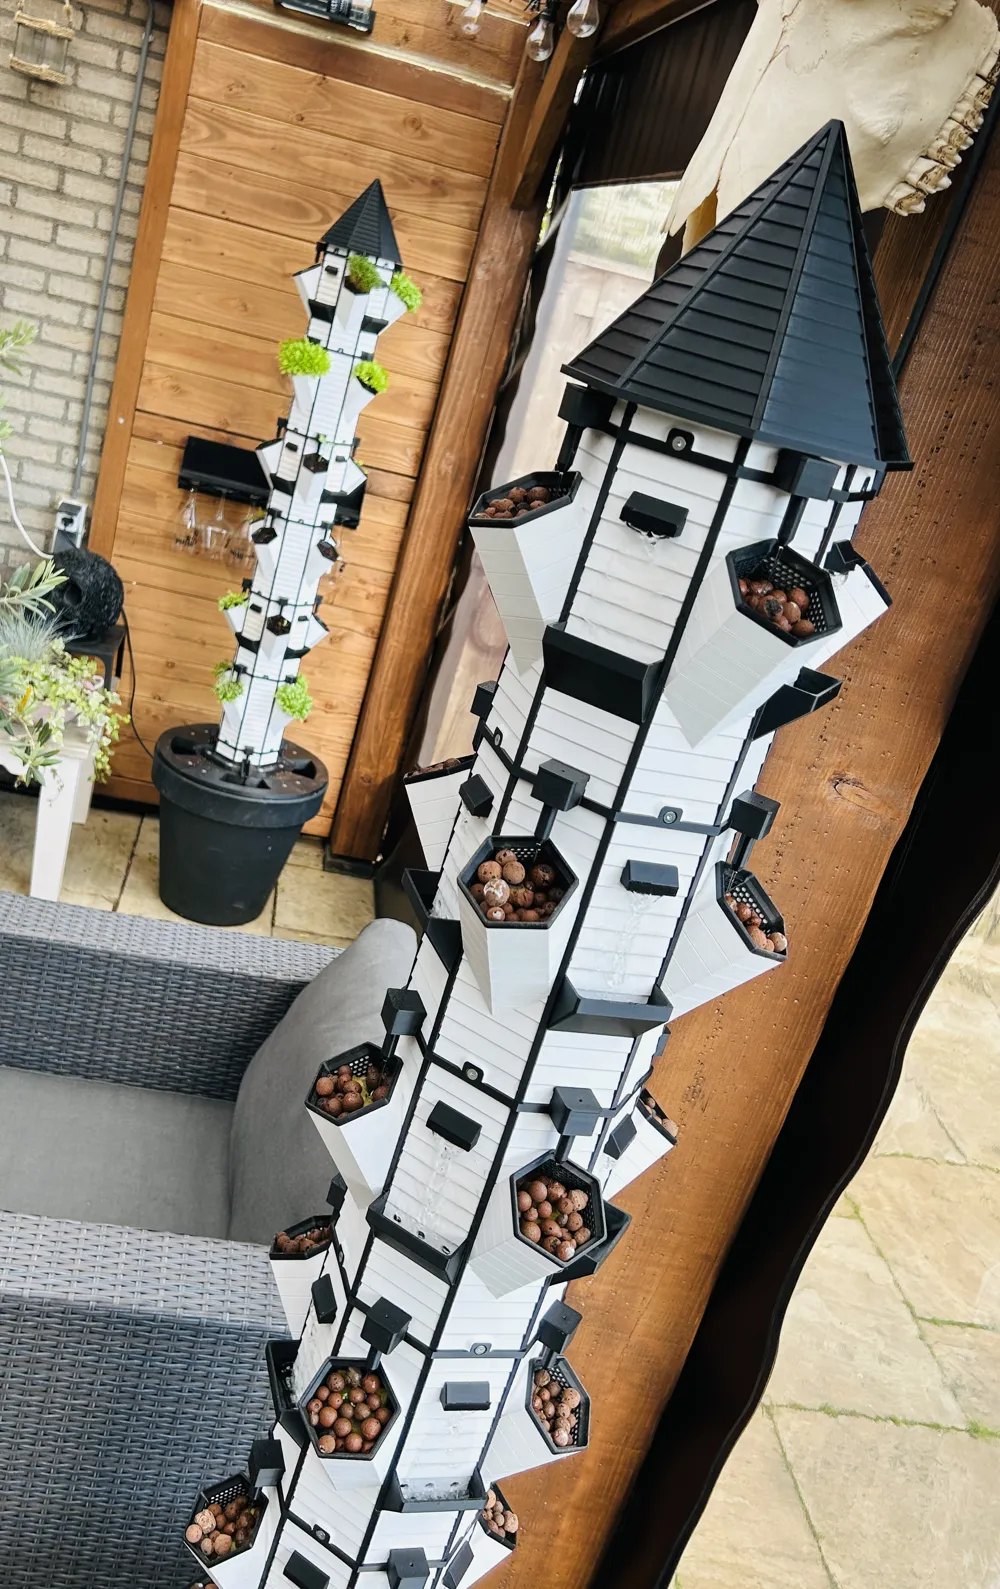
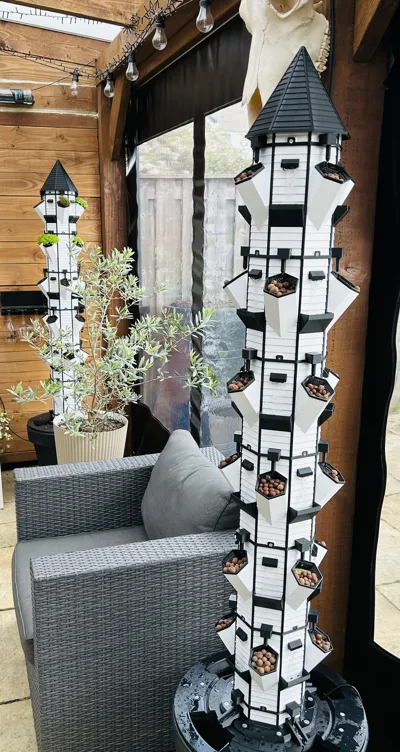
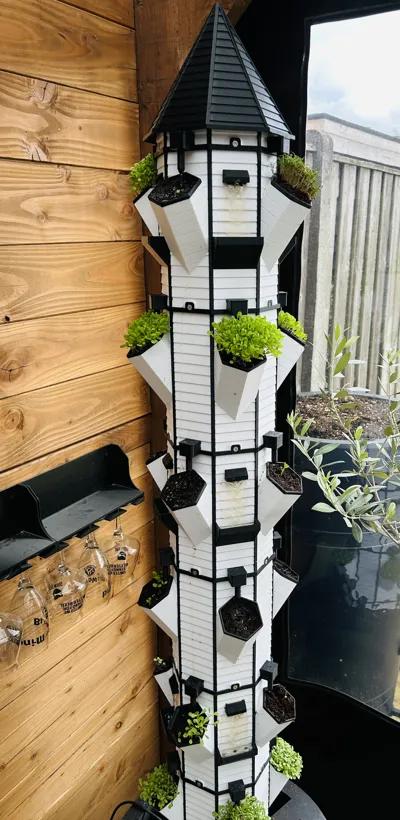
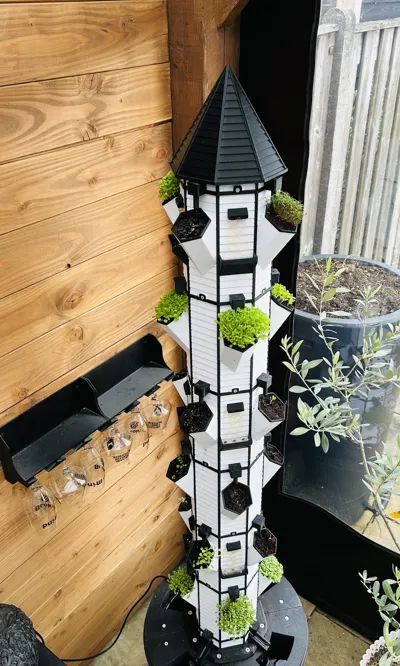
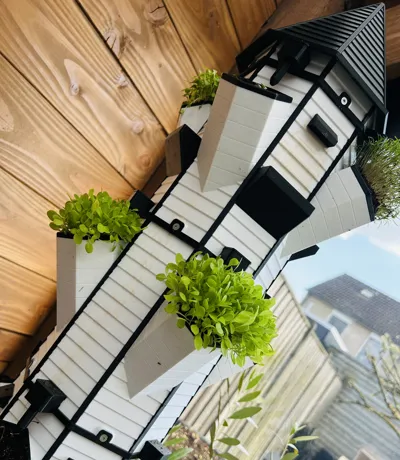
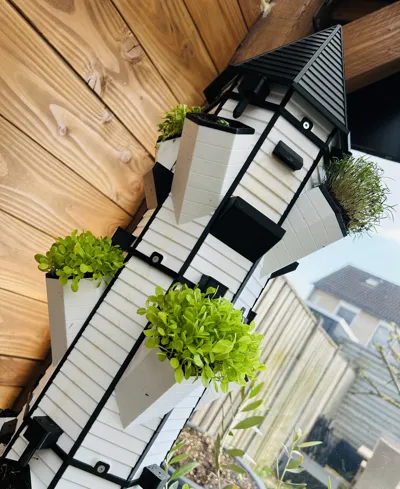
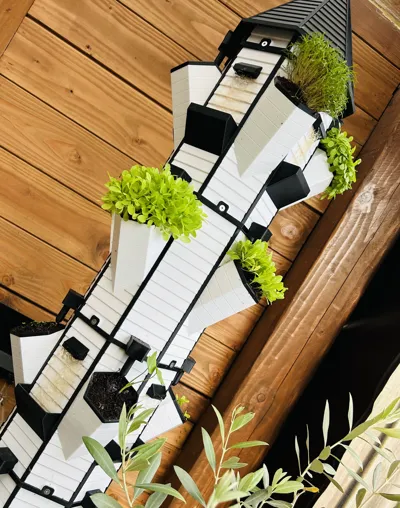
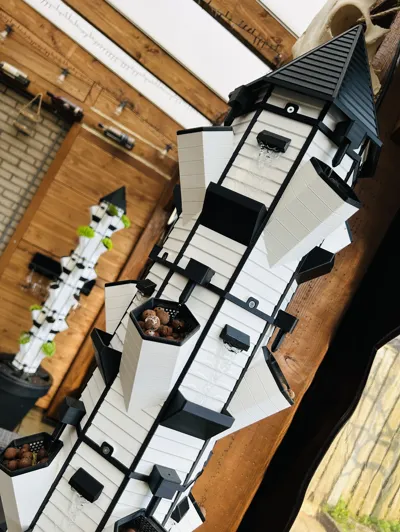
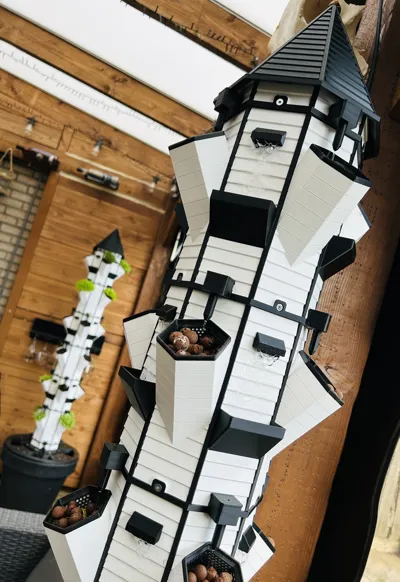
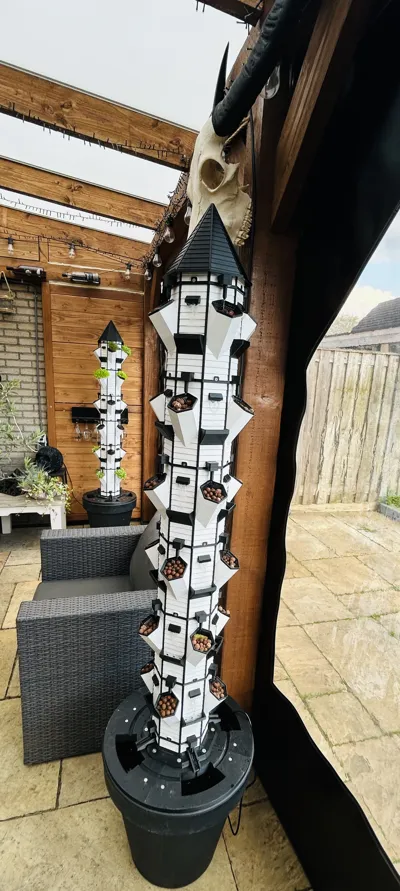
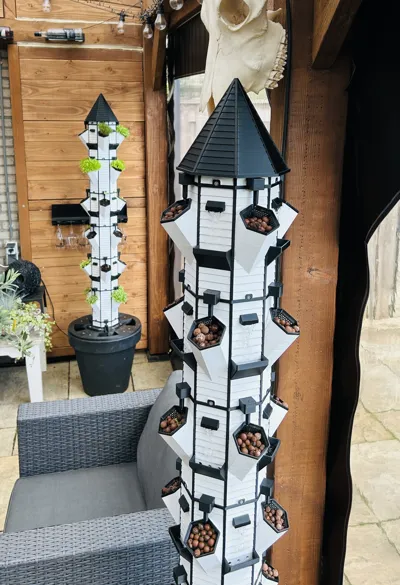
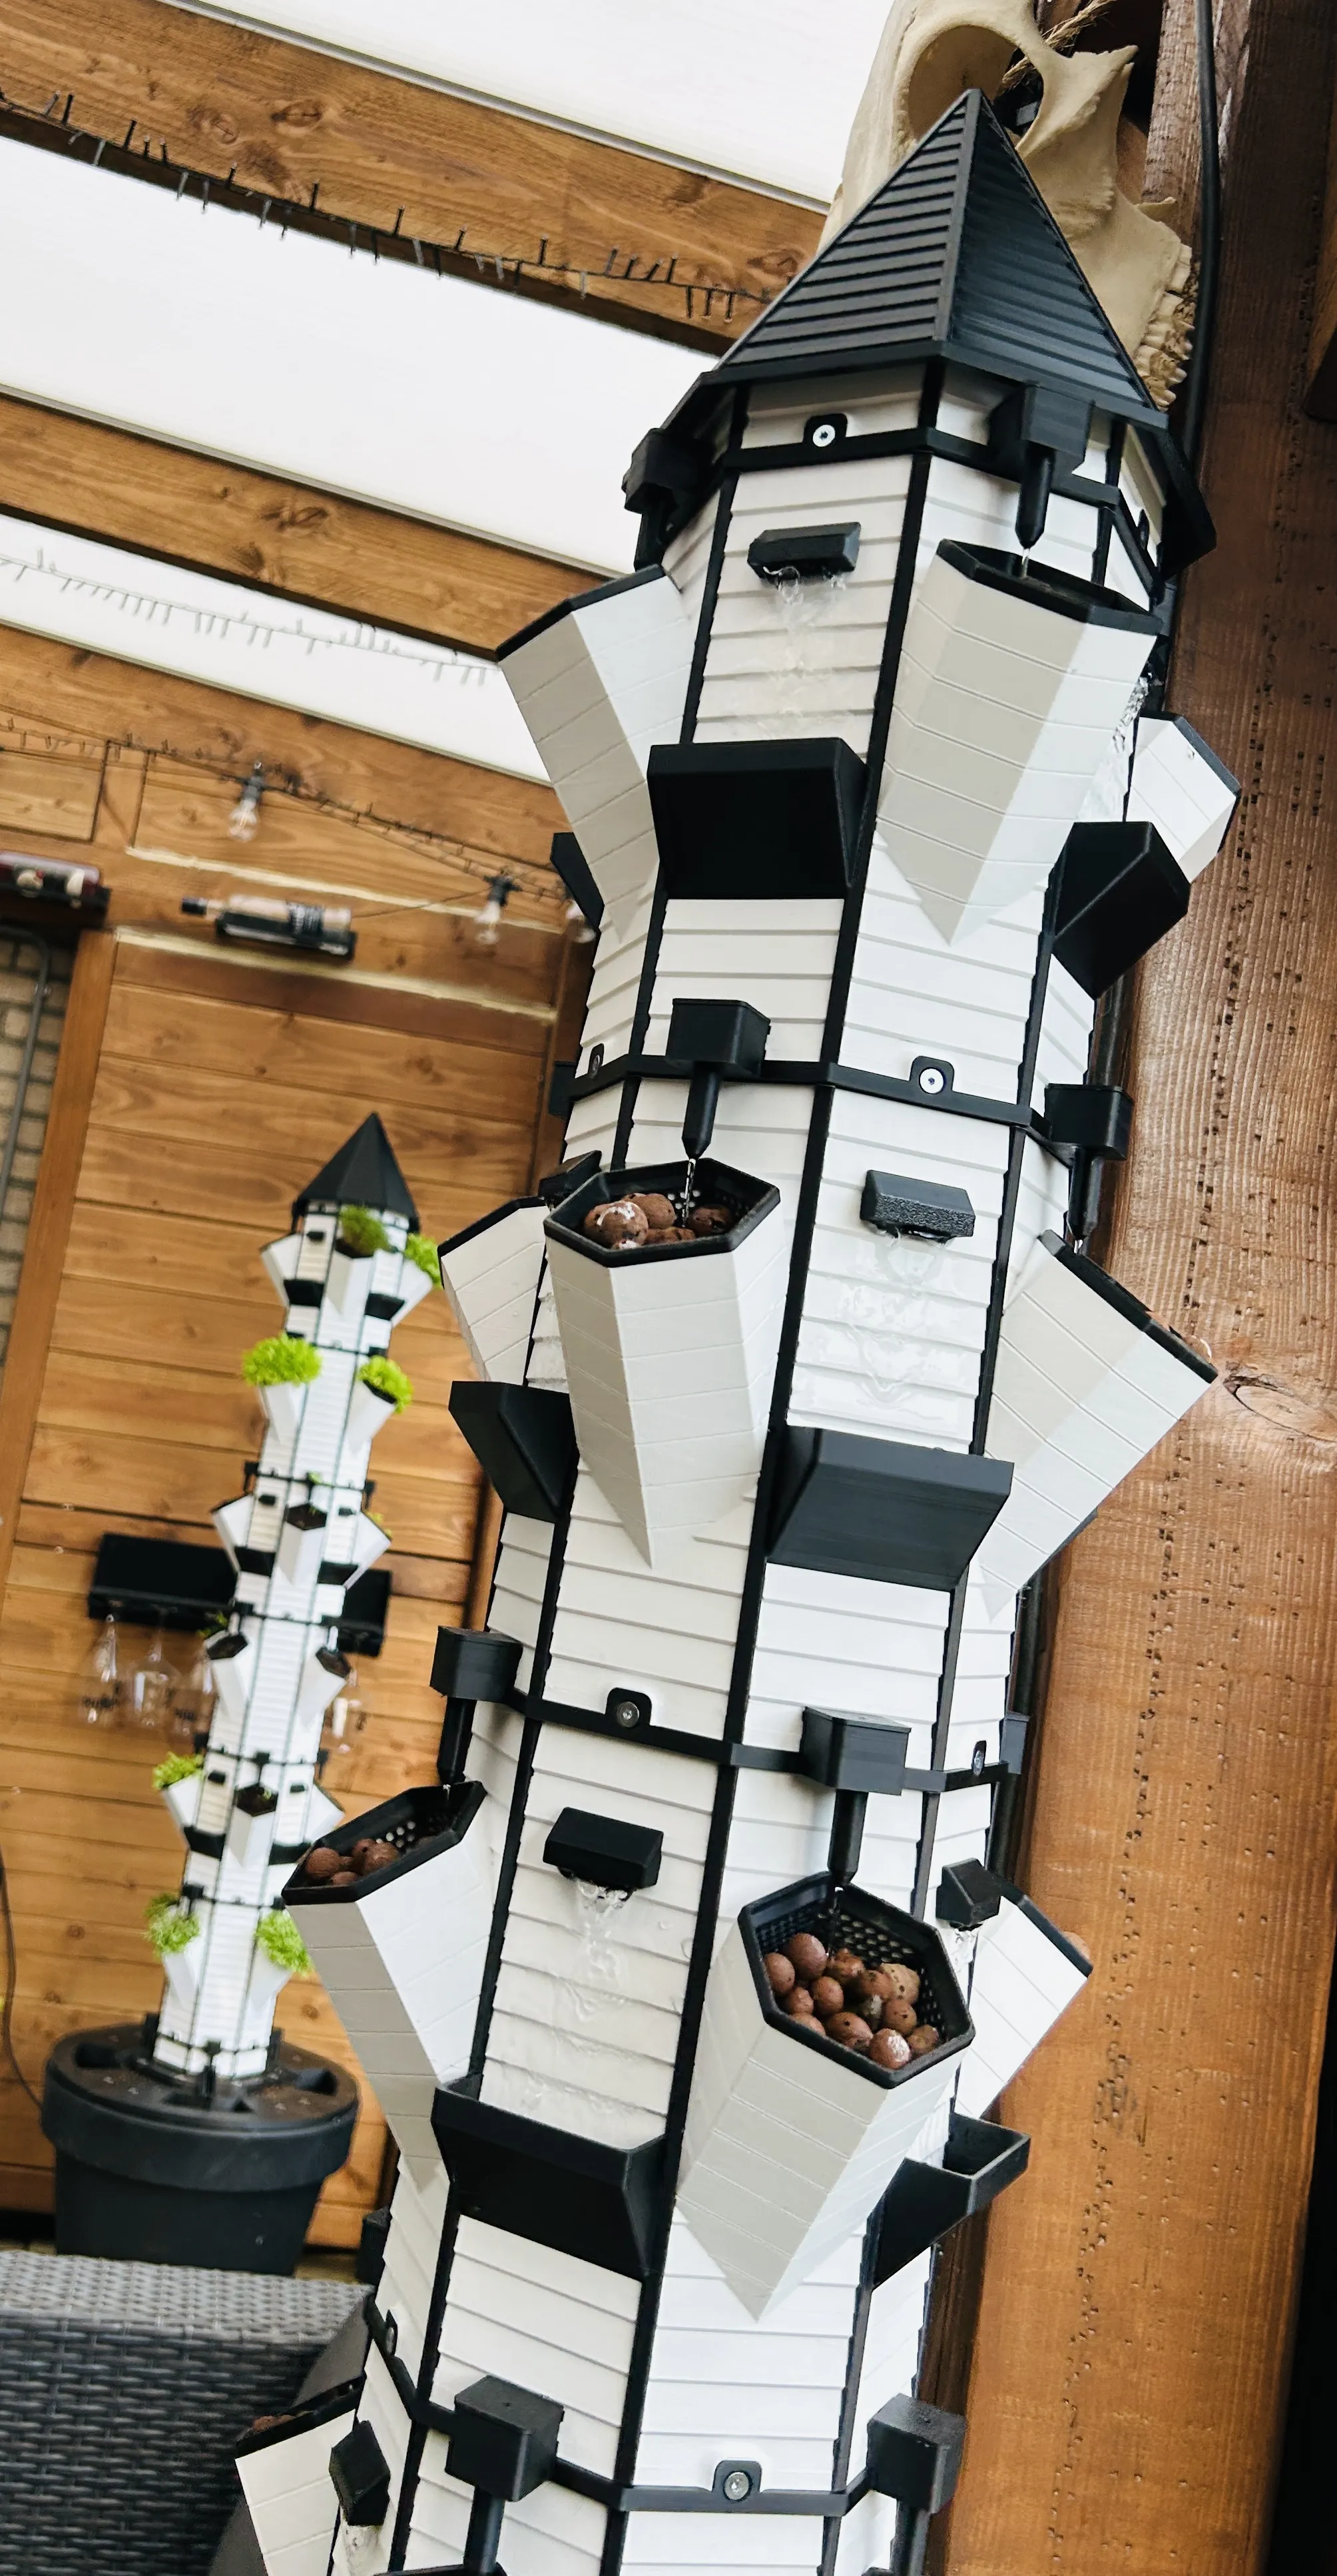
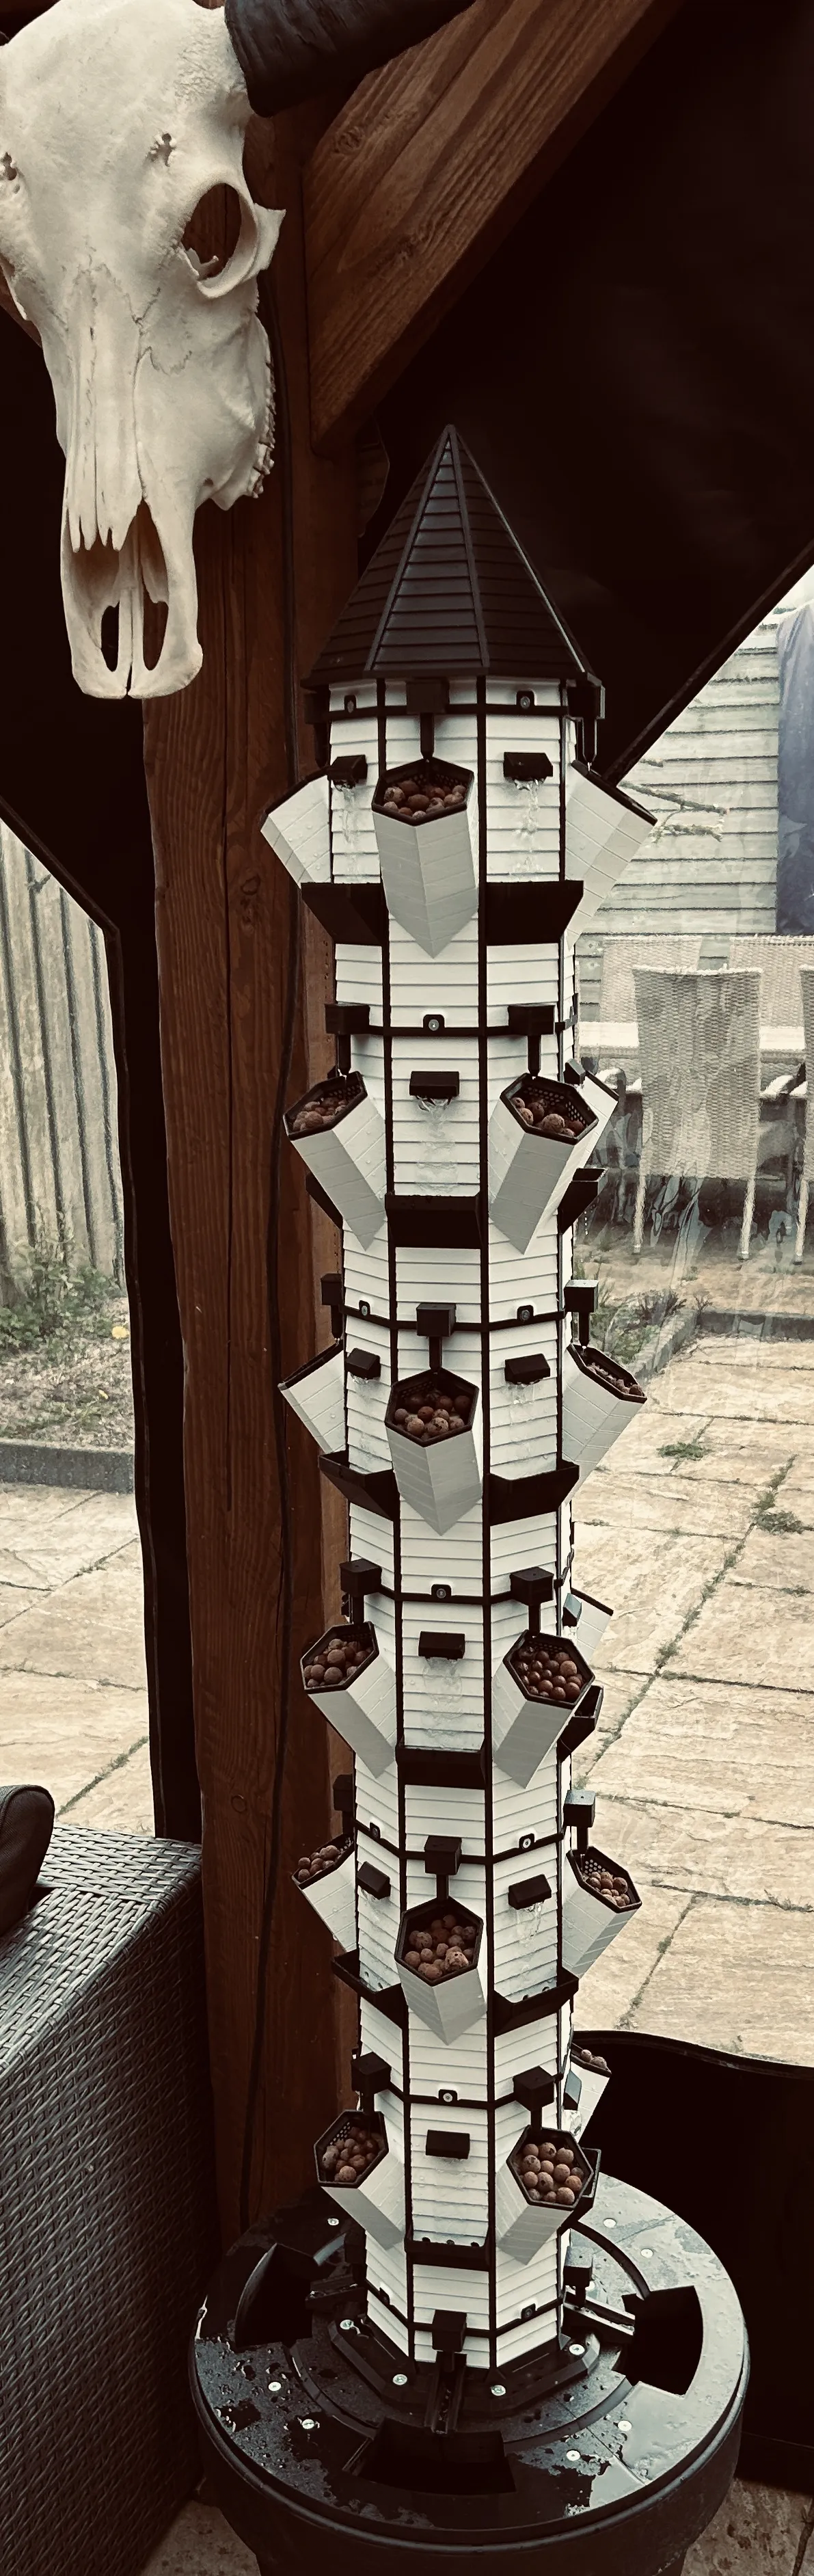
Classic Barn Style Hydroponic Waterfall Planter | Wood Indoor Garden
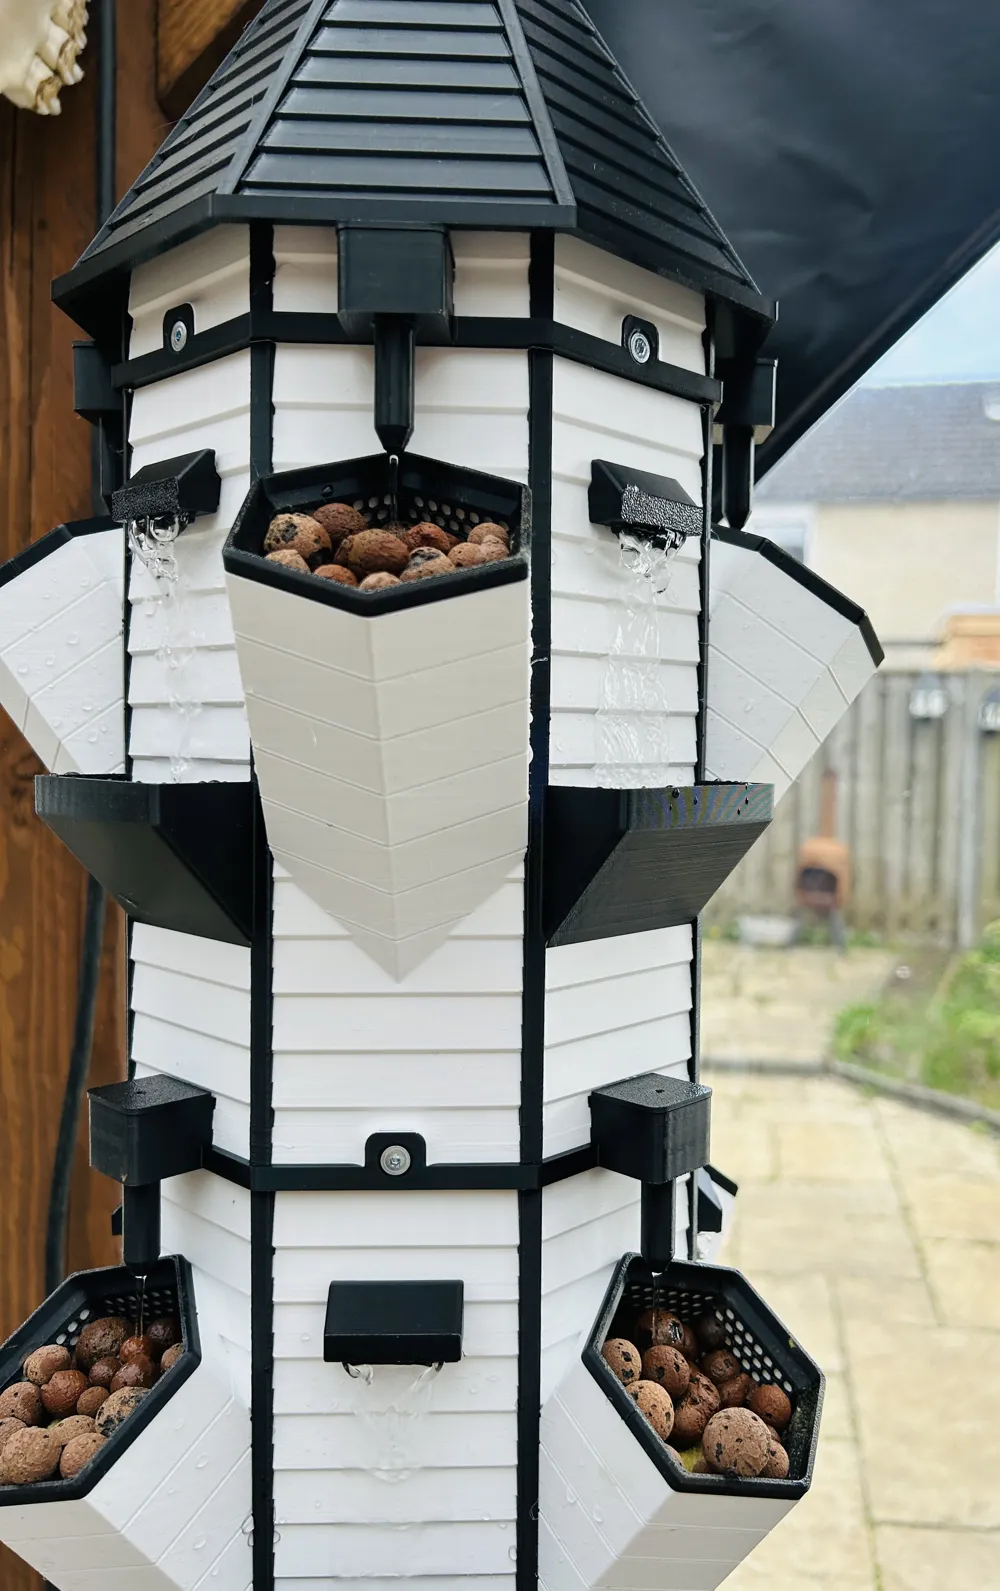
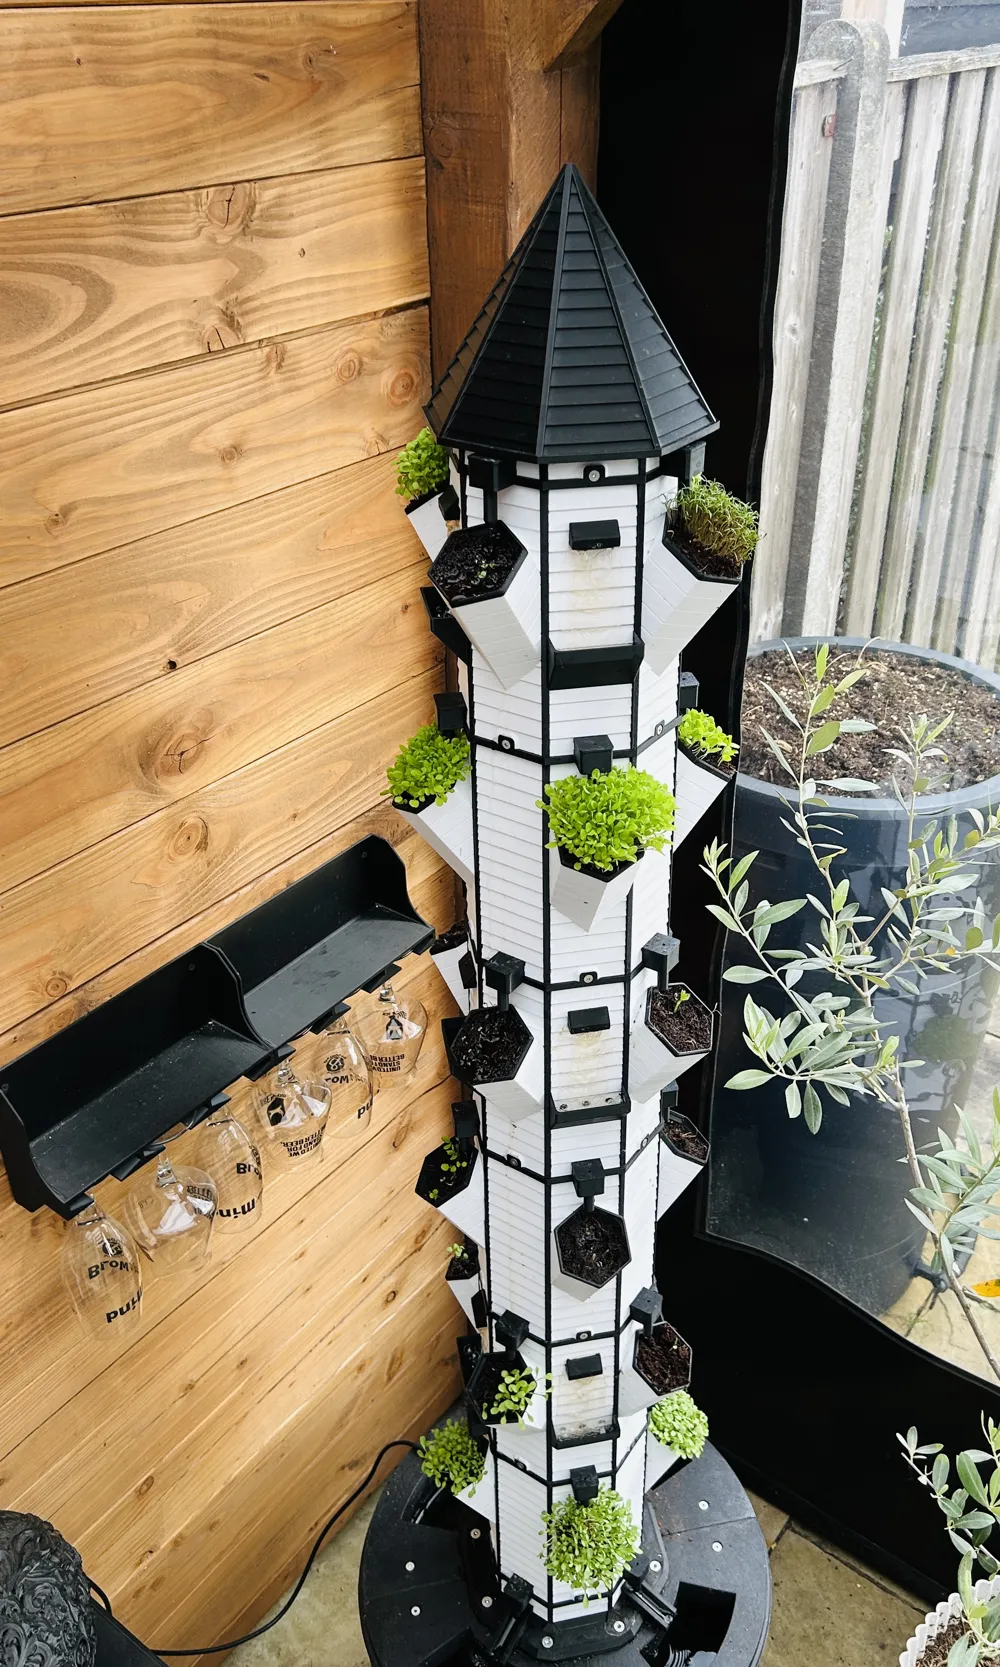
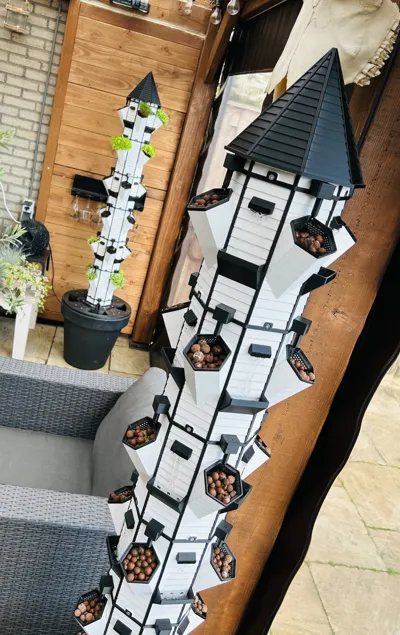
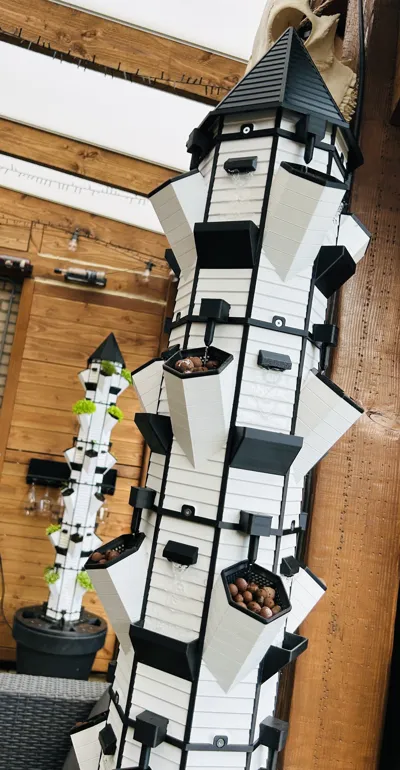
A fully functional hydroponic waterfall system with a unique barn-style design, created for maximum visual impact and real-world usability.
After three full prototype iterations, this is the final and fully optimized version of the design. Every component has been refined to achieve the perfect balance between engineering, water flow, and aesthetics.
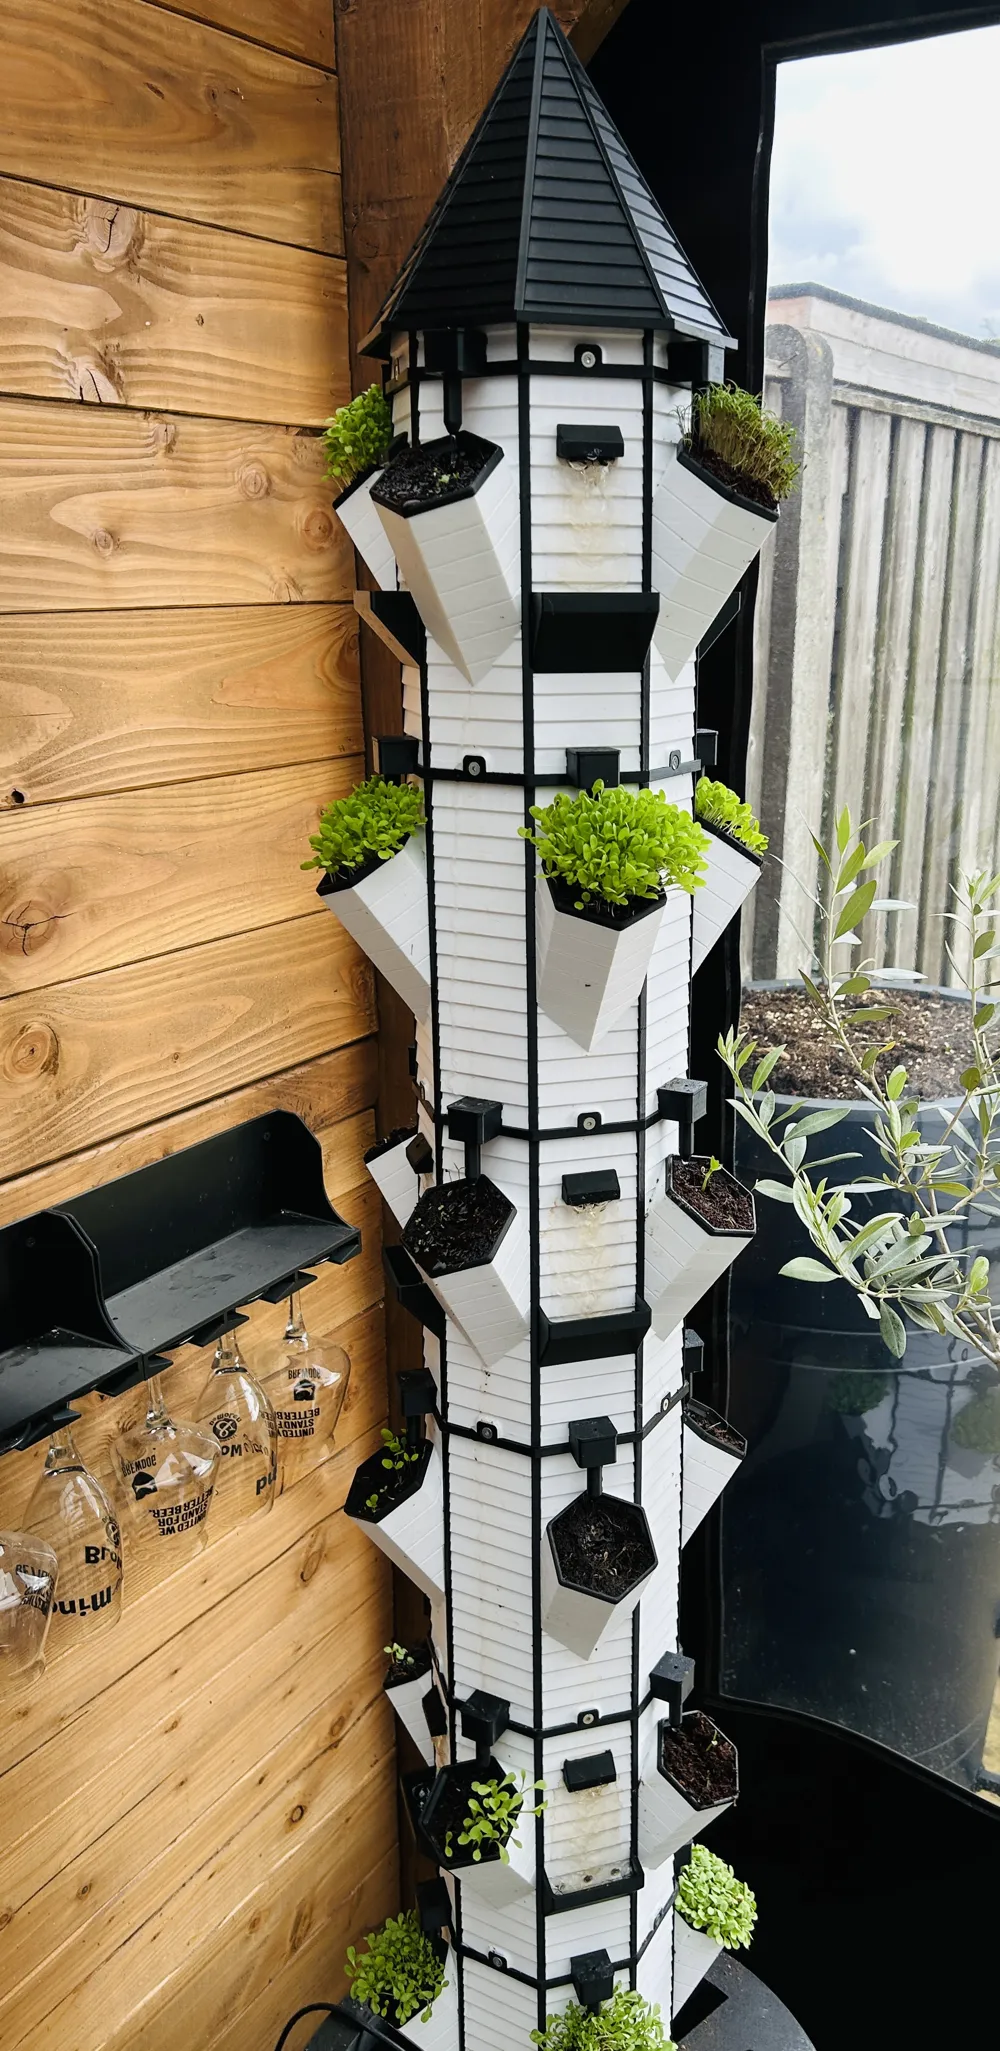
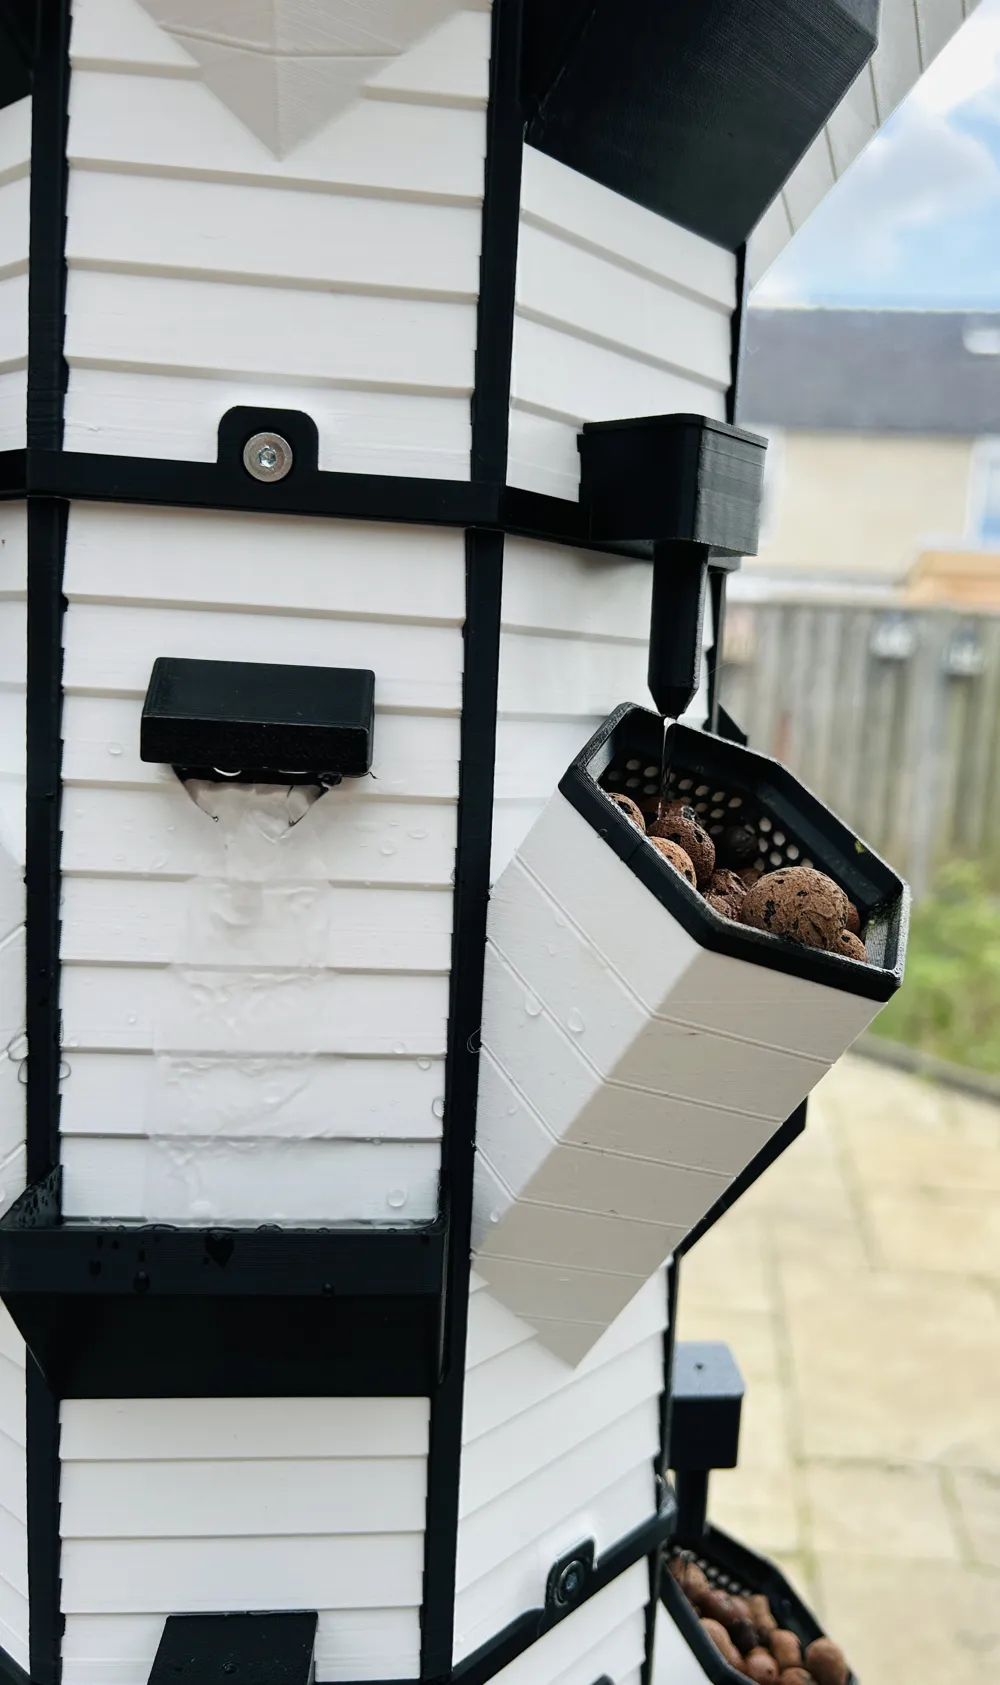
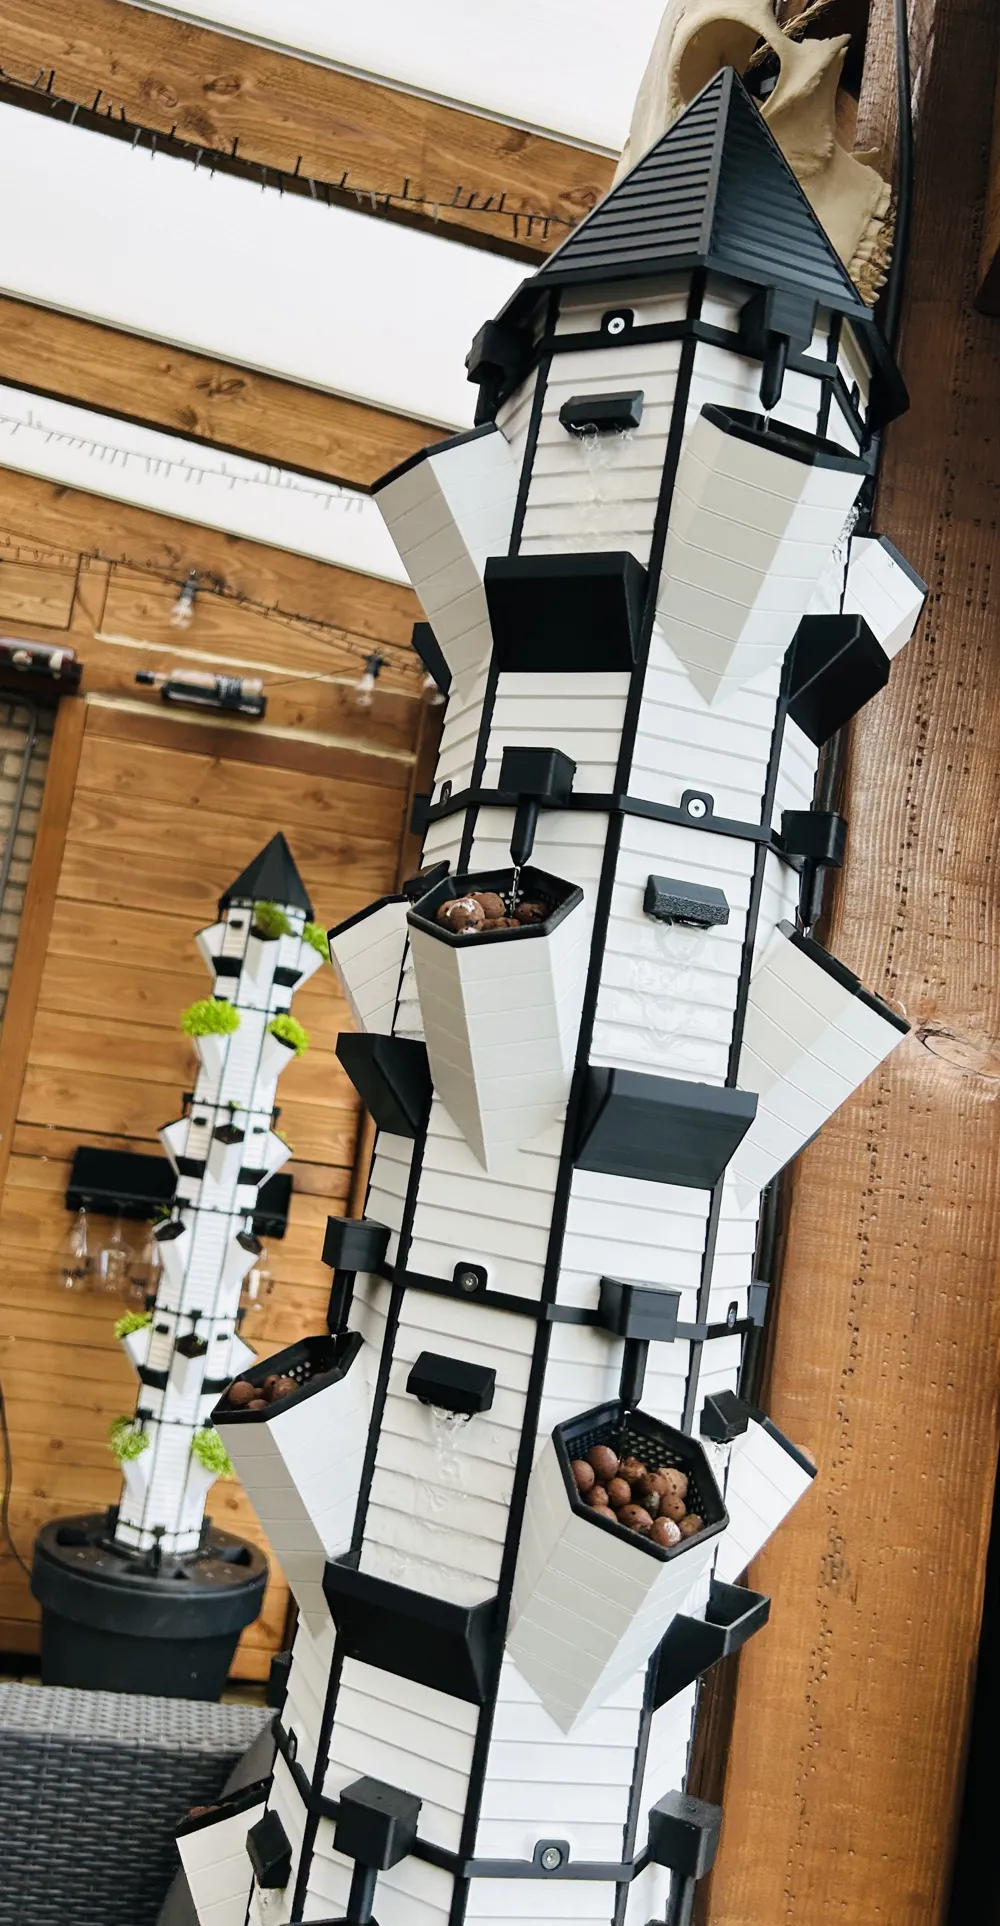
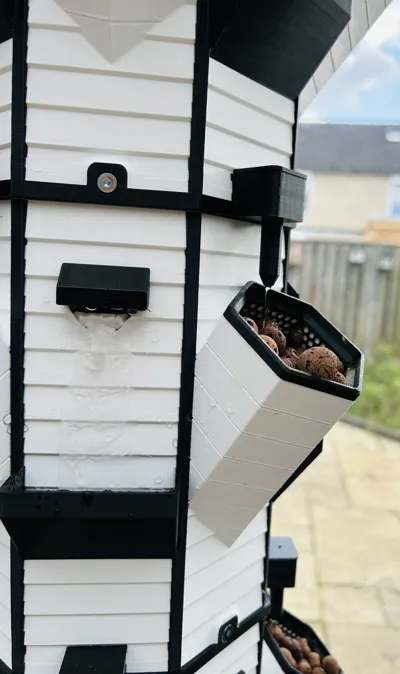
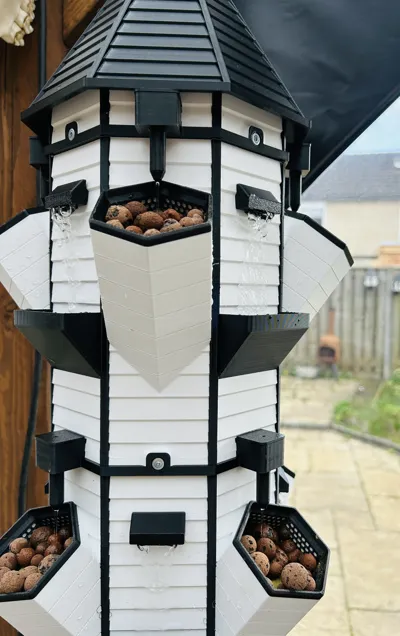
This is not a standard planter — it is a dynamic indoor ecosystem with visible flowing water across multiple levels. The integrated waterfall system creates a continuous motion effect, turning this model into a functional centerpiece as well as a visual feature.
The design is inspired by classic barn architecture, combined with a modern wood-like aesthetic. This allows the model to fit seamlessly into both modern interiors and more natural or rustic environments.
🔧 Engineered for performance
This project includes extensive design and testing work:
- 3 full prototype iterations
- Optimized water distribution system
- Modular and scalable structure
- Improved fit, assembly, and printability
Every section has been engineered with functionality, reliability, and ease of assembly in mind.
💧 Waterfall Hydroponic System
The system is designed to:
- distribute water evenly across multiple levels
- create a continuous visible water flow
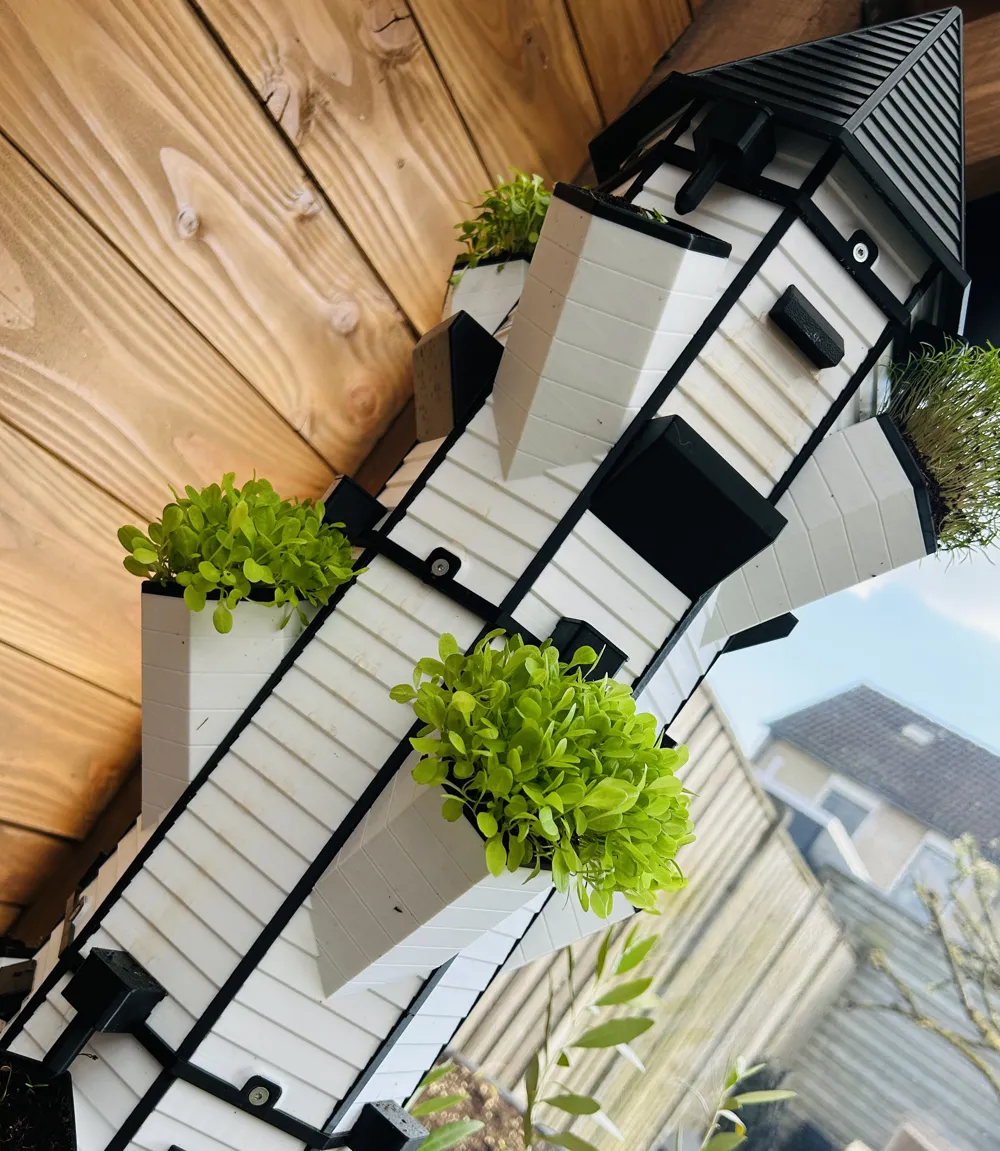
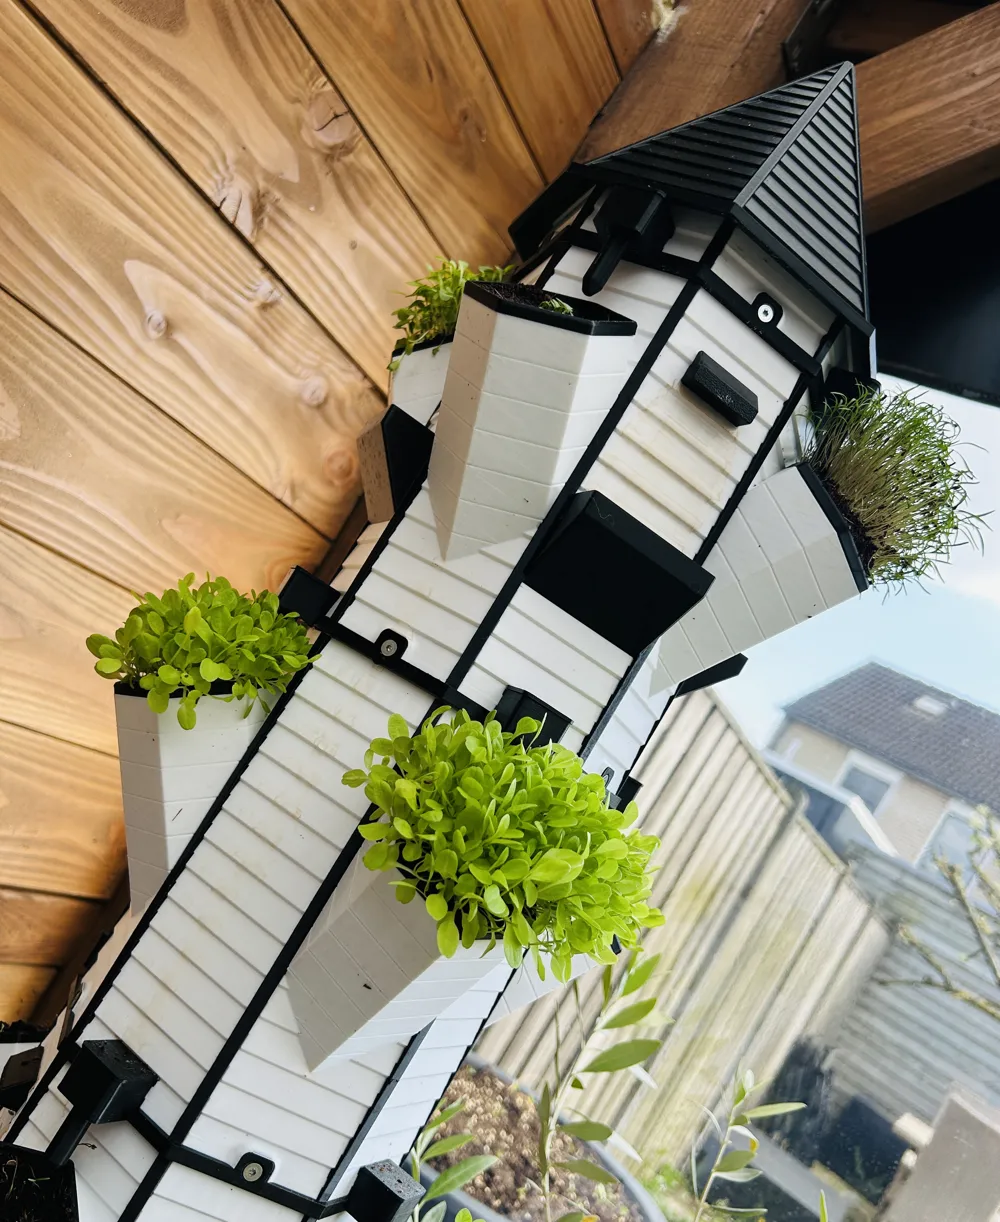
- support vertical plant growth
- generate a calming, living indoor environment
🪵 Design & aesthetics
The combination of:
- barn-style architectural influence
- wood-inspired structural detailing
- modular stacked construction
results in a system that works both as a functional grow setup and a decorative interior piece.
🌱 Perfect for
- herbs and small plants
- indoor gardening setups
- kitchen, office, or living space displays
- decorative living installations
⚠️ Assembly & support
Good luck printing and assembling this model.
Feel free to leave a comment with your build experience or feedback — it is highly appreciated.
The full assembly guide can be found below this description.
Assembly Guide
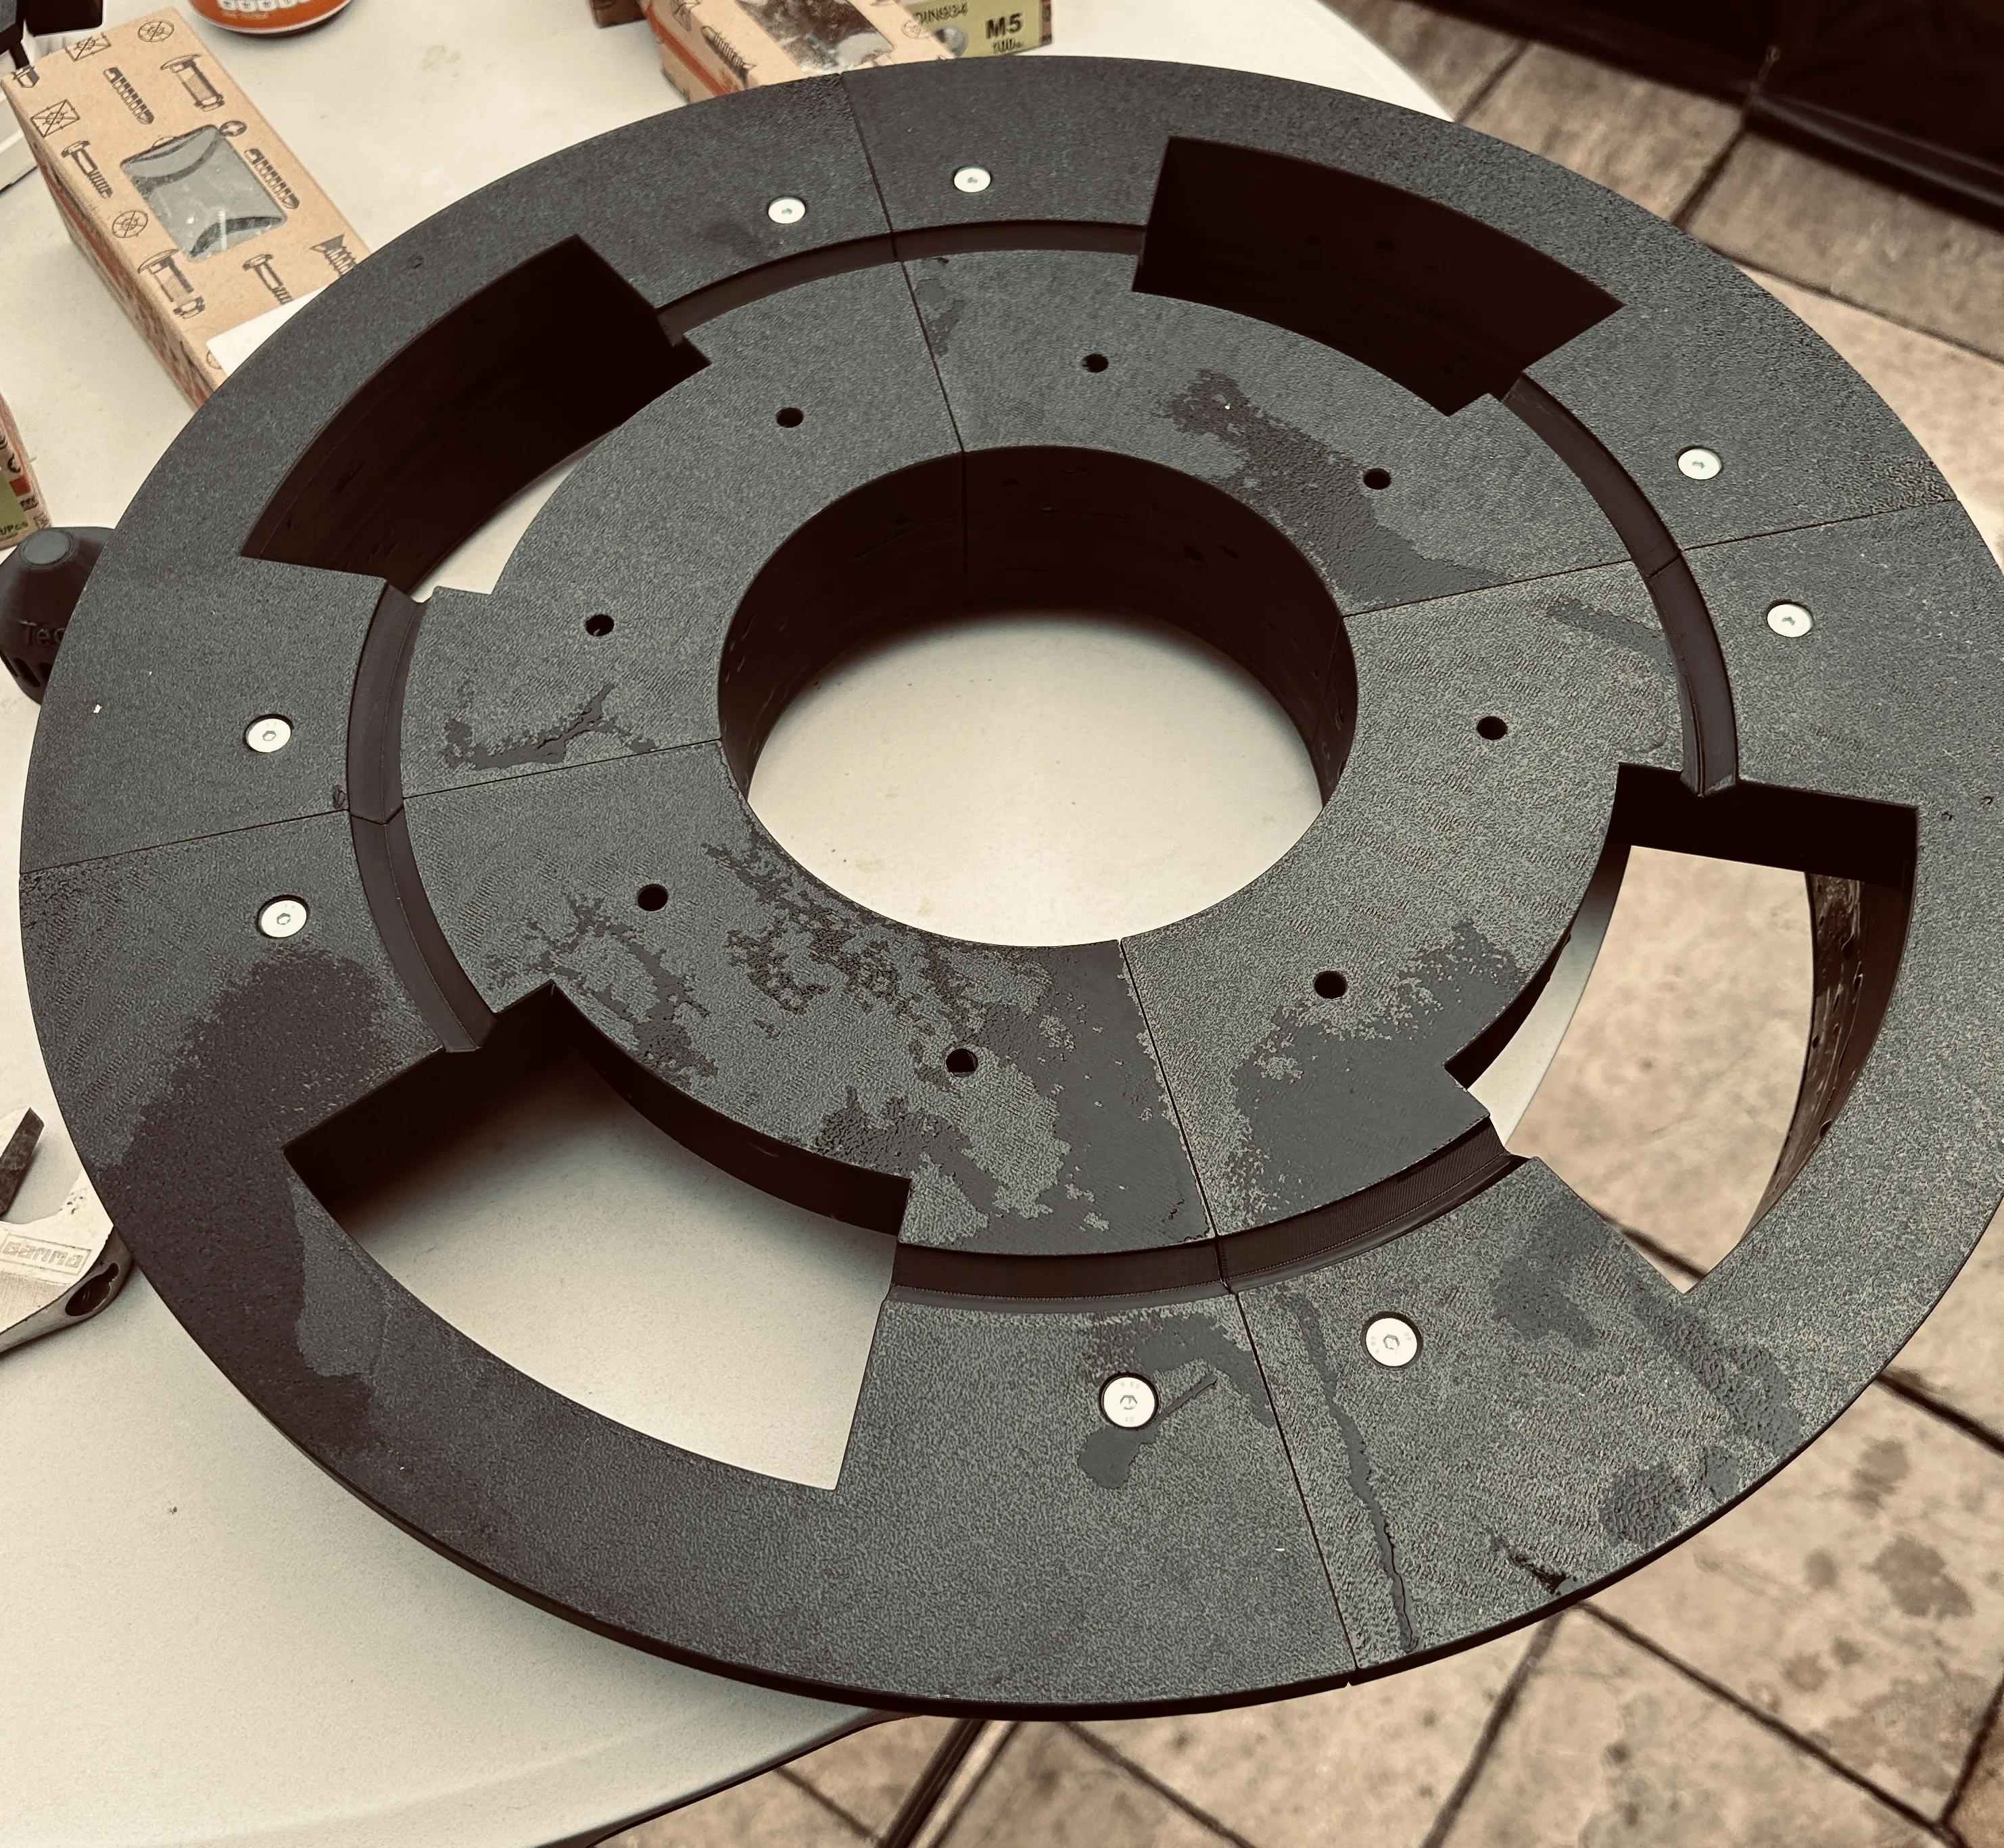
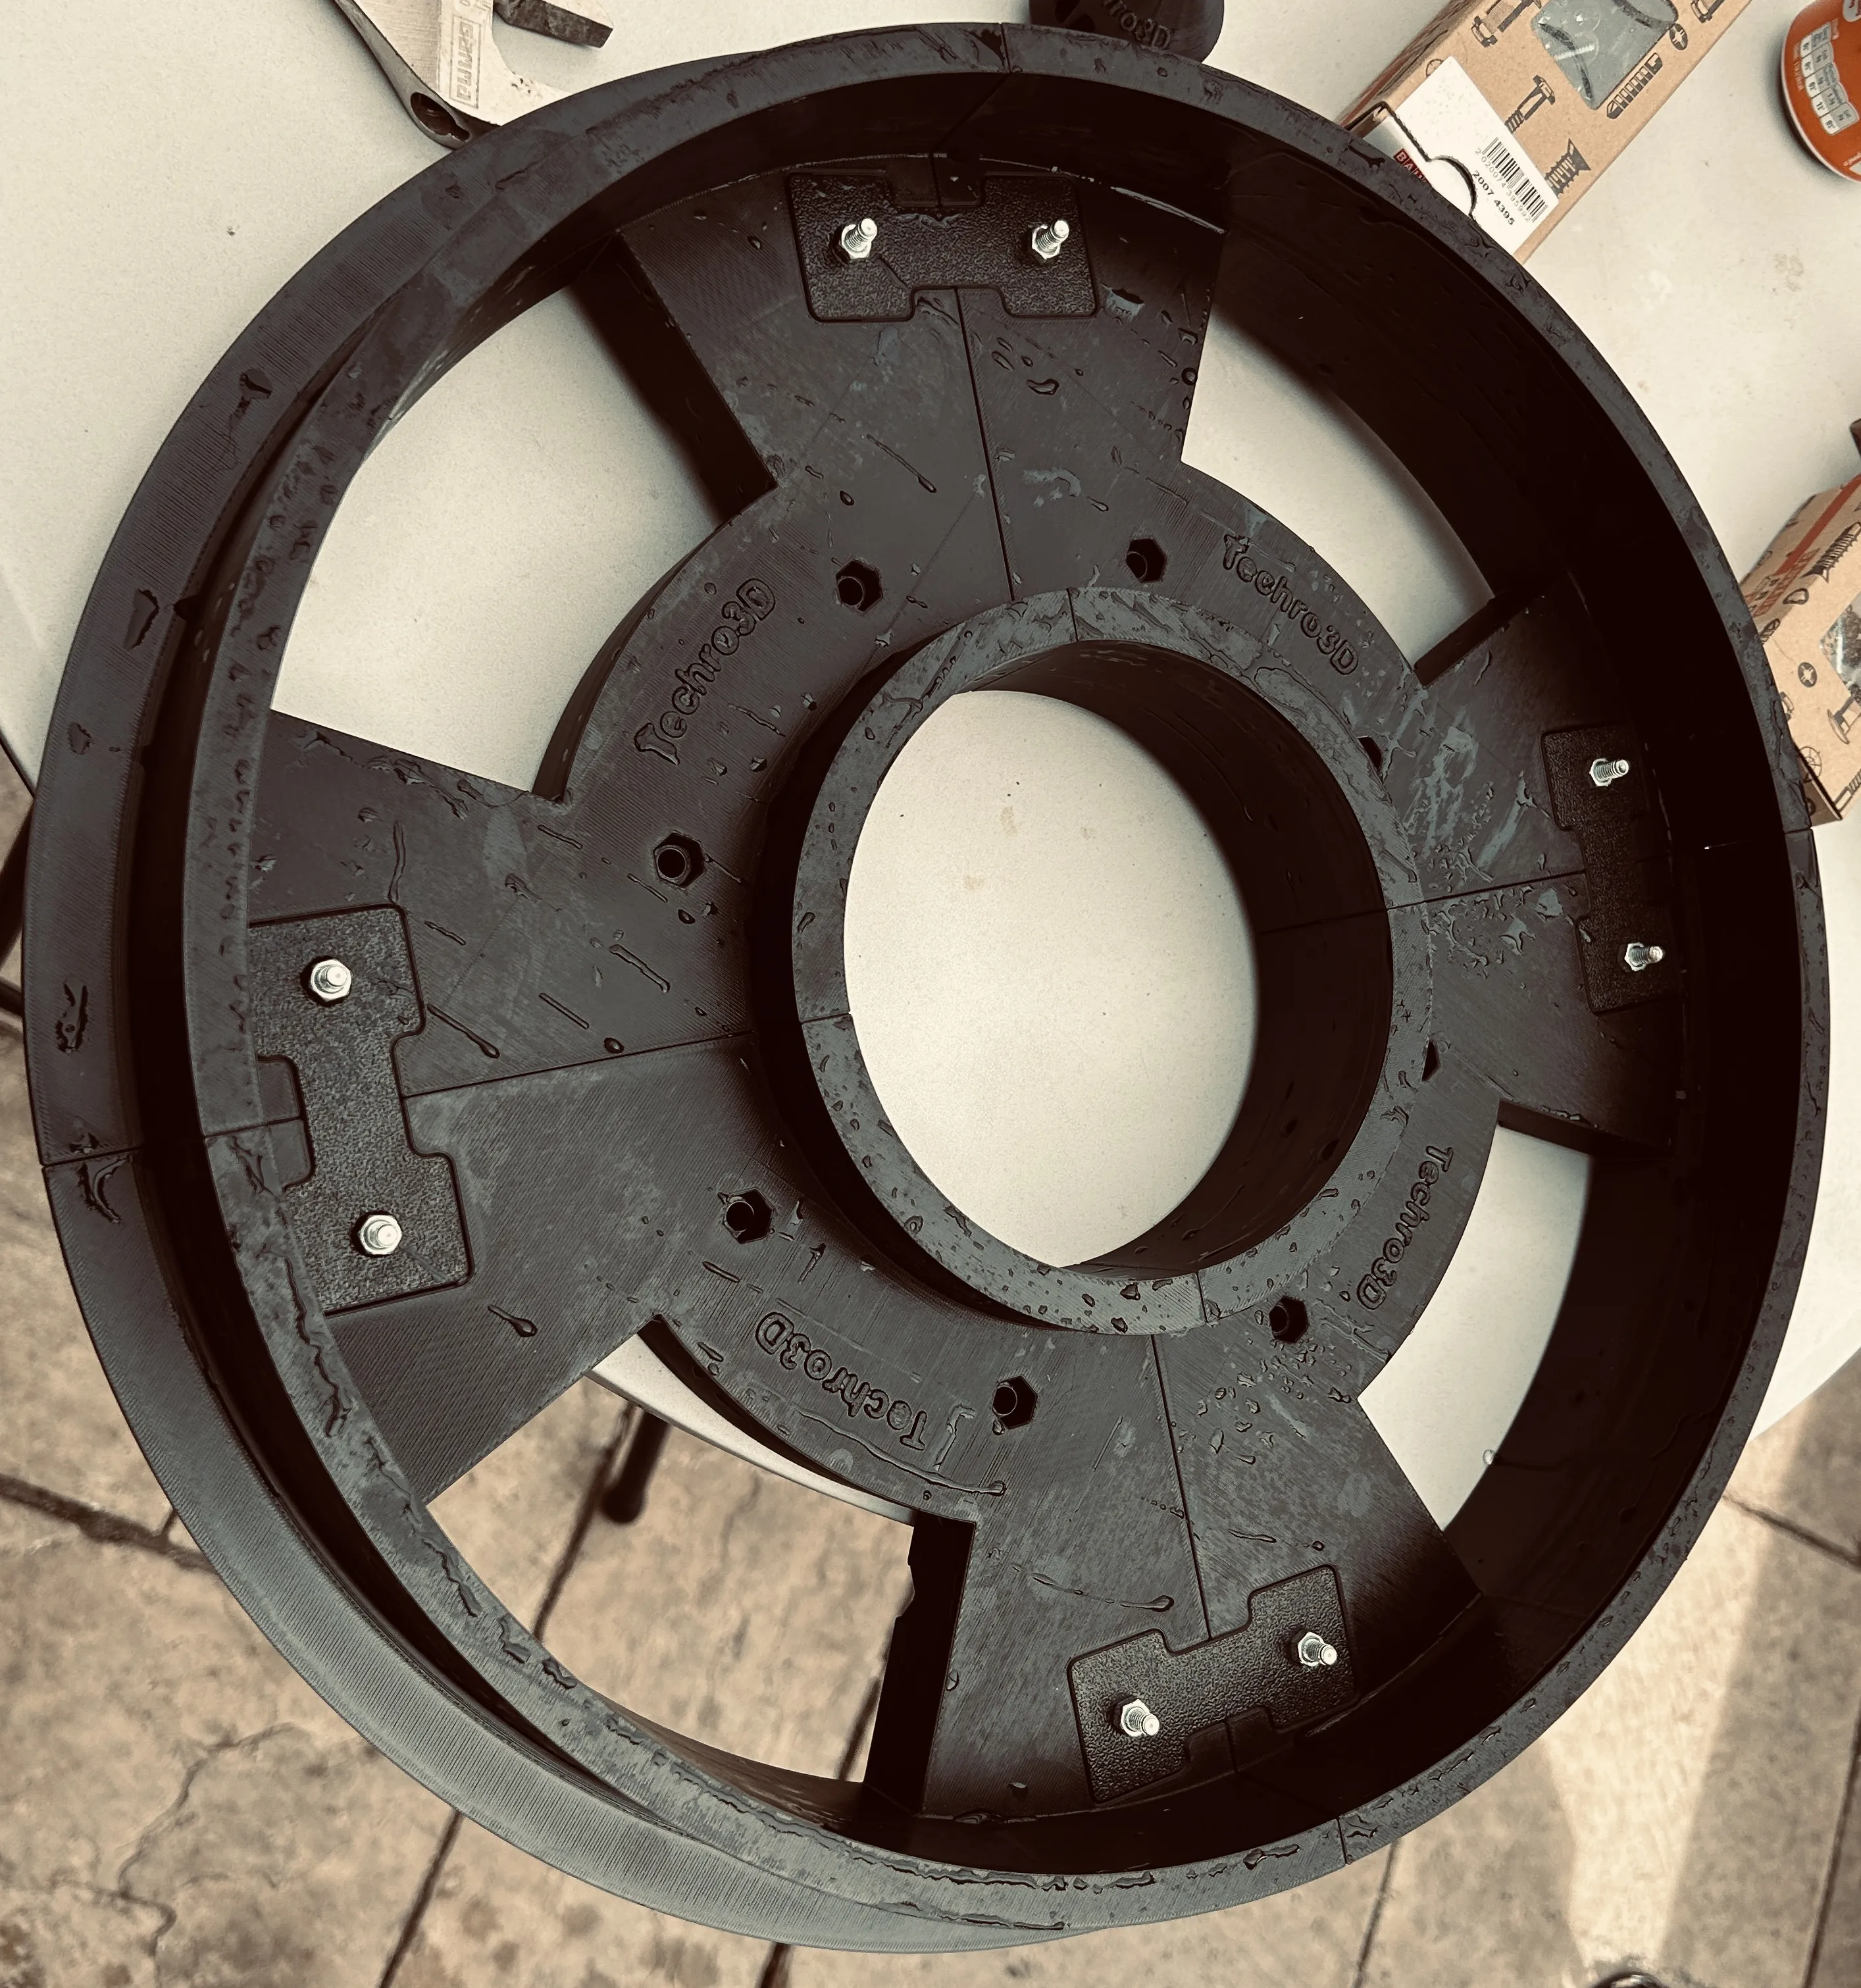
Step 01 – Mounting Platform (optional, you can also make your own mounting platform for your own planter)
For this step you need 4x T3D049-08-01 Mounting Platform.stl
- Insert ±8 mm rods into the designated holes
- Slide the 4 segments together to form a complete circle
- Install 4x H-profiles
Fastening:
- 8x M5x40 mm bolts (DIN 7991, countersunk)
- 8x M5 nuts (DIN 934)
Ensure everything is aligned and securely tightened.
images step 1 :
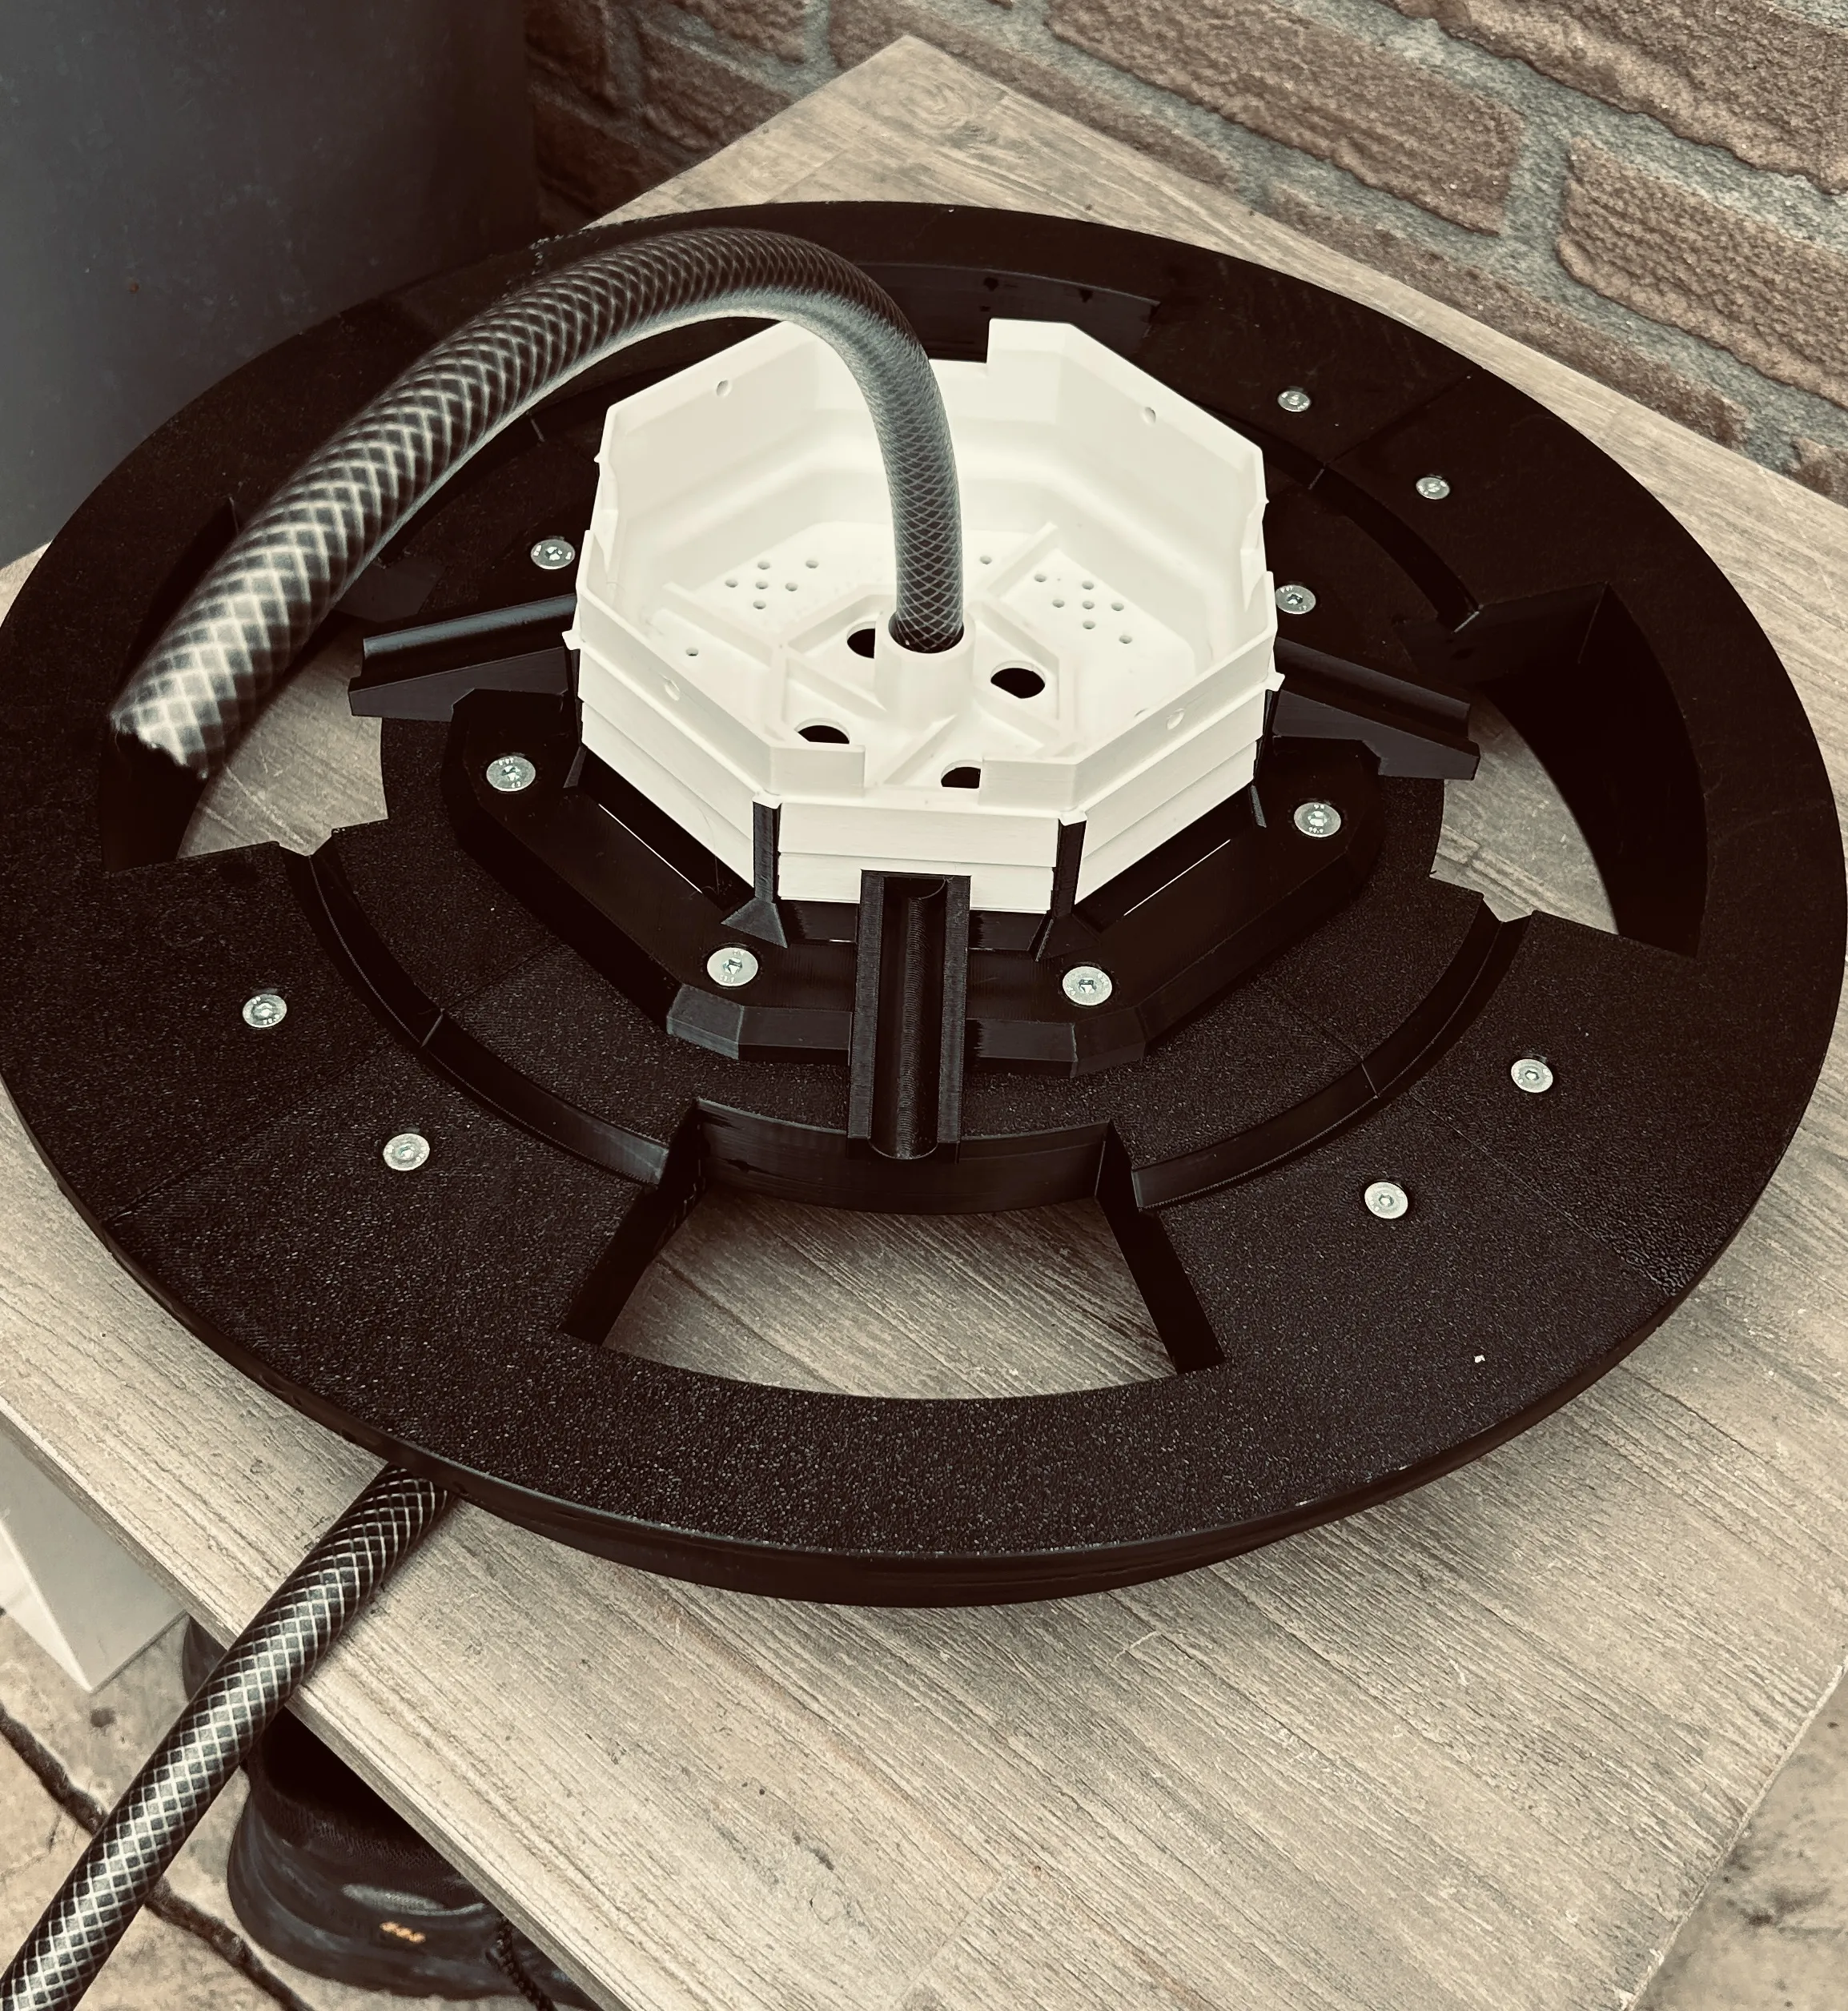
Step 02 – Bottom of the Tower
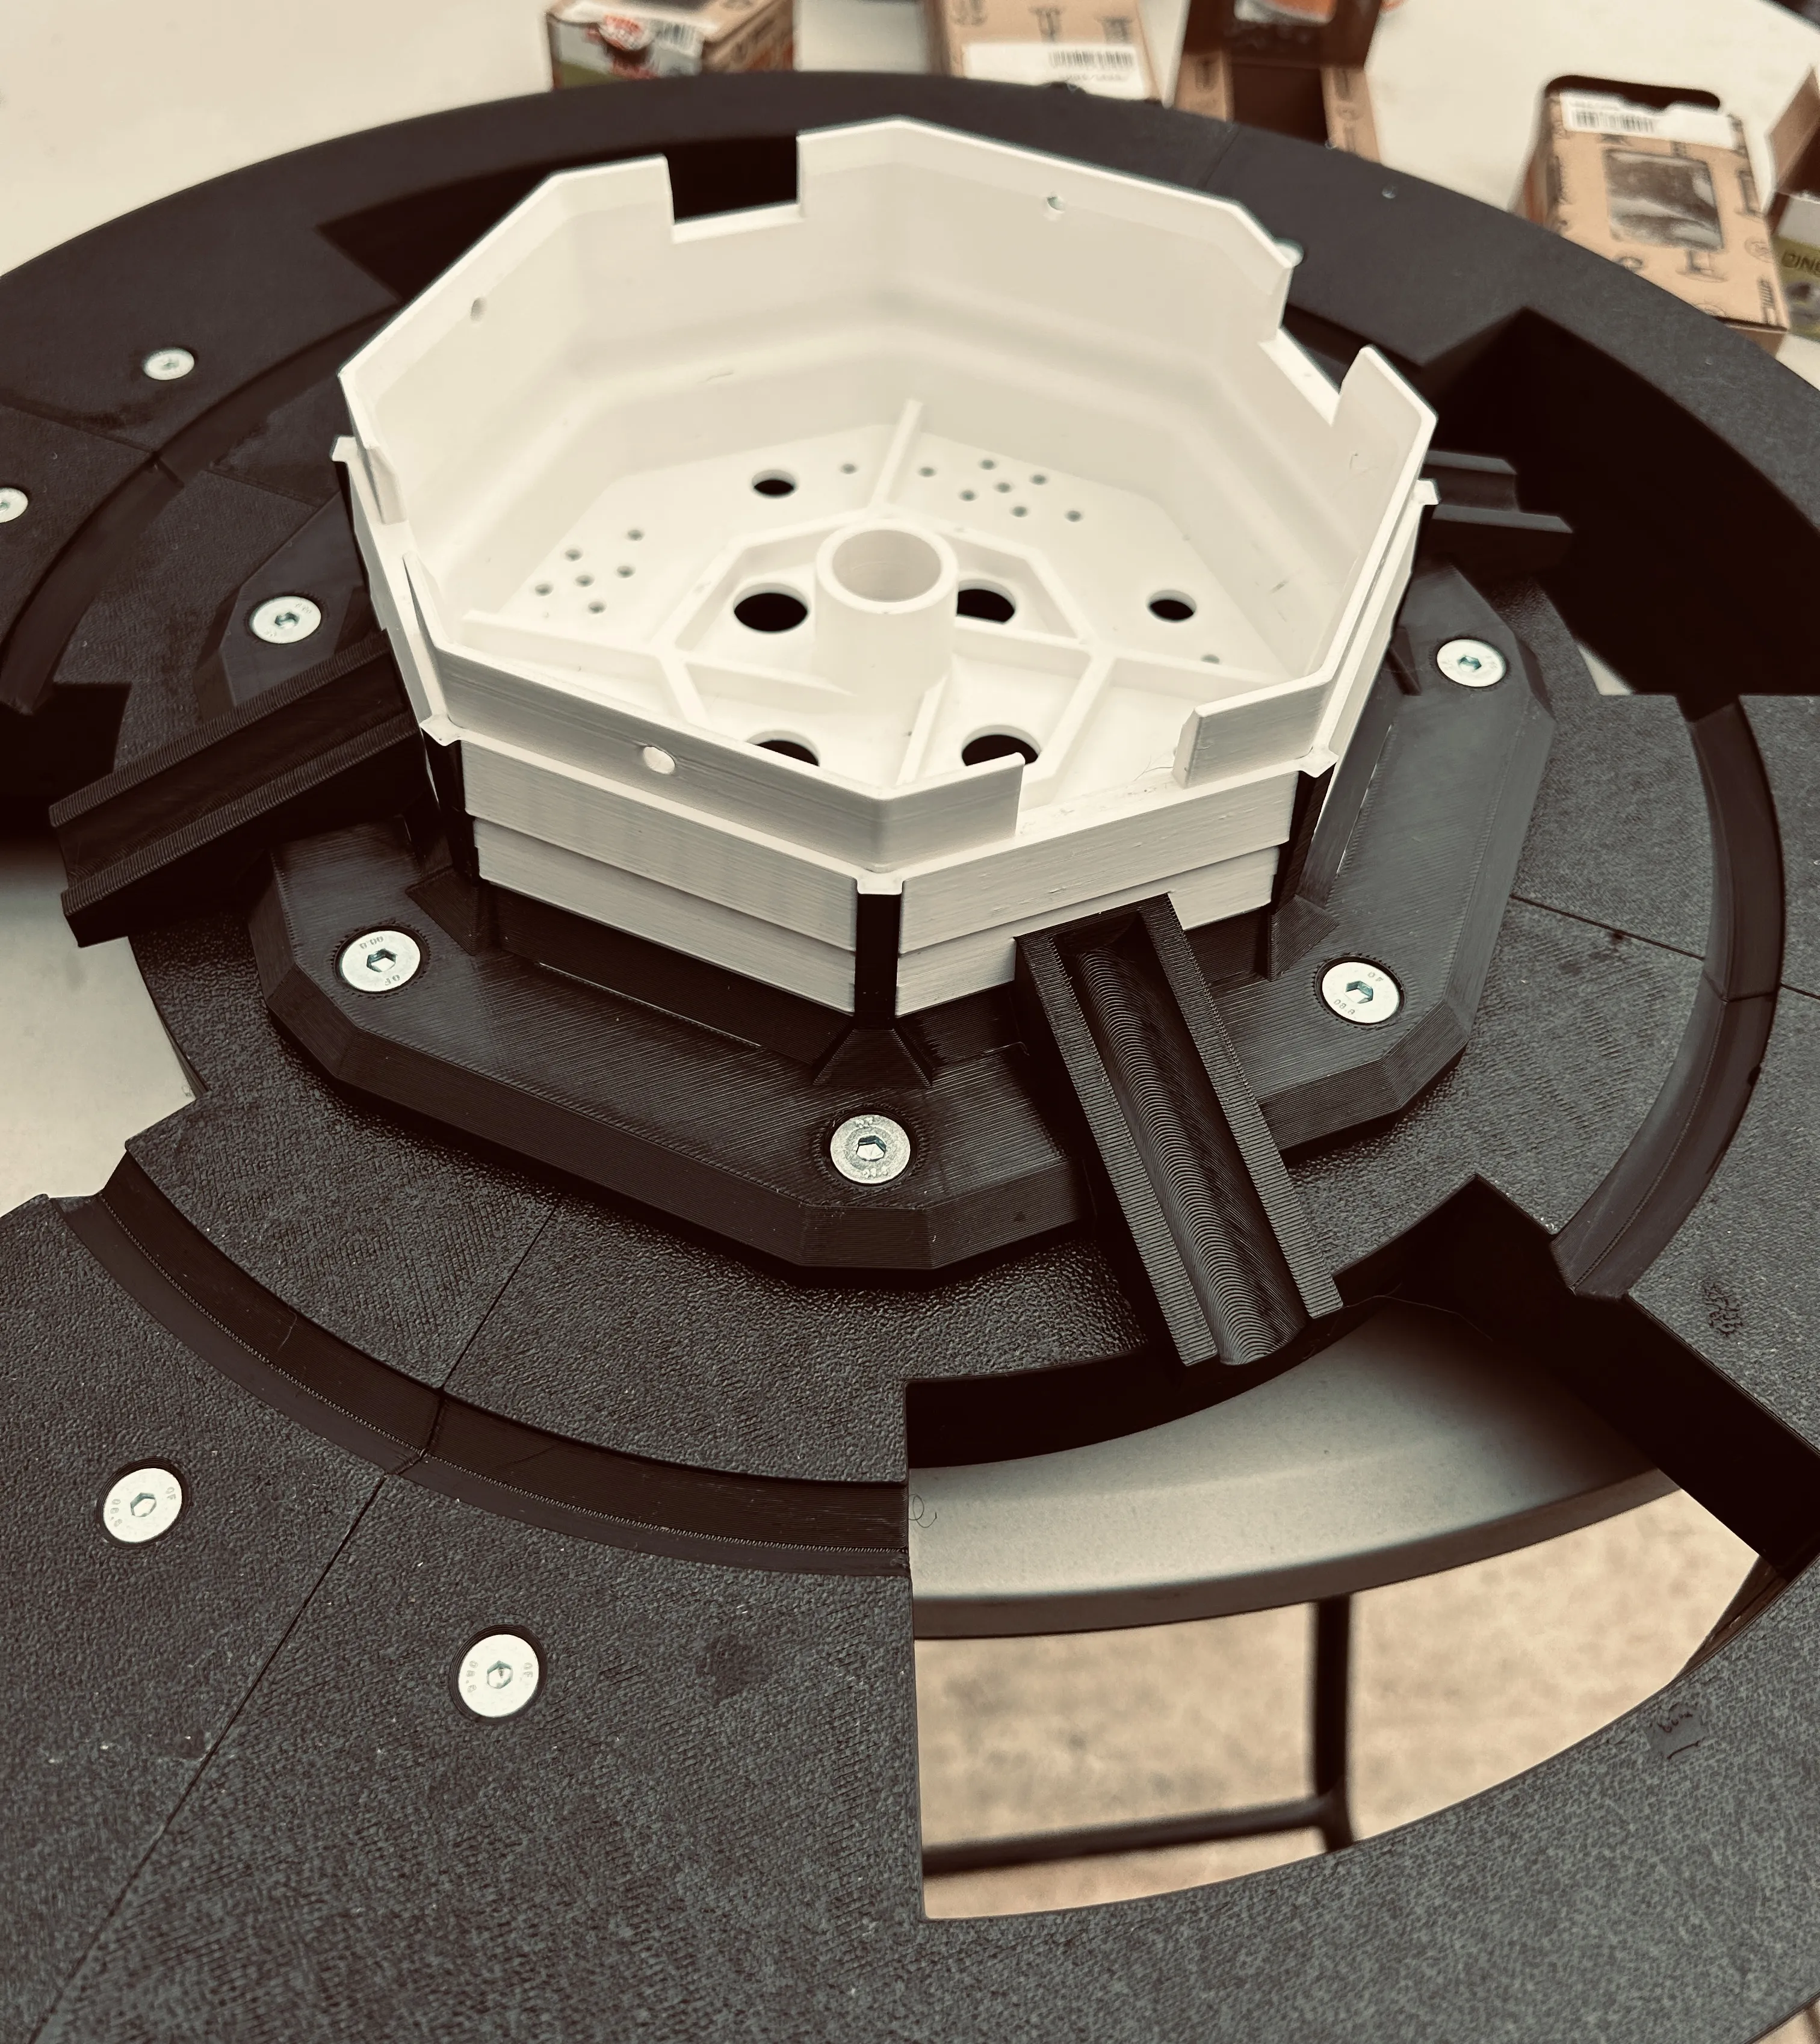
Mount T3D049-07-00 Bottom of the Tower.stl onto the platform.
- Place the part on top (only fits one way)
- Secure using:
- M6x50 mm bolts (DIN 7991, countersunk)
- M6 nuts
Hose installation:
- Use a standard 1/2” garden hose
- Feed the hose from the bottom through the center hole
- Leave approximately 2 meters of hose inside the system
images step 2 :
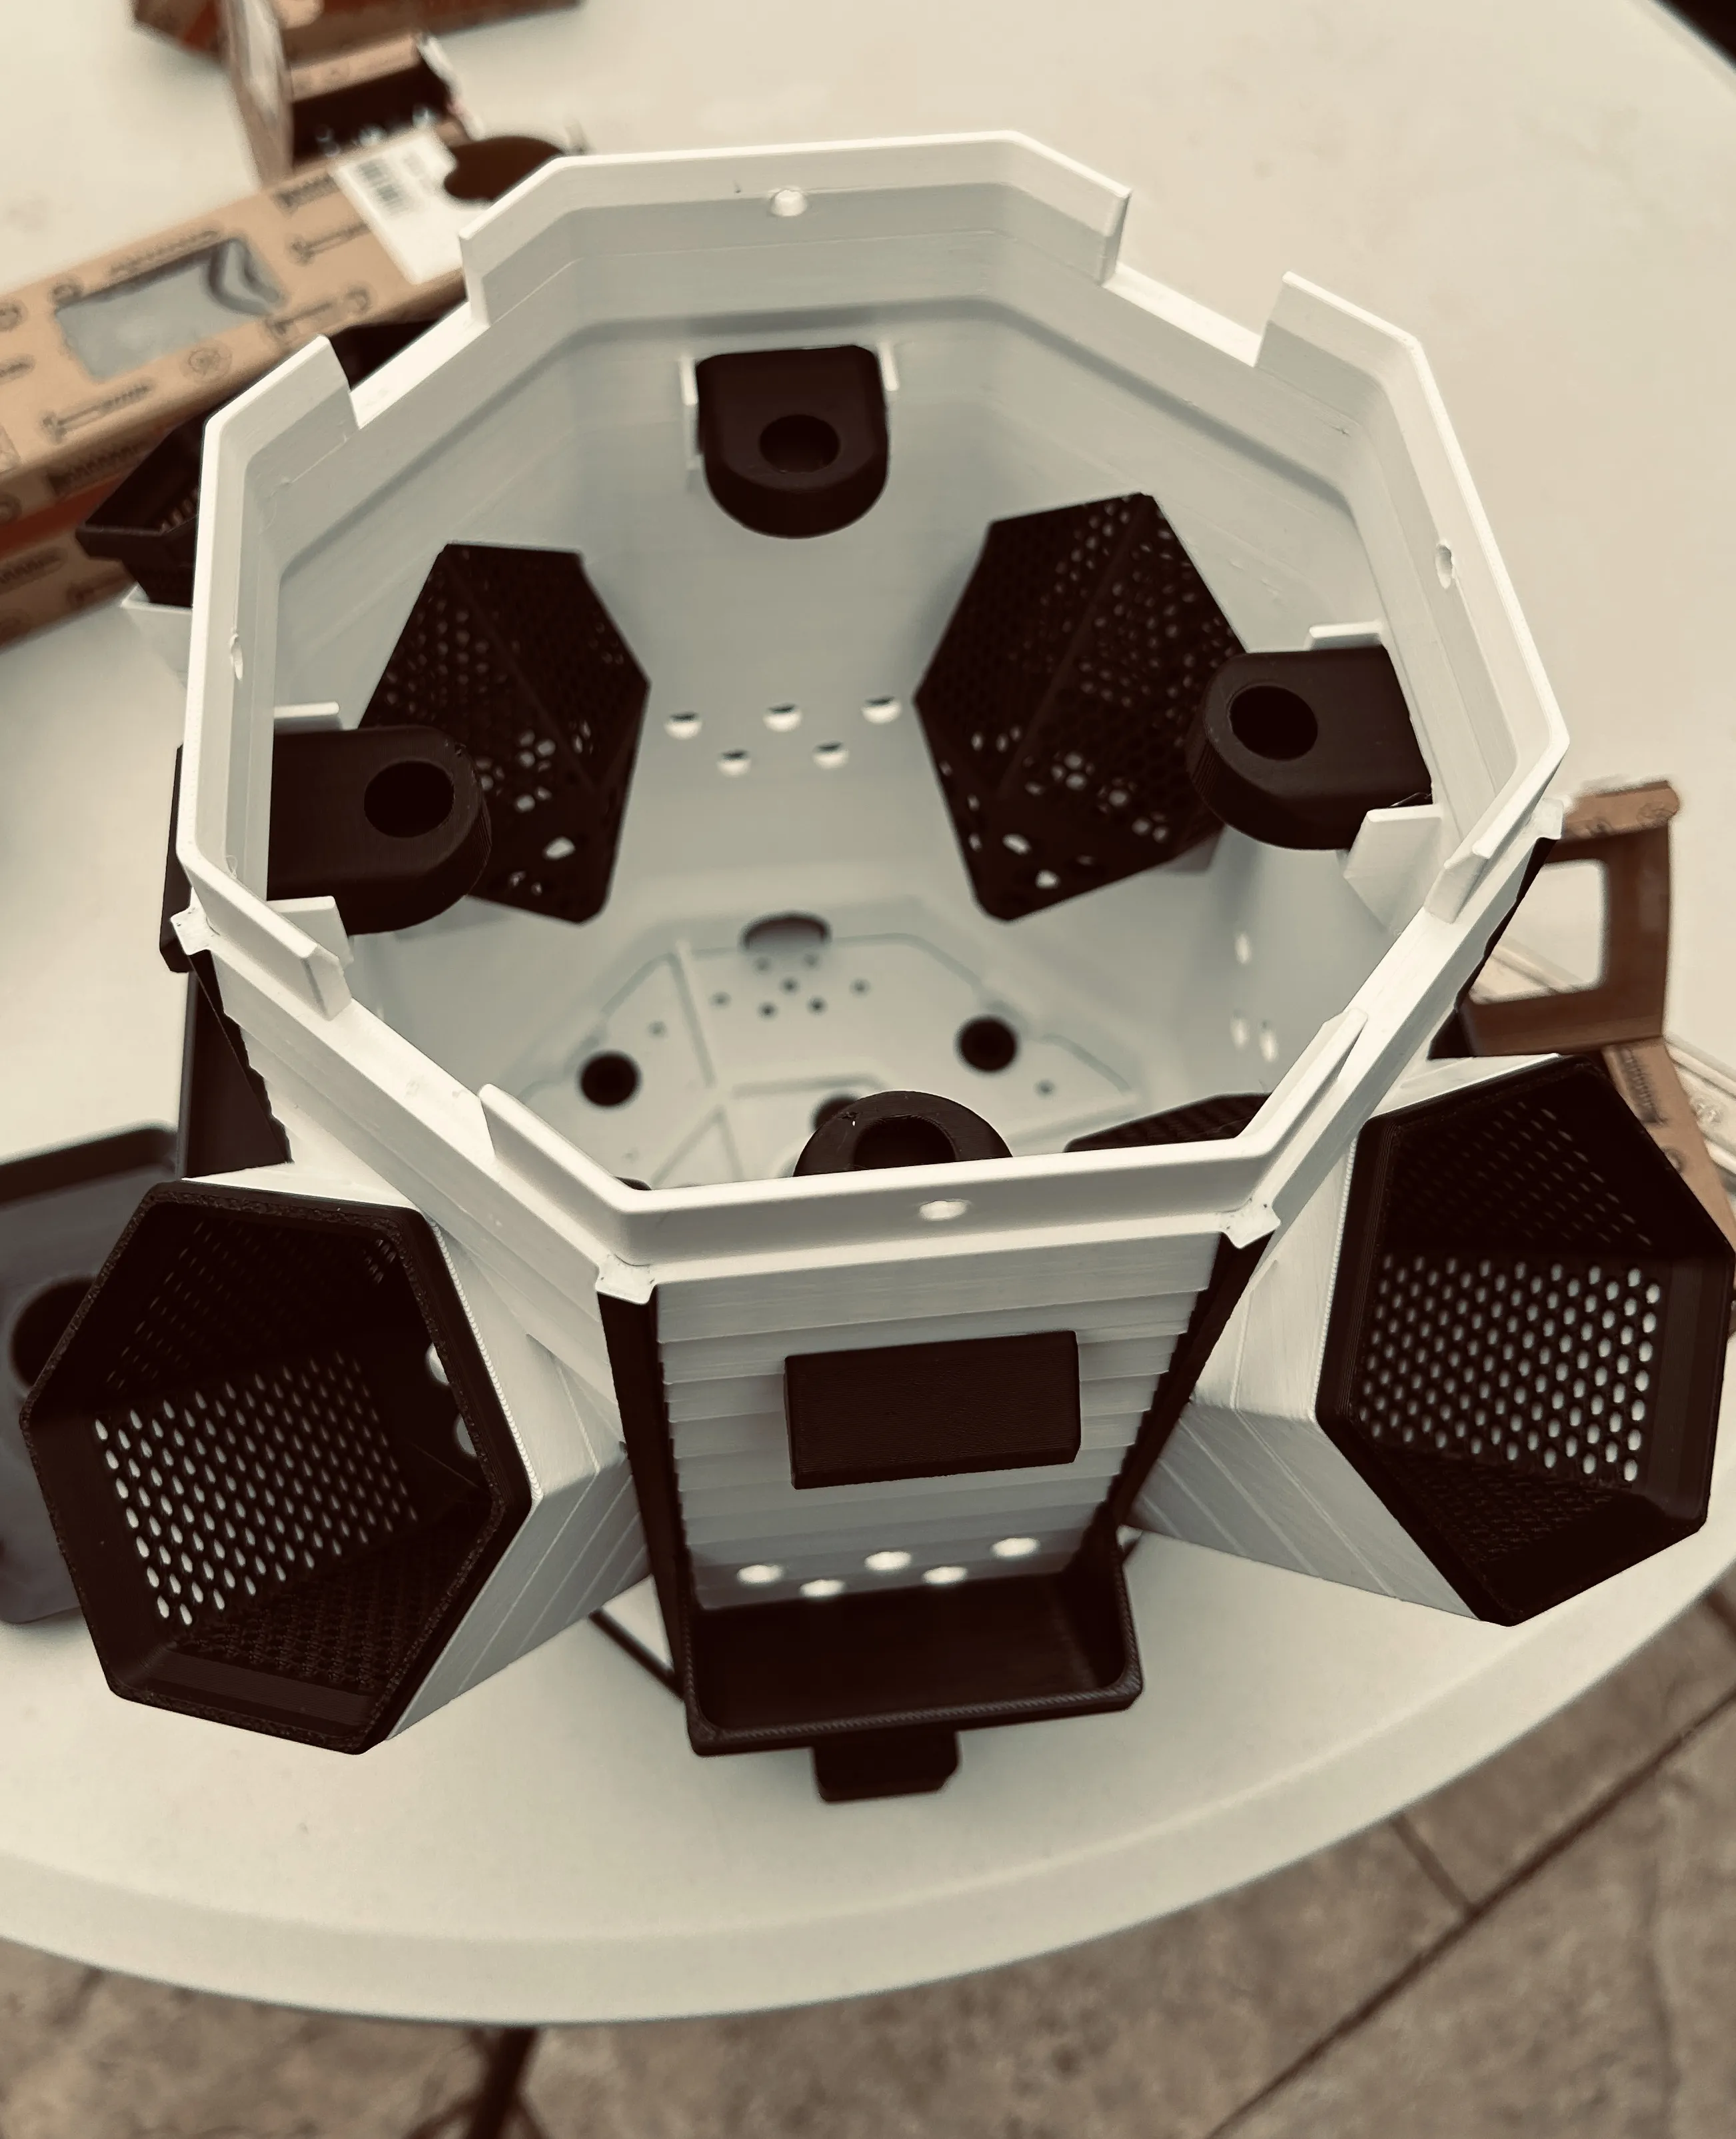
Step 03 – Base Module Assembly
Two variants are available:
- With waterfall: T3D049-01-00 Base with Waterfall.stl
- Without waterfall: T3D049-06-00 Base without Waterfall.stl
You can mix configurations as desired.
Preparation:
- Insert 4x M4 nuts (DIN 934) into the hexagonal slots at the bottom
Assembly:
- Install:
- 4x T3D049-03-01 Tube.stl
- 4x T3D049-13-01 Outside Plant Tube.stl
- Mount the base onto:
- the tower bottom (step 02), or
- the previous module
⚠️ Always feed the hose through the center hole
Fastening:
- Use M4x20 mm bolts (DIN 7991, countersunk)
- Hold the nuts from the inside during tightening
Water system:
- Place T3D049-02-00 Water Diffuser.stl over the hose
- → critical for proper water distribution and waterfall function
Finishing per layer:
- 4x T3D049-05-00 Waterfall Part.stl
- 4x T3D049-04-00 Plant Basket.stl
Repeat this step approximately 6 times (or adjust height as needed).
images step 3 :
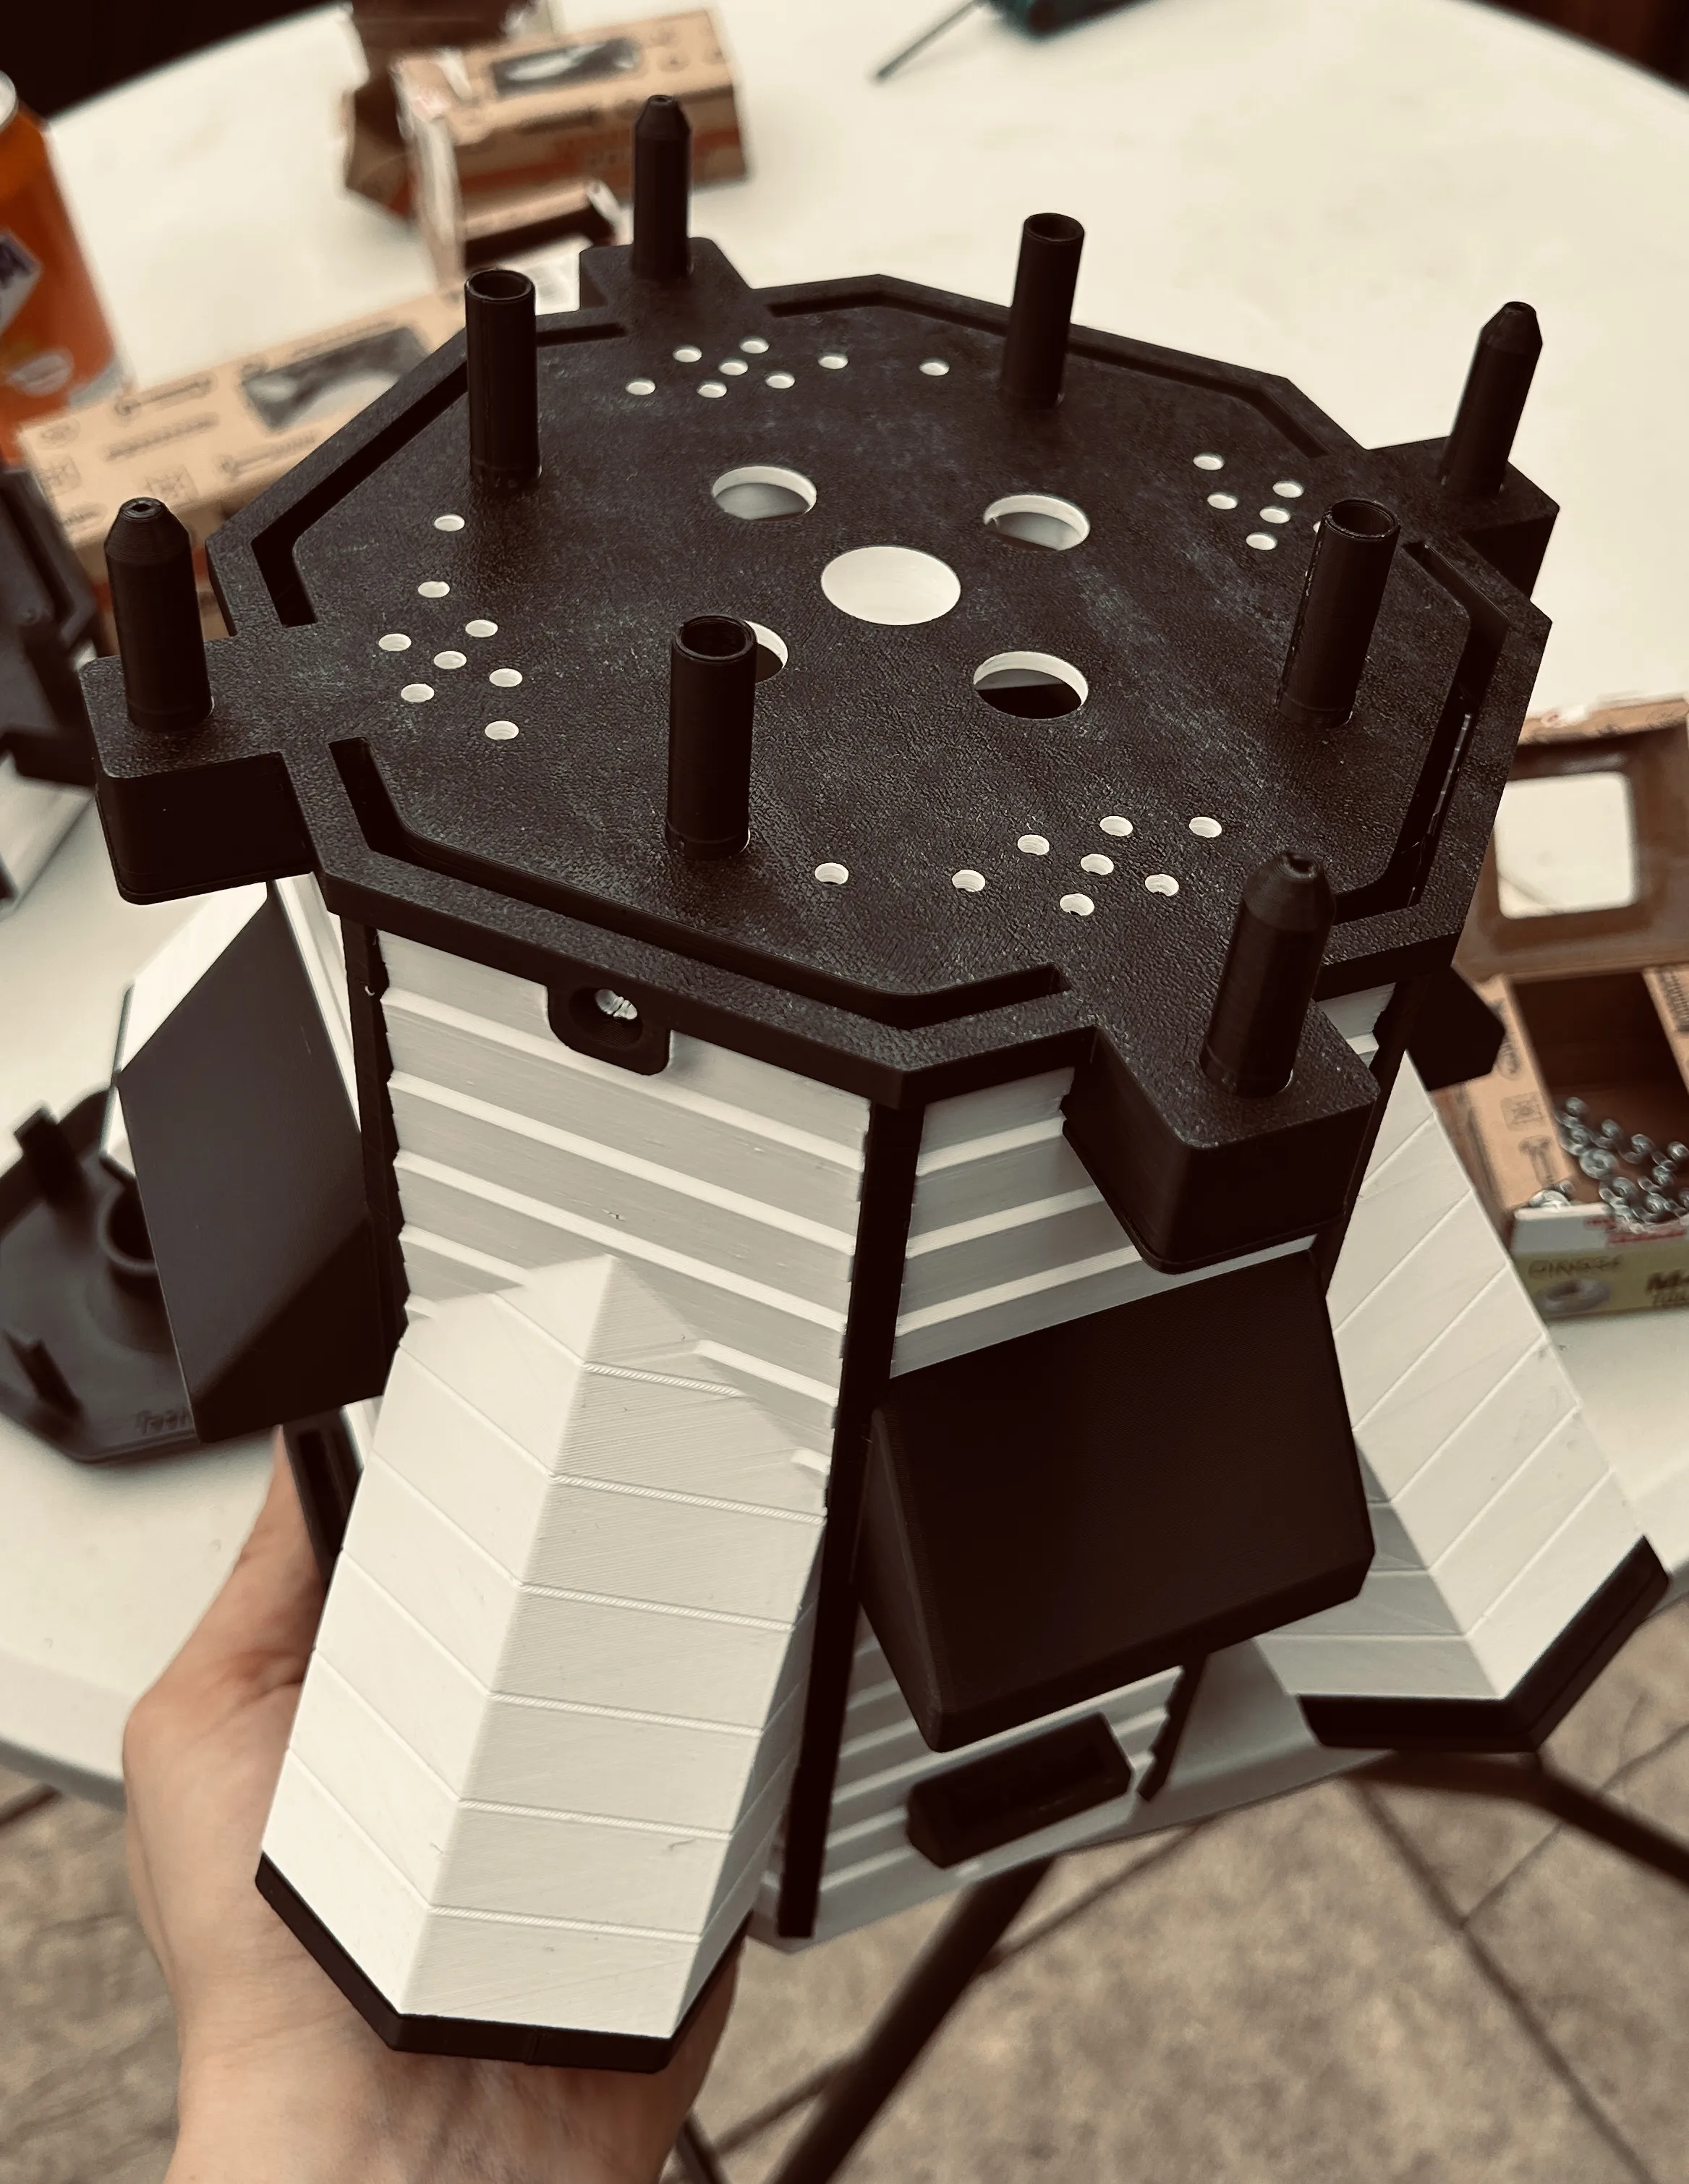
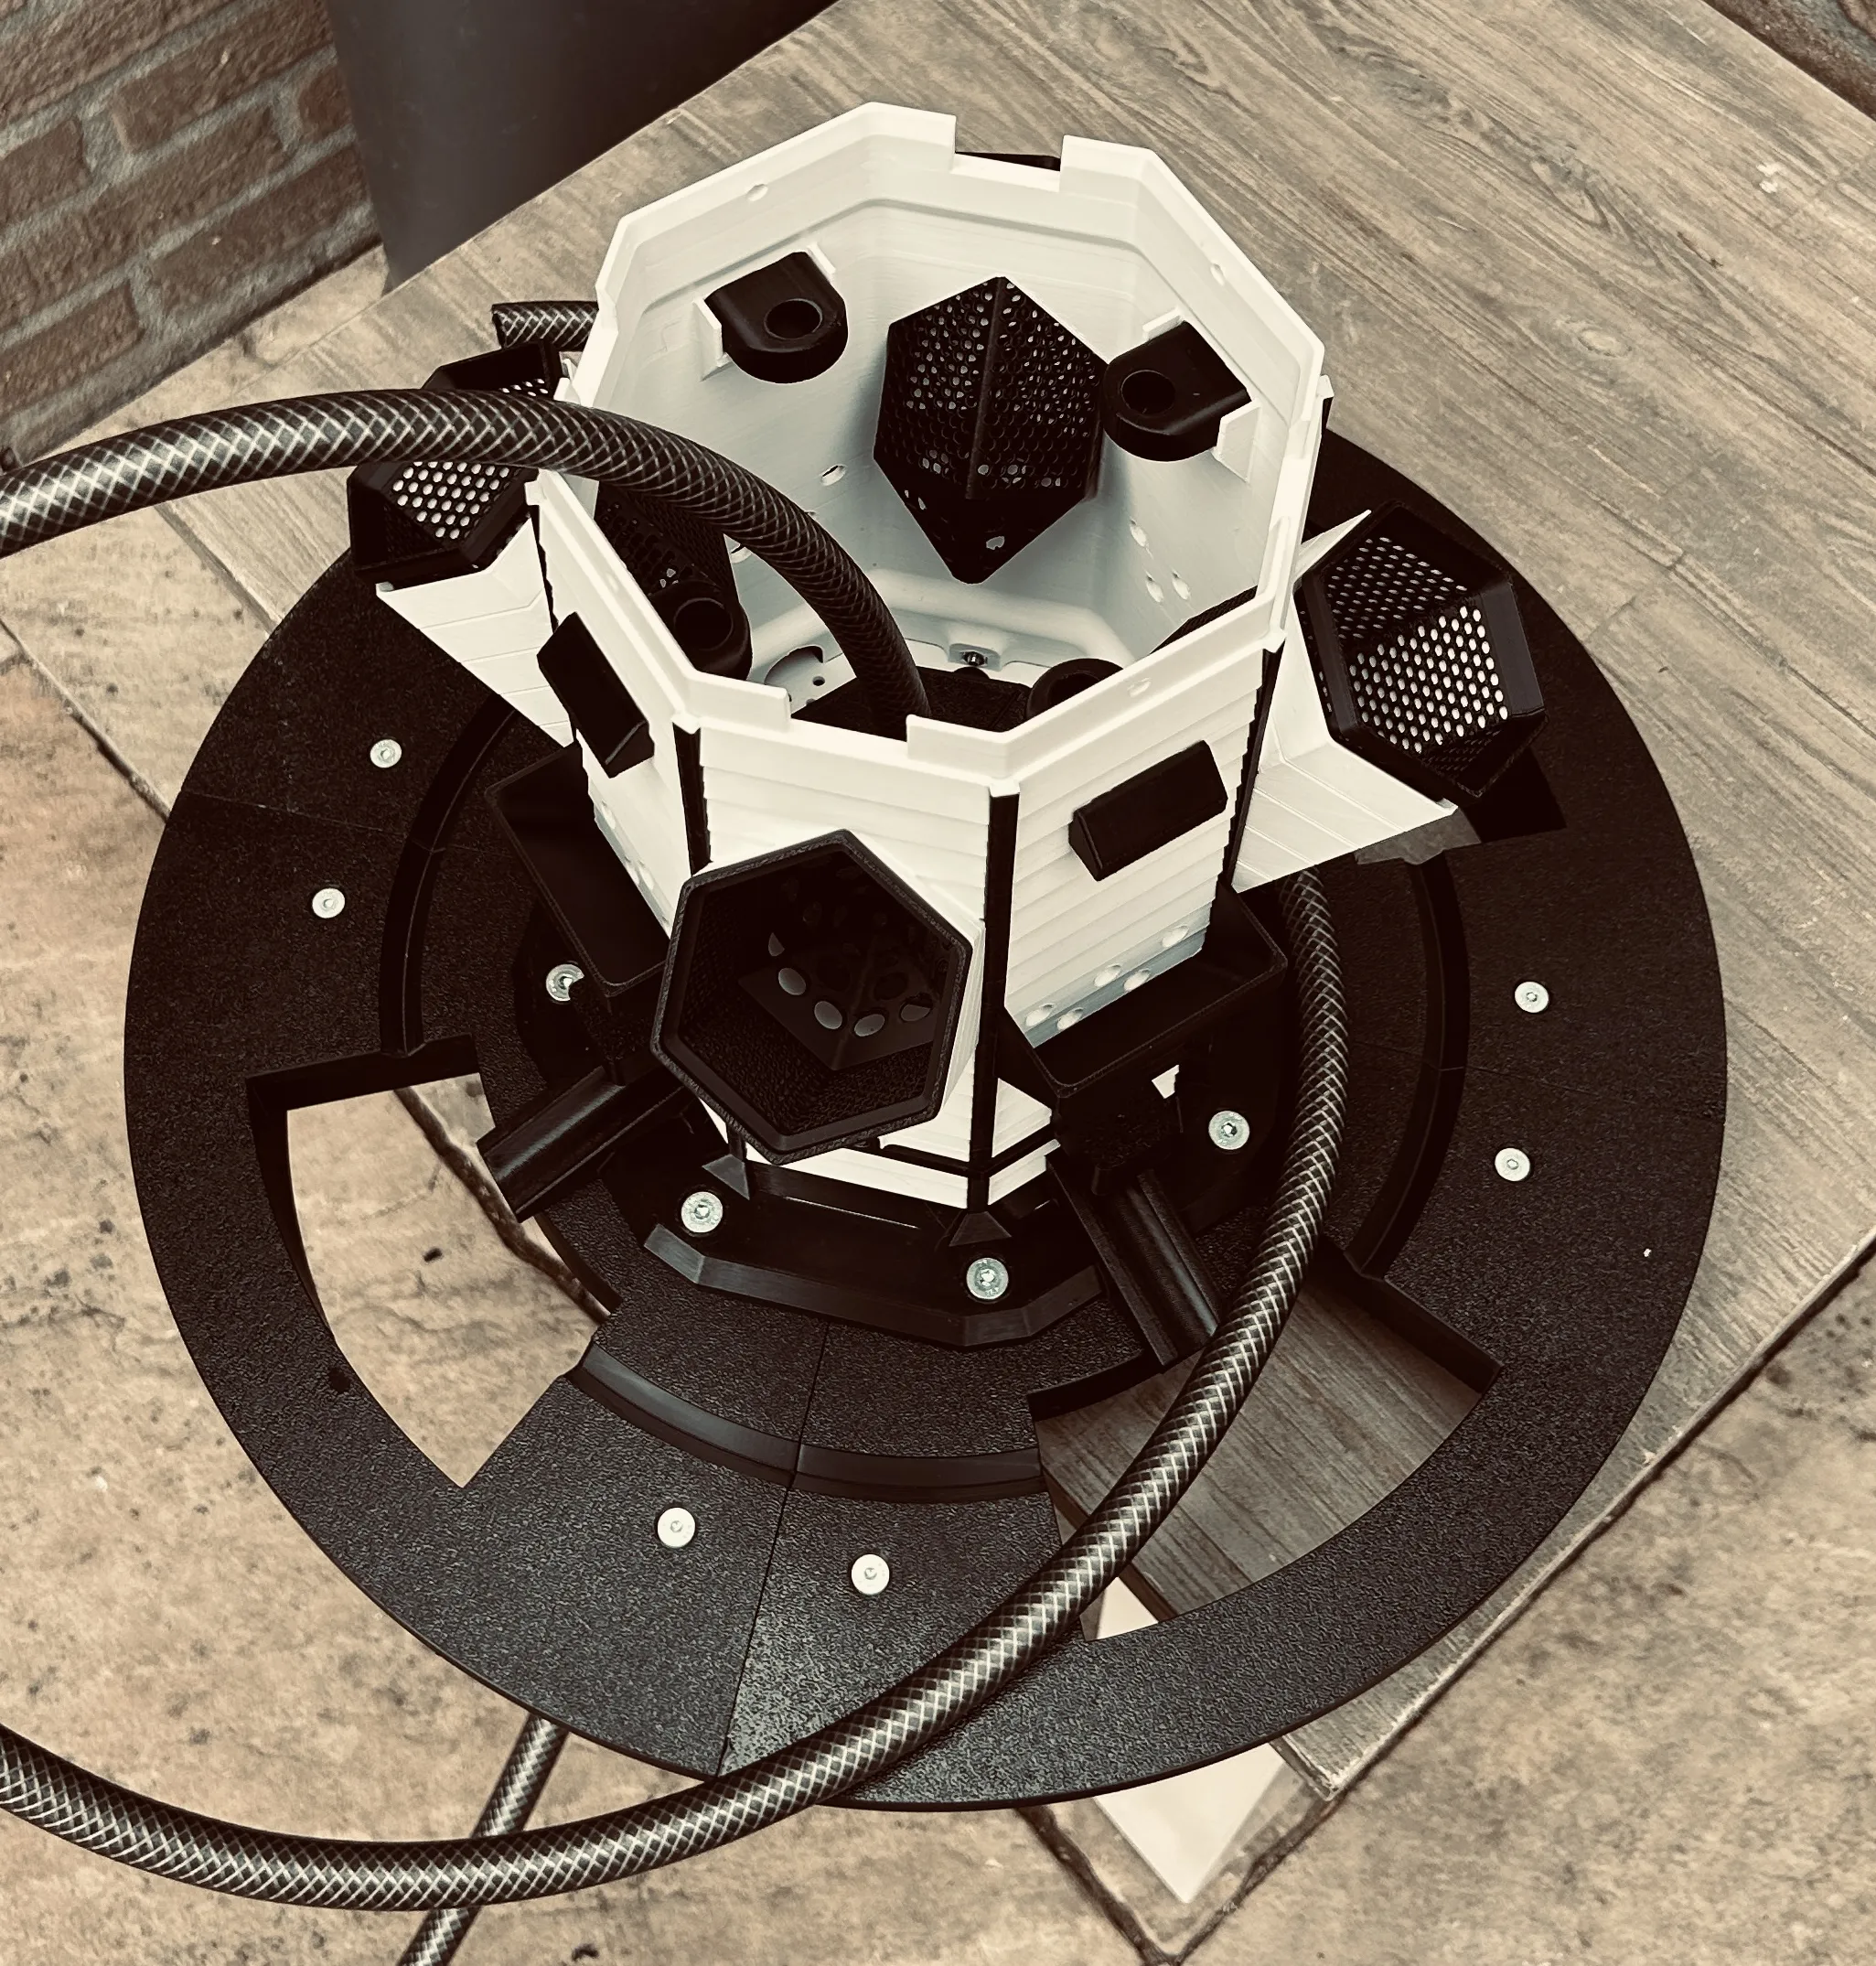
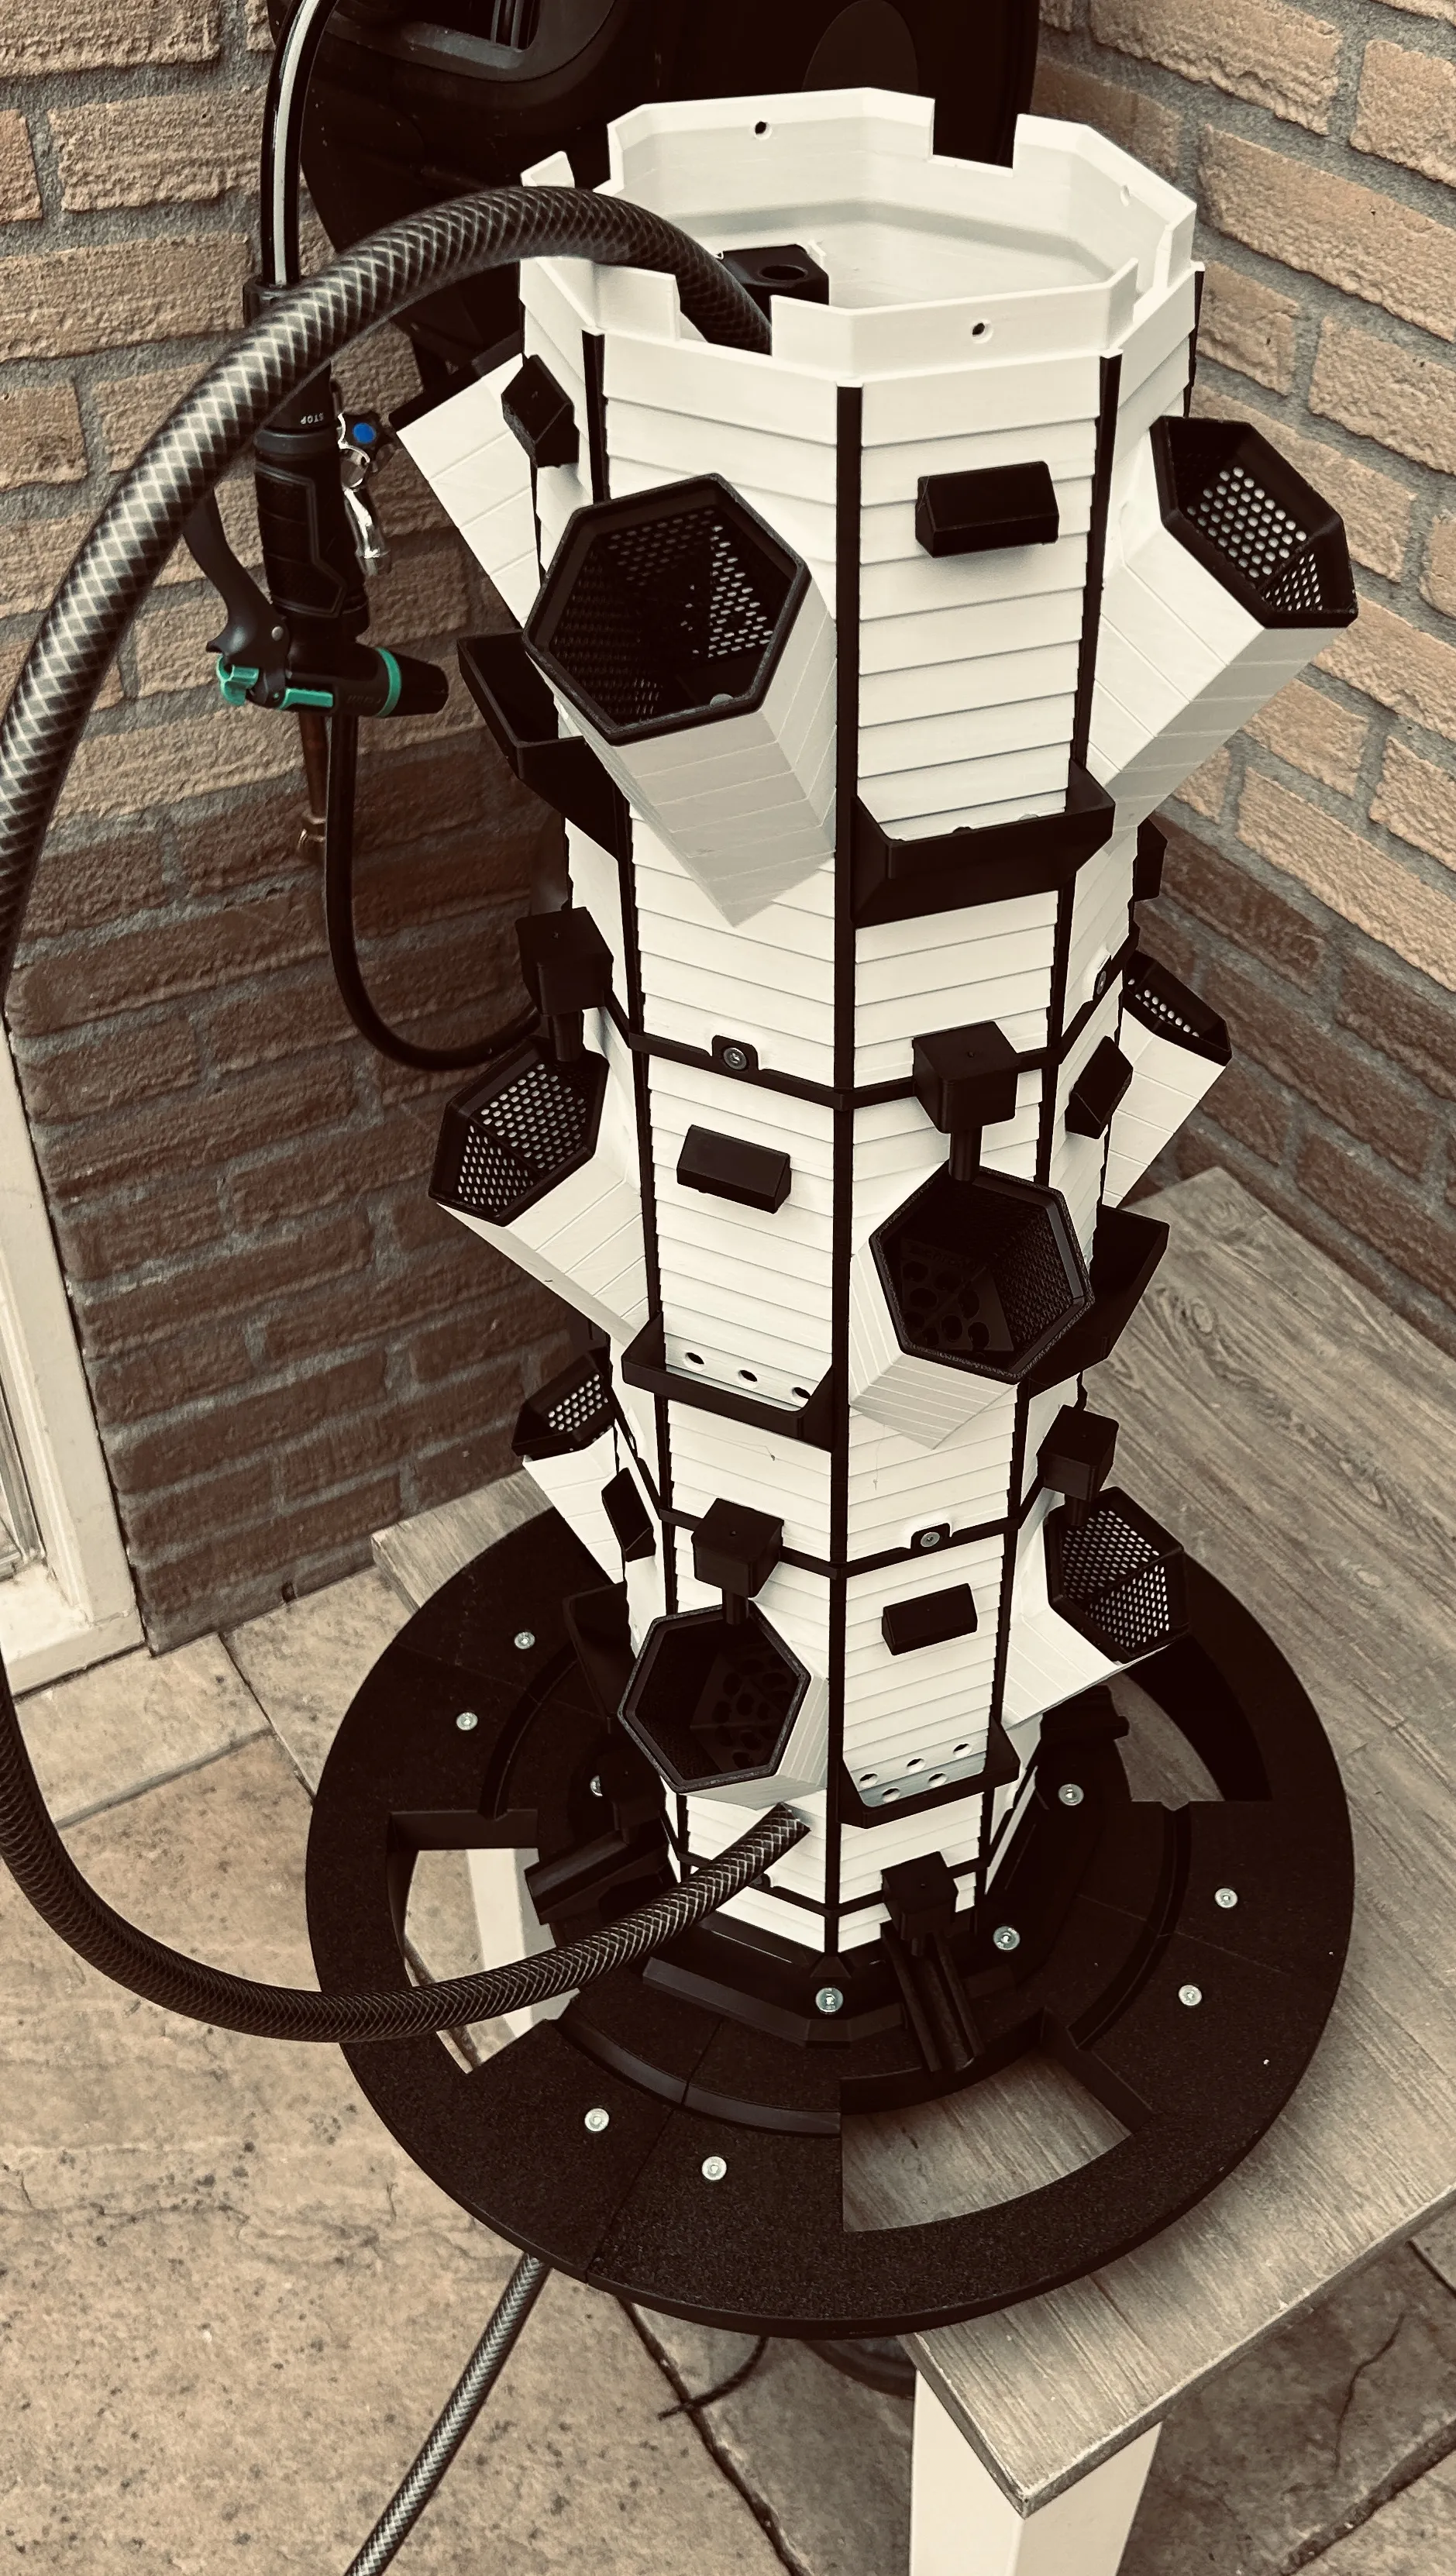
Step 04 – Top of the Tower
Assemble the top section:
- Take T3D049-09-00 Top of the Tower.stl
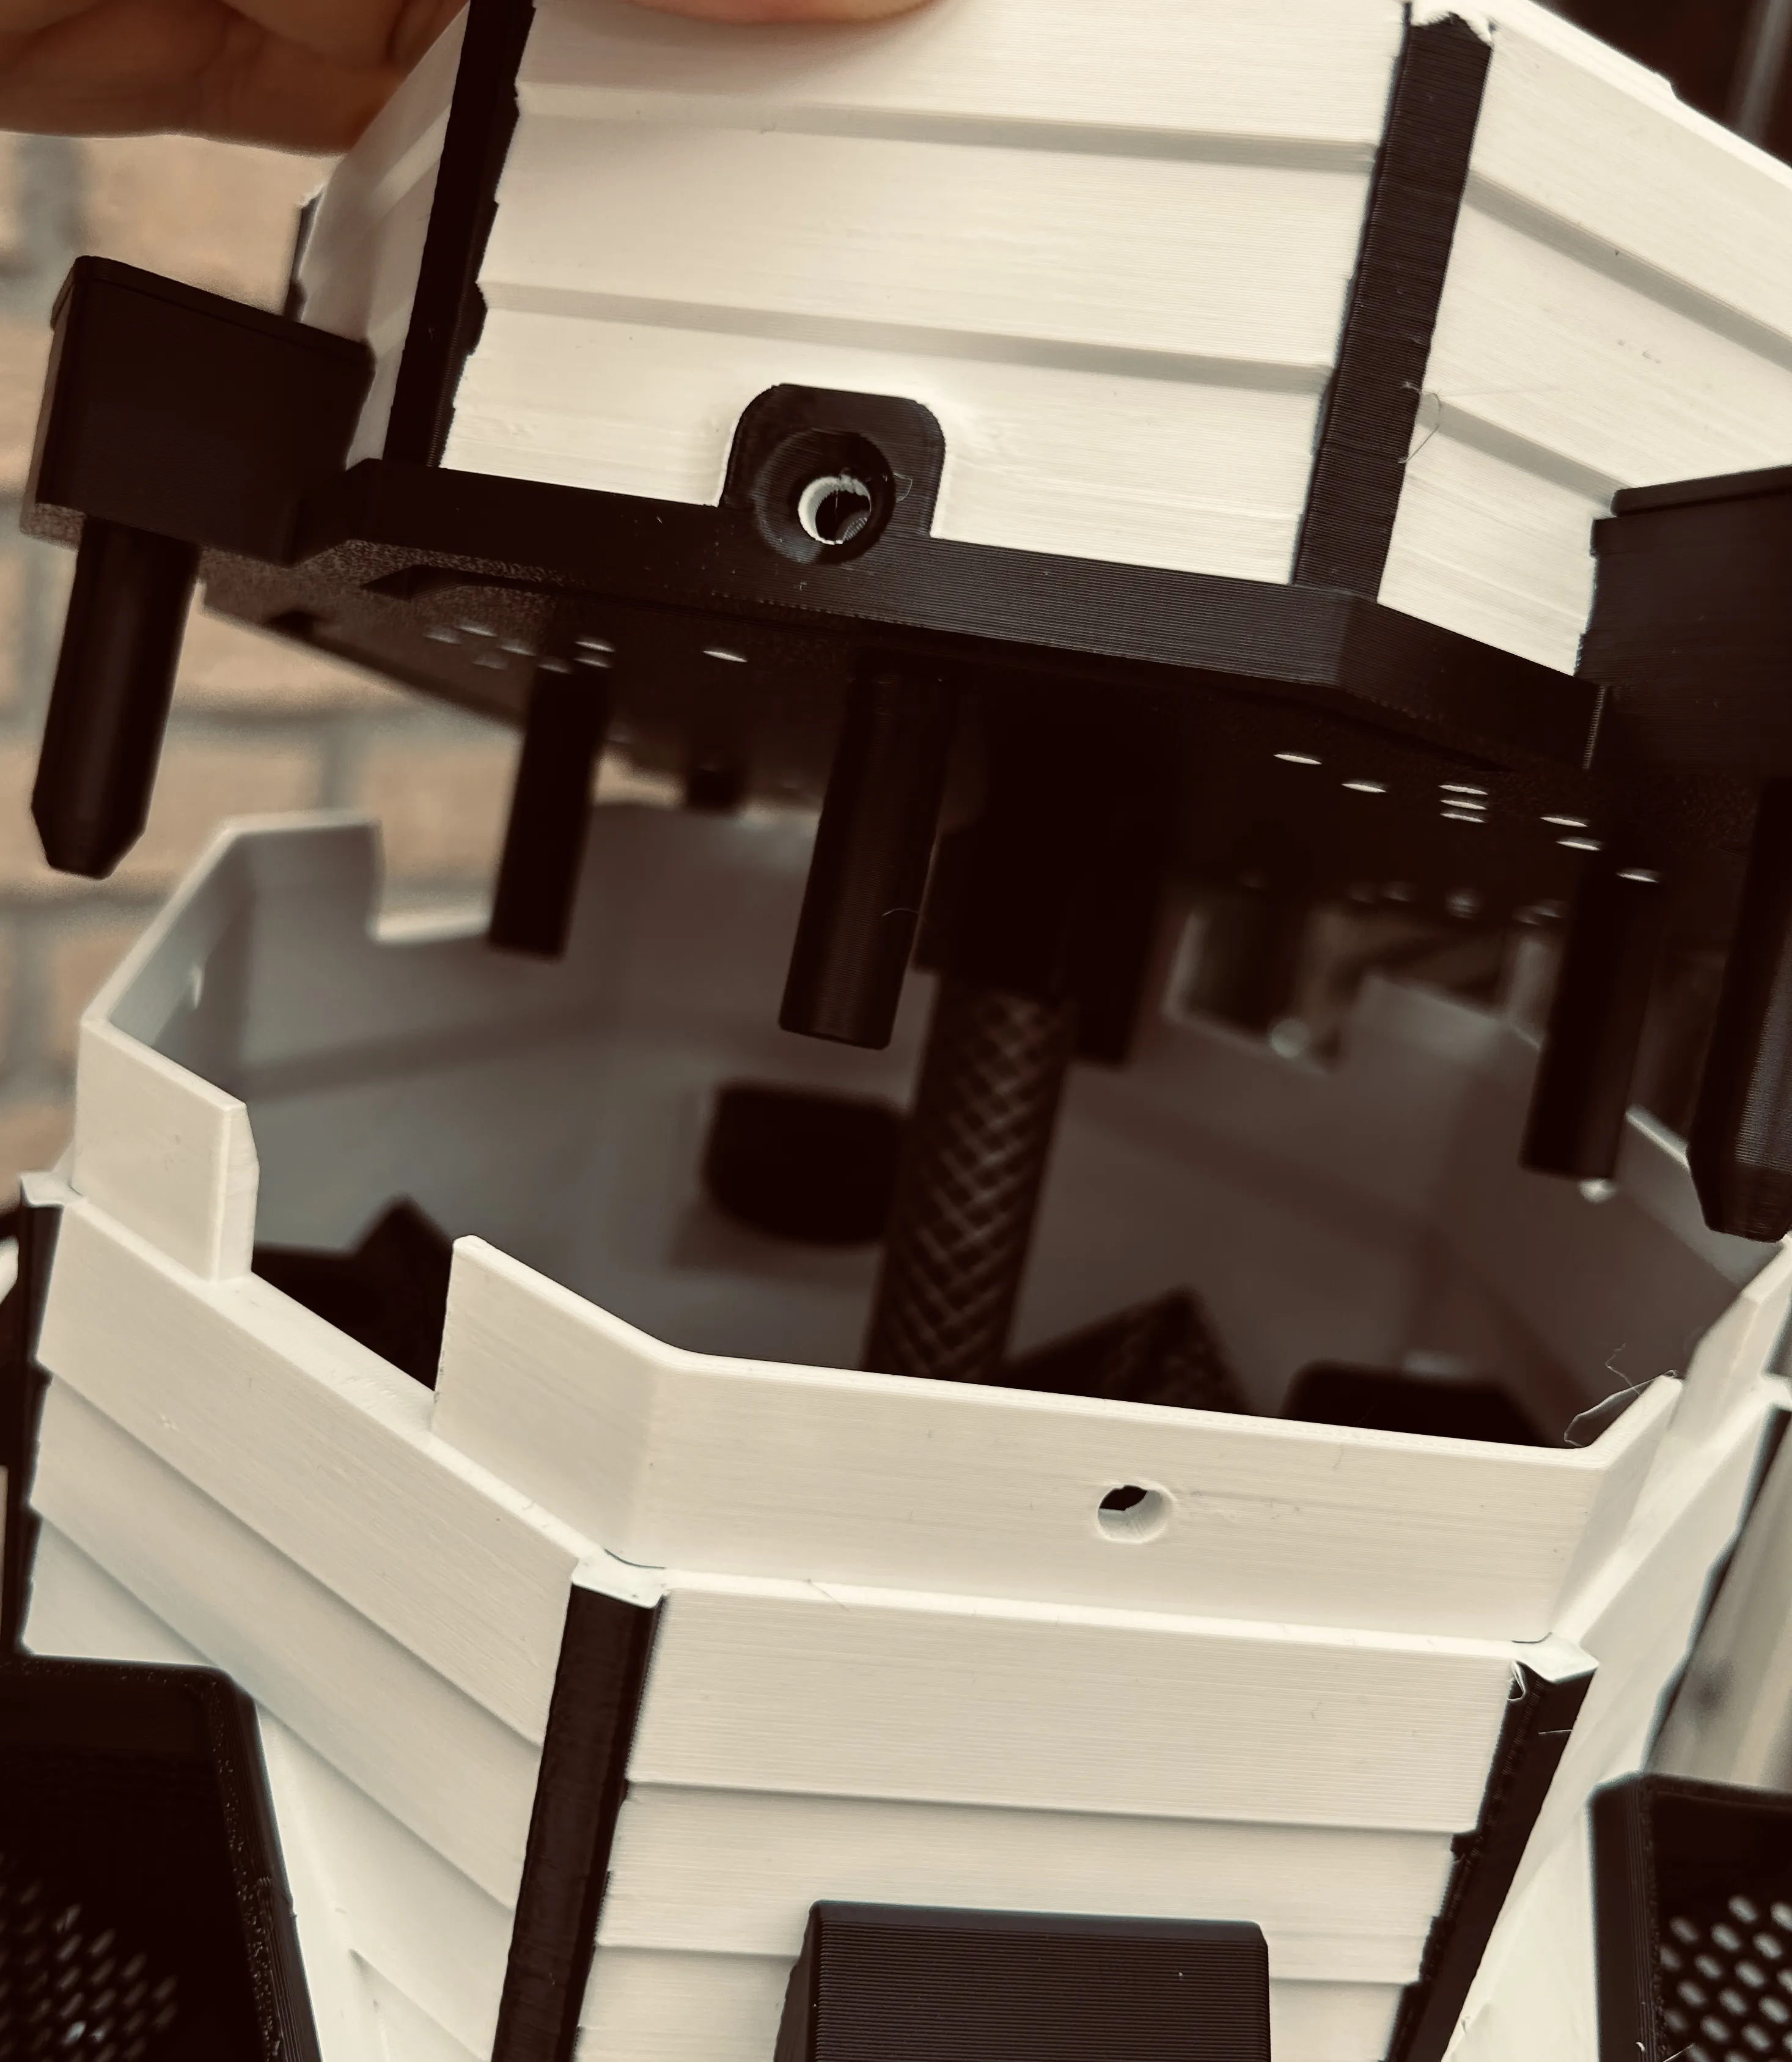
- Screw in T3D049-12-00 Garden Hose Connection.stl from the underside
Hose connection:
- Trim the hose if necessary
- Attach it to the connector
Mounting:
- Place the top onto the tower
- Secure using the same method as the base modules
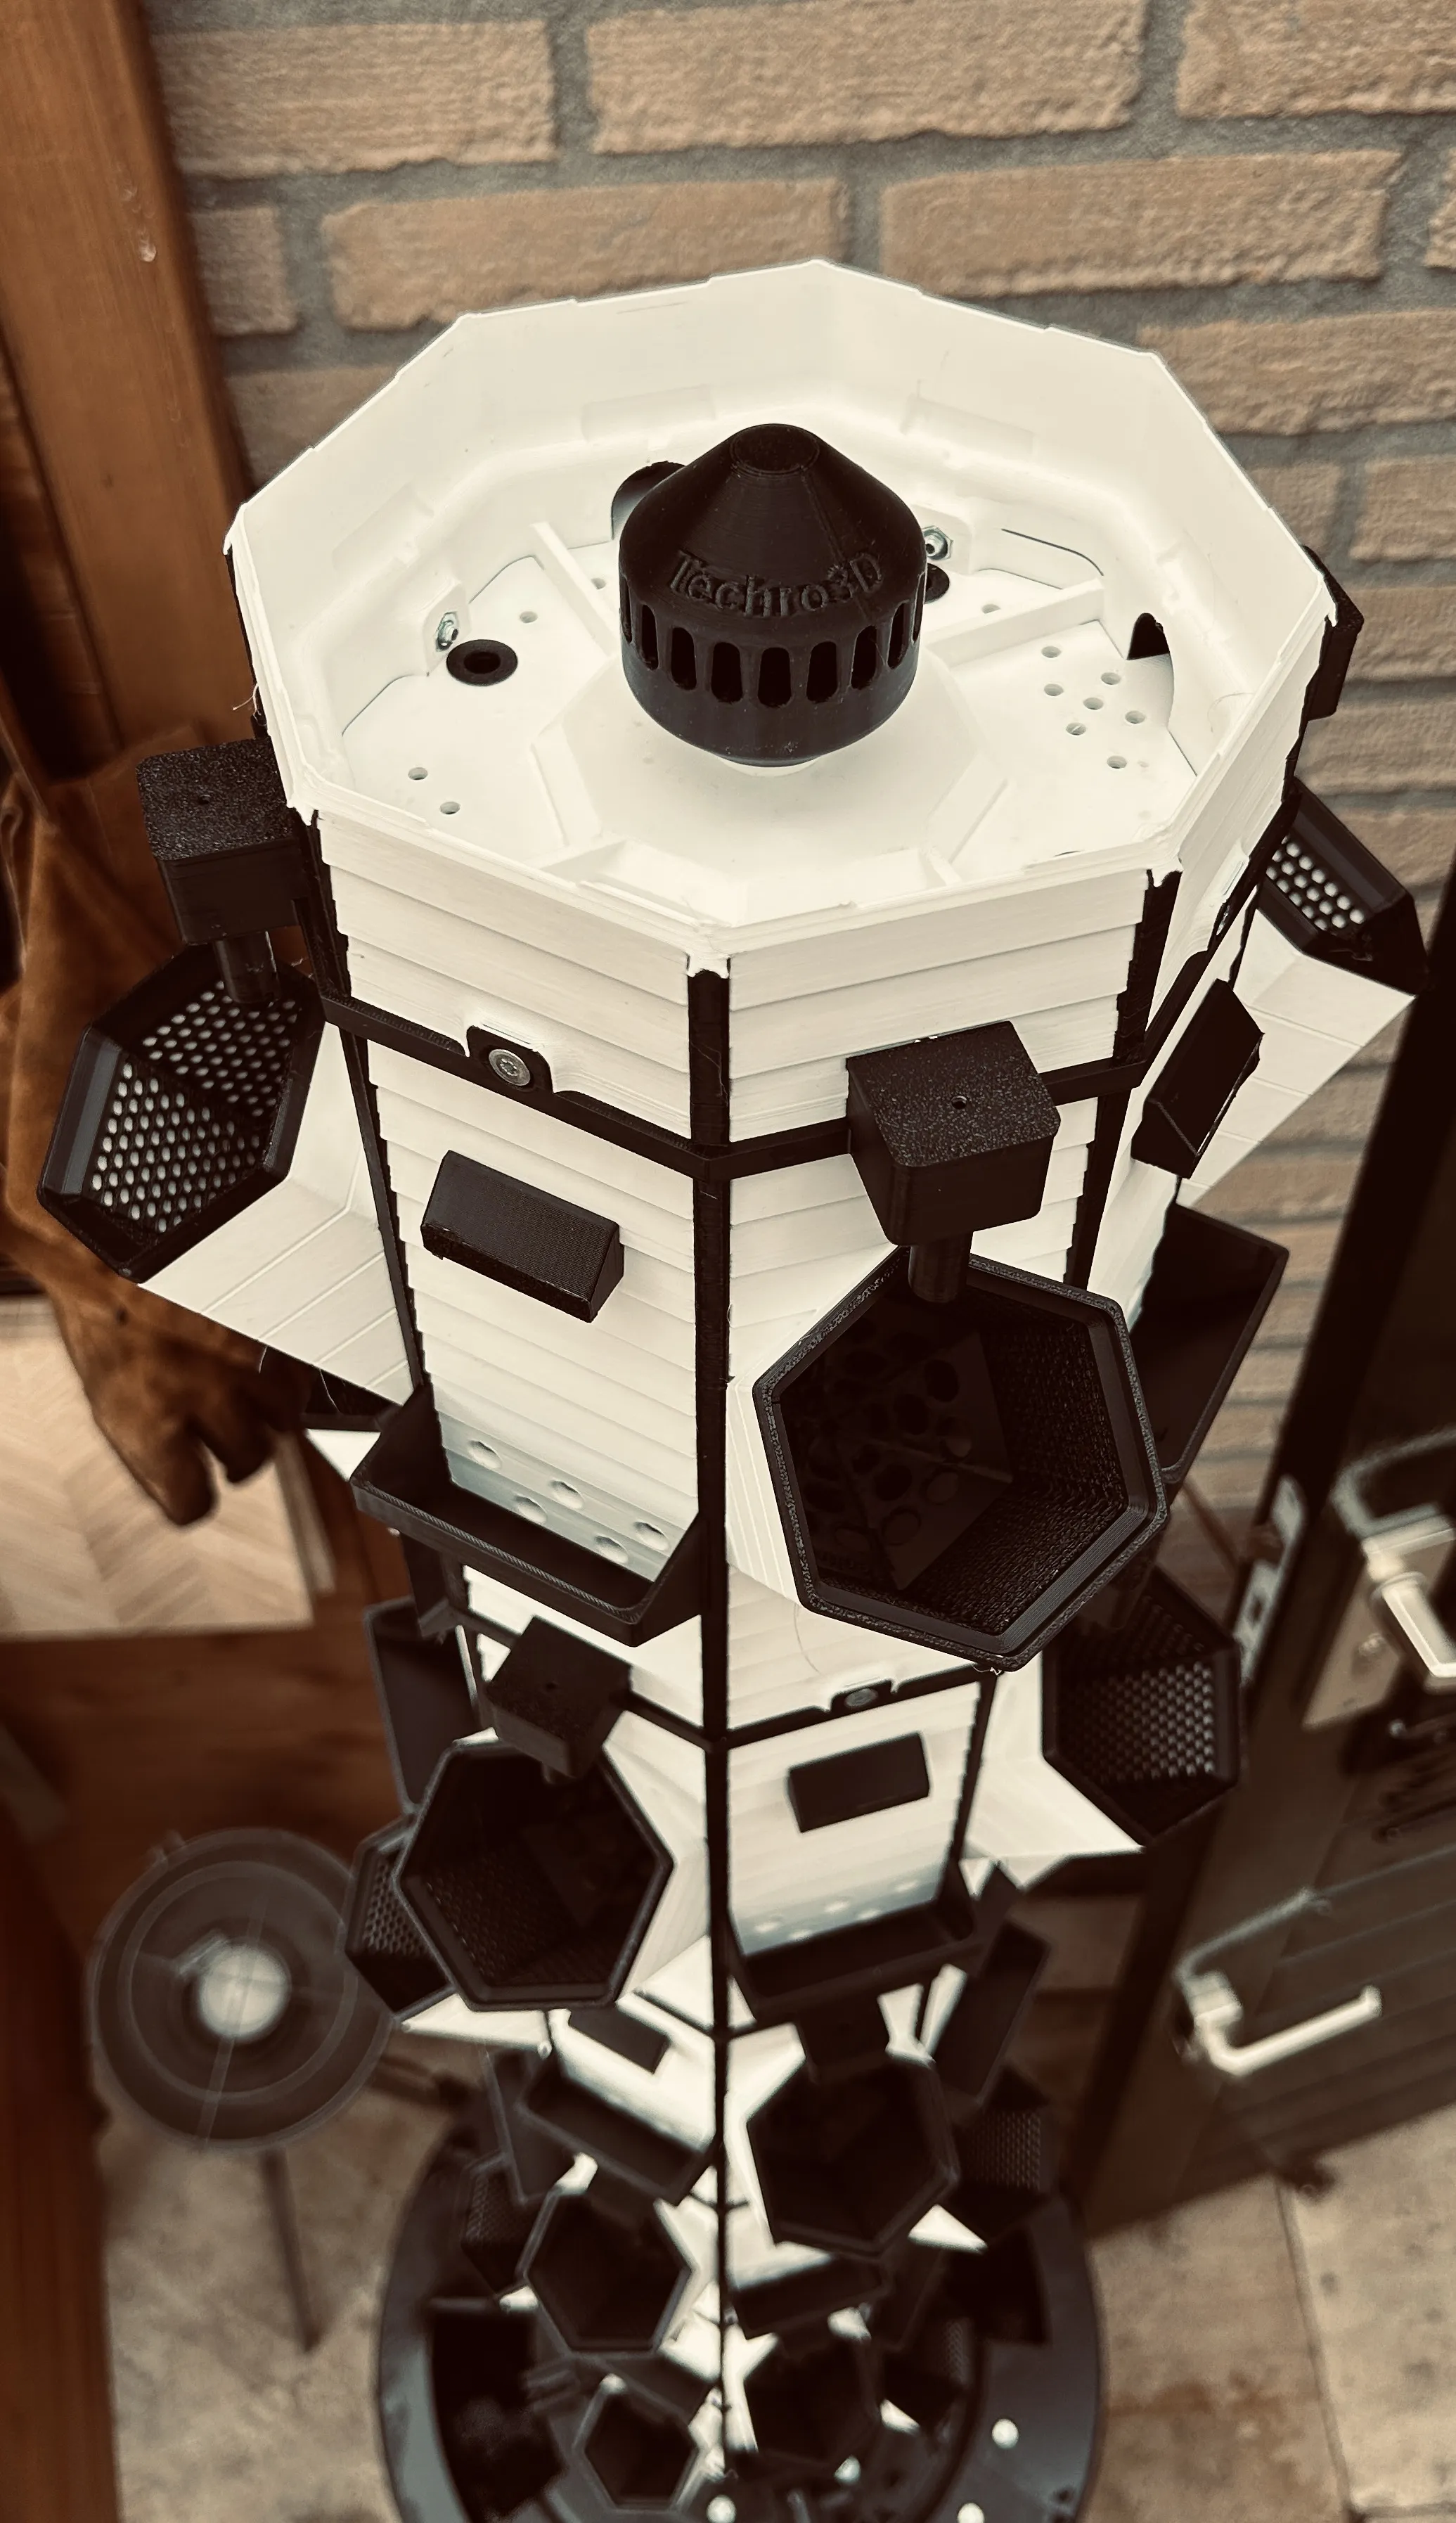
Final parts:
- Install T3D049-11-00 Water Distributor.stl
- Then install T3D049-10-00 Roof.stl
images step 4 :
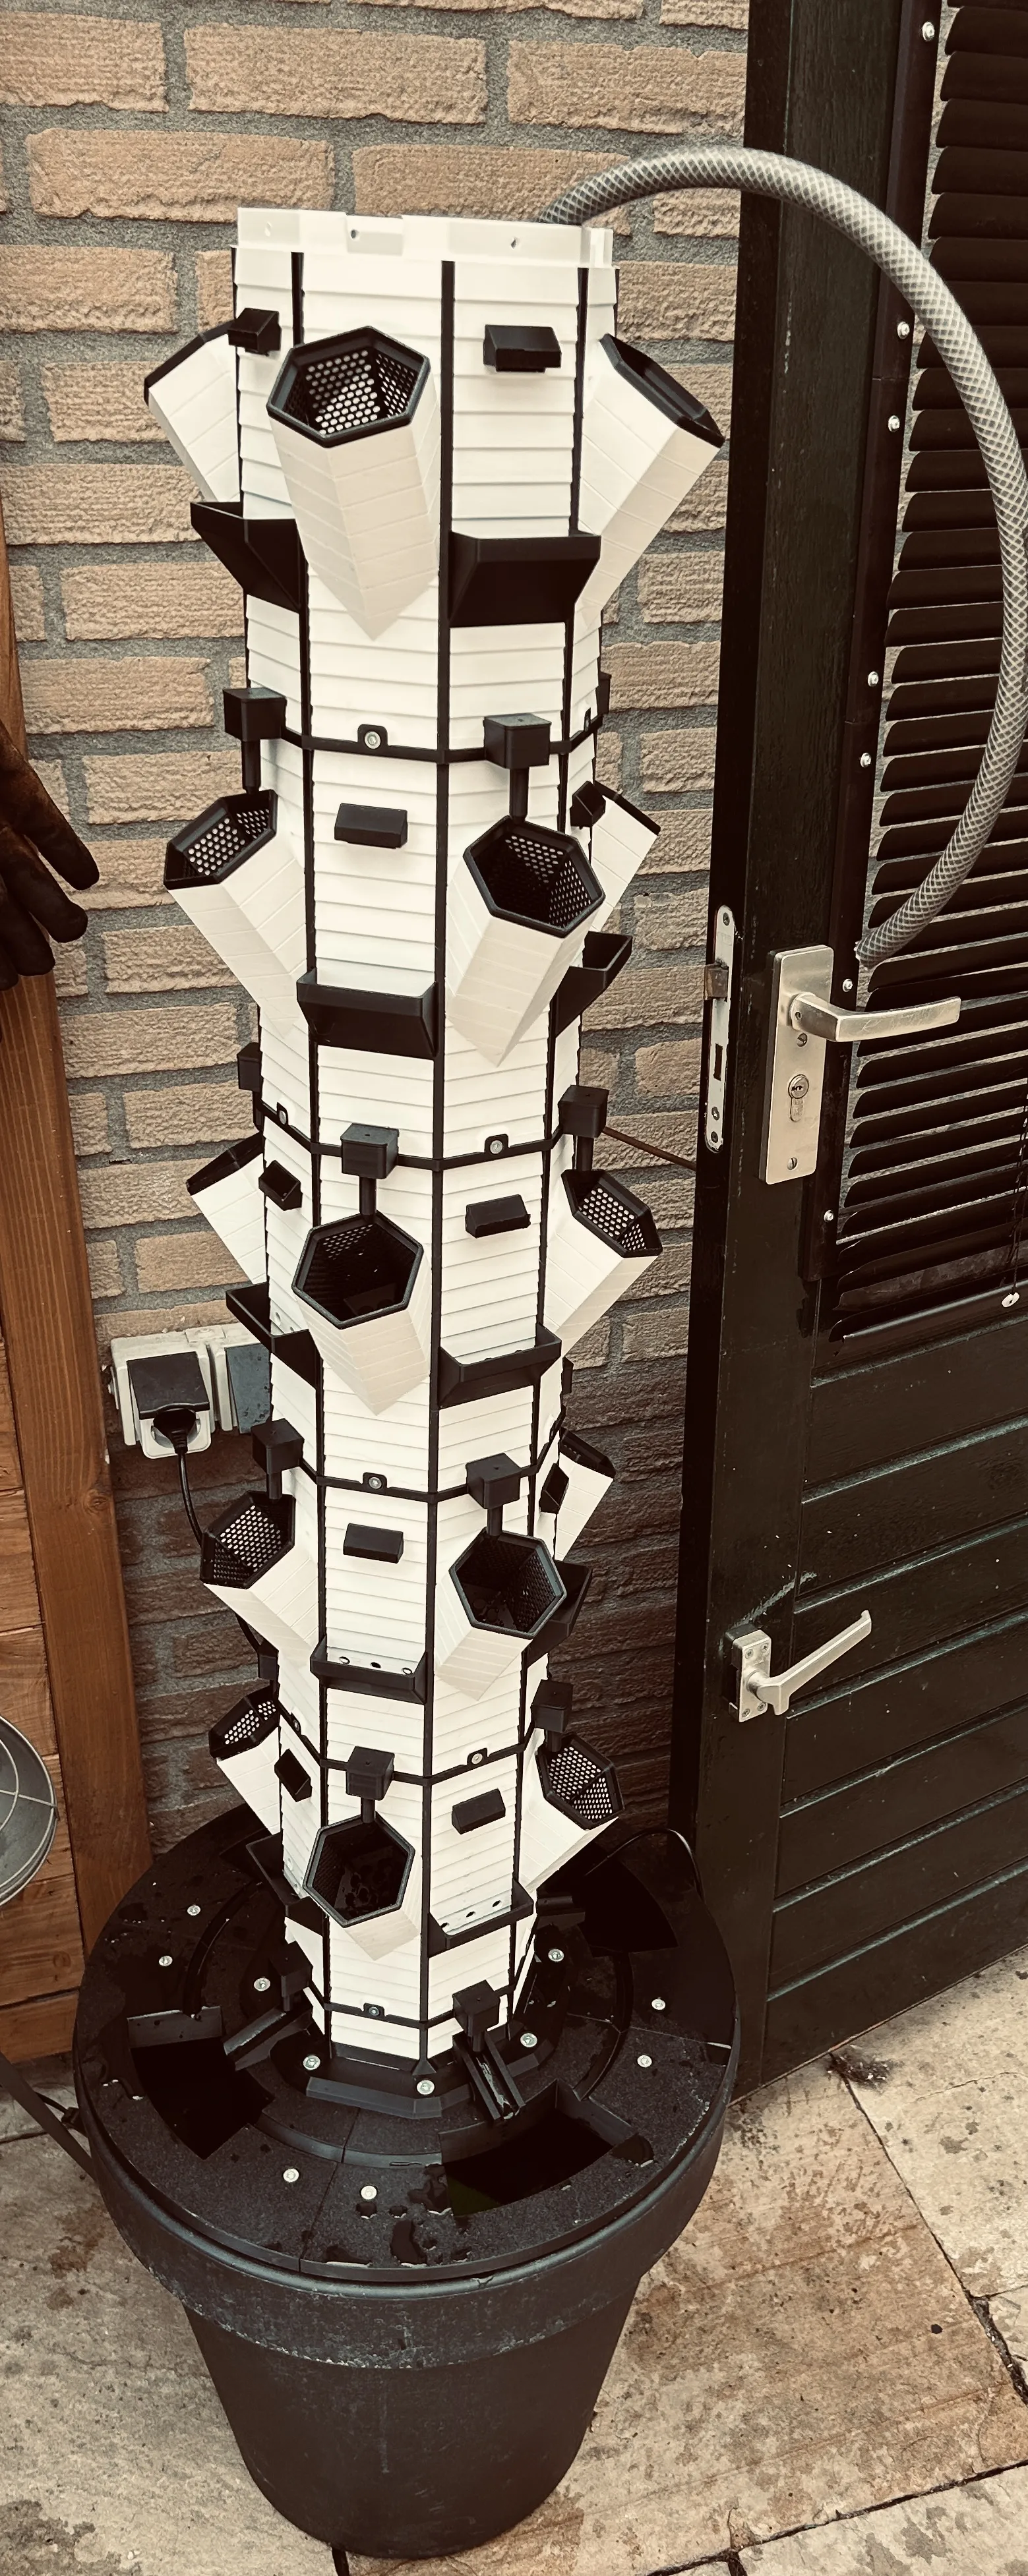
✅ Congratulations!
Your hydroponic waterfall system is now fully assembled and ready to use.
Additional Information & Used Components
🪴 Plant Pot
For this design, the following pot was used:
- Plant pot Ø50 cm
- Available at: https://www.action.com/nl-nl/p/3004609/bloempot/
Note:
This pot was selected for its size and stability, but similar alternatives will also work.
You may also choose to design your own custom mounting platform depending on your setup.
💧 Pump
- Submersible Pump – 50W (±3500L/h)
- Link: https://amzn.eu/d/0hta4kue
Note:
A pump with similar specifications is recommended to ensure proper water flow and optimal waterfall performance.
(I have installed a timer behind the pump. It turns on for the first minute every hour and then turns off again. Only during daytime hours)
🚿 Hose
- 1/2” (inch) garden hose
Note:
This is a standard size and widely available at most hardware stores.
Good luck! Leave a comment below!
License

You shall not share, sub-license, sell, rent, host, transfer, or distribute in any way the digital or 3D printed versions of this object, nor any other derivative work of this object in its digital or physical format (including - but not limited to - remixes of this object, and hosting on other digital platforms). The objects may not be used without permission in any way whatsoever in which you charge money, or collect fees.


Comment & Rating (74)