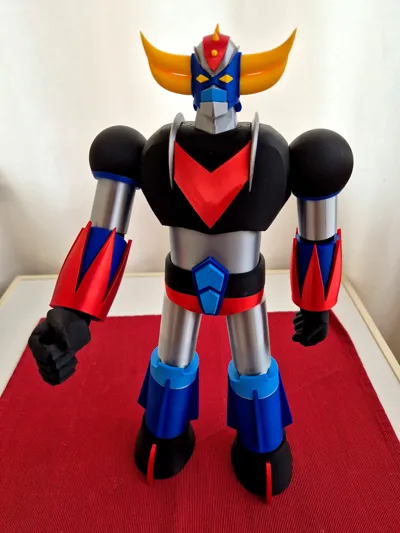
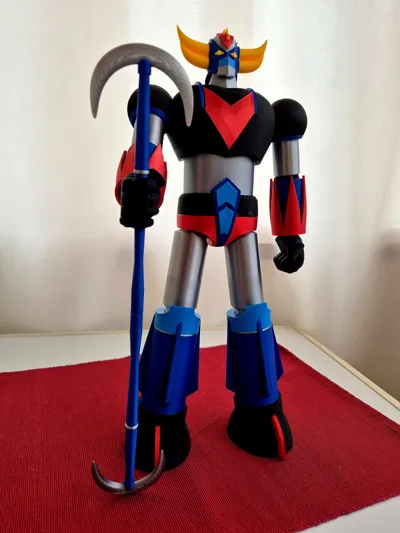
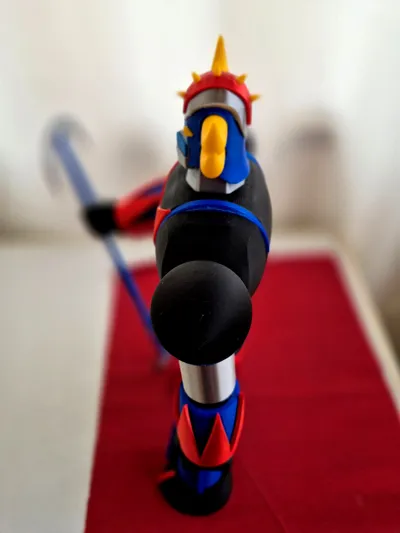
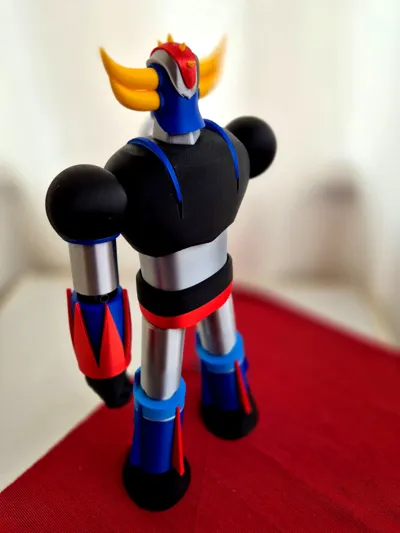
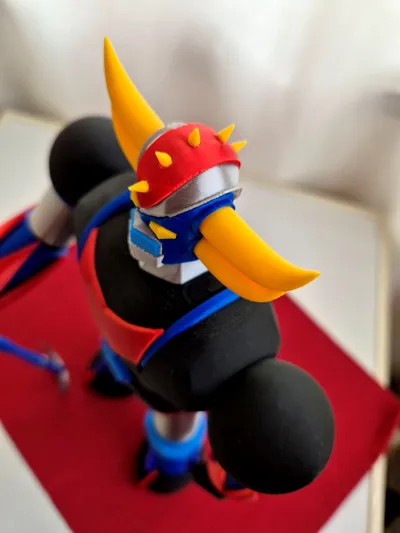
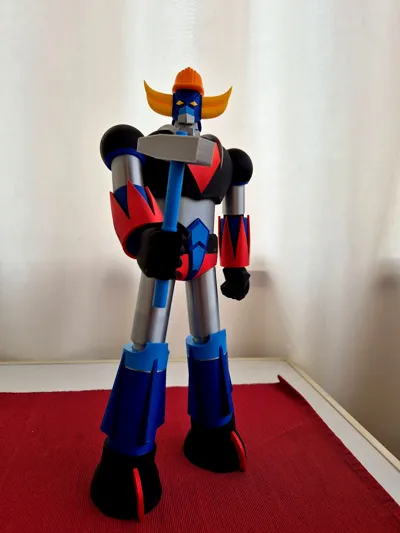
Goldrake (Goldorak, Grendizer) - No AMS


Print Profile(2)
Bill of Materials


Description
I wanted to print Goldrake/Grendizer, my childhood hero, but I could only find models that required the use of AMS (which I don't have), so I took one of those models and started cutting it into smaller pieces.
Then I added some parts (space/thunder halberd), modified some (two-tone shoulder and longer back arrow of the leg), and finally colored some differently to achieve a result more similar to the original.
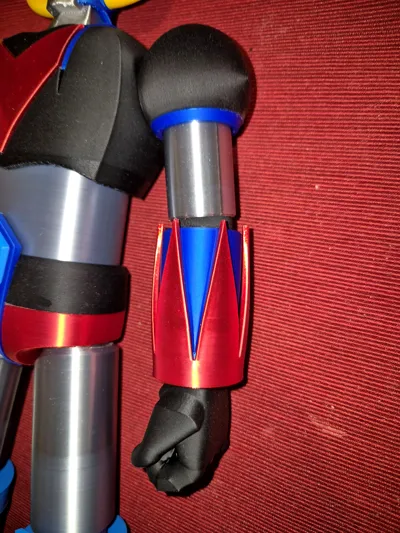
A hole should remain where the blades on the shoulders should be, but I preferred to add a small placeholder.
What I got isn't perfect, but it's very satisfying, so I decided to publish it.
The final model is 39-40 cm tall. Since it was created by scaling the original model by 150%, it would be easy to reduce everything and obtain a smaller model, but you need to be careful with the head: the individual pieces are so small that there could be printing problems. If you want to print a smaller model, it's advisable to start with the head and check that it's OK before proceeding with the rest.
This is my first complex work, so the connections aren't perfect, they're not tight (this can make assembly a little tricky), and in fact, in some cases, they're completely loose to allow the model to pose (arms). You need to use a lot of glue.
I added optional plates: a alternate set of hands, a head not divided into small parts, a two-piece neck to allow for head rotation, and a helmet and hammer kit to celebrate May Day.
PRINTING TIPS:
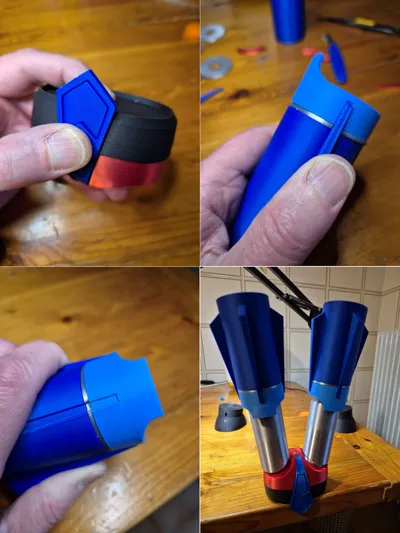
I used a standard print profile. In some cases, like the head, I tested it and it's best to print the parts exactly as I arranged them on the plates.
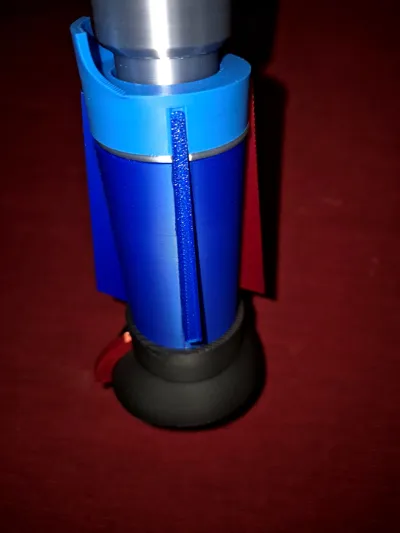
I preferred to group the parts by function, not by color. Some left/right parts are clearly symmetrical, others are practically identical, but this isn't always the case because I had to cut an existing model, so it's best to always consider all the parts symmetrical and print and assemble them accordingly.
ASSEMBLY TIPS: The original model is well made and has a very low center of gravity, so it's easy to achieve a stable result. I think it's best to start with the lower parts and build the model upside down: first the pelvis, pre-assembling the parts before using glue to ensure a good fit, then the legs (without the feet). The upper part is straightforward, and you can decide how to angle the arms. The feet were the last thing I glued to ensure the model stands upright without falling over: if something went wrong in the previous stages, you can always add some shims or adjust the angle correctly.

Comment & Rating (53)