Mini Cooler for 4 large cans (500ml)


Print Profile(1)


Description
Boost Me (for free)
If you like this model, a Boost would mean a lot to me ❤️
Your support motivates me to design more 3D models in the future. Happy printing! 🖨️✨
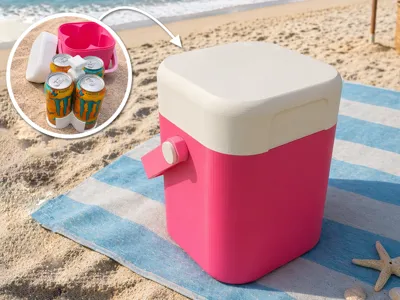
🧊 Mini Cooler for on the go – now also for 500 ml cans!
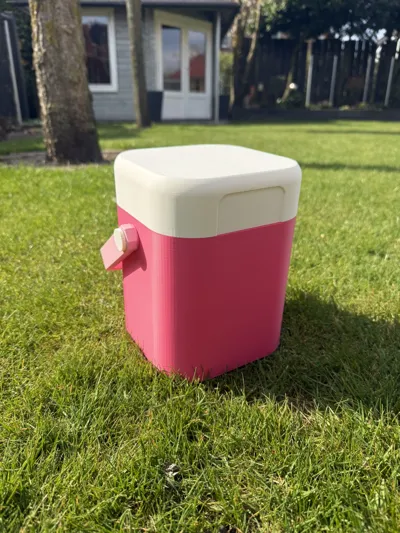
This compact mini-cooler is your ideal companion for on the go – whether it's the beach, park, or festival. The new version is specifically designed for 500 ml cans and ensures that your drinks are perfectly chilled, readily accessible, and neatly stored.
🔧 Highlights
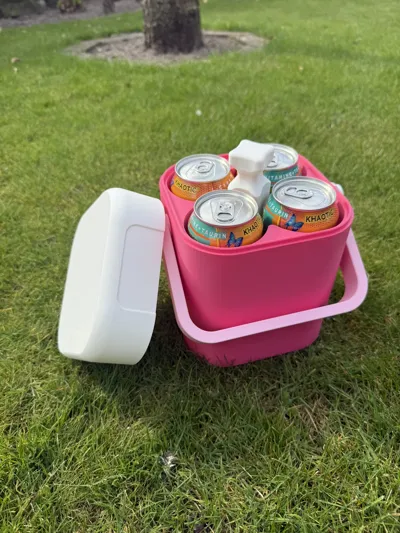
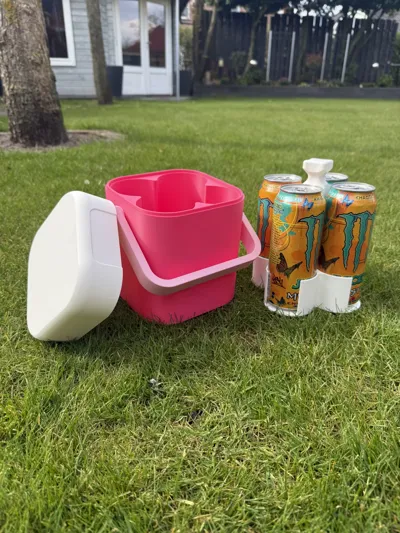
🥤 Space for up to 4 × 500 ml cans
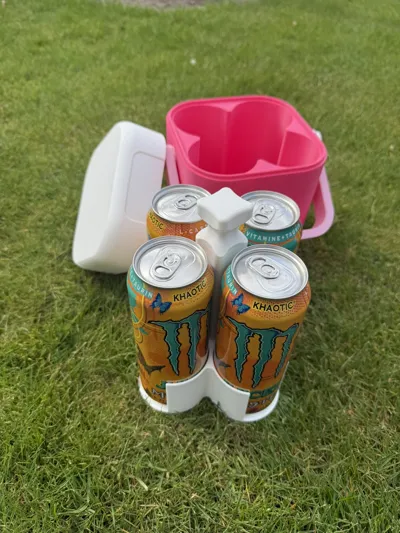
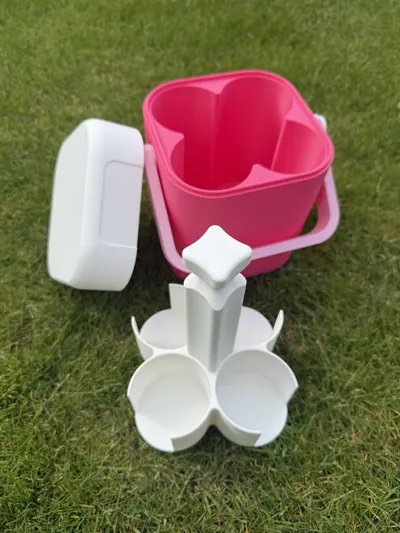
🧩 Removable carrier – all cans can be easily taken out at once
🎯 Optimized for the typical 500 ml can shape
🔄 Movable handle for easy and comfortable transport
🥫 Compatibility
This version was developed for 500 ml standard cans.
👉 Nevertheless, all other holders from the first Mini Cooler will fit
👉 Perfect fit and secure hold without slipping
🧪 Material & Cooling Performance
I printed the cooler myself using PLA, and it already works amazingly well – the drinks stay pleasantly cool.
👉 However, for the best result, I recommend printing with PETG, as this material:
- holds temperatures better
- is more resistant to external heat
❄️ Optional Ice Pack
Additionally, there is a suitable ice pack that is filled with water and screwed shut with a small round plate.
Important Notes:
❗ Do not fill completely – some air must be included
🧊 For optimal results, also print from PETG
⚙️ Best produced with optimized print settings
🛠️ Assembly (Installation)
Assembly is quick and easy:
- Print main body (incl. 2 separate threaded shells)
- Insert threaded shells
- Simply press into the main body
- Fix with a little superglue
- Mount handle
- Attach with the printed screws
- The handle remains movable
- Insert carrier & put on lid
➡️ Done! Your 500 ml mini-cooler is ready for the next trip ☀️
Here you can find my first and also smaller Mini Cooler: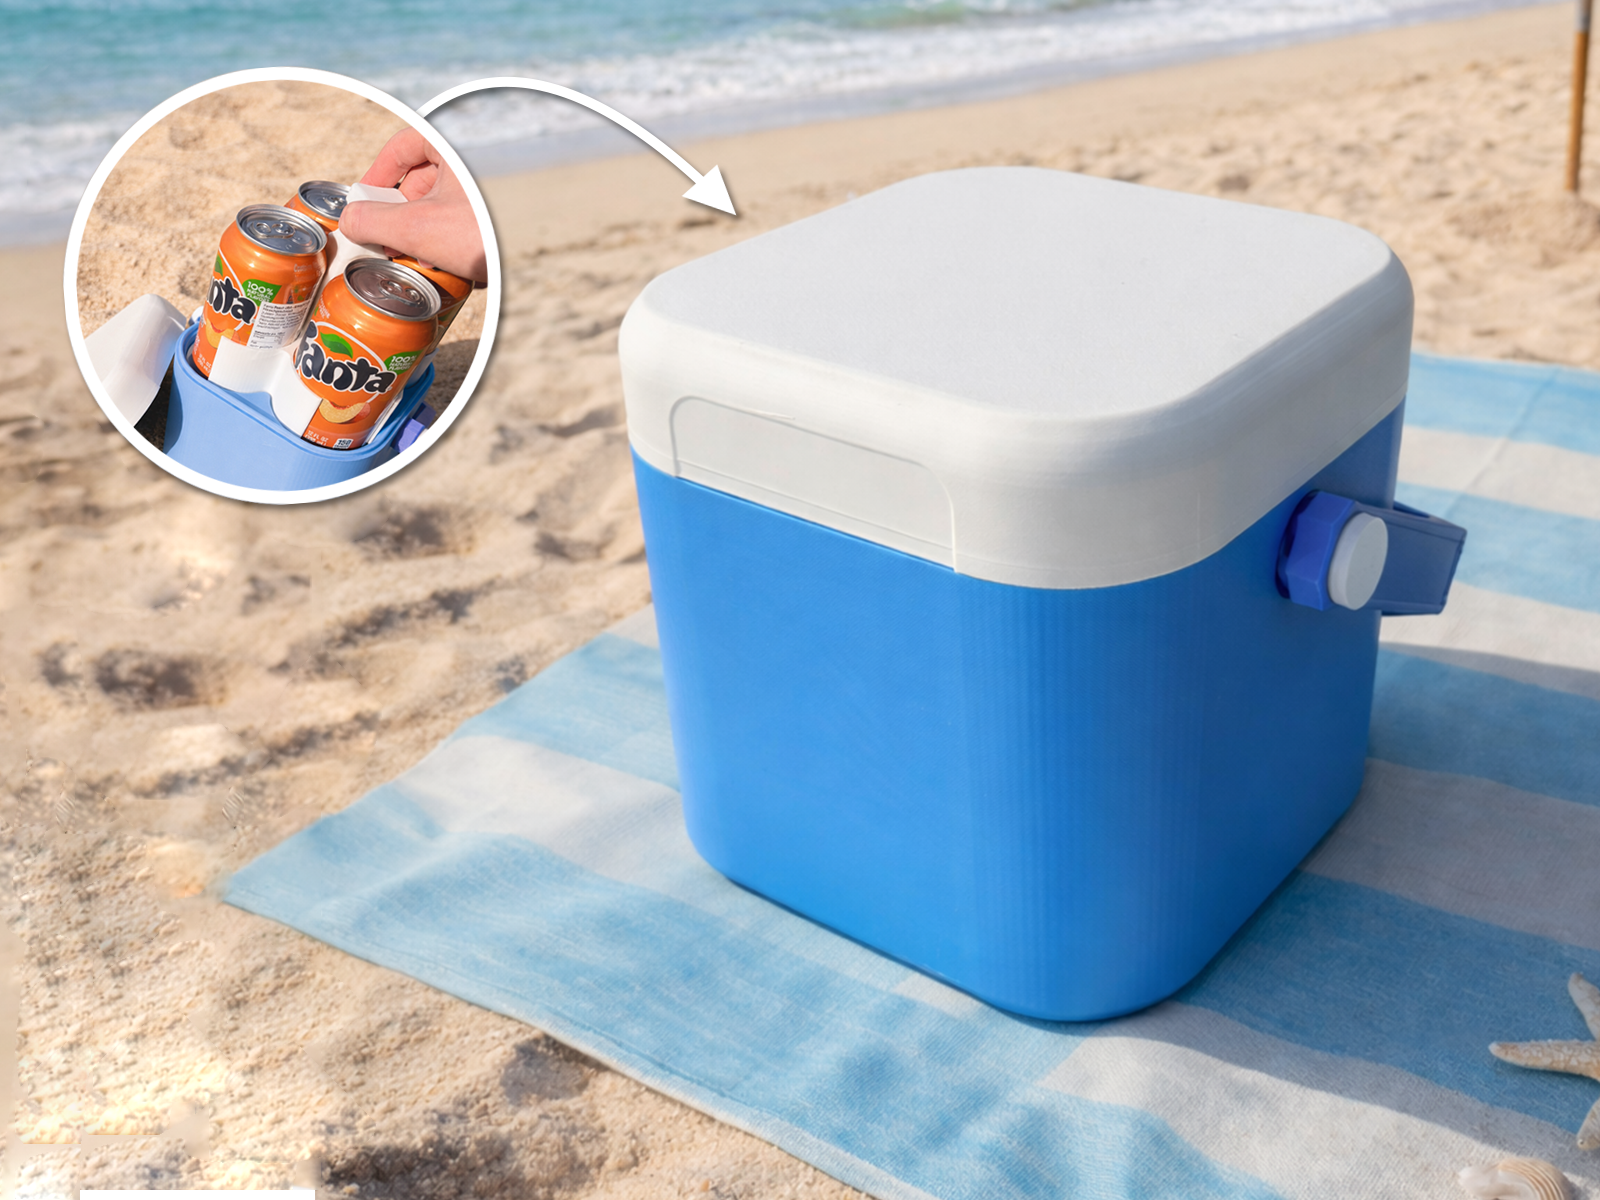

License
You shall not share, sub-license, sell, rent, host, transfer, or distribute in any way the digital or 3D printed versions of this object, nor any other derivative work of this object in its digital or physical format (including - but not limited to - remixes of this object, and hosting on other digital platforms). The objects may not be used without permission in any way whatsoever in which you charge money, or collect fees.
Comment & Rating (39)