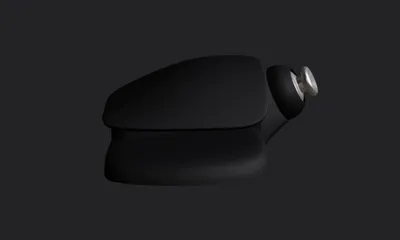
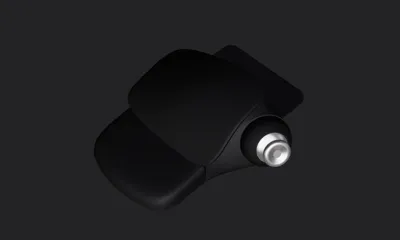
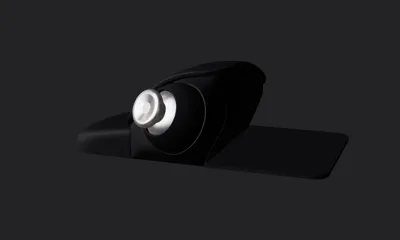
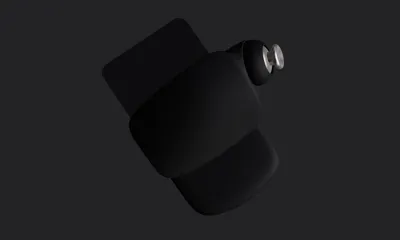
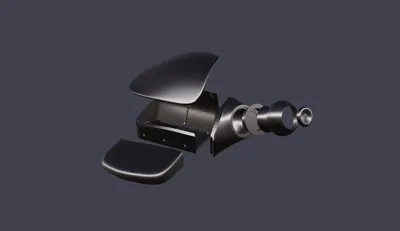
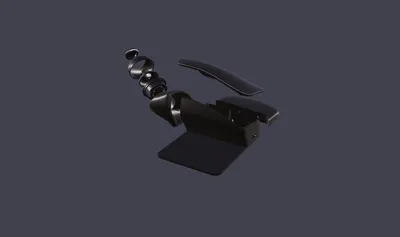
Jasp Keyboard Joystick


Print Profile(1)

Description
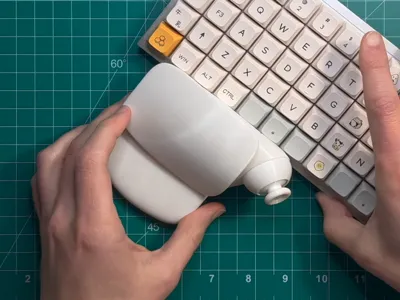
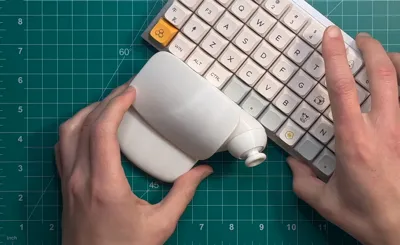
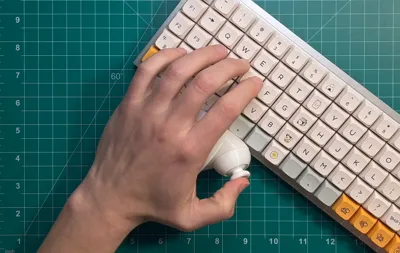
The Jasp Keyboard Joystick solves the WASD movement problem for PC gamers. You can also map it to mouse movement and effectively use your PC with one hand. It's a relatively simple project that requires minimal soldering. I originally designed this back in 2022 and have since been evolving it into a full keypad. This design is far from perfect, but I would love for you to try it and let me know how it works for you.
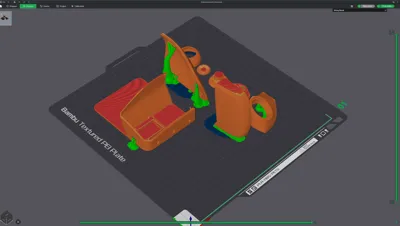
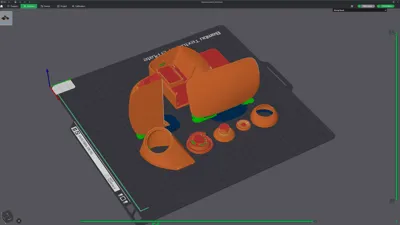
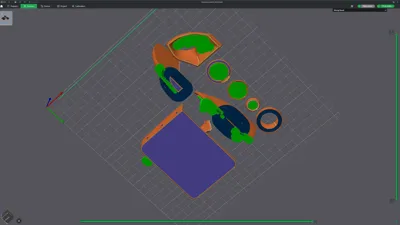
Wiring diagram, firmware, and the BOM file are available on my GitHub. Also, if you happen to create more advanced firmware for this device, let me know; I’d be happy to link it to this project. https://github.com/multifex/prototypes/tree/main/jasp-keyboard-joystick
Build video (basically your build guide) –
STL Release Announcement Video –
Comment & Rating (70)