
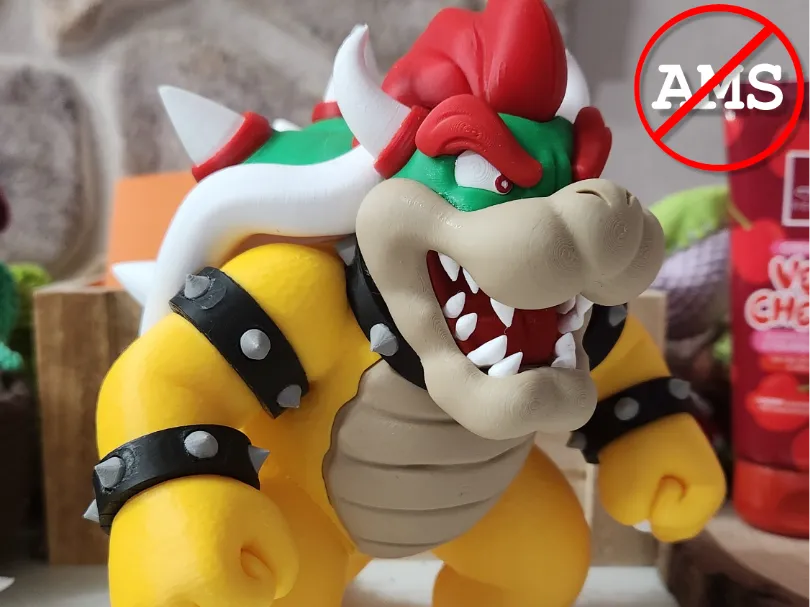
Bowser - Ultra-Low Waste (No AMS Modular Design)
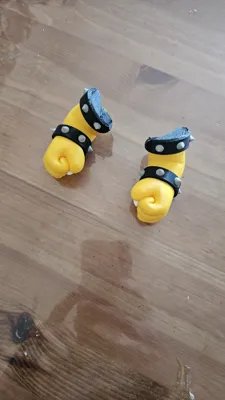
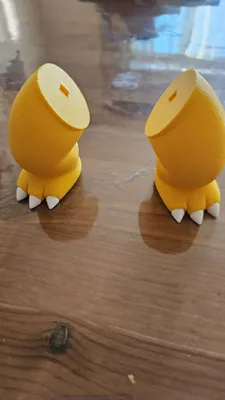

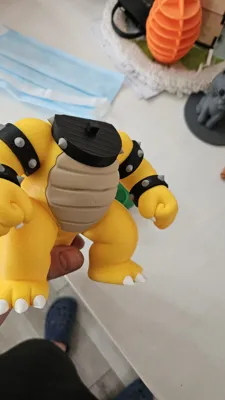
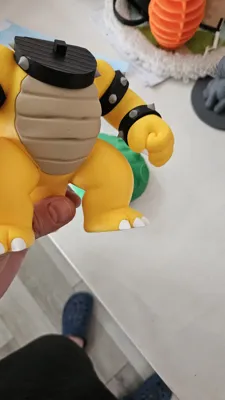
Print Profile(5)
Bill of Materials







Description
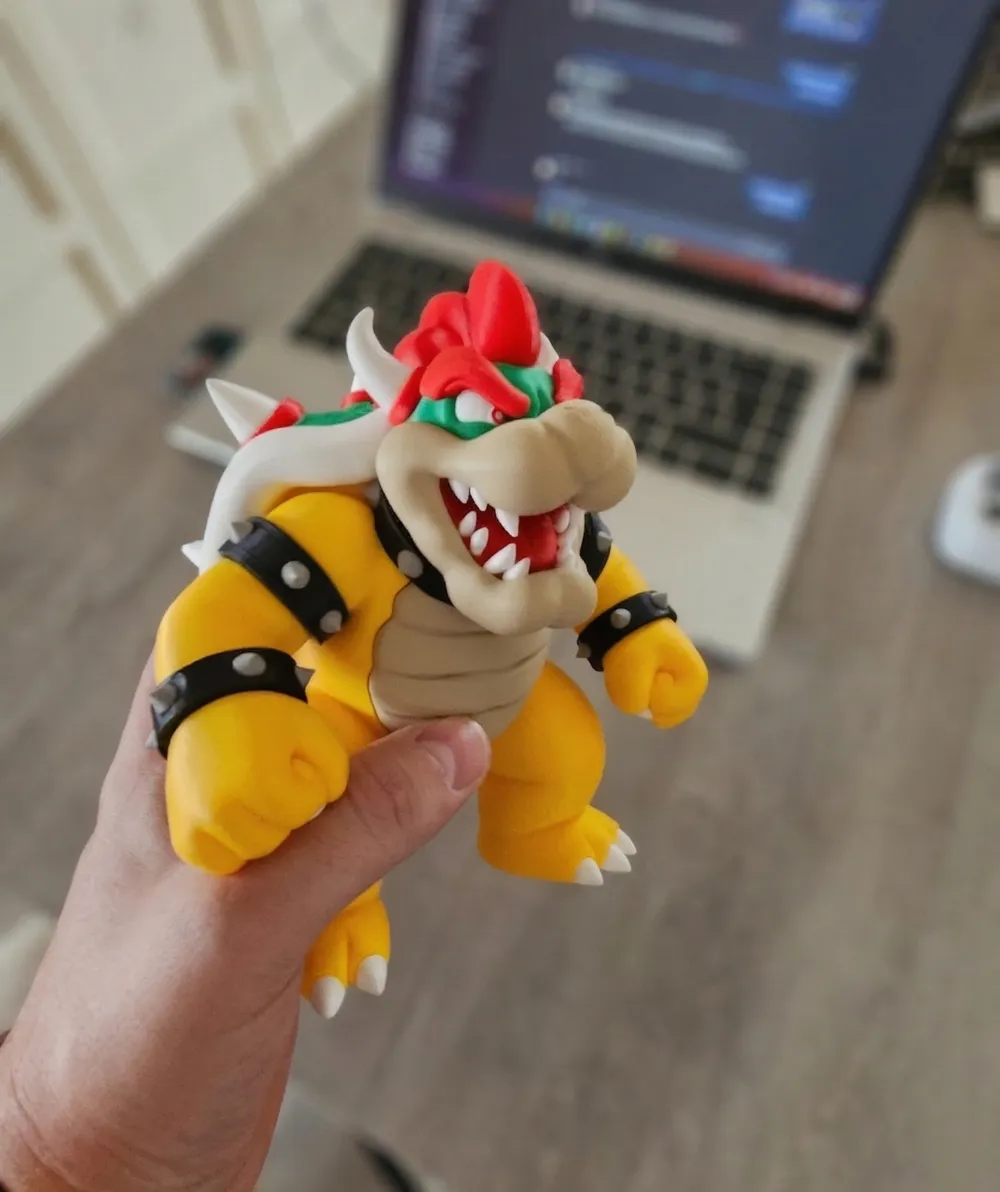
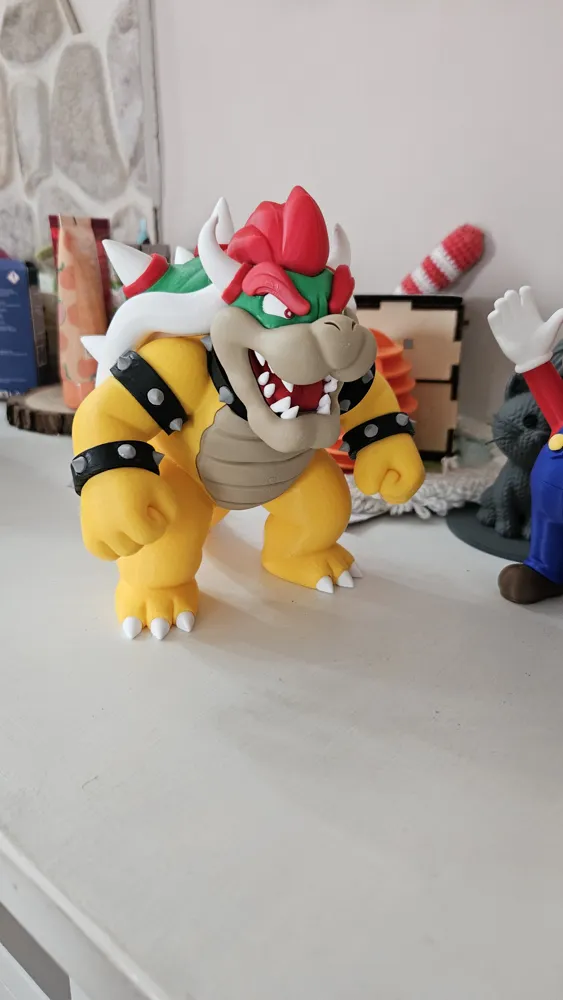
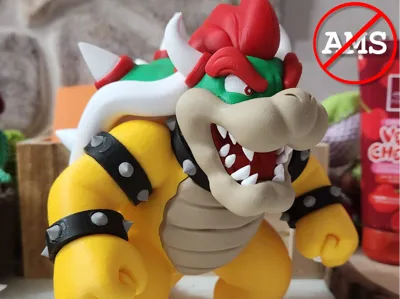
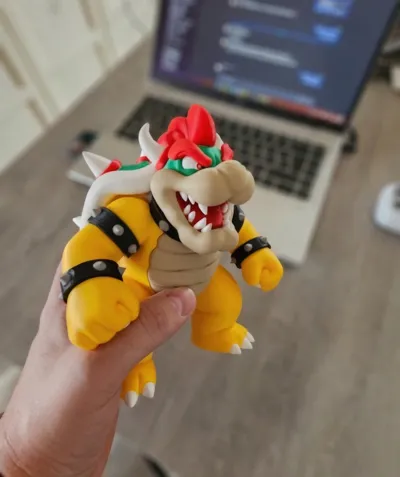
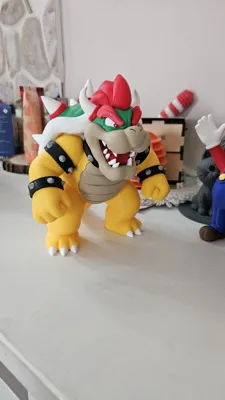
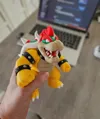
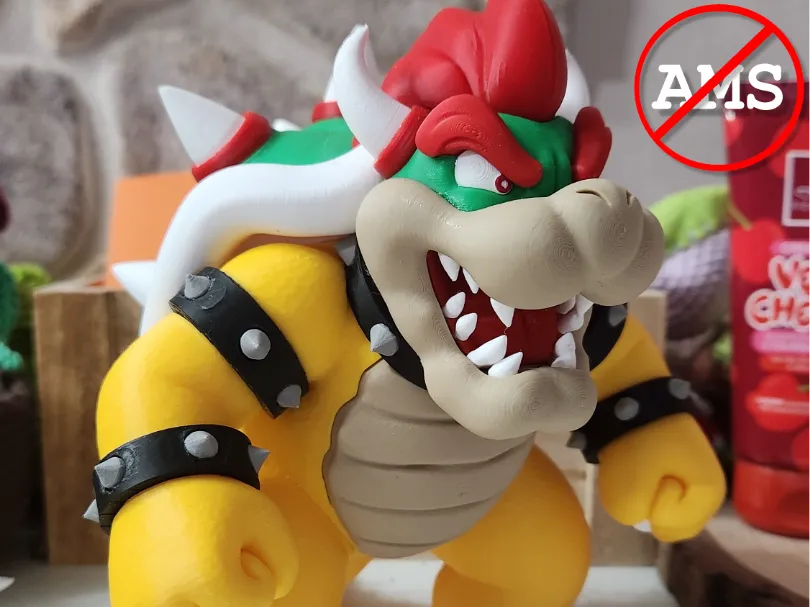
Bring the iconic King of the Koopas to your desk with this fully modular model, designed to maximize aesthetic quality and drastically reduce filament waste
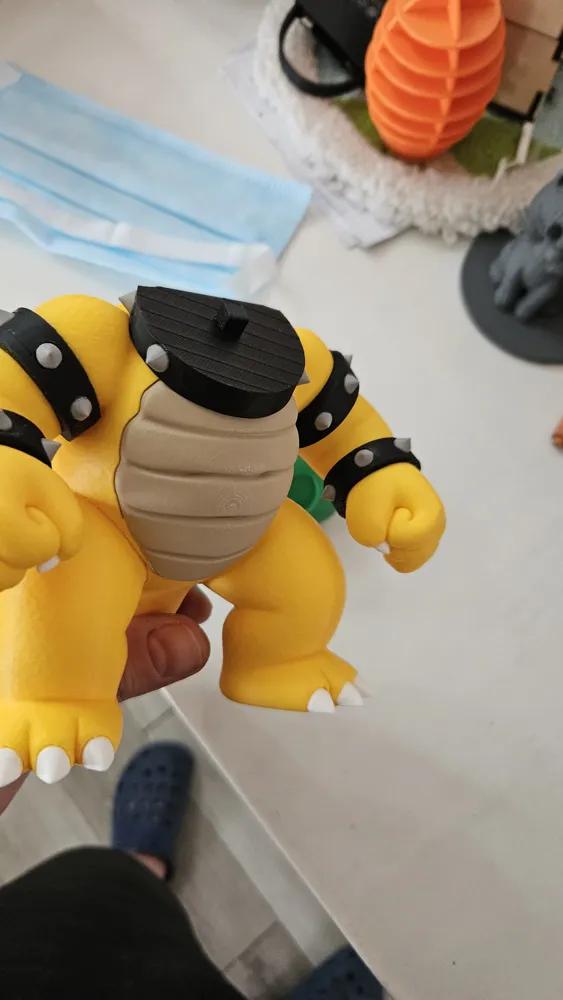
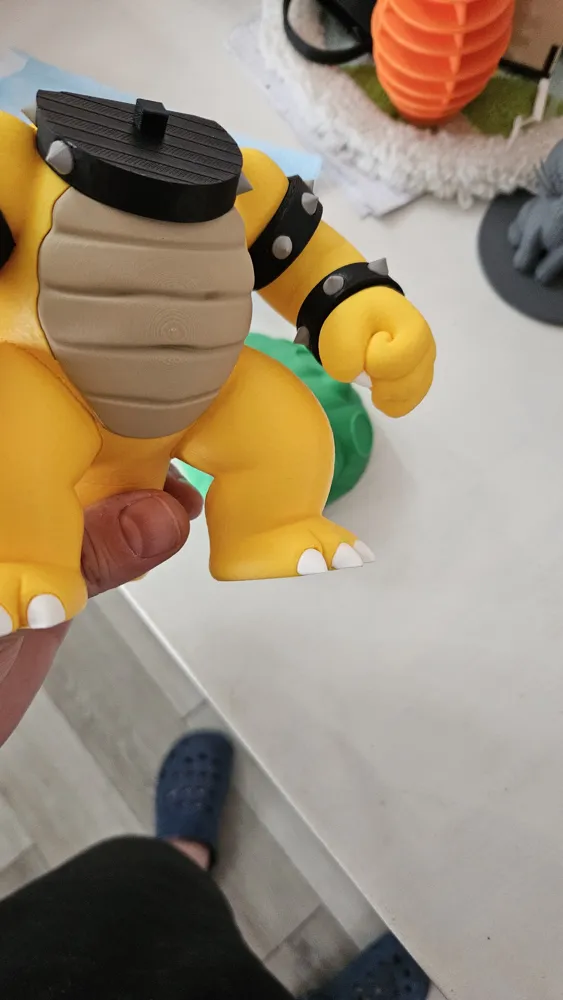
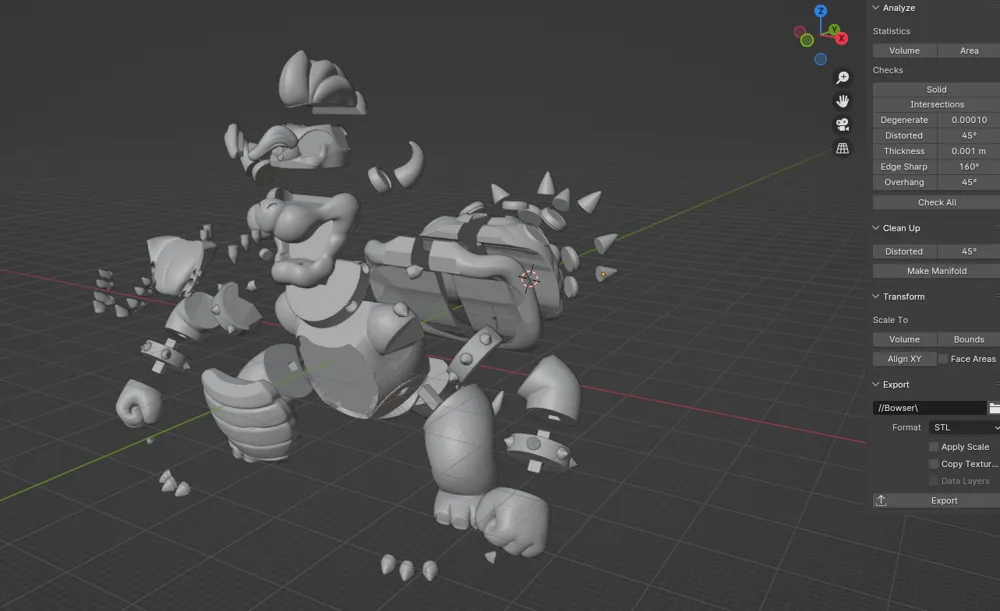
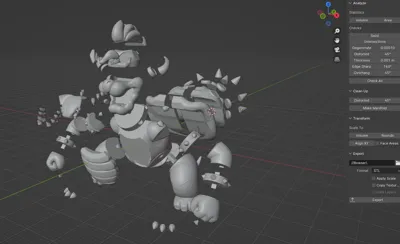
The model was professionally sectioned in Blender to allow you to print each color separately. Thanks to this approach, you will achieve perfect surfaces and almost non-existent waste: only 11g of "scraps" out of over 300g of plastic
📊 Print Statistics
| Parameter | Detail |
|---|---|
| Model Weight | ~333g |
| Filament Waste | 11.83g (Incredibly low for a multicolor print!) |
| Total Time | 21h 55m |
| Final Height | ~17 cm |
| Tested on | Bambu Lab P1S |
🧩 Plate Organization (Print Profiles)
To make printing as simple as possible, I have divided the model into dedicated plates by color:
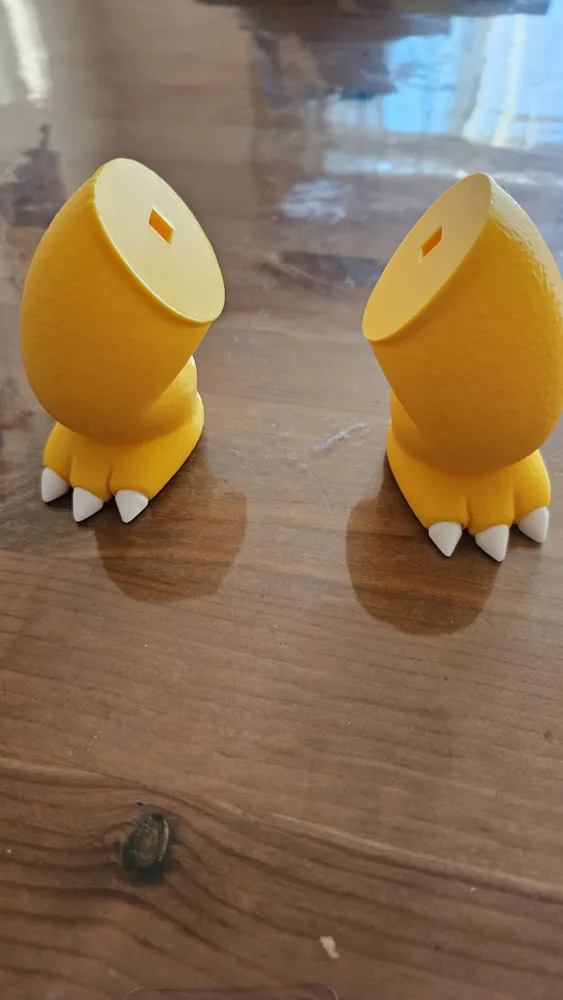
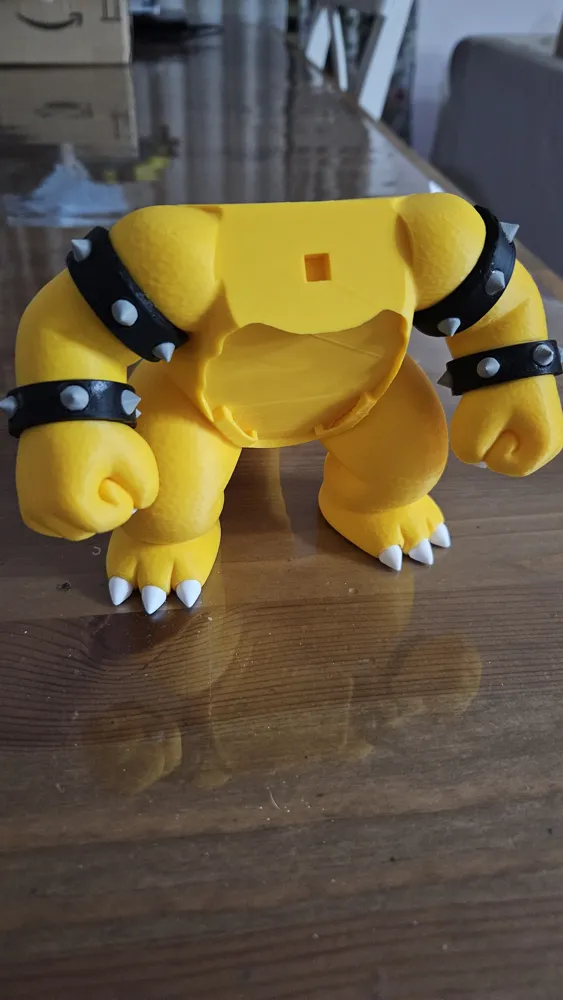
- Yellow Plate: Main body, arms, and legs
- Black Plate: Studded bracelets and collar
- White Plate: Nails and teeth
- Gray Plate: Bracelet studs
- Yellow Plate: Torso and tail
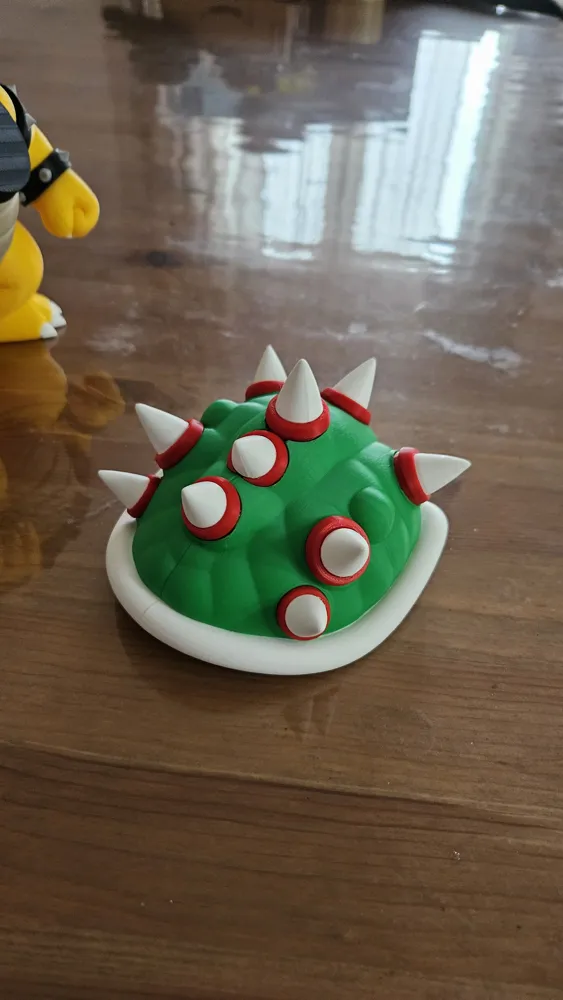
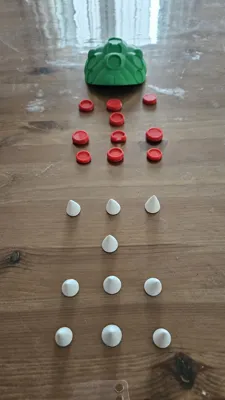
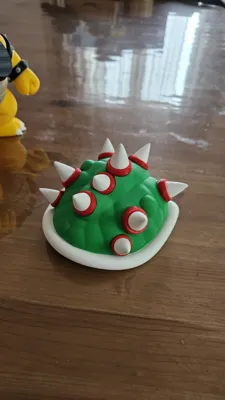
- Green Plate: The spiky shell
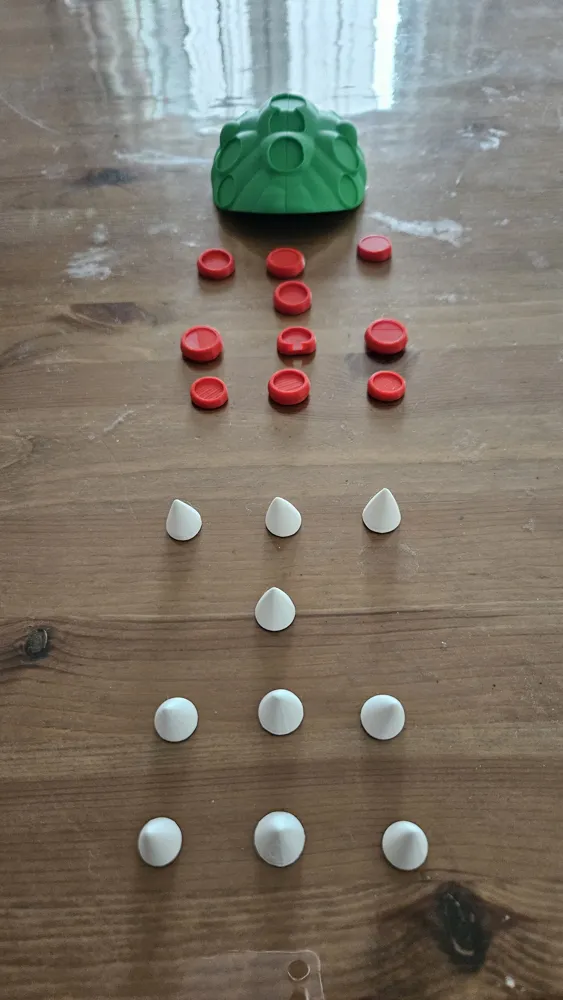
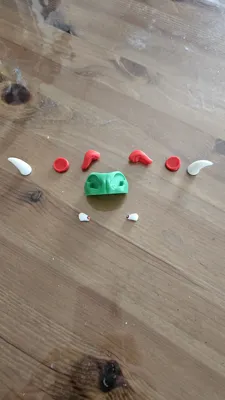
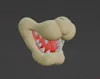
- Red Plate: Shell spike bases, tongue, horn bases, and hair
- White Plate: Shell outline
- White Plate: Spikes and horns
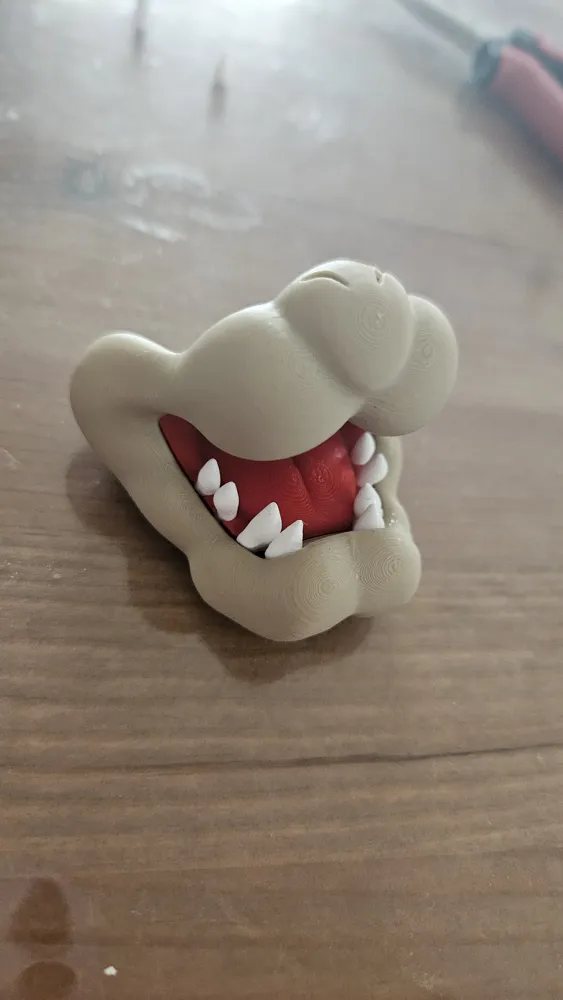
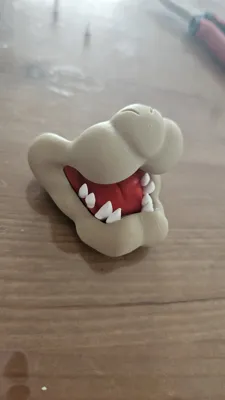
- Beige Plate: Belly part and snout
- Beige Plate: Chest and jaw
🛠 Assembly Instructions
The model is designed for quick and precise assembly:
- Remove the few existing supports
- Perform a dry fit test to check tolerances
- Use a few drops of cyanoacrylate glue (like super glue) in the positioning pins to permanently secure the model
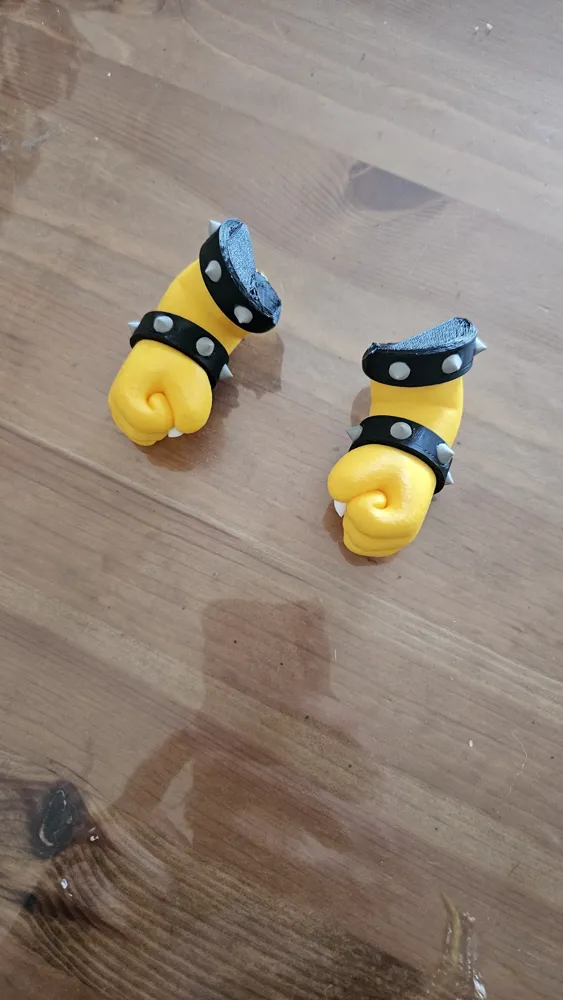
- Start with the arms (hand, bracelet, and arm) then move to the body (torso and tail) and assemble everything up to the collar with the black pin
- Continue with the shell starting with the green part, the red bases, and the white spikes. Secure everything onto the white edge
- Attach the shell to the body
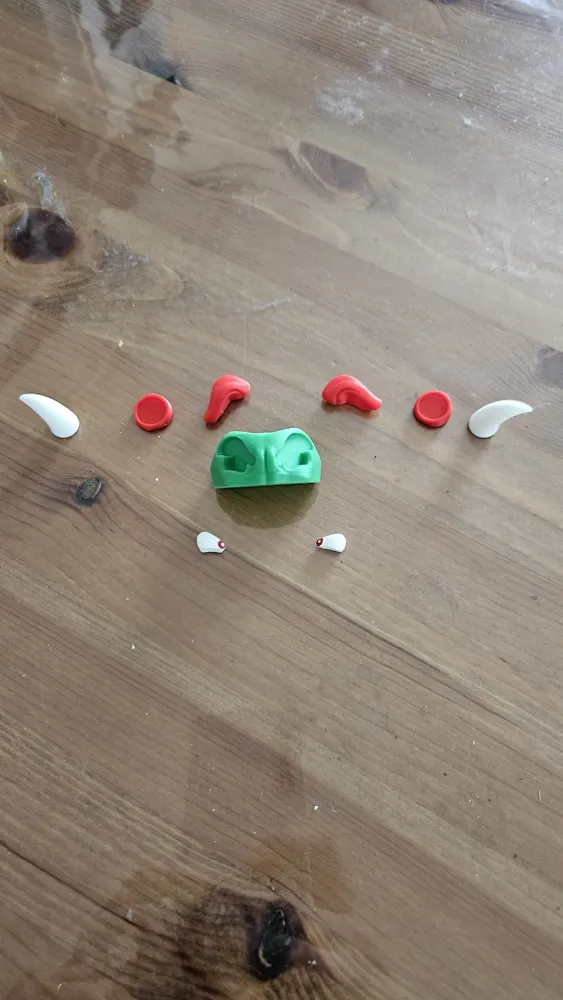
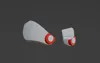
- For the head, start with the green forehead, attaching the eyes and eyebrows (the hair will be the last piece to add at the very end). Add the red bases and horns. The eyes are the only components I decided to “paint” to give a more cartoonish effect
- Continue with the tongue, attaching the first 6 teeth starting from the back, and secure the tongue with the teeth inside the jaw. Add the two lower incisors
- Secure the 6 upper teeth with the help of a very small hairpin and attach the forehead to the jaw
- Attach the head to the neck pin and add the hair to the head, which should connect with the back shell
💡 Recommended Settings
- Infill: 10% for the shell (Gyroid for optimal weight balance) while 15% is fine for the rest
- Supports: Minimised thanks to intelligent part orientation
🙌 Share your result!
I dedicated a lot of time to refining this model to make it as "user-friendly" as possible. If you like it, please leave a like and upload a photo of your print (Make). It will help me improve future projects
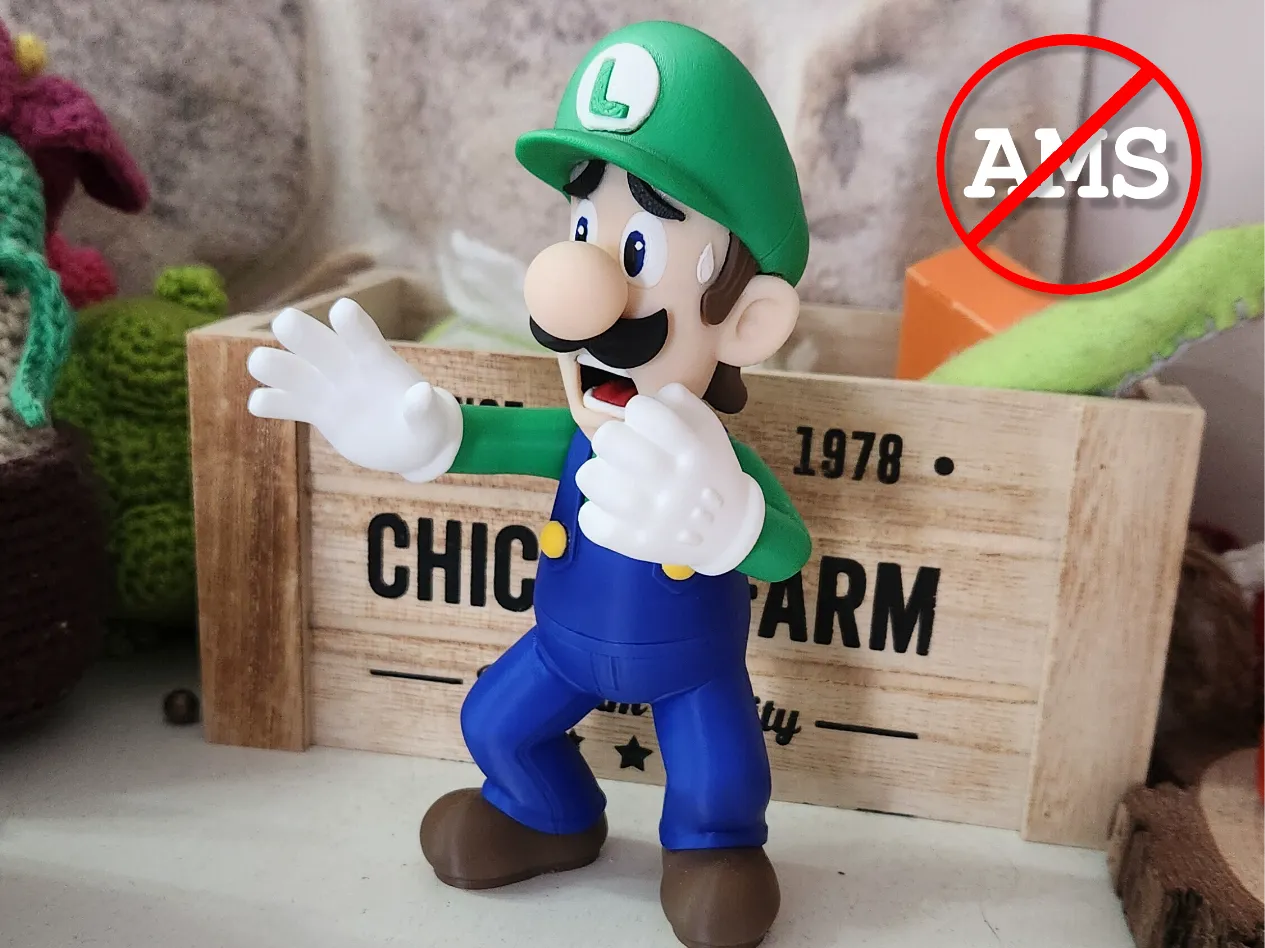
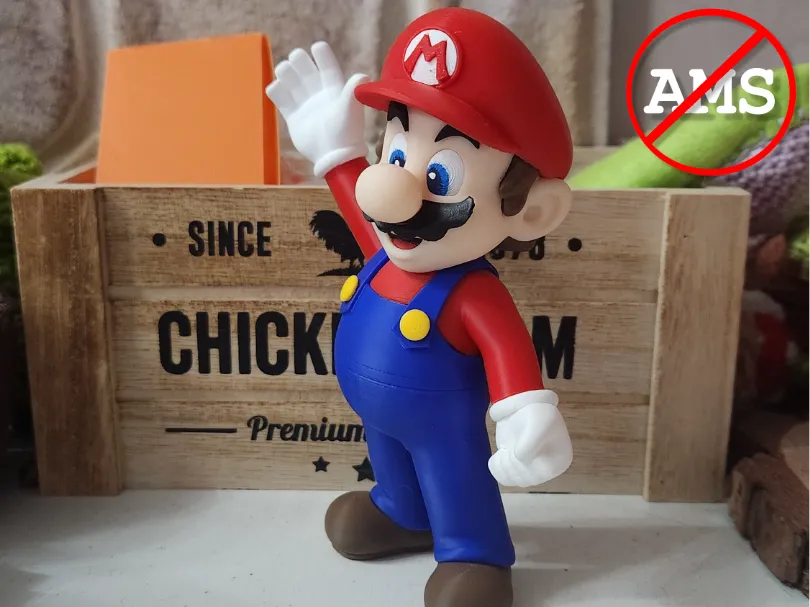
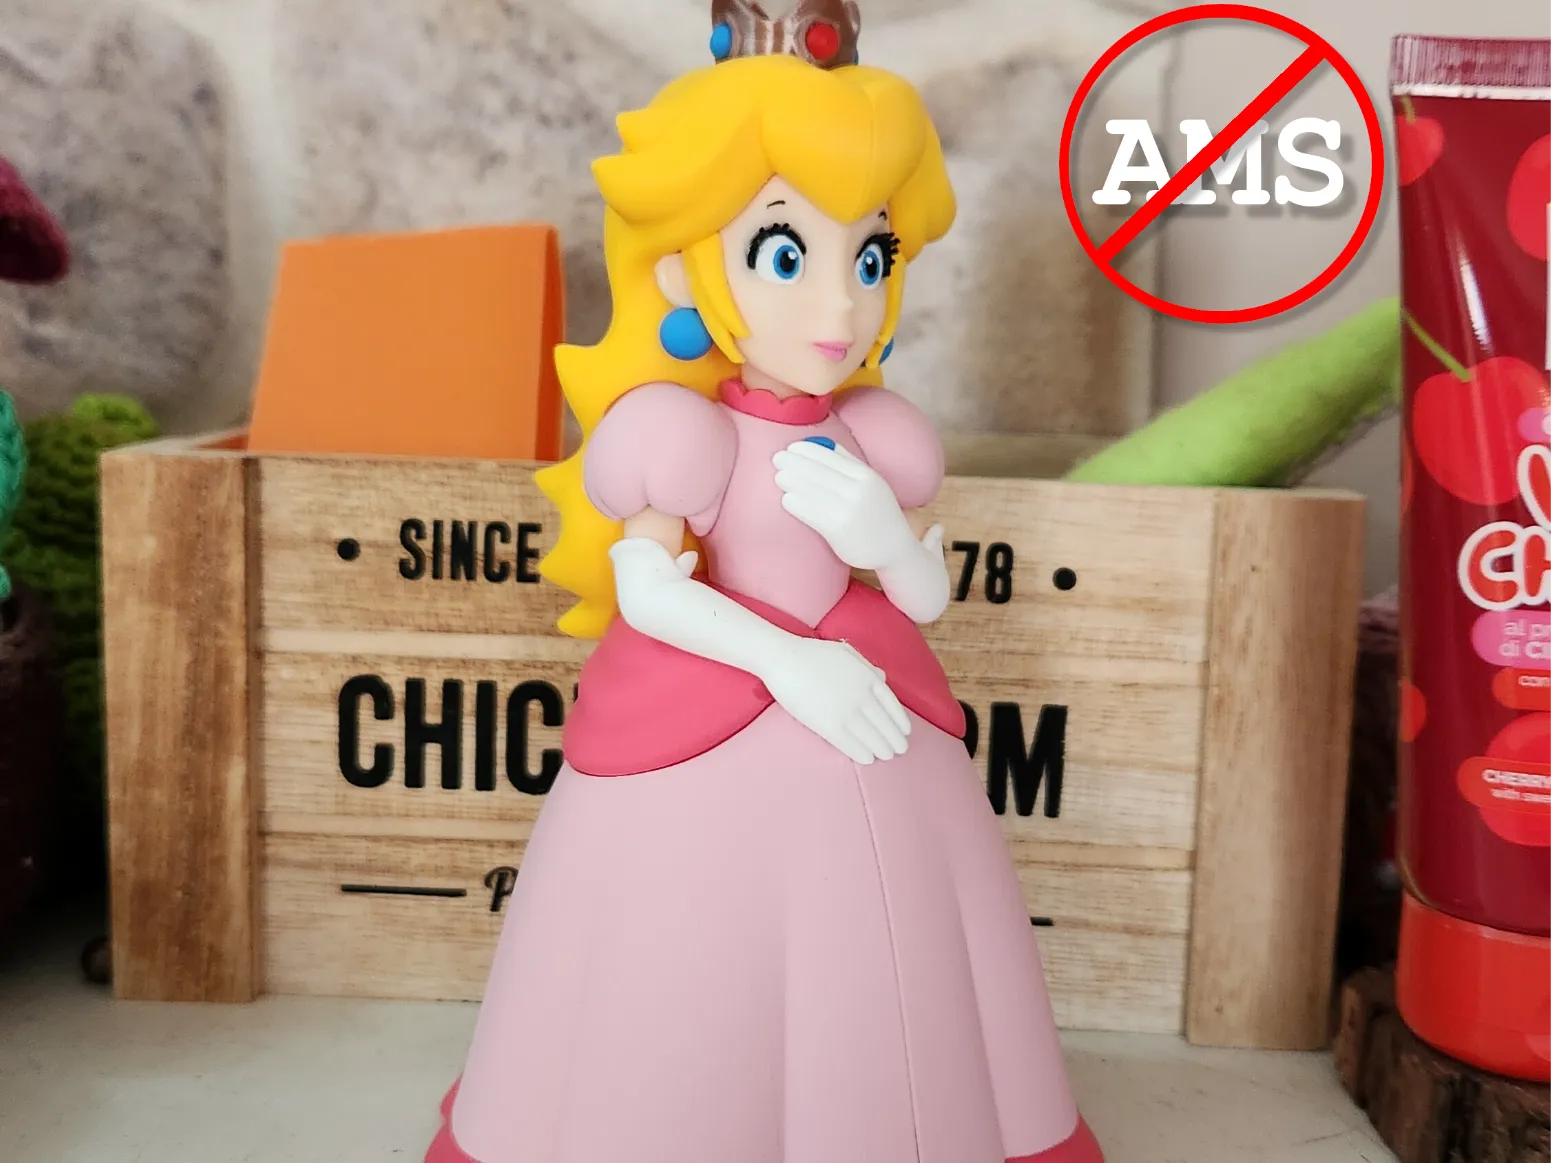
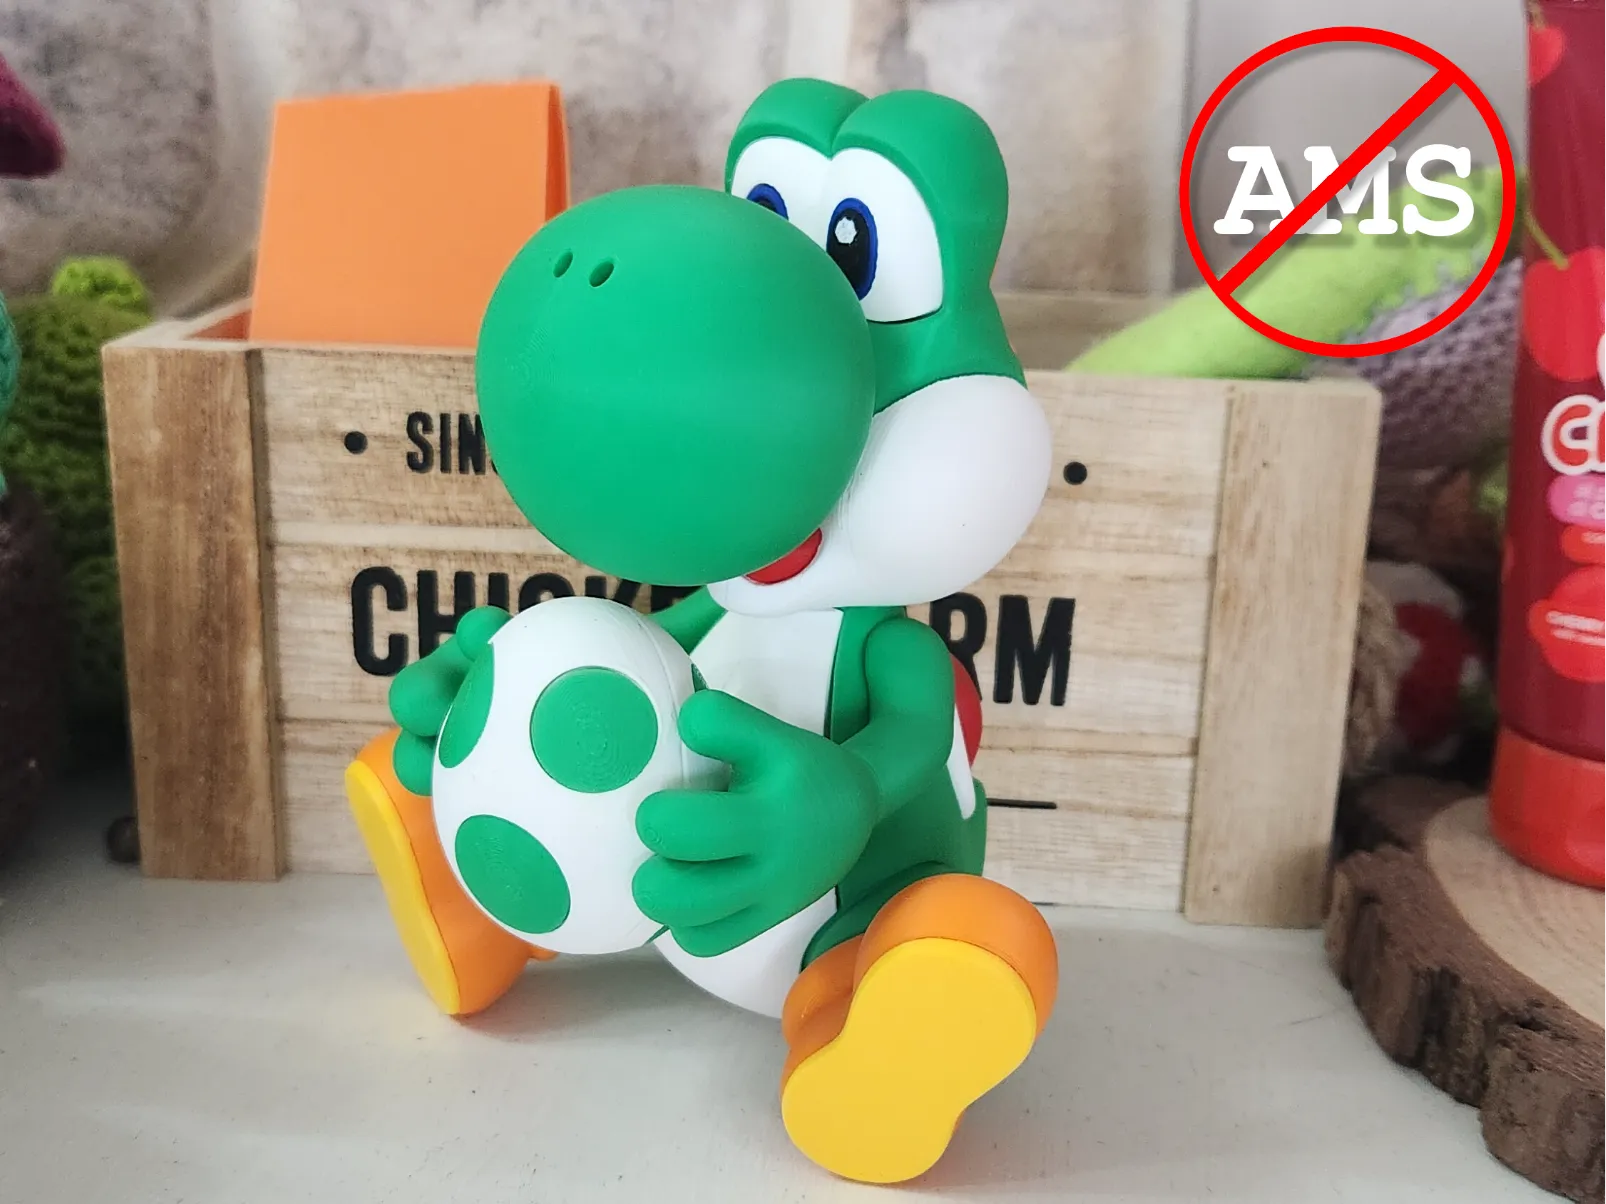
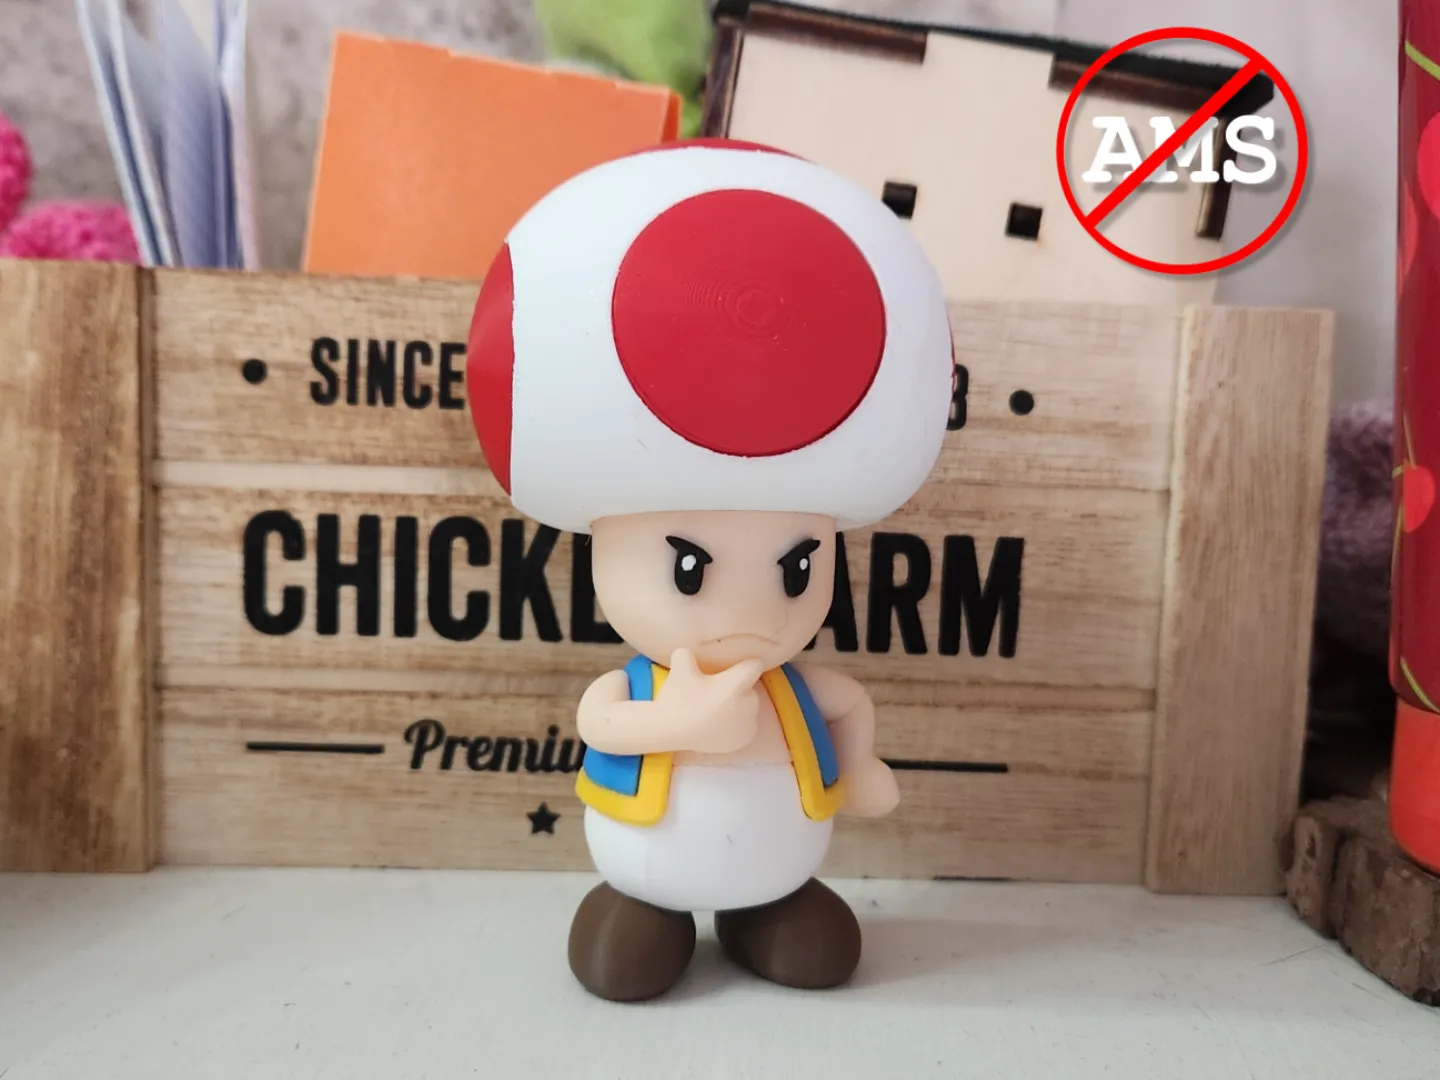
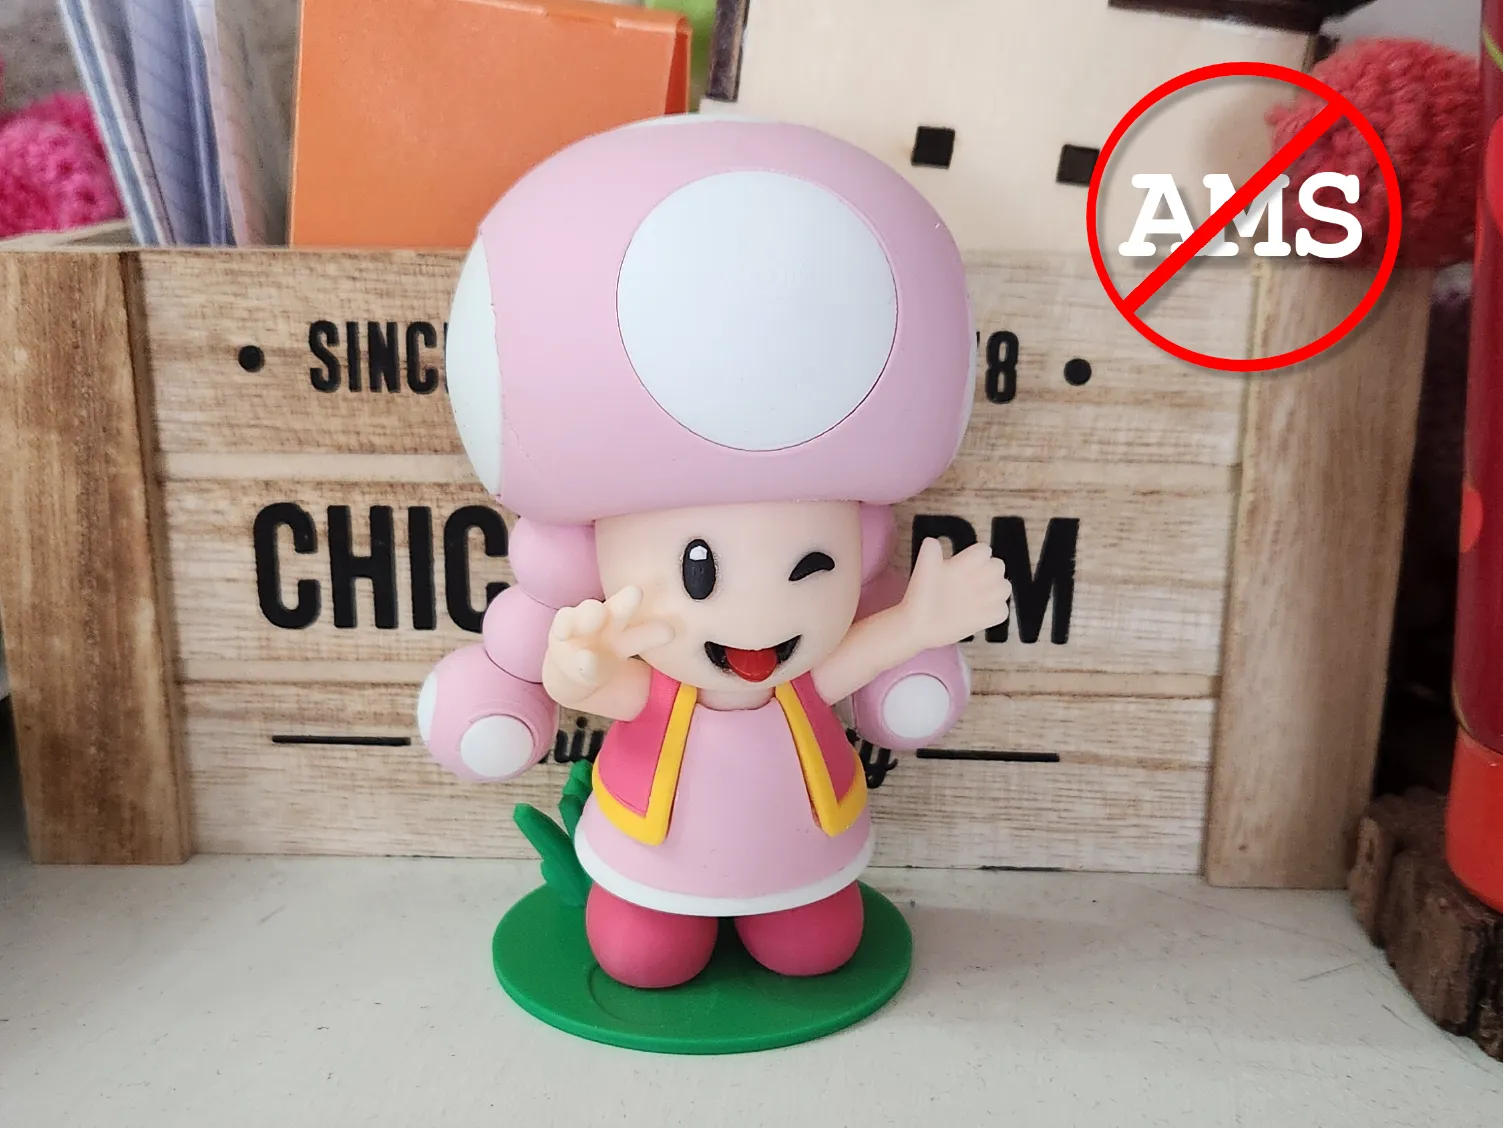
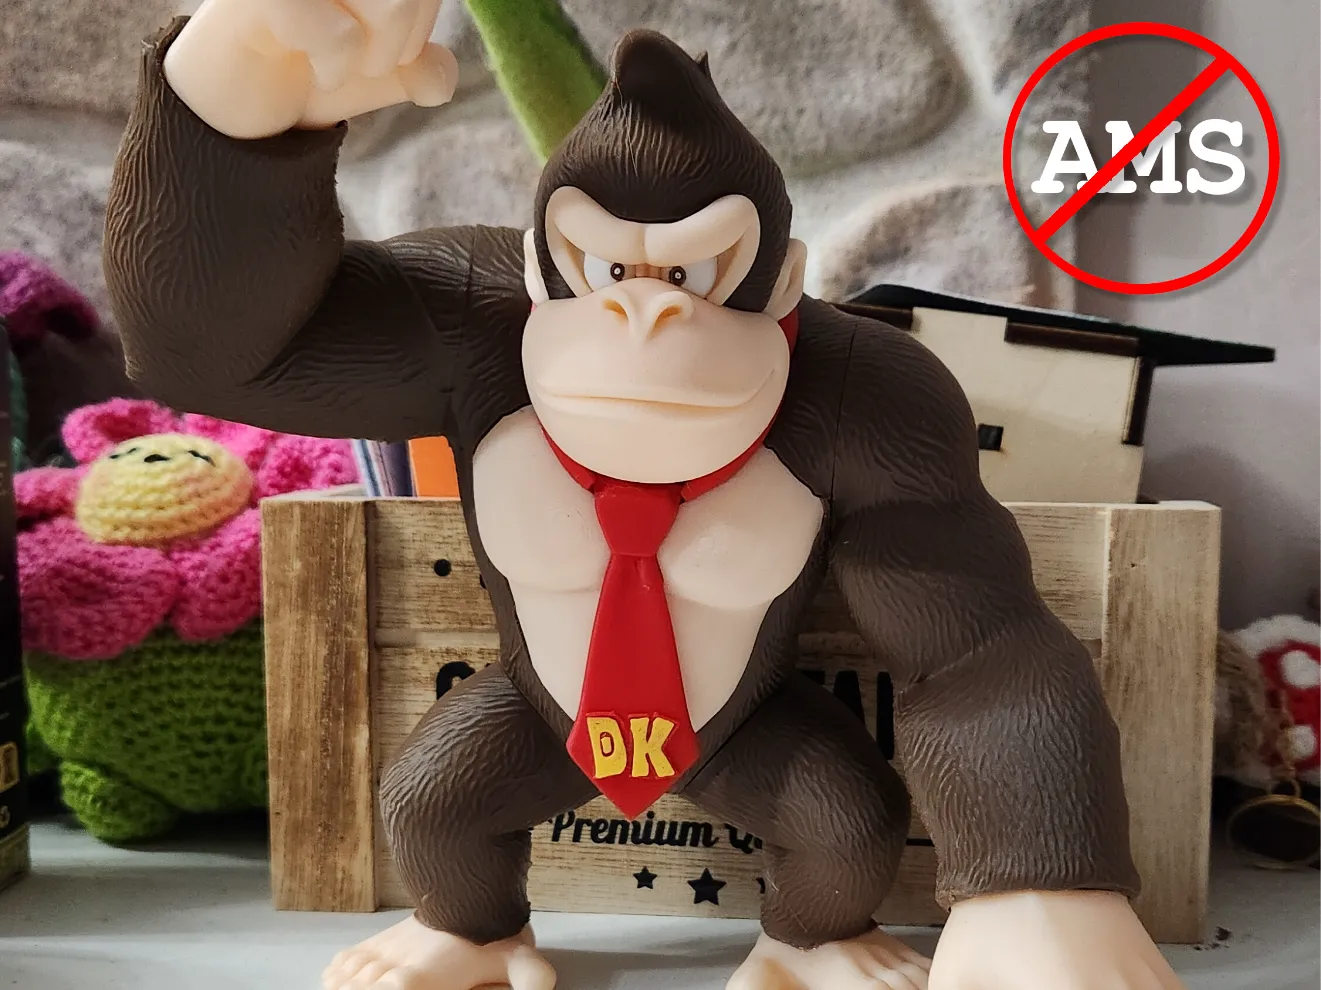
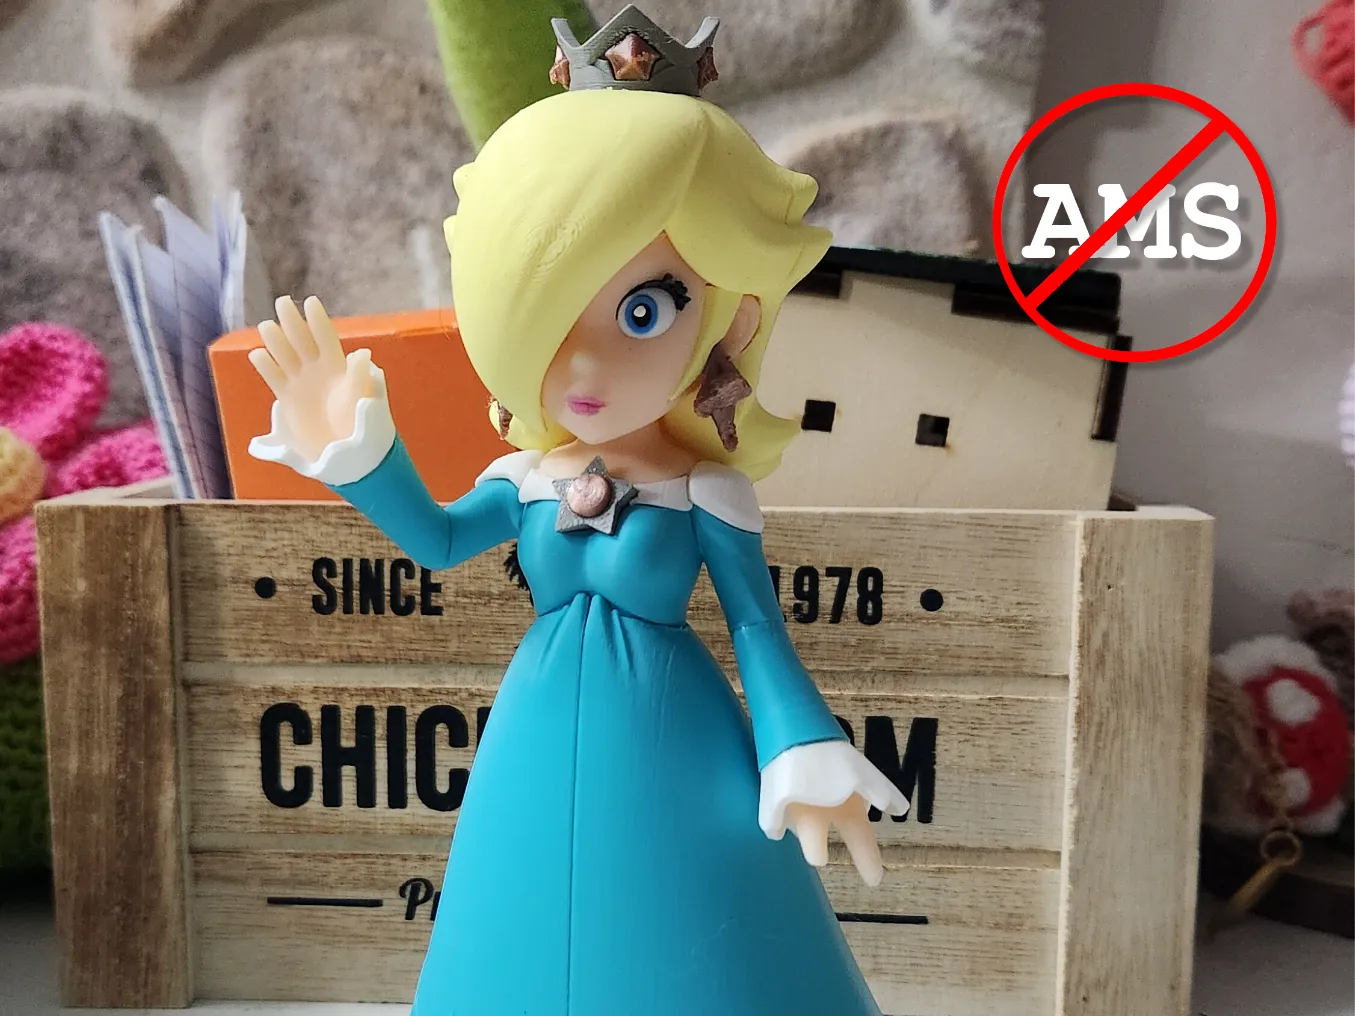
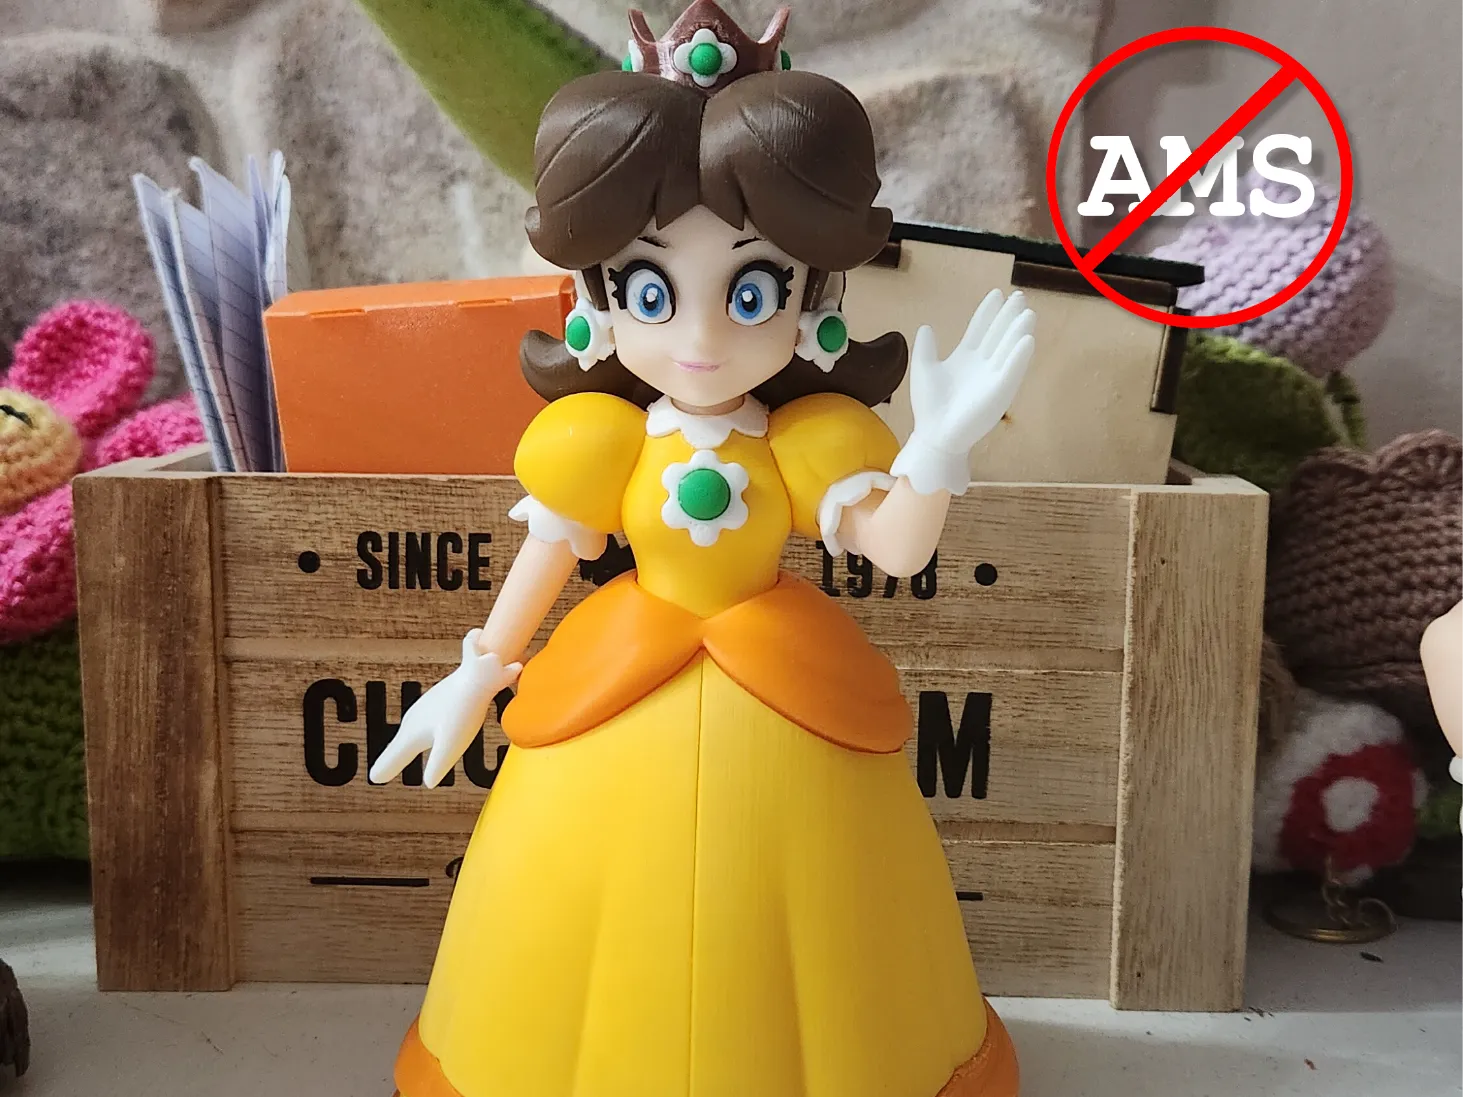
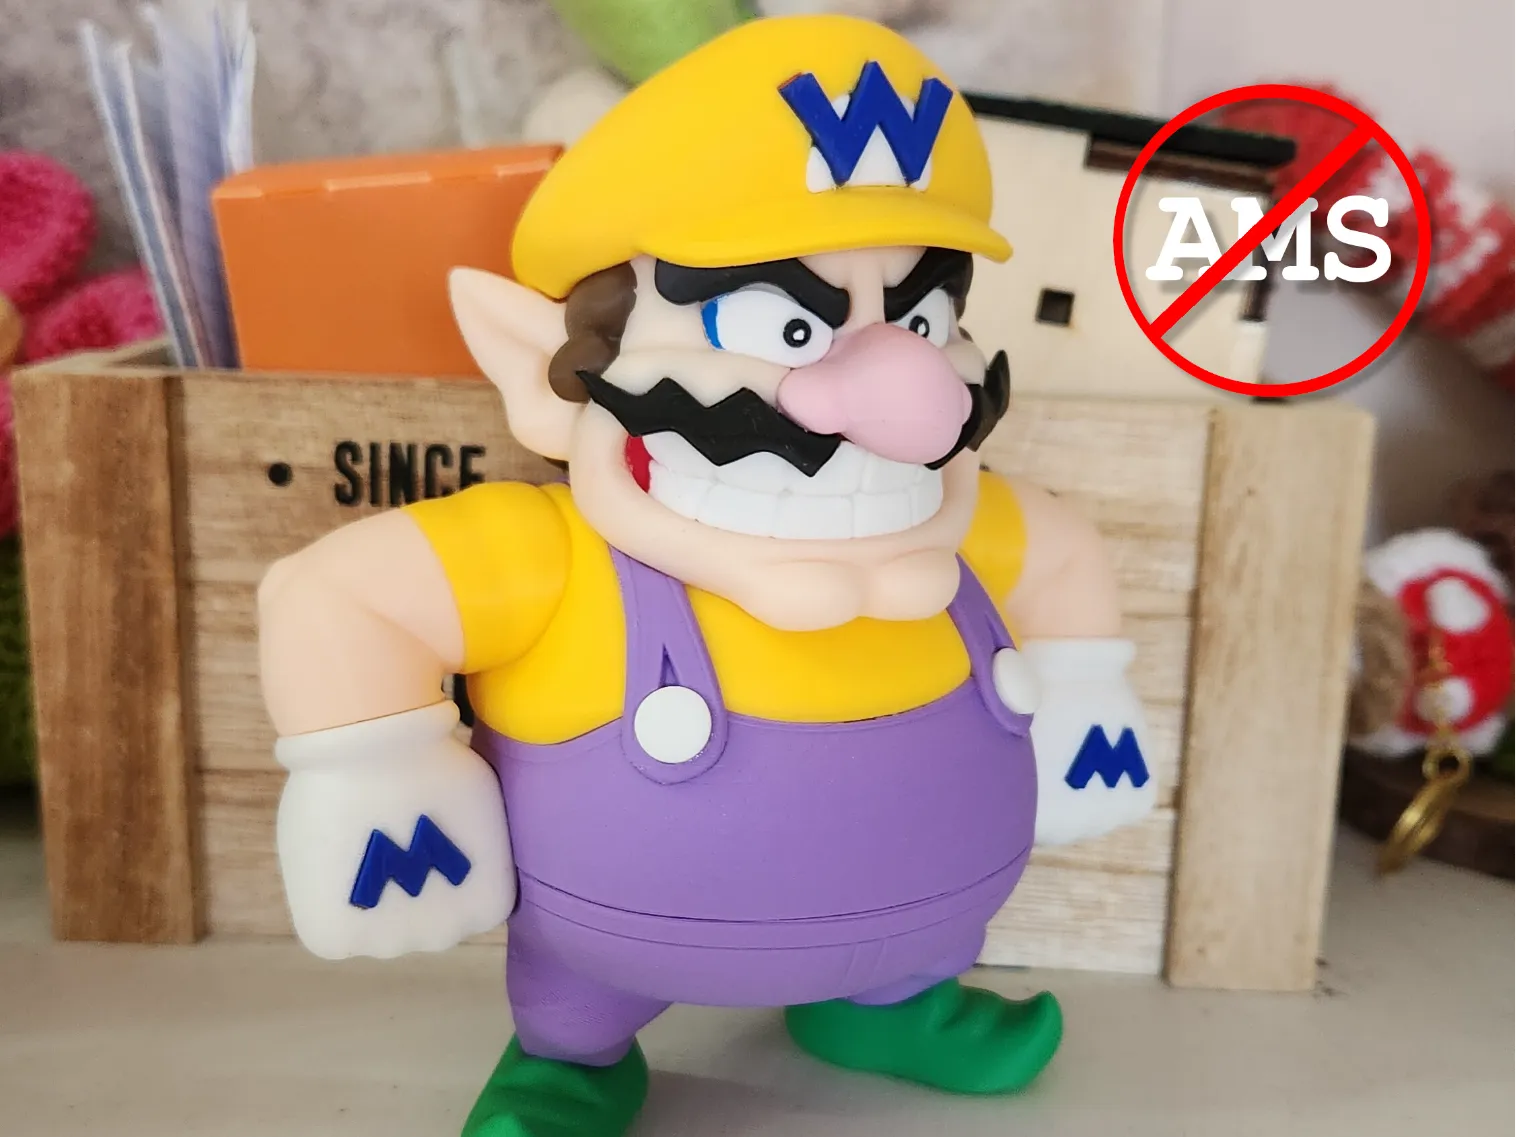
This model is part of a continuously updated collection. Here are other available models:
 |  |  |
 |  |  |
 |  |  |
 |  |  |
Boost Me (for free)
The Boost helps me grow and create new models. Leave one to support me.
Documentation (1)
License

You shall not share, sub-license, sell, rent, host, transfer, or distribute in any way the digital or 3D printed versions of this object, nor any other derivative work of this object in its digital or physical format (including - but not limited to - remixes of this object, and hosting on other digital platforms). The objects may not be used without permission in any way whatsoever in which you charge money, or collect fees.


Comment & Rating (398)