Double wall socket (twin power outlet) template


Print Profile(1)

Description
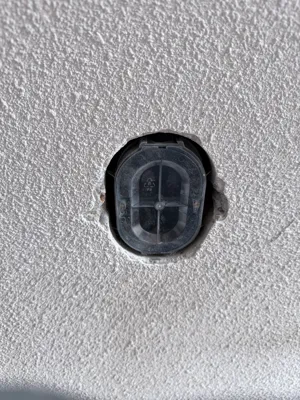
Drilling template for installing the oval flush-mount backboxes required for double sockets, compatible with the Attema UK40 and ABB HAF H150 oval backboxes.
Standard round, single backboxes or double backboxes won't work with this template. This template helps you drill and position the oval cutout accurately in your wall, so the backbox fits perfectly before plastering.
Compatible with:
- Attema UK40 oval backbox (16mm, Duroplast)
- ABB HAF H150 oval backbox (16mm, 90×70mm)
How to use this template
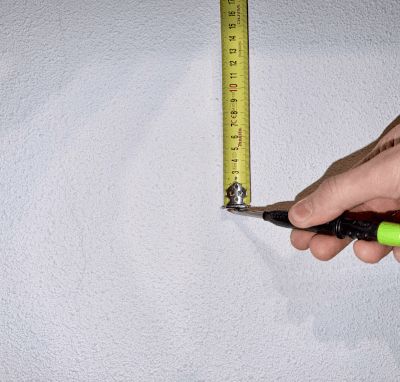
🎯 Step 1 — Find your center point
Measure the wall and mark the exact center of where you want your socket to
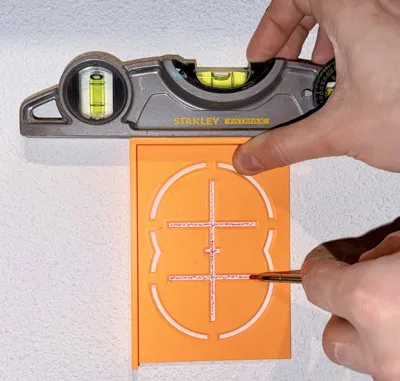
❌ Step 2 — Position the template
Place the template on the wall so its center point lines up with the mark you just made.
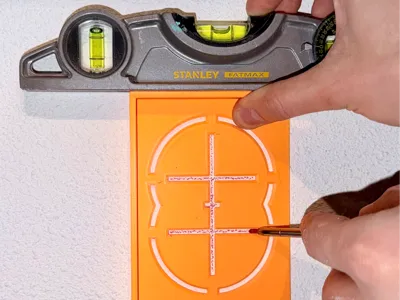
⚖️ Step 3 — Level it up
Rest a spirit level on the flat raised edge of the template and adjust until the bubble is centered. This ensures your socket will sit perfectly straight.
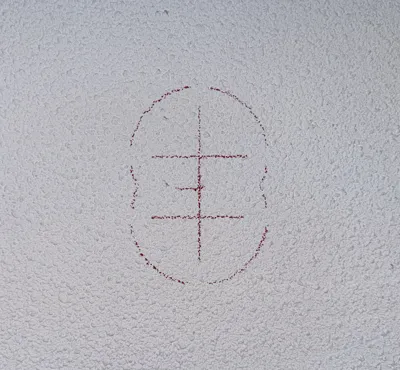
🖍️ Step 4 — Mark the wall
Trace at least the two cross marks (one per hole) onto the wall. You can also trace the full outline if that helps you.
🕳️ Step 5 — Drill two small pilot holes
Using a regular drill bit (the same diameter as the pilot drill bit in your hole saw), drill a small hole at each cross mark. This is important — if you skip this step, the second hole saw cut will destroy the first pilot hole, making it hard to keep the drill centered.
🔘 Step 6 — Start cutting with the hole saw
Attach an 82mm hole saw to your drill with the pilot drill bit installed. Place the pilot bit into one of the pre-drilled holes and drill down just over 1 cm deep. Repeat for the second hole.
♾️ Step 7 — Finish both holes
Remove the pilot drill bit from the hole saw, then go back and finish drilling both holes to their full depth. The two holes will overlap in the middle, creating a figure-8 shape.
🔨Step 8 — Knock out the middle
Use a hammer and chisel to carefully chip away the remaining material between the two holes. This turns the figure-8 into a clean oval shape that the backbox will slot into.
🧪 Step 9 — Test the fit
Press the backbox into the hole to check it fits snugly before proceeding with your electrical installation.
License
You shall not share, sub-license, sell, rent, host, transfer, or distribute in any way the digital or 3D printed versions of this object, nor any other derivative work of this object in its digital or physical format (including - but not limited to - remixes of this object, and hosting on other digital platforms). The objects may not be used without permission in any way whatsoever in which you charge money, or collect fees.
Comment & Rating (1)