
Open Wheel for Logitech G RS Hub - 9h print!
Print Profile(2)
Description
Welcome to N1CKTR1CK - I am Nick and I love sharing my creations and remixes with the community.
Check out my other models here: N1ckTr1ck on MakerWorld
If you enjoy this model, please consider giving it a like, a download, or even a boost! 🚀 It really helps me out. Thank you!
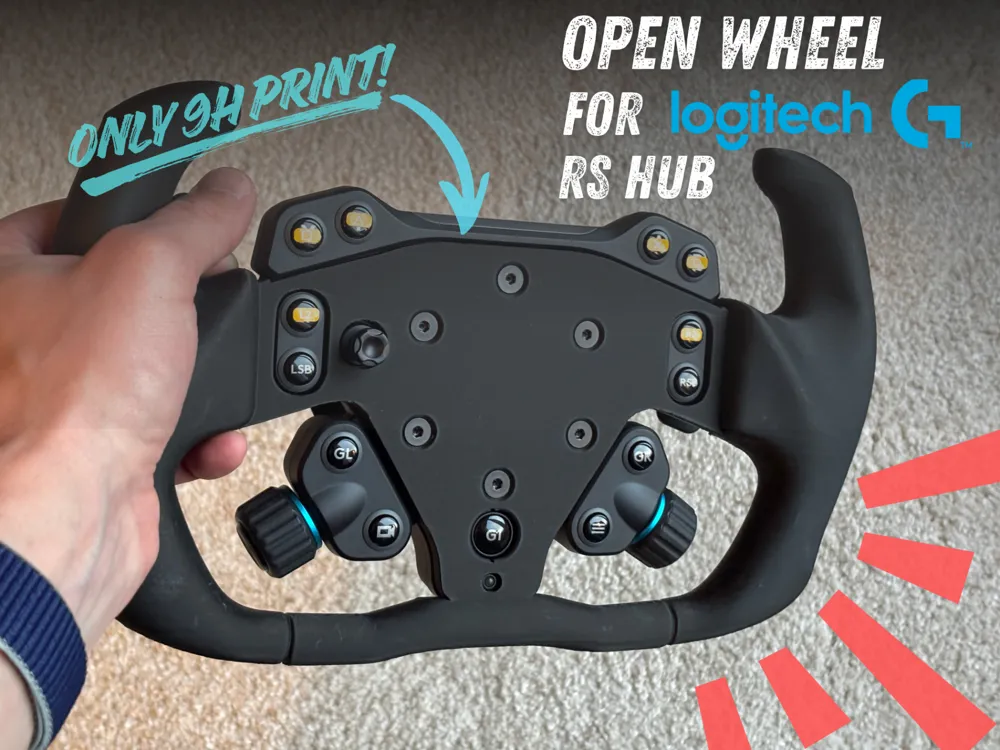

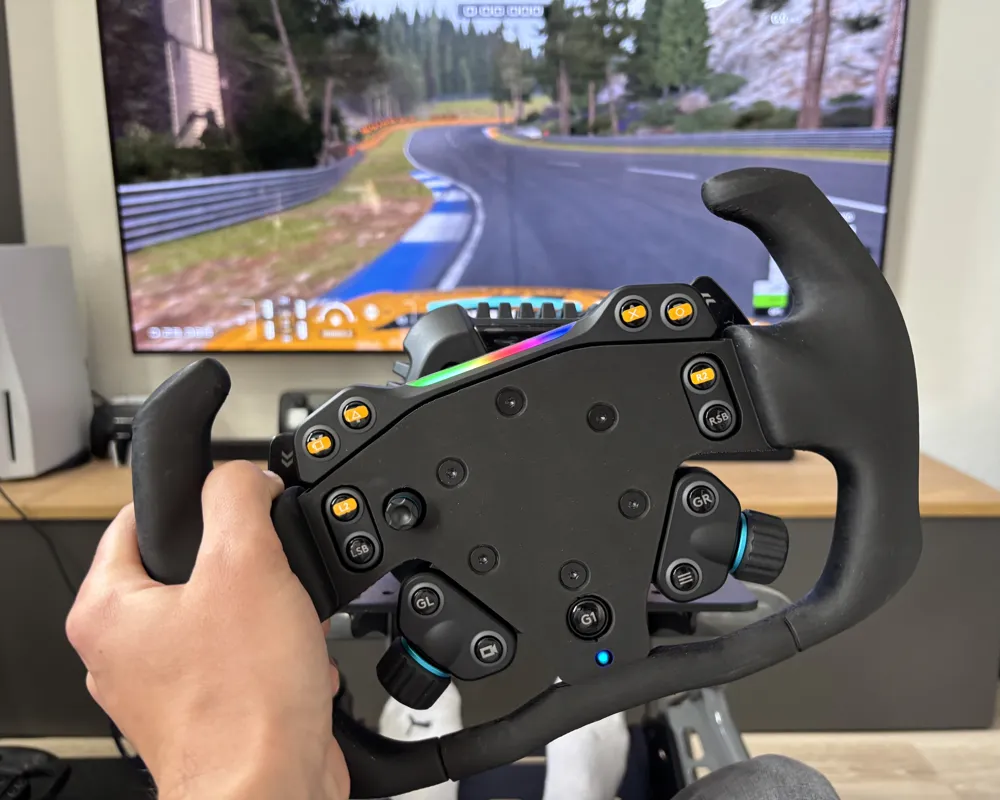
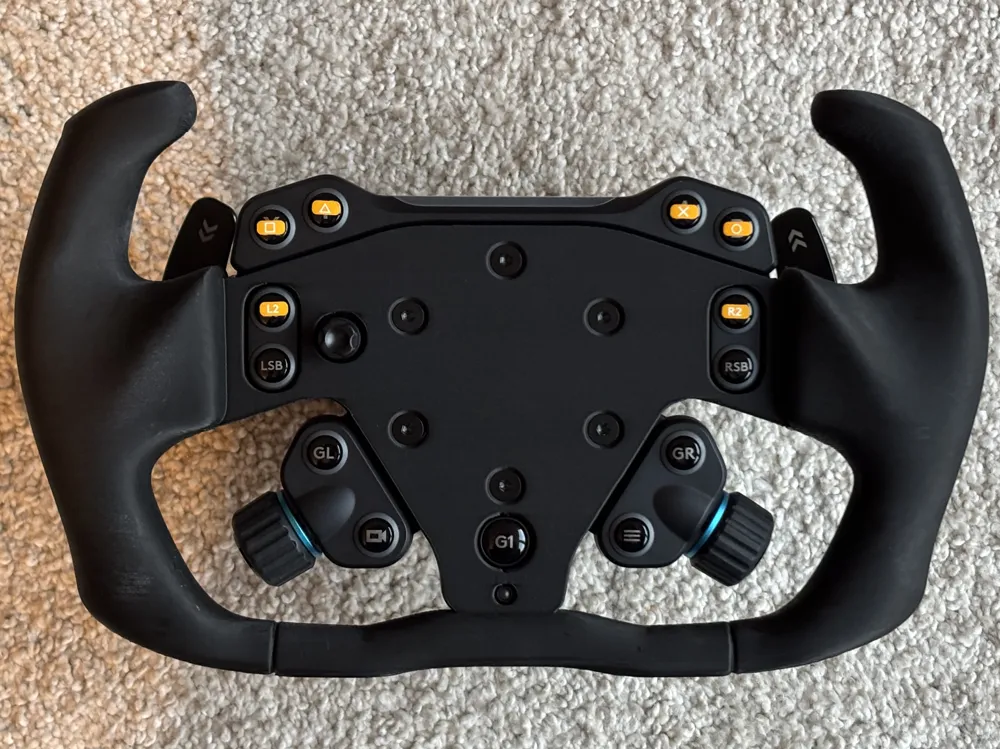
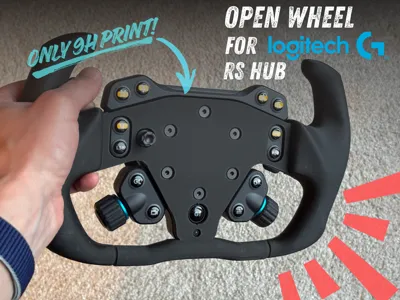
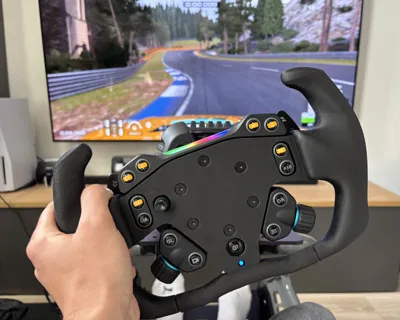
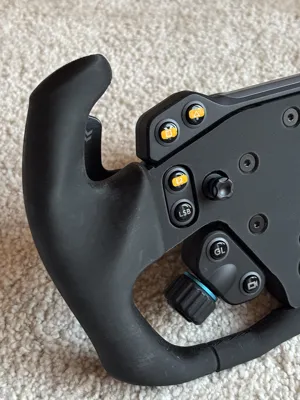
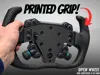
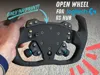
Don't want to spend 79€ for the Logitech G RS Track Wheel? Just print your own with ~300g of PLA in 9 hours!

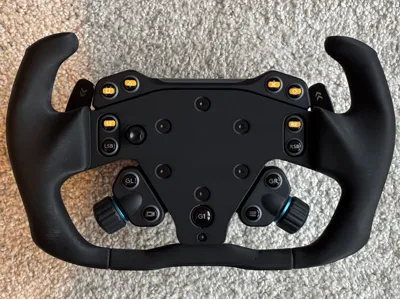
As you can see, I took inspiration from the official Logitech wheel, when designing this. However, the grips are a bit smaller and slightly more narrow.
Features:
- Super strong construction
- Only one print
- No additional materials needed
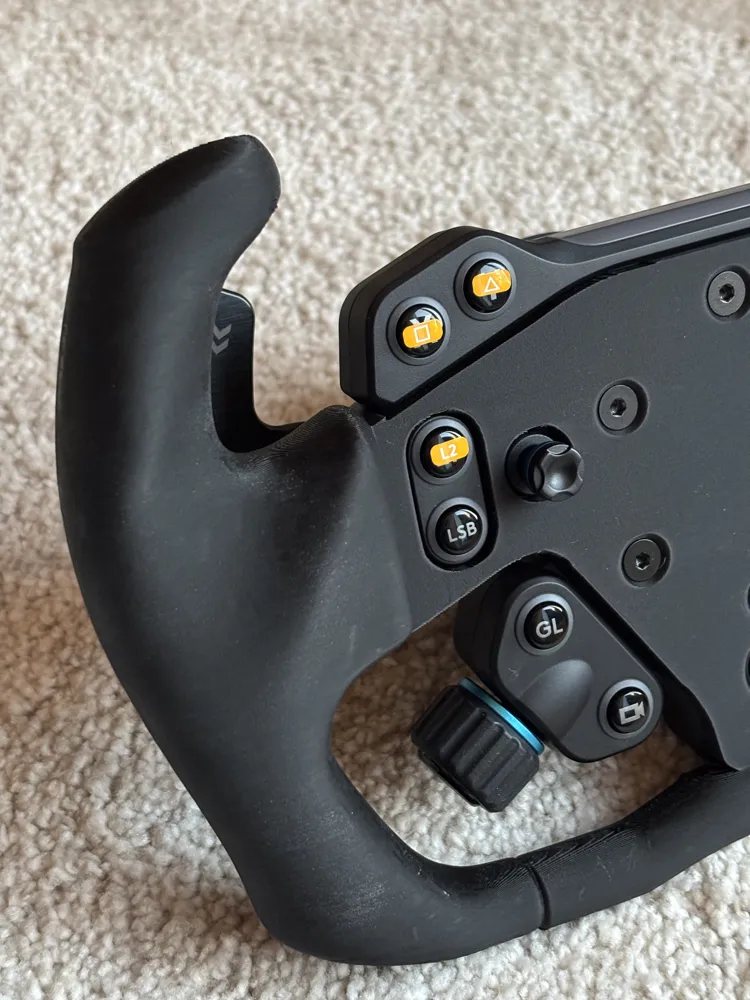
- Ergonomic grips
- 297mm wide (original from logitech is 291mm)
Versions (2026-04-16):
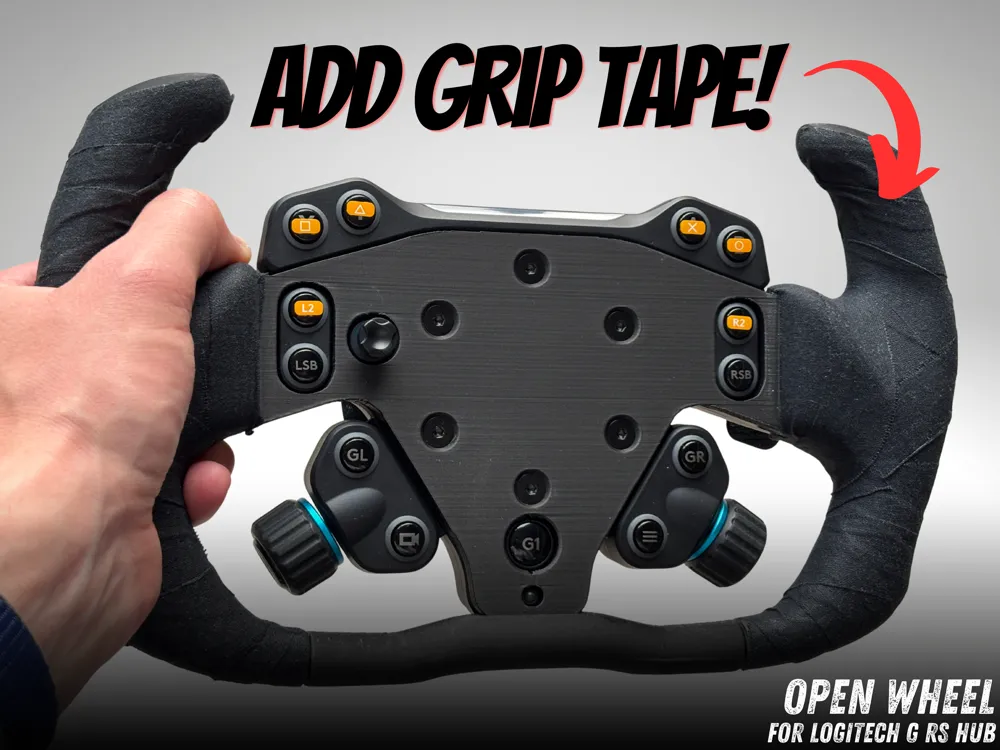
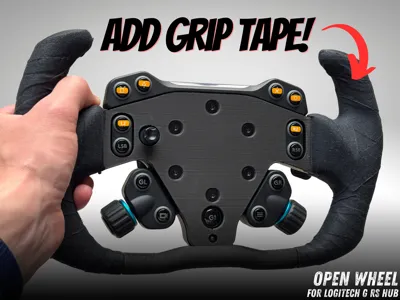
Standard (enhanced with Grip Tape)
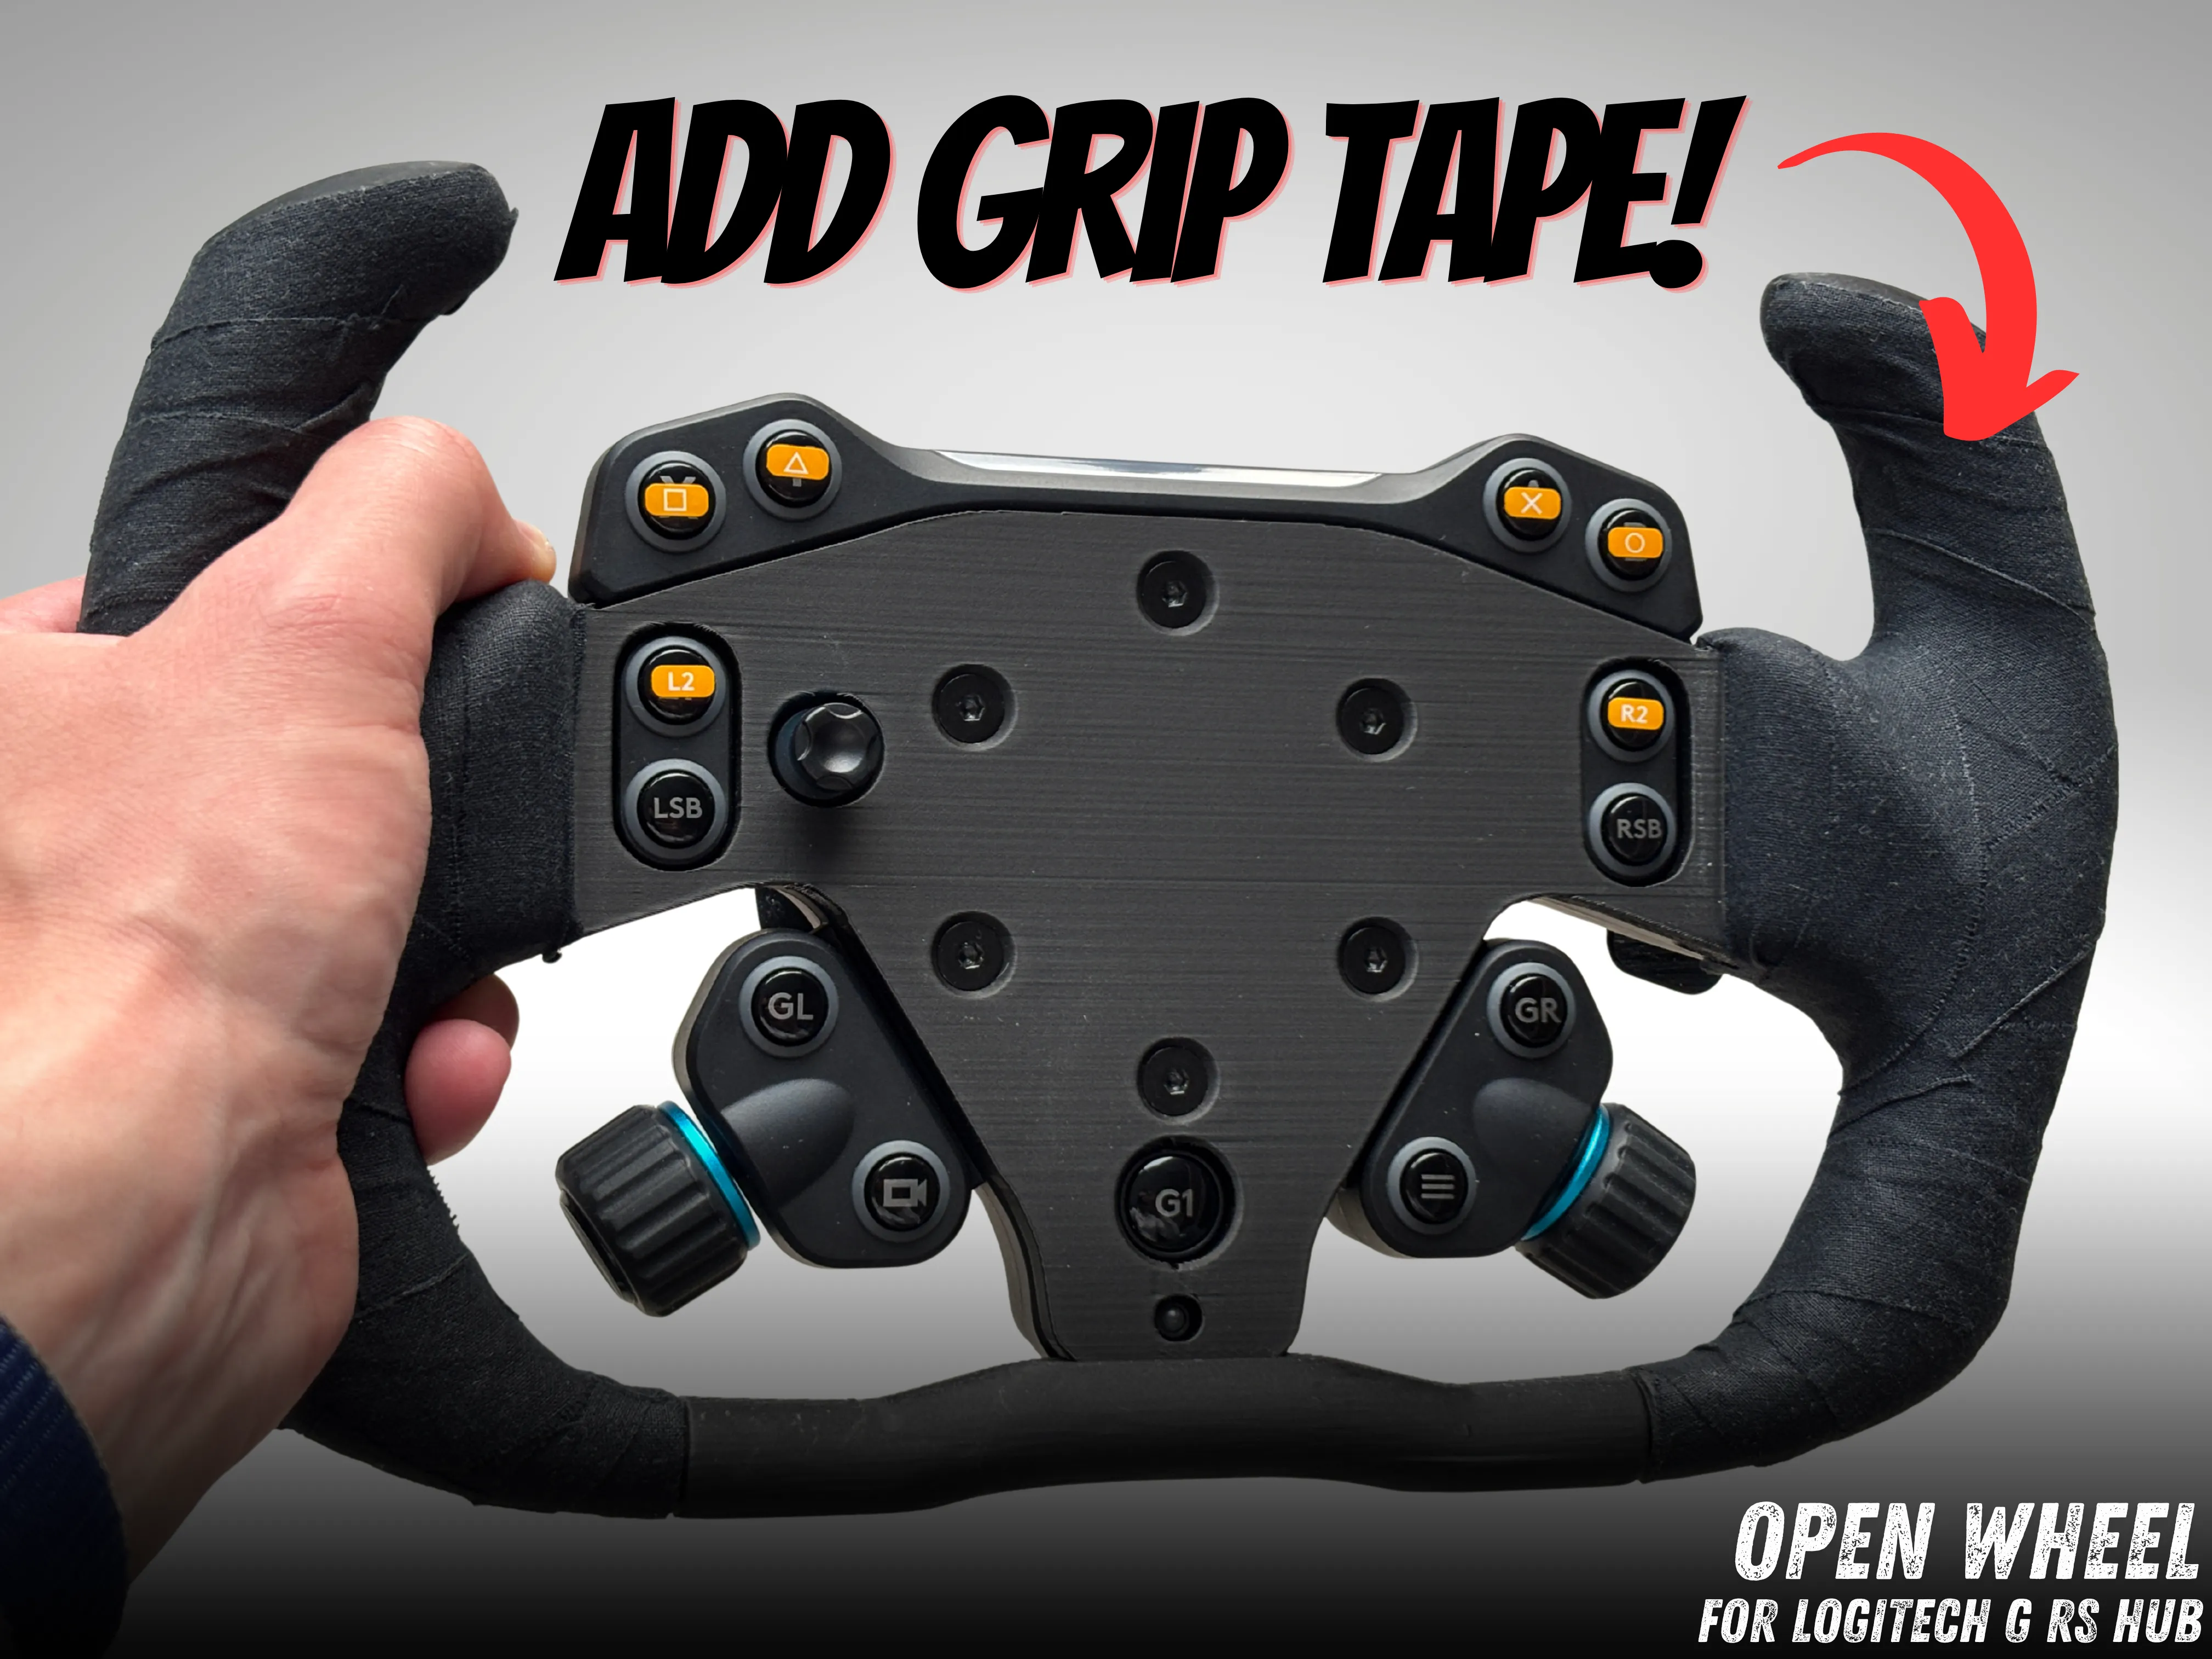
This is a smooth version of the wheel. I just added some grip tape to the horns for (obviously) better grip and feel in the hands. To be 100% honest with you, I personally liked the un-modded variant a bit better. It was quite grippy out of the box with the PLA-CF I used, but it looks much nicer now, I think!
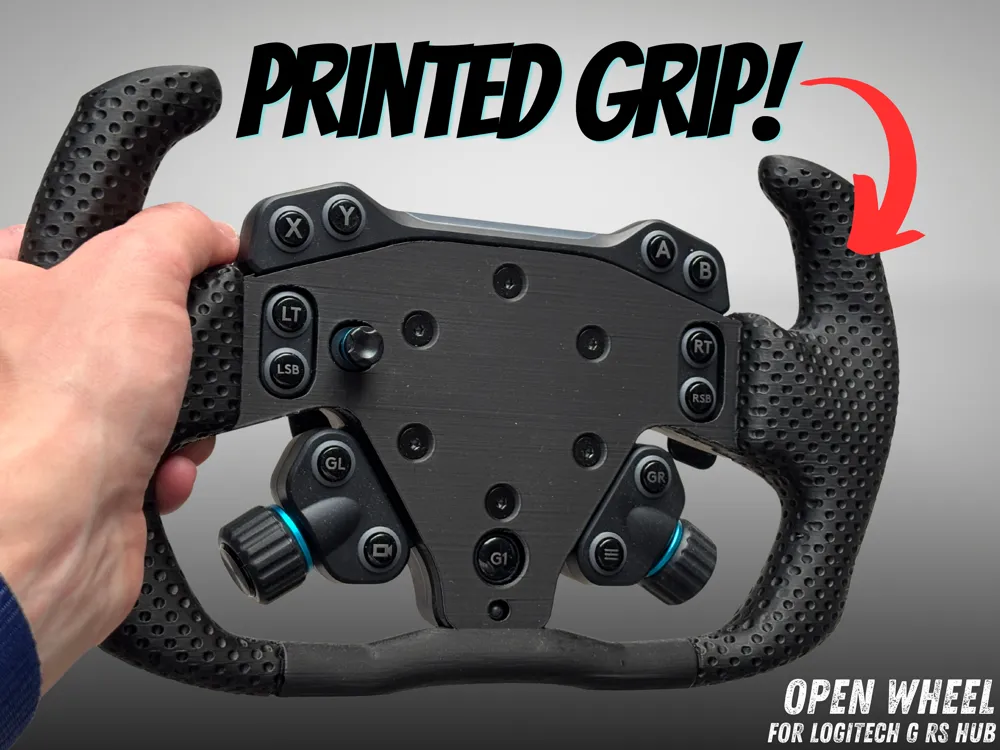
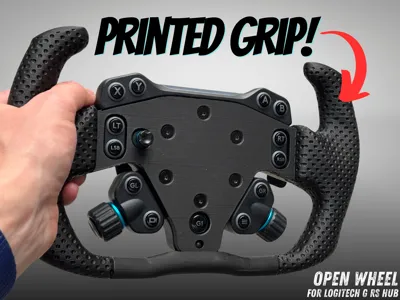
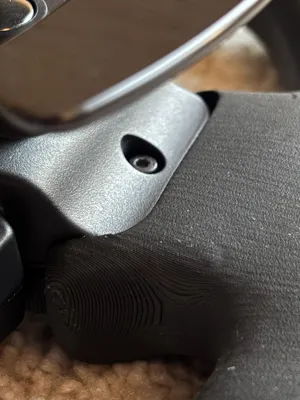
Printed Grip Texture
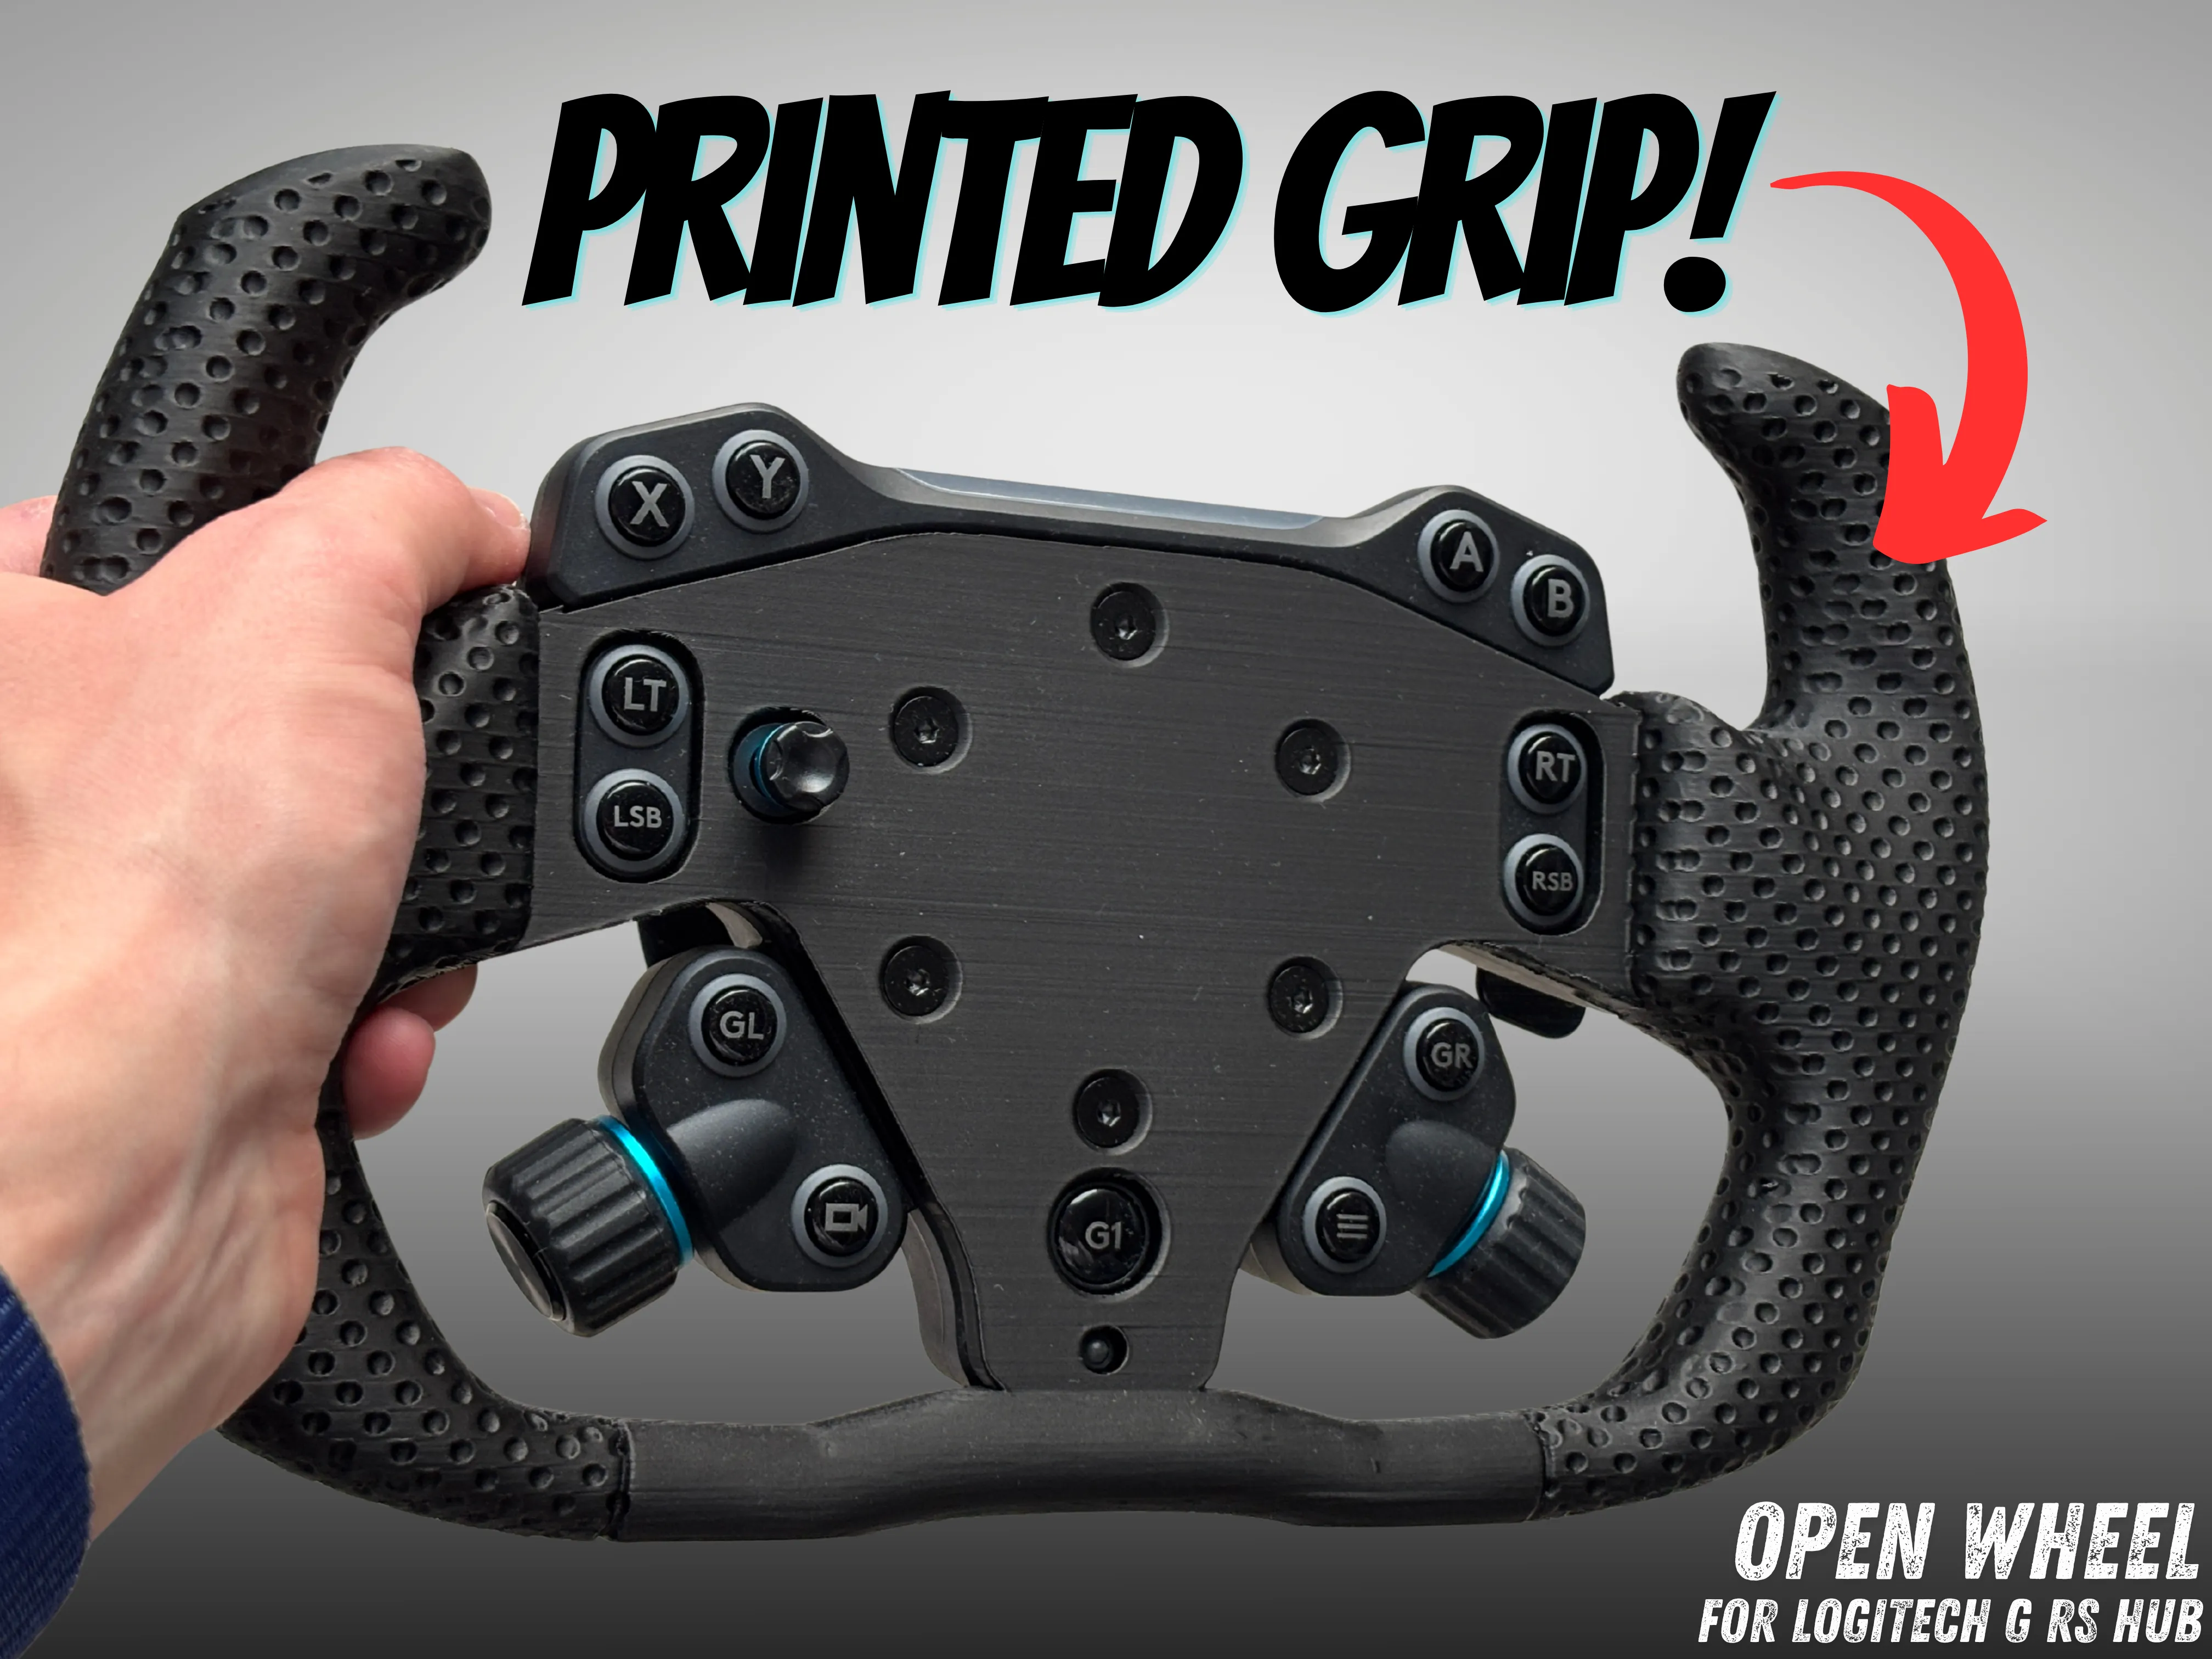
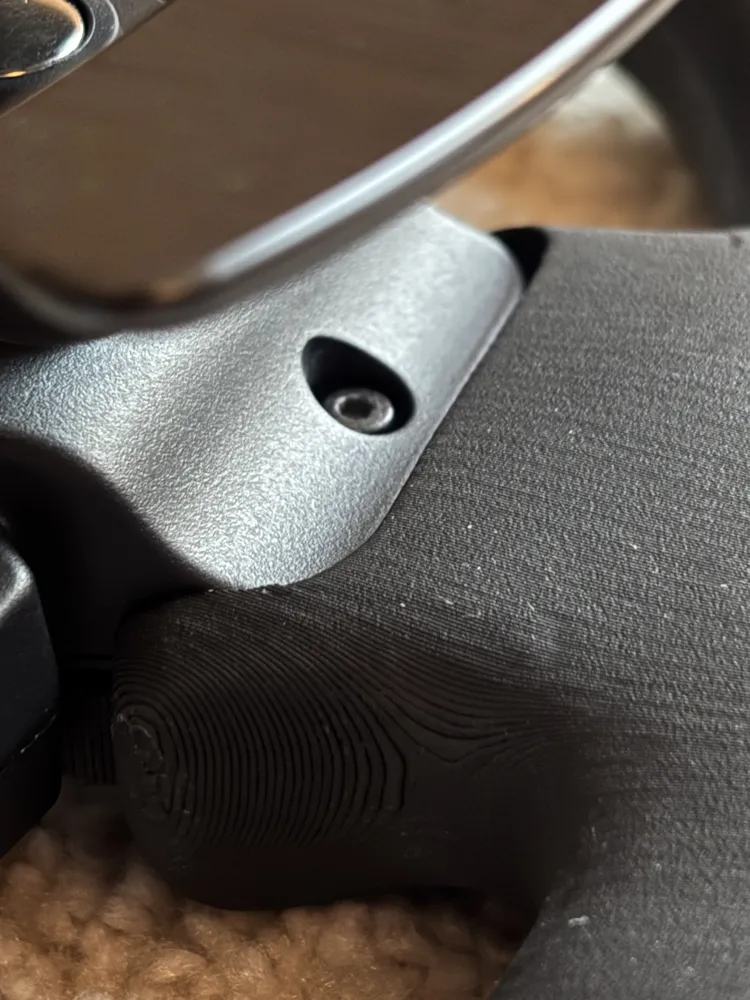
When I heard of BumpMesh by @CNCKitchen recently, I knew I needed to try applying texture to the horns of a wheel for better grip. I think it feels quite good already. However, I would like to scale the texture even smaller and also remove the artifacts around the sharper bends. But I am sure Stefan will come up with a solution for this eventually and I will update the model, once that happens. For now, apart from the slight optical deficencies, the texture is a great addition to the wheel.
Printing instructions:
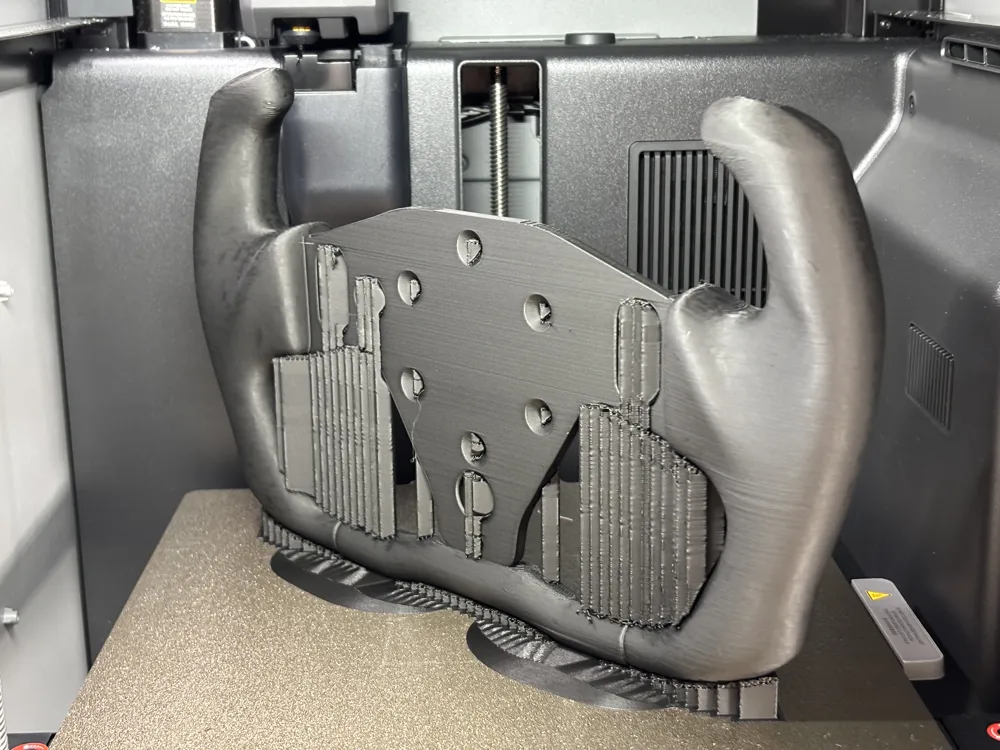
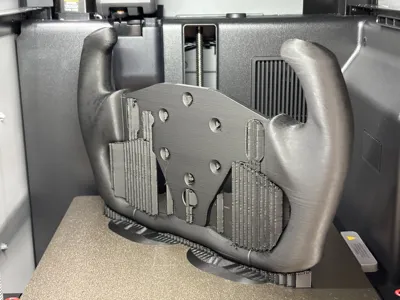
Best use my Printing profiles. I used PLA-CF, but PLA is also perfectly fine. You should avoid PETG, because the supports will be a pain to remove. If you decide to print the STL on your own, cut off 2mm from the bottom of the wheel, so that you can place it on the surface. Use a large brim. Really, best use my print profile as a baseline and adjust it to your needs. You can of course download the STL and try your own textures on BumpMesh.
Assembly:
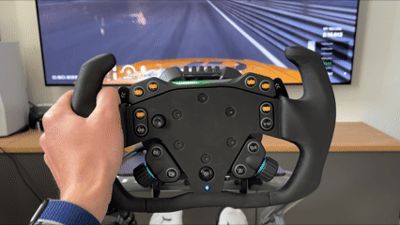
- Just put the wheel on the RS Hub. It's a perfect fit.
- Screw in the 6 main screws in the front
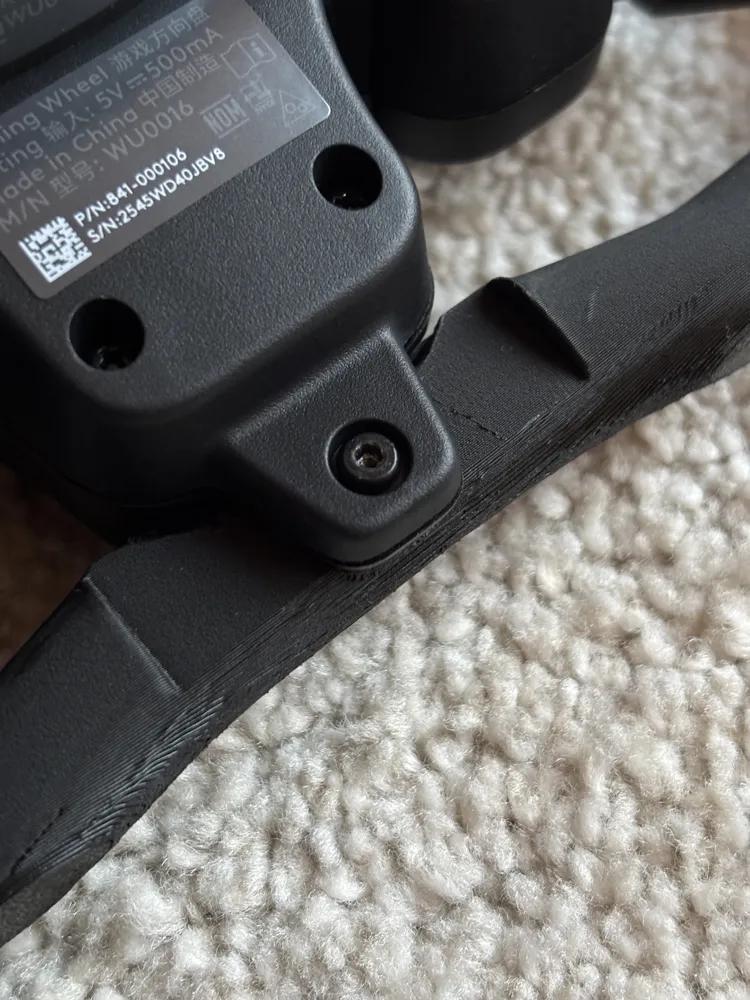
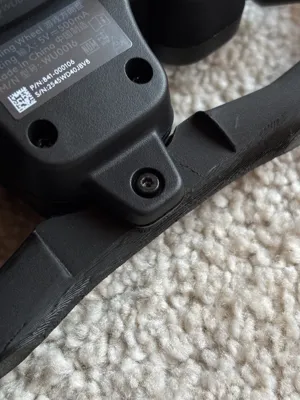
- Carefully screw in the 3 back screws
Bonus Tip:
Only tighten the three M3 screws in the back hand-tight! Otherwise, you risk stripping the holes! In this case the wheel might have a bit of play at the handles. I purposely tried this to see how bad it could get if you aren't careful and honestly it's still OK. I also fixed it afterwards by drilling out the hole to a 3.5mm diameter and placing a M3x5.7mm threaded insert into the hole. Holds on like a champ again.
________
If you have any questions or if something is unclear, please ask before printing! I'm always happy to help you save time and filament.
Once you're done, I would absolutely love to see your results! Please share a photo of your printed model and leave a comment if everything worked out well.
Happy printing!
Boost Me (for free)
Thank you so much for the boost! 🚀 Every boost goes straight into buying new filament to fund the prototyping of future projects. You're directly helping me create more free models for the community!
License

You shall not share, sub-license, sell, rent, host, transfer, or distribute in any way the digital or 3D printed versions of this object, nor any other derivative work of this object in its digital or physical format (including - but not limited to - remixes of this object, and hosting on other digital platforms). The objects may not be used without permission in any way whatsoever in which you charge money, or collect fees.


Comment & Rating (24)