
Print Profile(5)
Bill of Materials



Description
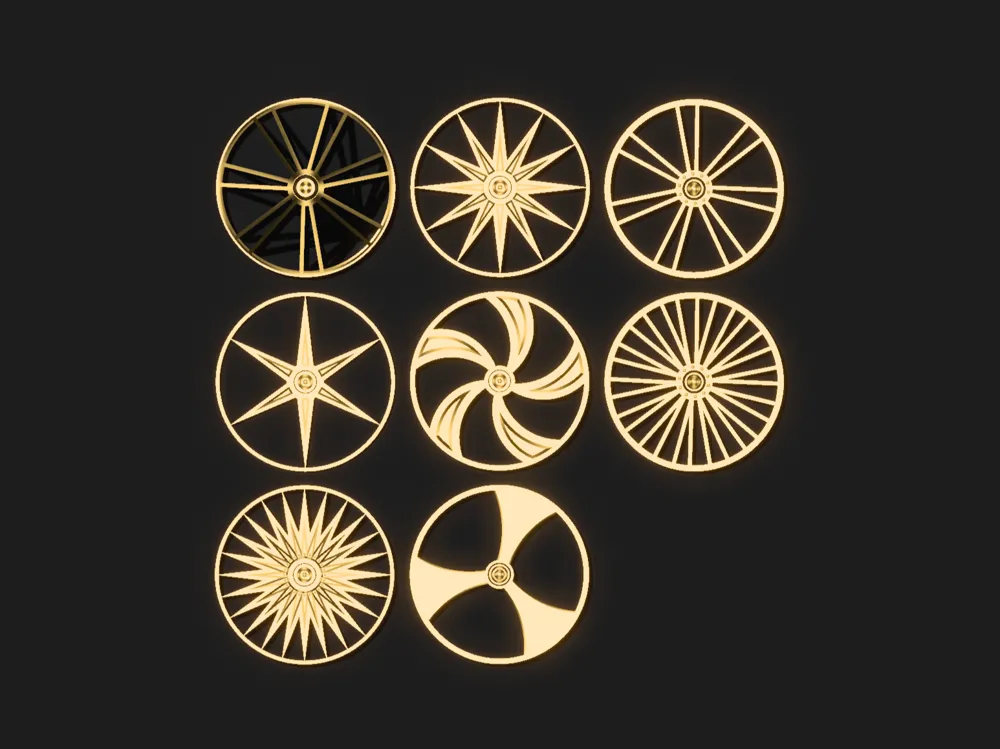
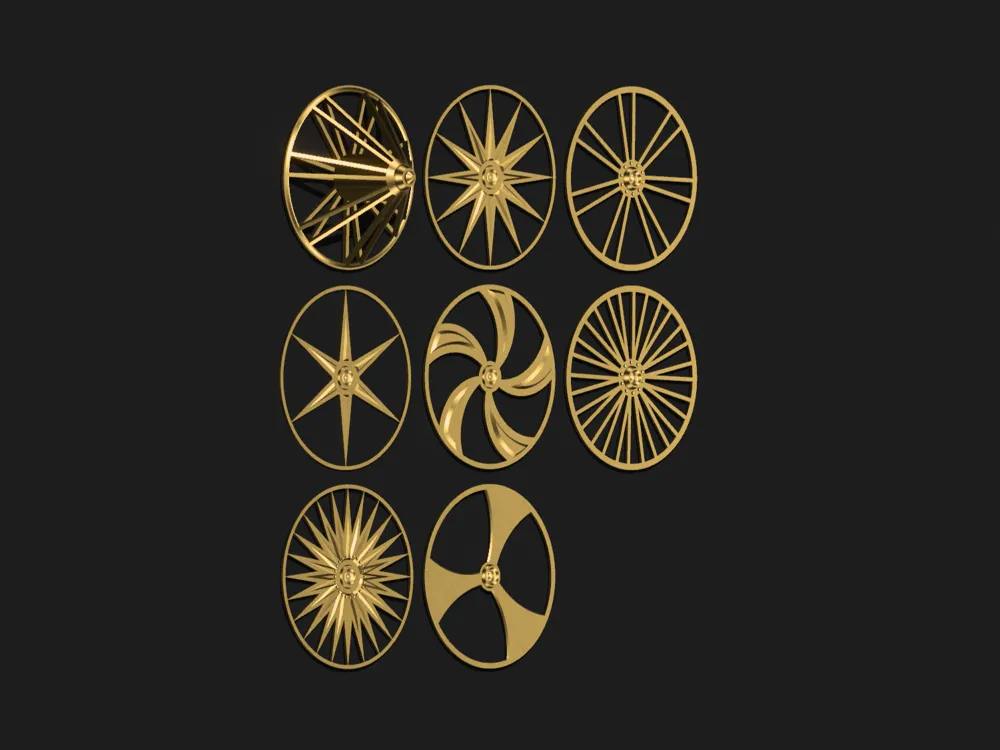
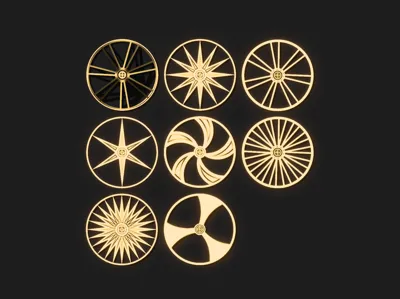
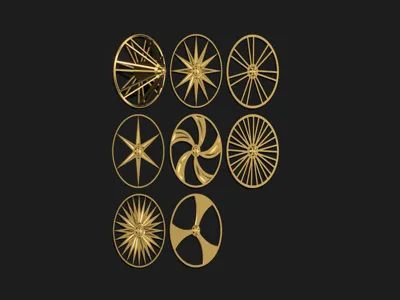
UPDATE! Added 7 more styles and universal backplate!
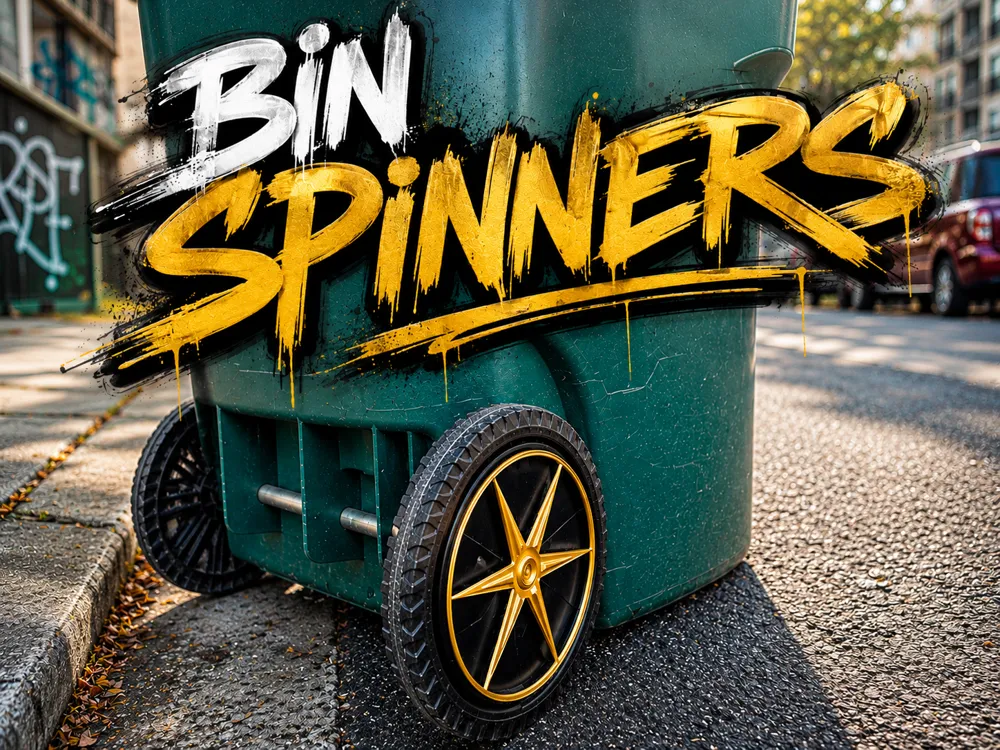

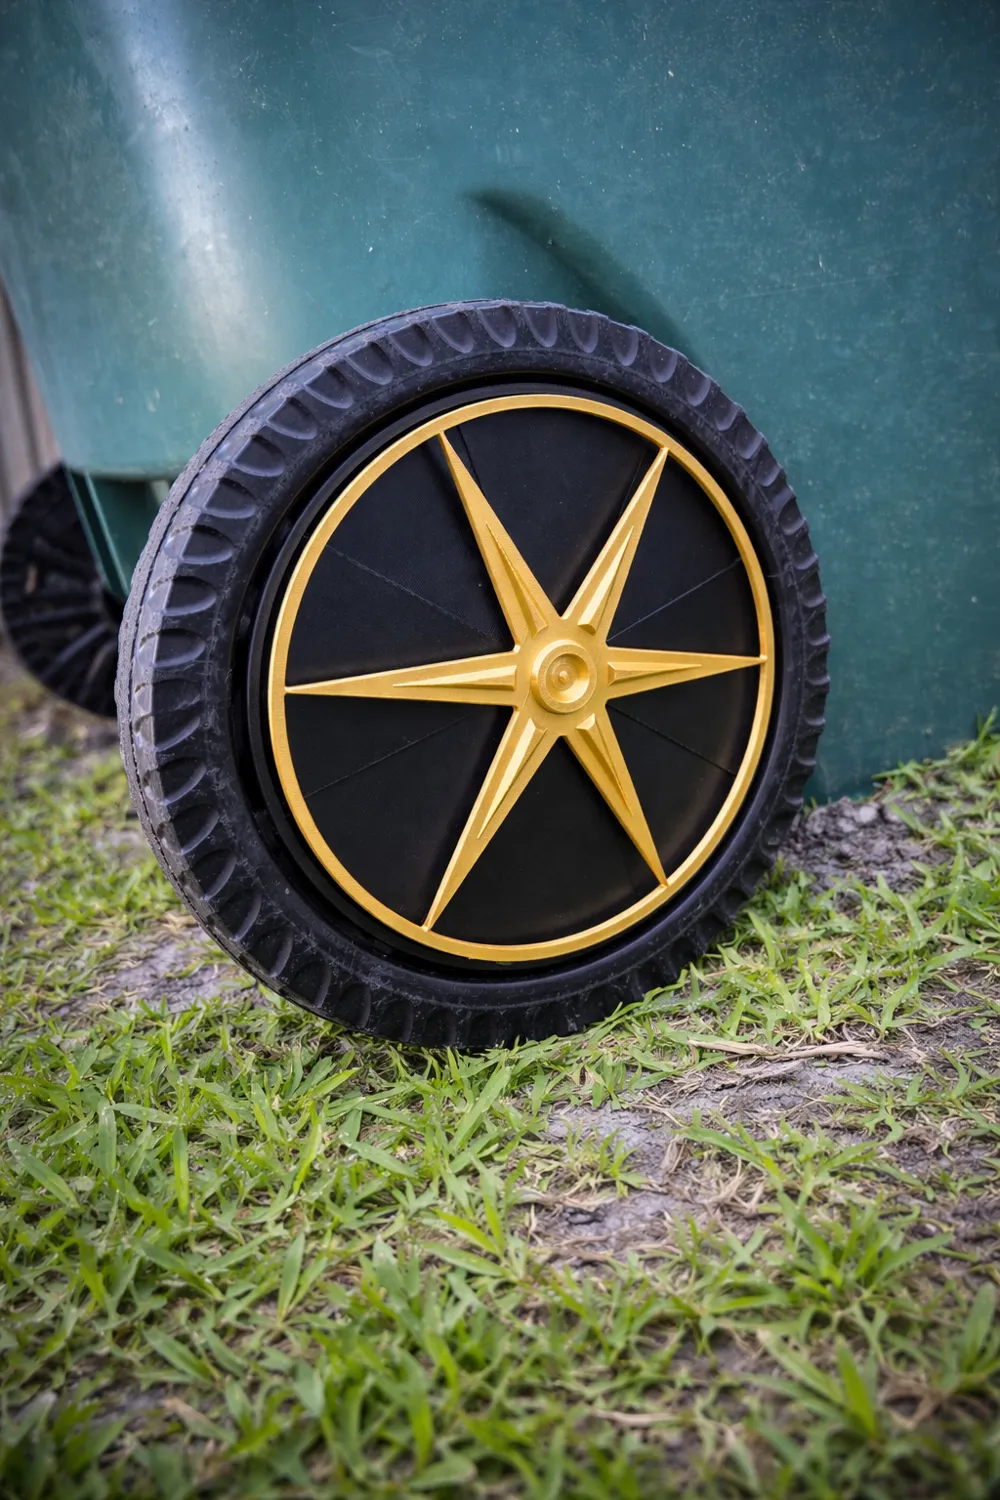
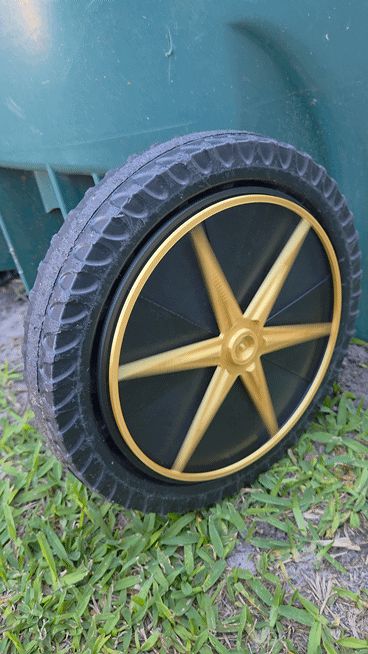
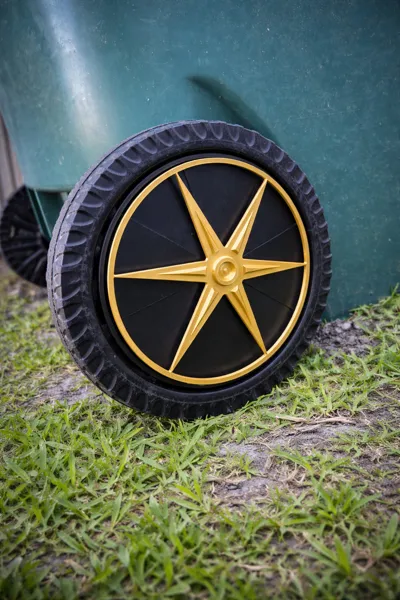
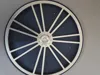
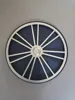
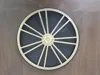
Trash Cart Wheel Spinners are the completely unnecessary upgrade your trash bin absolutely deserves. Give your garbage cart some street cred with smooth-spinning wheels and a custom look that says, “yes, even my trash has style.”
These are made for standard 608 bearings only. The bearing fit is intentionally tight so everything stays secure. You may need to gently persuade it into place with a hammer. If your printer runs a little too honest, you can also tweak X-Y hole compensation or enable Auto circle contour-hole compensation in your slicer.
Important: Attach base to trash wheels using screws (gold screws preferred) or adhesive - your choice!
A little super glue is all you need for final assembly and a few screws.
Because plain trash is boring.
Boost Me (for free)
Membership
Each Print Profile includes the full set - just different wheel size per profile.
- 7 wheel spinners
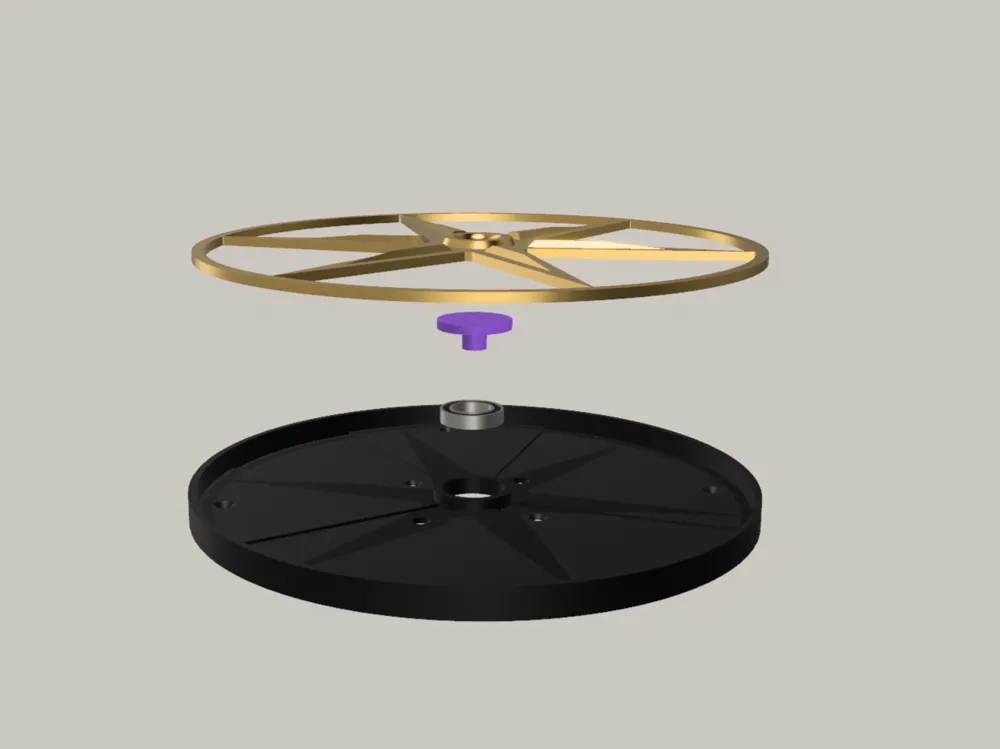
- 1 Swangas-style rim centerpiece
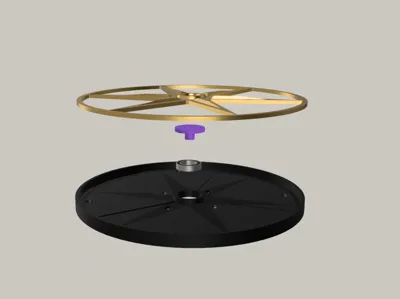
- 1 backplate
- 1 spindle
- 1 Bearing (optional or use real bearing)
Built for a clean fit, smooth spin, and bold street-inspired look for your cart wheels.
Installation
1. Install the Spindle
Apply a small amount of super glue and secure the spindle into the backside center hole of the rim.
2. Install the Bearing
Press a standard 608 bearing into the backplate opening.
The fit is intentionally tight for durability and stability.
- A rubber mallet or light tapping may help seat the bearing fully.
- If needed, adjust printer tolerance settings such as:
- XY Hole Compensation
- Auto Circle Contour Compensation
3. Assemble the Spinner
Insert the spindle into the installed bearing.
- This connection is also designed as a tight fit.
- Gentle pressure and slight twisting may help during assembly.
Once installed, the spinner should rotate smoothly while staying securely attached.
License

You may create derivative works based on this object, provided that all such derivative works are published exclusively on the MakerWorld platform and include proper attribution to the original creator. You may not share, upload, host, distribute, or publish this object—or any derivative work of this object—on any other digital platform, marketplace, or distribution channel. Commercial use of this object and any derivative works is strictly prohibited. This includes, but is not limited to, selling, renting, sublicensing, or using the object in any context in which you receive monetary compensation or other financial benefits.


Comment & Rating (204)