
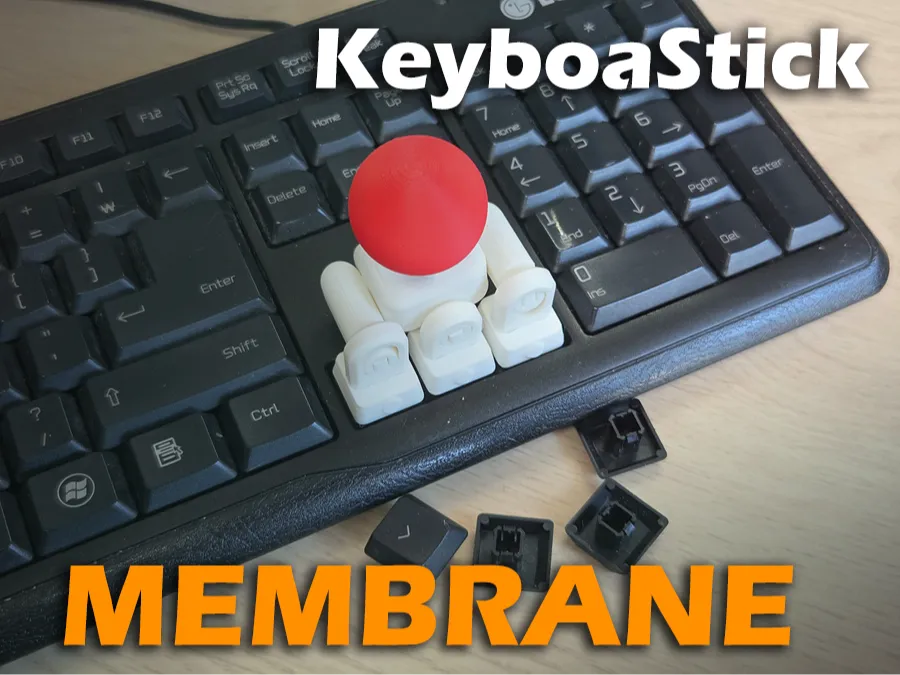
KeyboaStick Membrane (Joystick Keycap)
Print Profile(3)

Description

Congratulations on finally discovering FunOrNothing :)
⌨️KeyboaStick Series🕹️
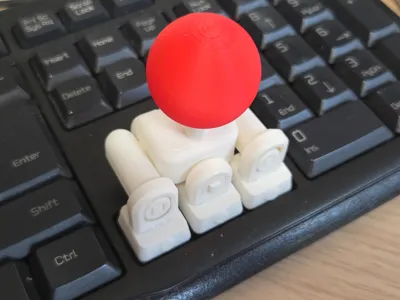
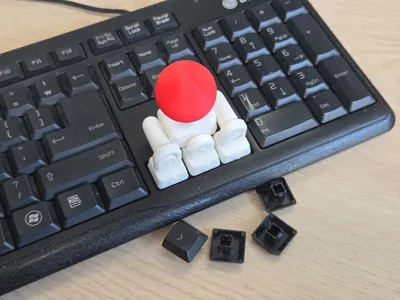
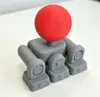
KeyboaStick is a new name for a joystick that can be easily attached to a keyboard.
Clicking on a character inside the table opens the page of the corresponding design.
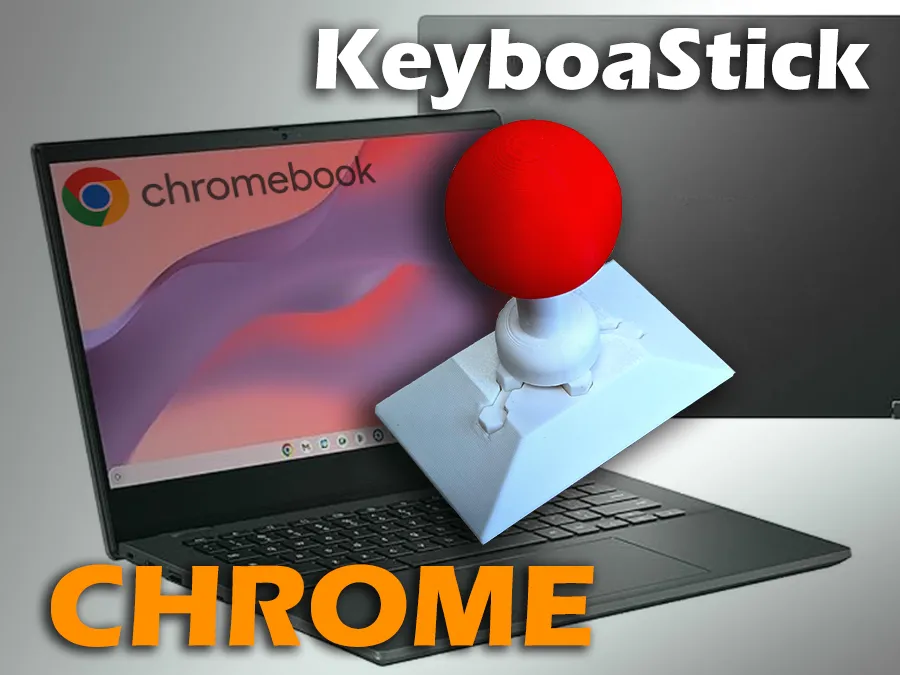
KeyboaStick Chrome is ready
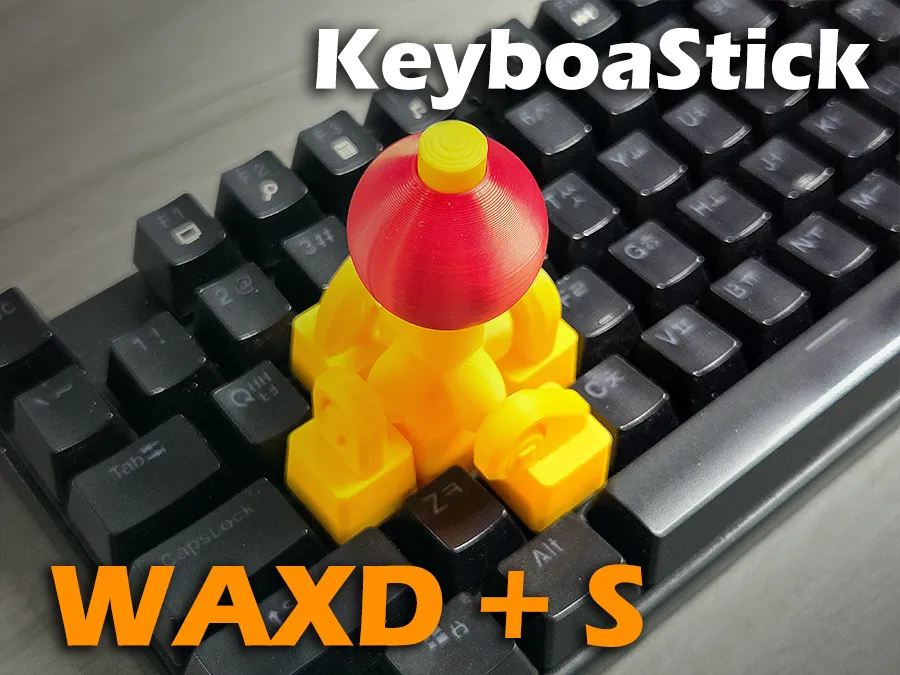
KeyboaStick WAXD+S is ready
KeyboaStick Button is ready

The new NUM model released

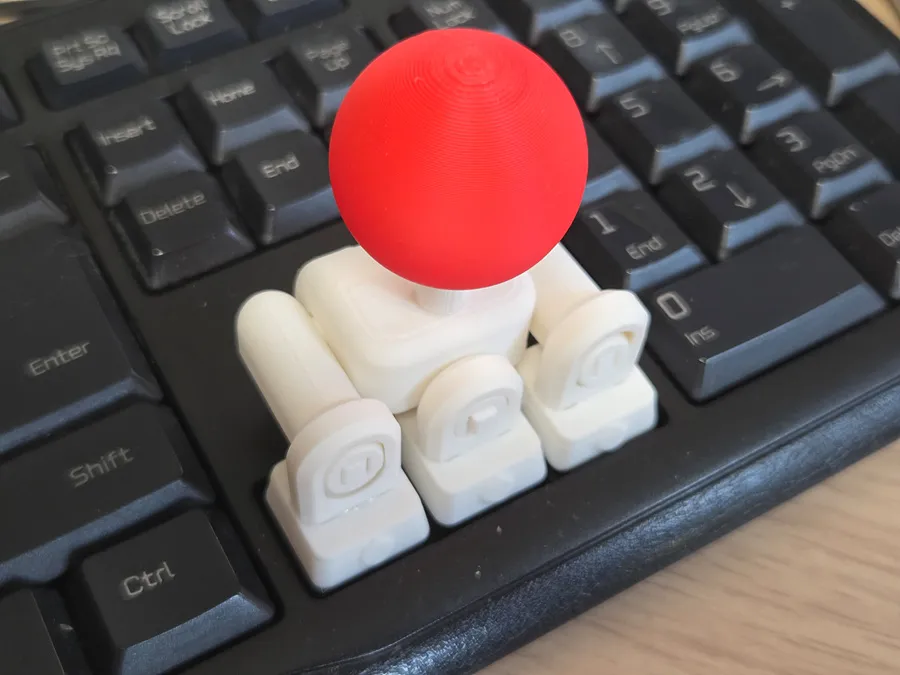
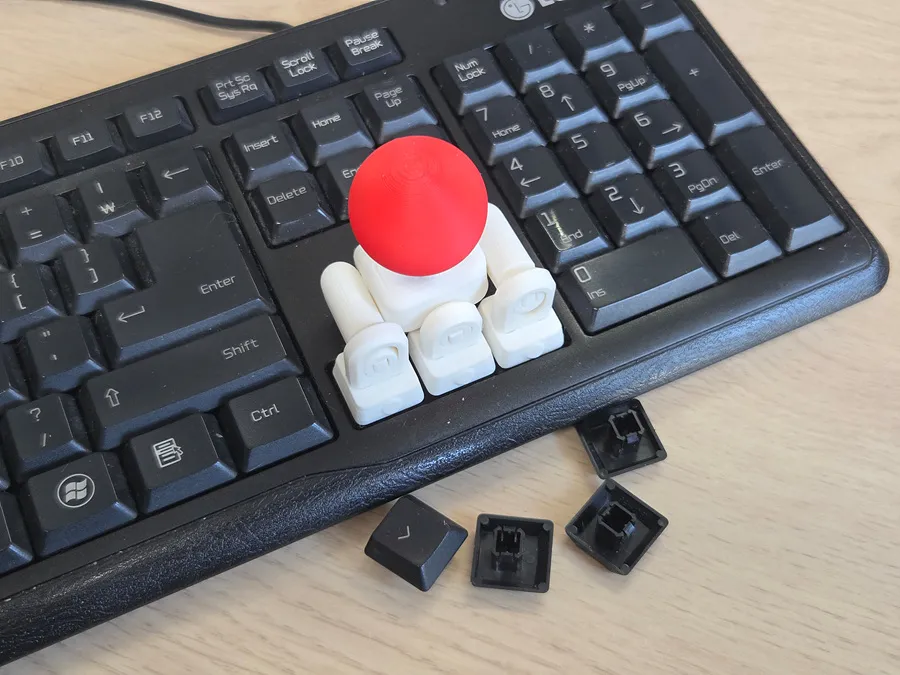
⌨️🕹️KeyboaStick MEMBRANE (for ARROW & WASD keys)
Since all existing KeyboardStick models utilized the mechanical MX standard, users of rubber dome membrane keyboards could not use them. Because membrane keyboards come in various shapes and sizes depending on the manufacturer, it is impossible to design a KeyboaStick that fits every single membrane keyboard standard.
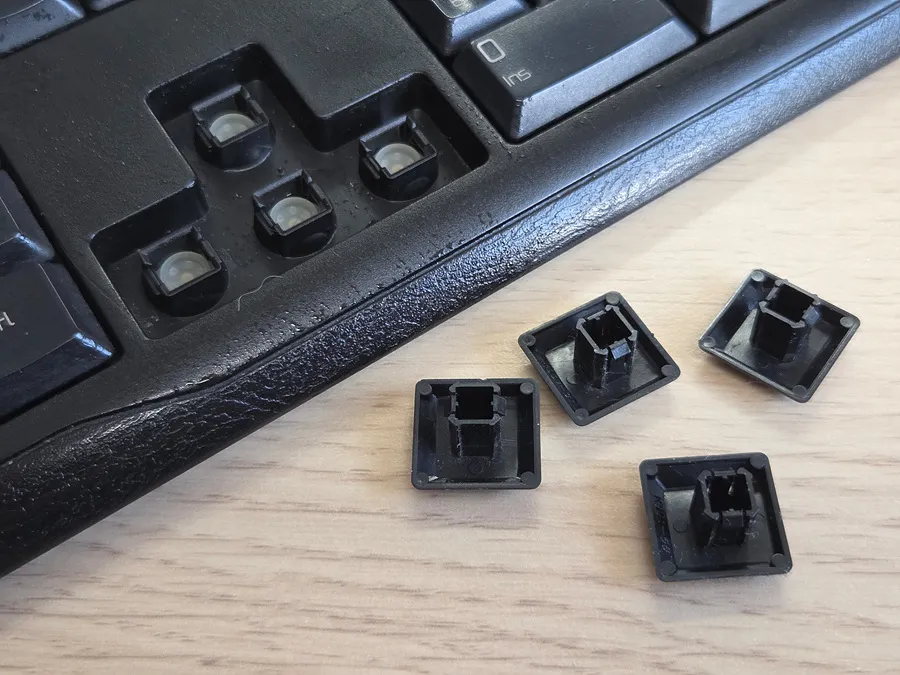
However, in a significant number of cases, they are in the form of square pillars, with only slight differences in size and position.
This design was created to allow users to customize the size, position, and depth of the square pillar keycap insertion method to fit their specific keyboard.
The custom-made model consists only of the keycap components. The remaining parts, such as joints and levers, are included in the profile.
Because membrane keyboards use a snap-fit method with hooks to secure keycaps, they are somewhat weaker than the MX method used in mechanical keyboards, which utilizes a wide friction surface, and are prone to significant lateral wobbling. Consequently, this design may offer slightly inferior tactile feel compared to MX-style designs, or the keycaps may detach more easily from the keyboard. Please understand that this is due to the keycap securing method of membrane keyboards, not a flaw in the design itself. Optimization to some extent should be possible through fine-tuning of parameters.
For users of membrane keyboards with a keycap assembly structure different from this design, if you wish, please show me several photos of your keycaps so that I can understand the structure, and I will add a suitable model if possible.
There are requests for designs usable on laptops such as Chromebooks, but it is difficult to create a suitable KeyboaStick because laptop keycaps are very difficult to replace and have a shallow actuation depth. While it is possible to create a design that adheres to the keycaps, it would be very inconvenient due to the nature of laptops, which must be folded for storage.
The basic model is based on the LG ST-1100 membrane keyboard, and the parameters are as shown in the photo below.
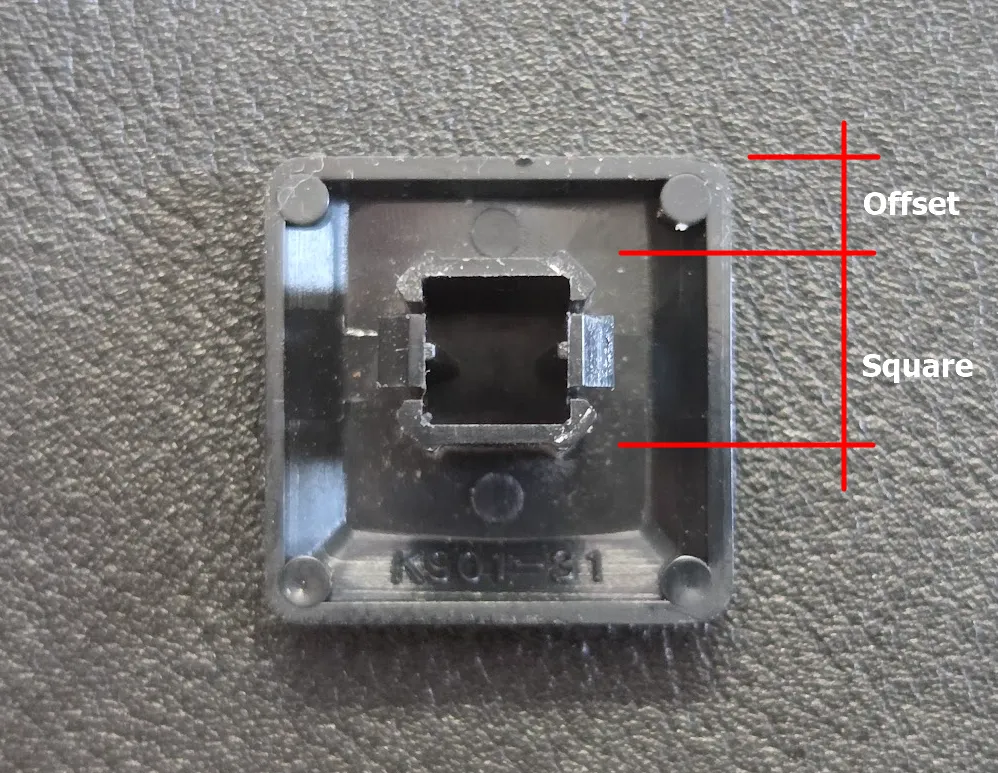
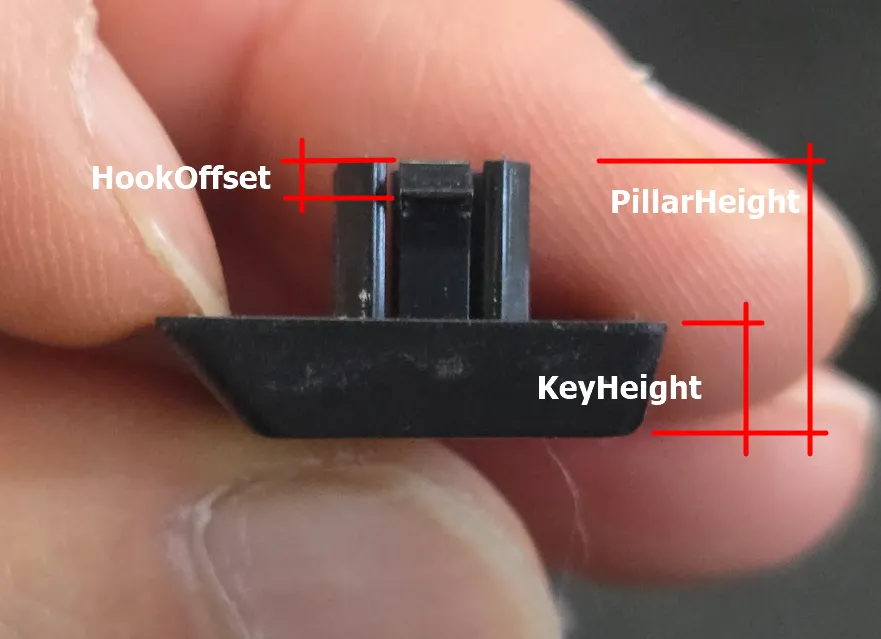
Measure the keycap of the replaced part as shown in the image below and use it as a parameter.
Unlike mechanical keys, the pillars of membrane keycaps are offset slightly upward. Please measure the top distance from the corner of the keycap to the pillar and apply it to the Offset parameter.
HookOffset is the distance the hook part is from the end of the post.
KeycapHeight is made 2mm higher than the measured & input dimension to connect with the joint part.
When making keycaps using parameters, it is recommended to print just one and verify that it functions identically to a normal keycap before printing the entire set.
for Logitech MX250 compatible membrane keyboards.
A user model compatible with the Logitech MK250 keyboard has been added. Since I do not own this model, it was created based on photos provided by users. Parameters are adjustable, so please adjust it to fit your keyboard.
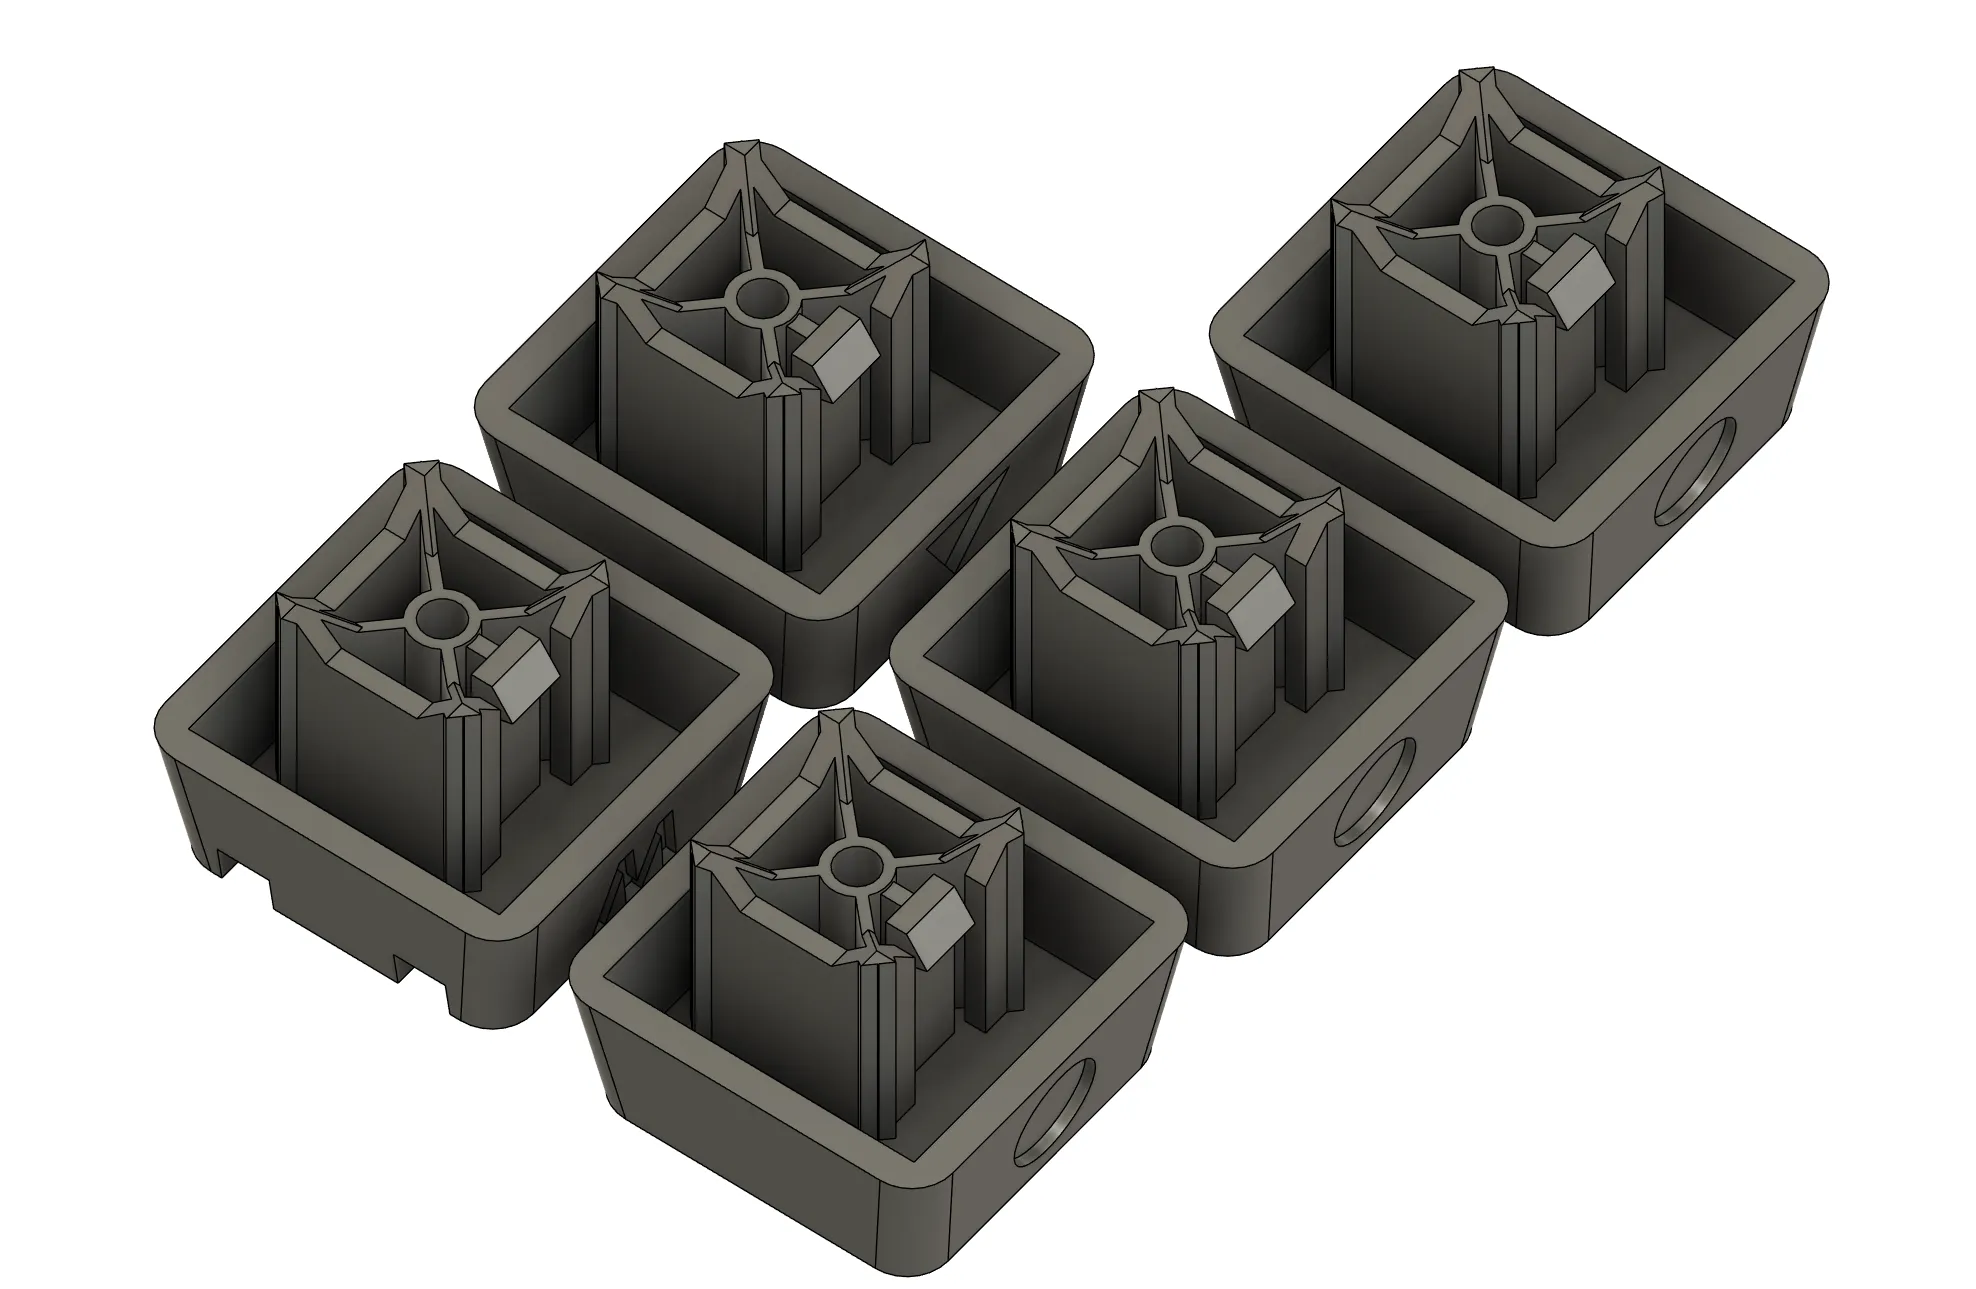
Assembly order
When using a custom model, three standard keycaps, a keycap with a triangle engraving, and a keycap with a W engraving are produced simultaneously.
If you intend to use it with WASD, use parts engraved with the letter W instead of keycaps with a triangle pattern. And in that case,it is recommended to manufacture the keycaps approximately 3mm higher than the measured height. Otherwise, interference with surrounding keys may occur.
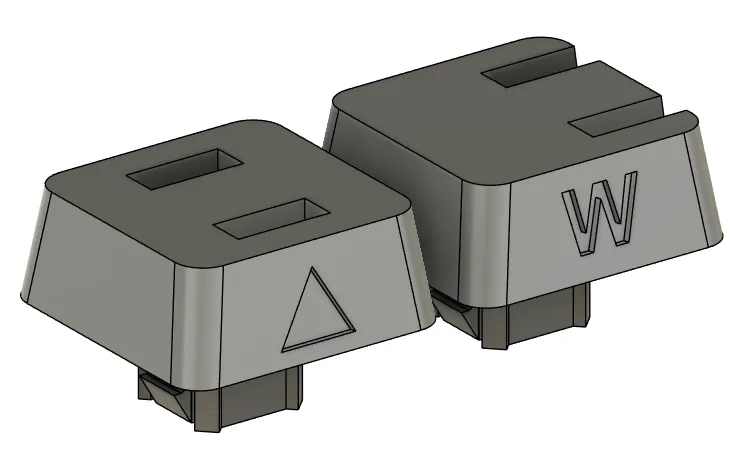
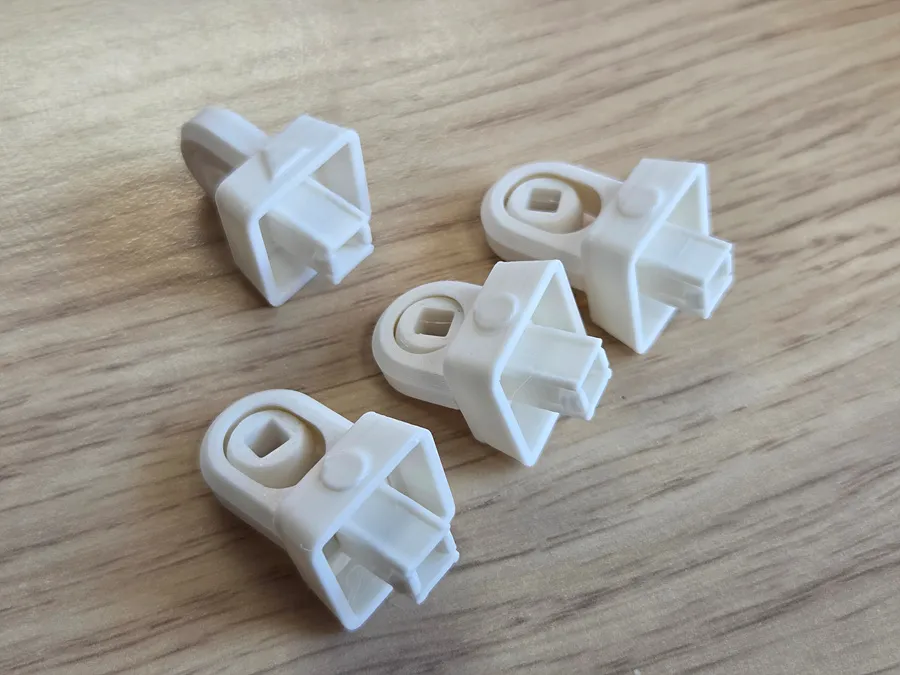
Attach each joint using the keycap and adhesive. The front of the keycap features triangular and circular patterns; the triangle connects to the up arrow switch.
Since the stem of the keycap is offset upwards, please assemble it so that the pattern faces forward when attaching it to the keyboard.
Glue the two arm parts to the keycap with the triangular pattern. Be careful not to get glue on the rotating parts inside the joint.
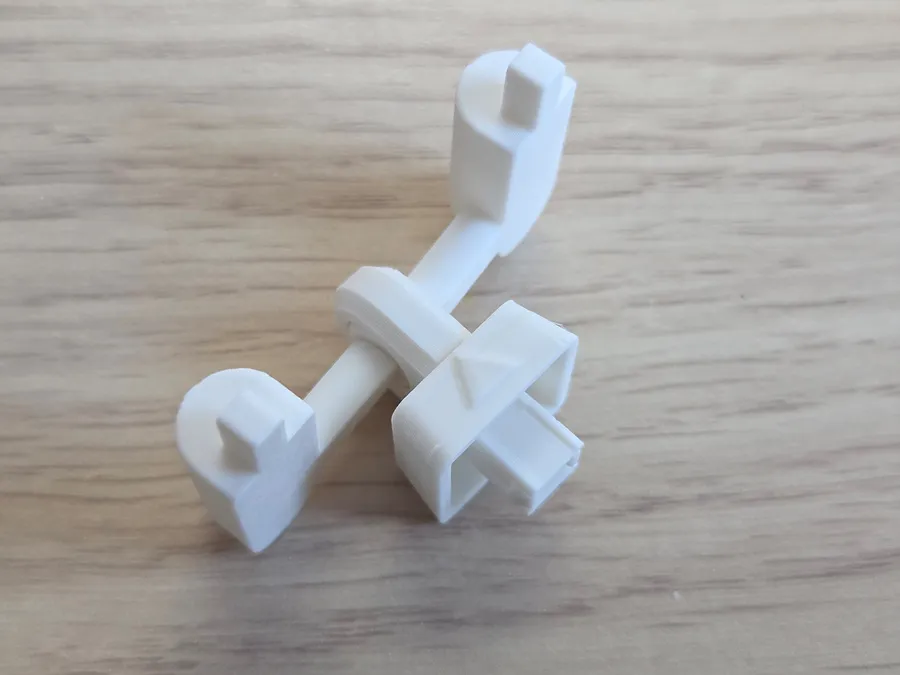
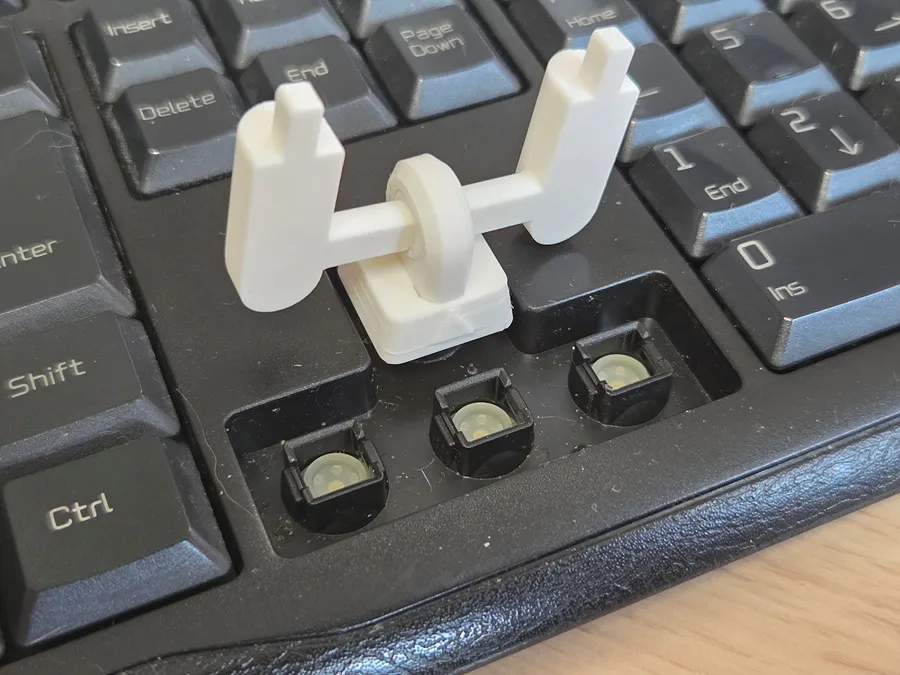
Pre-assemble the lever parts and assemble as shown in the photo below. (Do not use adhesive)
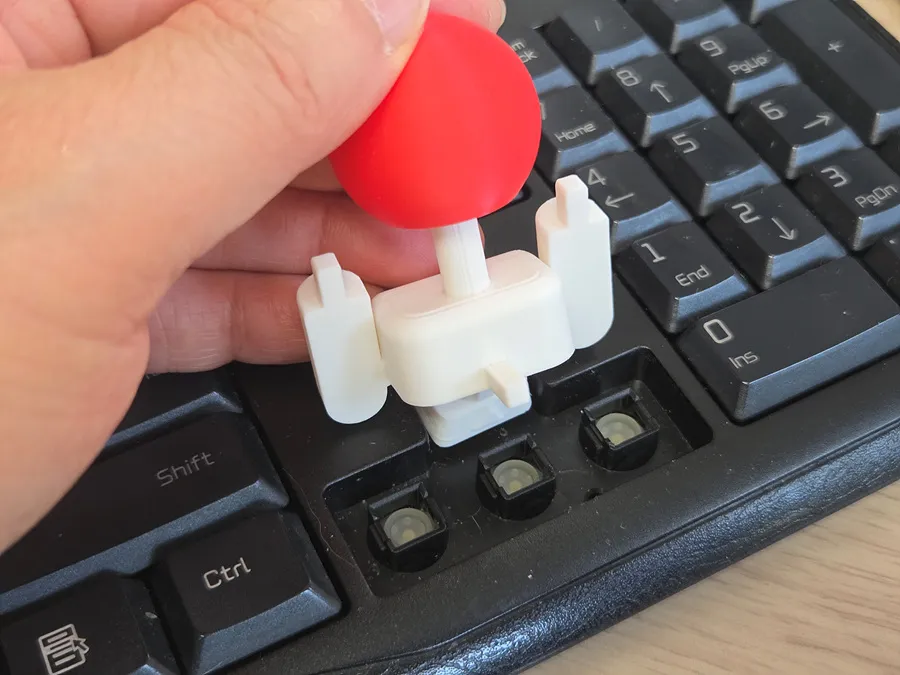
Do not use adhesive when assembling the three joints visible on the front.
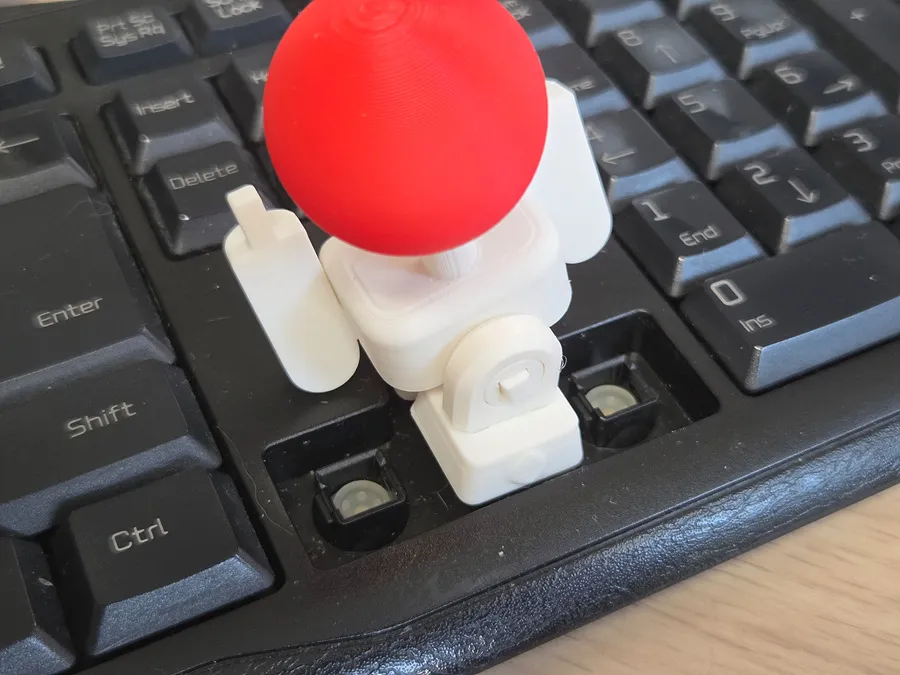
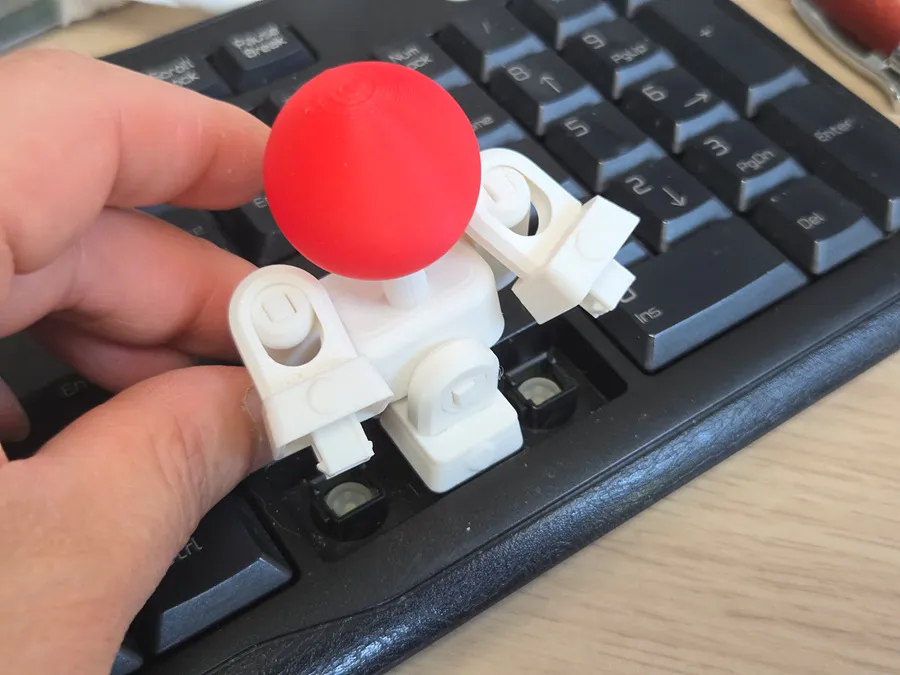
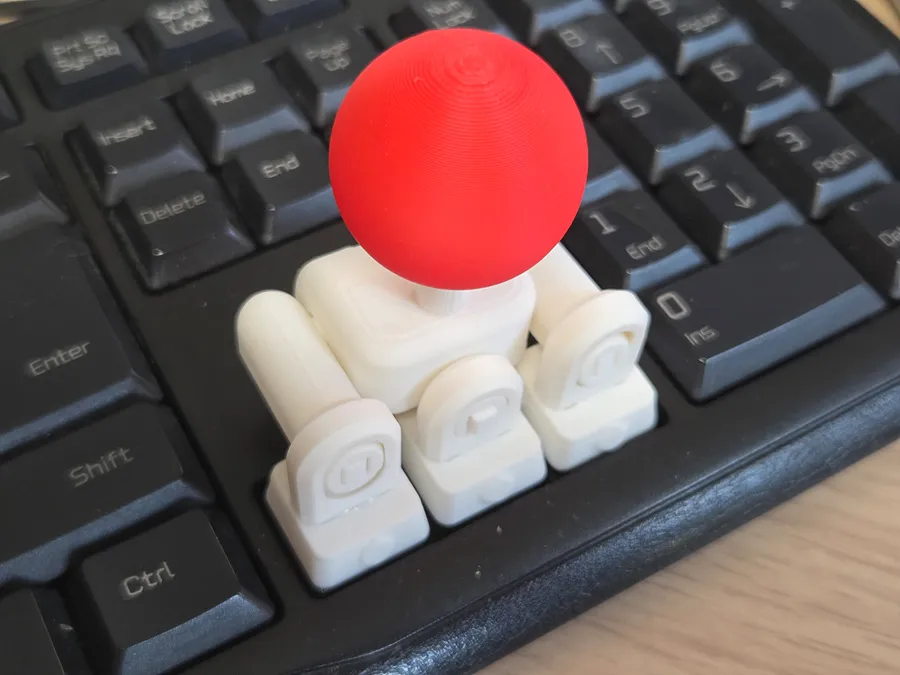
Congratulations. You now have the perfect joystick!!
_________________________
04/15/2026 Model Update
Modified so that asymmetric keycaps usable on WASD keys are additionally generated for custom keycaps.
Hope you Enjoy this model.
As always, I welcome your feedback.
Click to Check out FunOrNothing's interesting designs.
Boost Me (for free)
Your boost helps me spend more time creating better designs. And don’t forget to check my other models — you might discover something useful and fun! 😊
You can sell printed products of my models by joining FON Membership, please sign up for the membership below. Please do not become a thief.
Membership
The best way to support my work is to join the FON membership. You can be my Supporter, Seller, or Partner. If you join the membership, you can communicate more closely with me through Discord.
You can be a friend who encourages me by buying me a cup of coffee.
License

You shall not share, sub-license, sell, rent, host, transfer, or distribute in any way the digital or 3D printed versions of this object, nor any other derivative work of this object in its digital or physical format (including - but not limited to - remixes of this object, and hosting on other digital platforms). The objects may not be used without permission in any way whatsoever in which you charge money, or collect fees.


Comment & Rating (140)