Fully Articulated Linear Accelerator (LINAC)


Print Profile(1)
Description
I am sharing this model with permission from its creator, Scott Mathews.
Overview
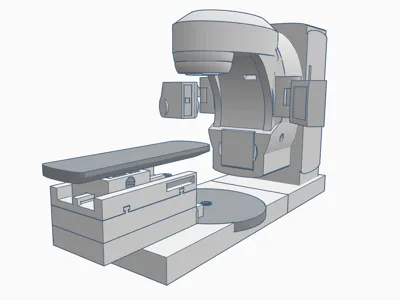
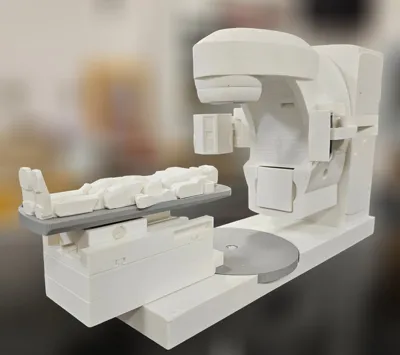
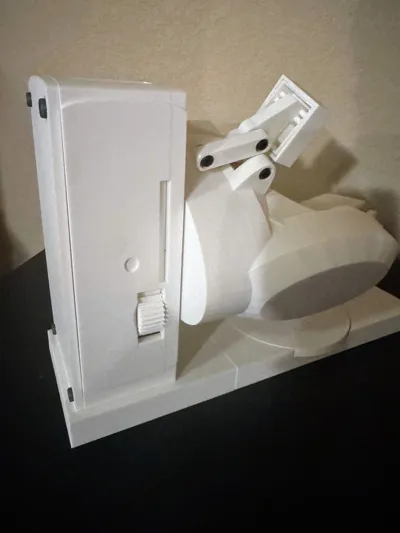
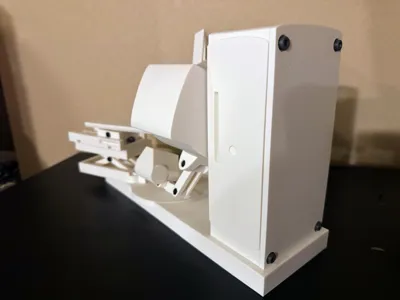
This is a highly detailed, fully articulated model of a Linear Accelerator (LINAC), loosely based on the Varian style of radiotherapy machines. Originally designed during a stint in Radiotherapy Engineering, this model is perfect for students, medical professionals, or hobbyists interested in medical technology and complex mechanical assemblies.
Key Features & Articulation
- Gantry Movement: Full 180-degree rotation in both directions, controlled via a manual thumb wheel.
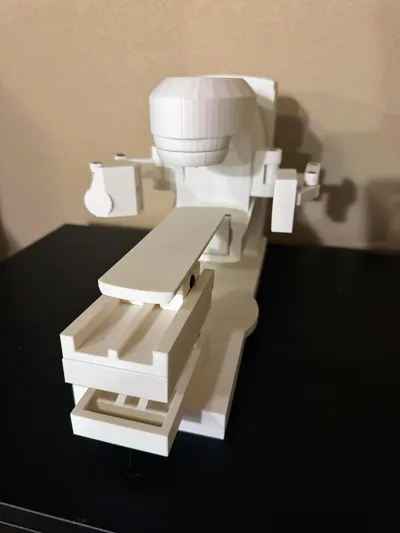
- Imaging Systems: Extendable arms with imaging panels that move up and down.
- Treatment Head: Full rotation for precise positioning.
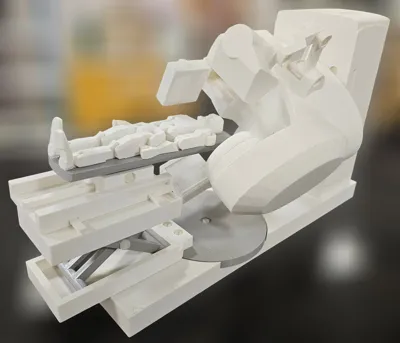
- Patient Couch: Working scissor lift for height adjustment.
- Full longitude and latitude movement.
- Adjustable Pitch and Roll on the couch top.
- Turntable: Rotates 90 degrees in both directions.
- Internal Detail: Includes an alternative "cutaway" gantry version to showcase the internal waveguide and bend magnet housing.
Required Hardware
To complete the assembly, you will need the following:
- Screws: Multiple M4/M5 (30mm long) panhead nylon screws (cut to size as needed).
- Nuts: Multiple M4 nylon nuts and x1 M4 nyloc nut (for gantry-to-stand attachment).
- Main Pivot: x1 50mm countersink machine screw (for gantry-to-stand attachment).
- Rods: 4mm Rod (Plastic or Metal), cut into four 35mm lengths.
- Tools: M4/M5 thread tap, screwdriver, pliers/spanner, and Super Glue.
Print Settings & Recommendations
- Supports: Required for almost all parts.
- Infill: 20% Maximum. (CRITICAL: Printing the Gantry at higher than 20% infill will make it too heavy for the mechanical joints to move smoothly).
- Post-Processing: Use a thread tap on holes before assembly. It is highly recommended to glue the nylon nuts in place once tightened to prevent them from backing out during operation.
License & Credits
- Original Designer: mathews7184
- License: Creative Commons - Attribution - Share Alike (CC BY-SA).
- Note: This model is strictly for personal/educational use. The designer does not give permission for this model or its prints to be sold.
Note: The "patient" model shown in the original photos is not included but can be found on Thingiverse (ID: 2887306).
Documentation (1)
This remix is based on

License
You may create derivative works based on this object, provided that all such derivative works are published exclusively on the MakerWorld platform and include proper attribution to the original creator. You may not share, upload, host, distribute, or publish this object—or any derivative work of this object—on any other digital platform, marketplace, or distribution channel. Commercial use of this object and any derivative works is strictly prohibited. This includes, but is not limited to, selling, renting, sublicensing, or using the object in any context in which you receive monetary compensation or other financial benefits.
Comment & Rating (12)