Search models, users, collections, and posts
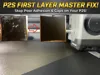
P2S Quality Fix / First Layer Fix
IP Report


Print Profile(3)
0,2mm First Layer PLA
Designer
33 min
1 plate
0,2mm First Layer PETG
Designer
33 min
1 plate
0,2mm First Layer ABS
Designer
33 min
1 plate
Open in Bambu Studio
Boost
15
46
13
5
40
29
Released
Description
Boost Me (for free)
If this guide helped you, help me with a boost
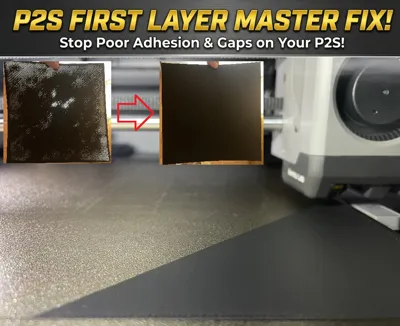
Fix P2S Print Quality/First Layer Issues
Instructions:
- First Calibrate the Flow Rate for the Filament you are going to use for this Fix. The Filament type doesnt matter, but I recommend PLA (what I did)
Doing the Flow Rate Calibration will not be explained here. See here - After Calibration of your Filament print the first Layer test of this release, like you would print any other model.
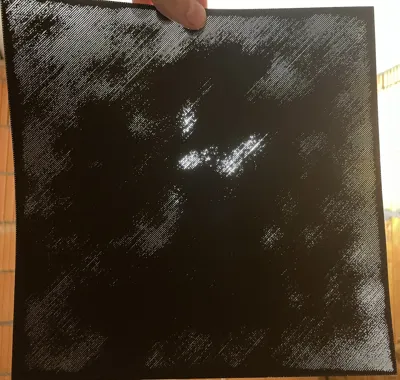
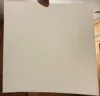
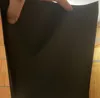
After Print is finished inspect your first layer:
- Remove the layer from the heatbed
- Hold the Layer against some light
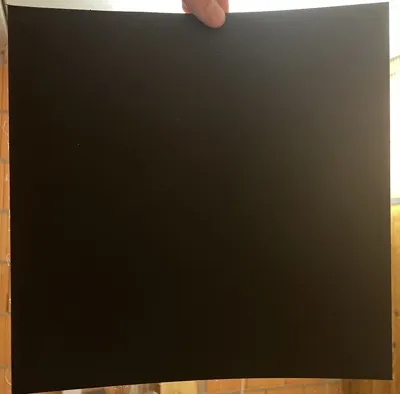
If you can not see any light throught your Layer, all your Settings are correct and you can stop here

- If your print has visible lines with light coming through, do the next steps

- For the Following steps you need the P2S firmware 01.02.00.00 or later
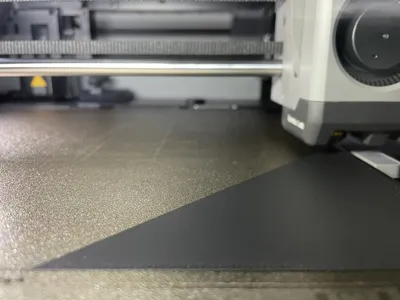
- On your printer screen head to the fourth menu point

- Then go to Calibration

- Then go to First-Layer-Calibration and hit OK


- This Screen lets you adjust the nozzle to heatbed distance for the first layer
- !! Be carefull, by setting the distance to low you can damage your Printer !!
- Lower this value starting from zero in 0.1mm increments and hit confirm on the top right corner
- Now print the first layer test again and check the results. If it is still not as depicted in the image, do the prozess again and lower it by another 0.1mm
- For my printer I found -0,02 to be the optimal setting
- If your print quality doesnt get better with the setting at -0,03. Your problem might be something else. See this guide
License
This user content is licensed under a
Creative Commons Attribution-Noncommercial
Comment & Rating (13)