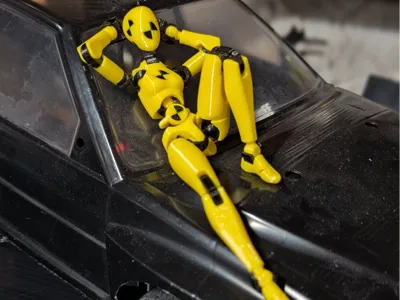
Crash Test Dummy Female Carbon 13 Beta Figure


Print Profile(2)
Description
A remixed from the designer of the popular Dummy 13 action figure, Carbon 13 Beta by Gabriel Rosiak.
This Crash Test Dummy is based on the new body called Carbon 13 in Beta format. That is to say that there may be some tweaks to the final design but Garbriel felt that it was good enough to release to the public in Beta format.
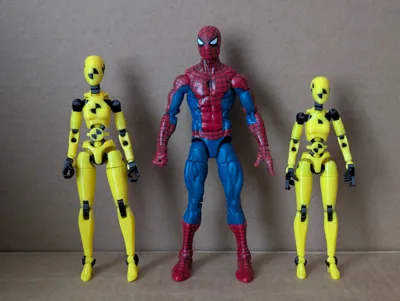
The original size for the new figure is 127mm. That equates to a scale of approximately 1:13 of a human that is 5ft in height. My preferred scale to match with most 6" scale figures is 110% but I will also include the original size should you want to print it.
Printing Notes
First and foremost, wash your bed, it's disgusting! I'm only joking here of course, but not really. Oils from your hands that you can't see or reside from your previous prints can cause the print to not stick to your bed. This model has lots of small parts and so bed adheasion is the most important factor to a successful print. To emphasize how important this is I'm going to link an article to the Bambu Wiki on cleaning your bed. https://wiki.bambulab.com/en/filament-acc/acc/pei-plate-clean-guide

The second very important consideration is to ensure that your filament is dry. Moist filament can cause a host of print quality issues like weak layer adheasion and stringing. Again, here is a link to the Bambu Wiki so you can learn about the importance of drying your filament. https://wiki.bambulab.com/en/filament-acc/filament/dry-filament
Assembly
All parts should assemble with moderate pressure. If you are forcing it then something is wrong, most likely the alignment is slightly off.
Assemble the parts as shown in this visual assembly guide. Please pay very close attention to the orientation of each part. For ease of assembly, I have arranged the figure on the build plate in the orientation for final assembly.

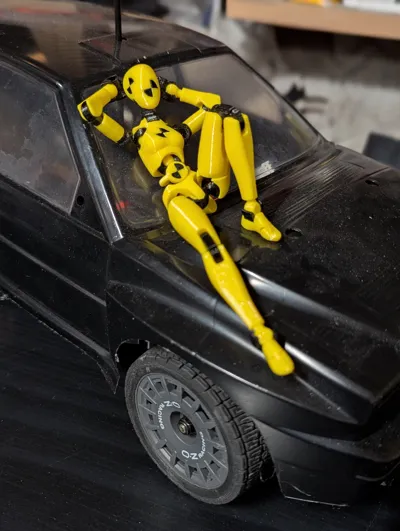
If you do print out this new version of the Crash Test Dummy, please post your funny or interesting photos in the comments as I love to see them. It's fun for the whole family.

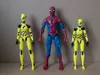
Here is a size comparison for the profiles using a standard 6" scale Marvel Legends Spider-Man. The figure on the left side of the photos is my preferred scale at 110% of the original Carbon 13 Female body. The one on the right side of the photo is the original scale 1:13 of the Carbon 13 Female body. This was my test print and yes, I do know that part of the symbol on the chest is missing. It has been corrected in the model print profile.
Boost Me (for free)
Boosts are always appreciated. Please consider boosting if you enjoy these types of prints so I know what models to design and/or remix in the future.

Comment & Rating (2)