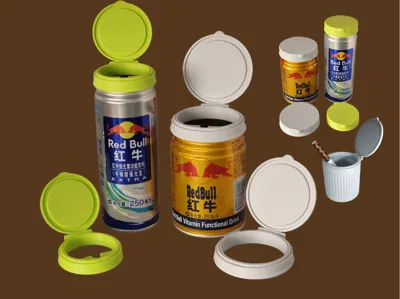
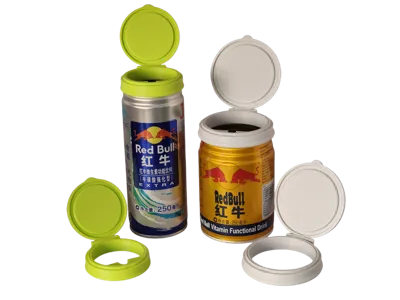
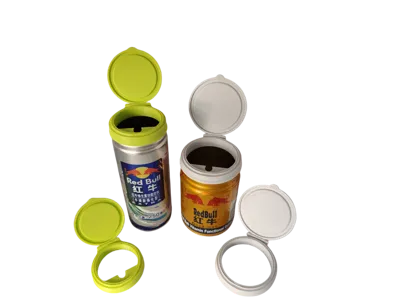
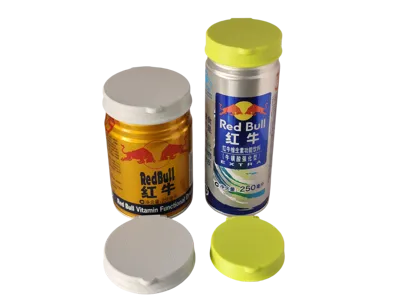
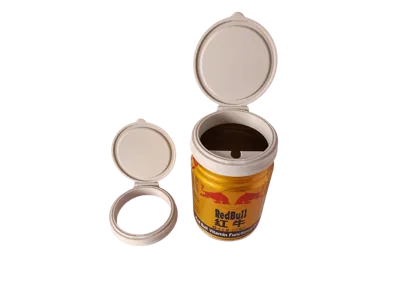
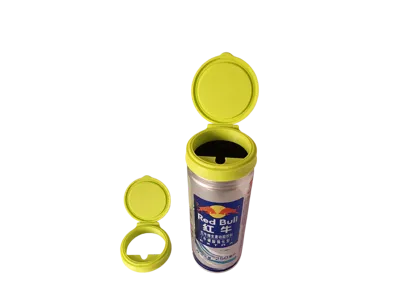
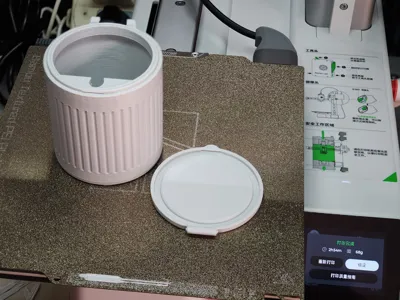
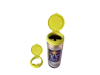
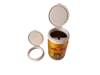
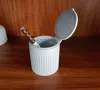
An ashtray and storage can made by repurposing Red Bull energy drink cans. You can choose between the common short Red Bull can or the taller taurine-enhanced can, requiring no screws, simple to install, and possessing a certain degree of airtightness.
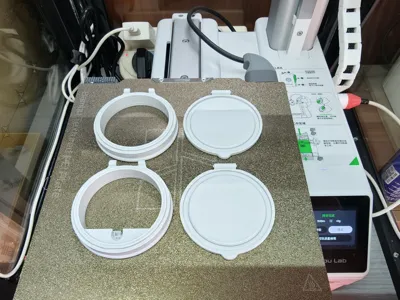
Printability has been verified using Bambu Lab A1 mini / H2S with Bambu Lab PLA Basic / JAYO ABS. (Other filament types and machines have not been tested and may not be suitable)
All images shown are actual photos taken by me, some images have been edited with background removal and collage. Please read the entire text carefully regarding modification and installation! Thank you!
Note: Regarding the pure 3D printed ashtray (concept version), this version is called "concept version" because the filament is not robust enough to withstand the temperature of cigarette butts, and direct use may pose safety hazards, so this version is for entertainment only!
The following content details the process of modifying Red Bull cans (tall and short cans are similar) and the installation method (the modification process carries certain risks, proceed at your own risk):
① Scrape the soft alloy on the top of the can body with the back of scissors (similar methods like rubbing on the ground or sanding are also acceptable). Key considerations are to apply moderate force to prevent the can body from deforming under pressure and safety precautions.
② Continue the first step until obvious cracks appear on the entire top cover and edges.
③ Completely remove the top cover. The main precaution is to prevent scratches!
④ Use diagonal cutters to cut and pry the soft alloy on the edge, exposing an ideal position for pliers to grip. Key considerations are to prevent scratches and can body deformation.
⑤ Use small pliers to grip the exposed part and slowly pull downwards until the soft alloy completely detaches from the can body. Key considerations are to prevent scratches and can body deformation.
⑥ Observe whether the can body has obvious deformation or if the edges are too prominent, you can gently tidy it with pliers and remove glue. Note, do not use pliers to completely flatten the top edge, as this is not conducive to subsequent stability.
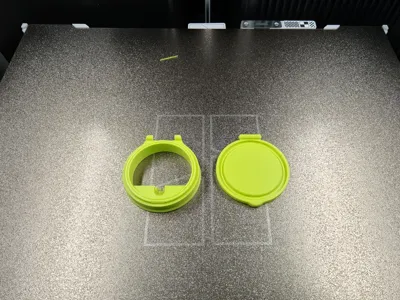
7 Take out the printed part, the hinge installation method is: first align and insert one side, then firmly press the other side from bottom to top (can combine with slight rotation and pressing) to insert. (Hinge is miniature, pay attention to force)
8 Combine the printed part with the can body. To prevent cigarette butts from spilling when the can is knocked over, I made this step a bit tight, requiring some brute force and skill. You might need to adjust deformed edges of the can, I'm not sure how to express it, but in short, great effort leads to miracles. Initially, I had a test piece that wouldn't go in no matter how I pressed it. Later, I installed one side first, then put it on the floor and stepped on it, and it went in~Just be careful not to get injured, everything else is trivial, good luck everyone~
This user content is licensed under a Standard Digital File License.
You shall not share, sub-license, sell, rent, host, transfer, or distribute in any way the digital or 3D printed versions of this object, nor any other derivative work of this object in its digital or physical format (including - but not limited to - remixes of this object, and hosting on other digital platforms). The objects may not be used without permission in any way whatsoever in which you charge money, or collect fees.


Comment & Rating (0)