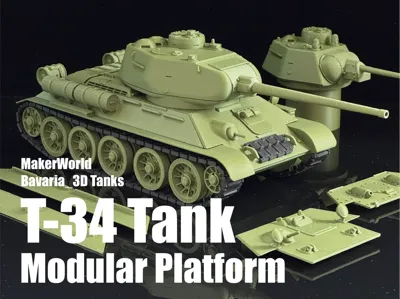
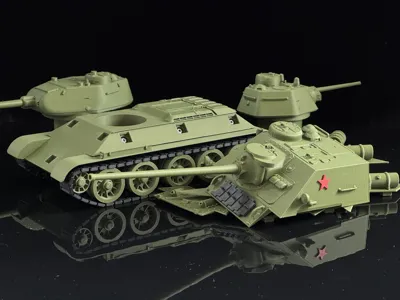
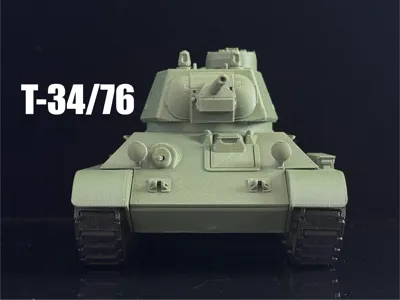
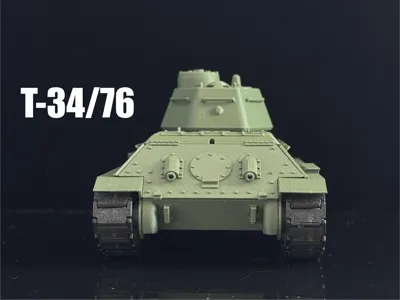
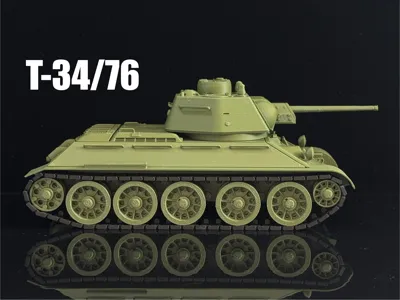
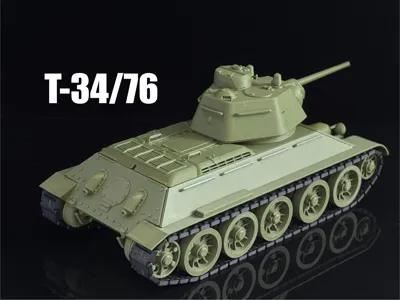
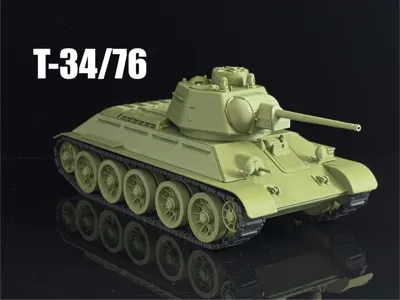
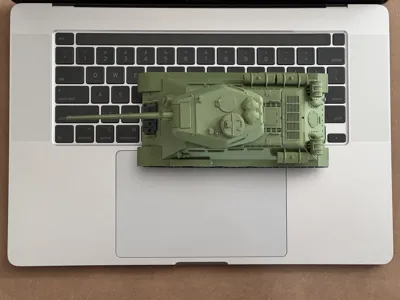
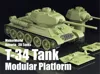
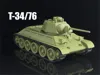
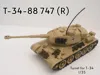
T‑34 Tank Magnetic Modular Platform 1/35 Scale t34


Print Profile(7)
Bill of Materials


Description
If you enjoy my work, consider supporting me ❤️ ❤️ ❤️
Buy Me a Coffee: buymeacoffee.com/bavaria3 | Ko-fi: https://ko-fi.com/bavaria3
Boost Me (for free)
Don’t miss out — follow me for more top-quality tank models!
Don’t miss out — follow me for more top-quality tank models!

I'm a creator based in Ottawa, Canada. All models are originally designed from scratch in Fusion 360, physically tested and verified with my own printing setup - no AI tools are used in any part of the design process. Each work undergoes repeated revisions to guarantee reliability and usability.
I began working full-time in May, giving me much less free time for design creation than my student days. Your ongoing boost support powers my creativity and pushes me to keep delivering consistent, high-quality updates!
Feel free to give me a boost, like, save, and leave your comments if you enjoy my work. Your valuable boost is the core motivation for my creation, helping me continuously polish and update high-quality designs.

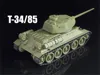
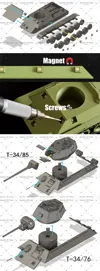
The complete T-34-85 and T-34-76 conversion kit requires a total of 11 pieces of M2.5×6mm pan head hex socket cap screws and 22 pieces of D4×2mm round magnets. Their part numbers in the Bambu Lab Maker Store are AA013 and CA001 respectively.

================================
📋 Recommended Print Settings (For Best Results)
- Filament: PLA. Different materials have different shrink rates, so using other filaments might cause fitting issues or dimensional errors during assembly.
- Slicer: Bambu Studio. I recommend using my default profile — I’ve tuned it specifically for this model.
- Ambient Temperature: If you’re using an open-frame printer like the A1 or A1 Mini, keep your room above 20°C (68°F) to prevent warping.
- Print Bed Preparation: Wash with soap and water, then dry thoroughly to ensure good adhesion. For small parts, apply a glue stick for better bed adhesion.
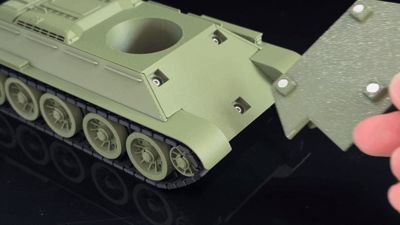
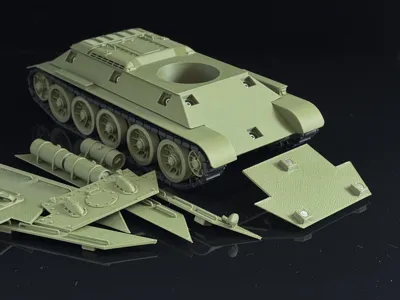
🔧 Assembly Diagram Notes
- Blue Lines: Require super glue for assembly. I use Gorilla Super Glue.
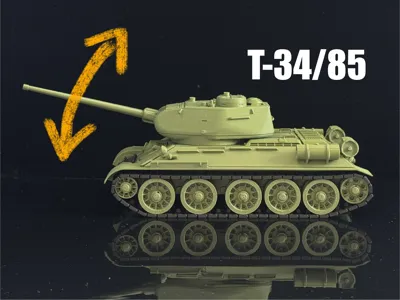
- Yellow Lines: These are moving parts. Do not apply glue here.


================================
Boost Me (for free)
If you like my work, consider leaving a boost — it really helps me keep creating more exciting models!
Membership
A lot of you have asked about selling prints of my models. If you want to use my designs commercially, just sign up for the commercial license membership — you can click this box to subscribe directly.
Documentation (1)
License
You may create derivative works based on this object, provided that all such derivative works are published exclusively on the MakerWorld platform and include proper attribution to the original creator. You may not share, upload, host, distribute, or publish this object—or any derivative work of this object—on any other digital platform, marketplace, or distribution channel. Commercial use of this object and any derivative works is strictly prohibited. This includes, but is not limited to, selling, renting, sublicensing, or using the object in any context in which you receive monetary compensation or other financial benefits.
Comment & Rating (149)