[Valorant] Iron Arm's Bionic Arm


Print Profile(5)


Description
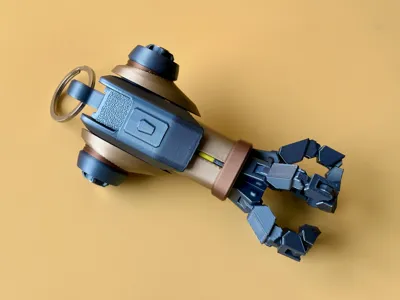
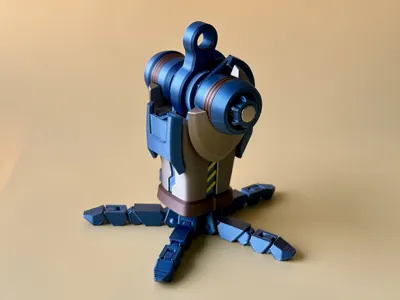
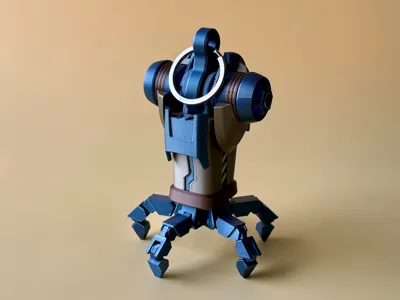
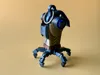
Iron Arm's Robotic Arm
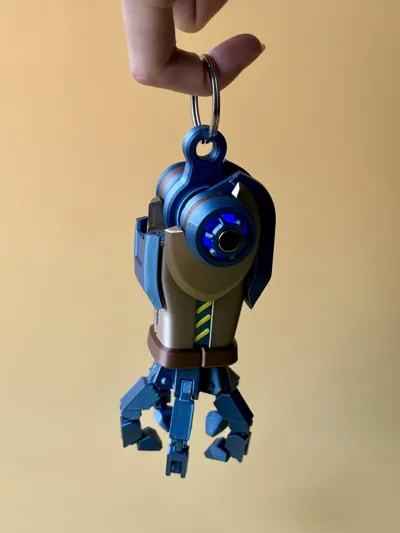
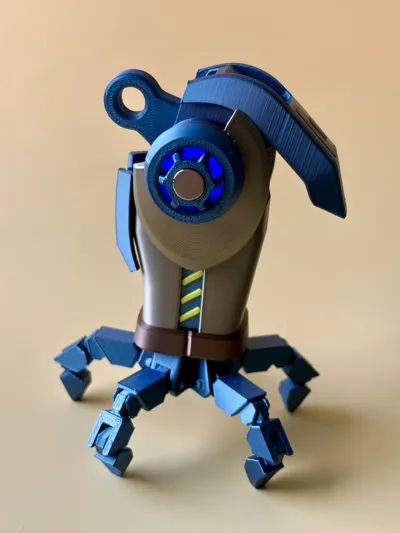
The robotic arm of the bio-cyborg Iron Arm, the source of immense firepower and explosive power Its four skills correspond to different core energy light effects, which perfectly match the four effects of this LED lamp pendant: Aftershocks of Violent Quake - slow rotation light effect, Flashpoint Explosion - fast rotation light effect, Mountain Collapse and Earth Sink - slow flash light effect, Thunder Rolling Across the Land - fast flash light effect
Highlights:
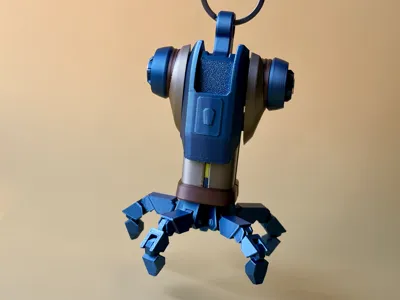
- LED magnetic control light, 4 light effects
- Fully articulated, multiple forms
- Compact size, easy installation
Demo video:
Preparation:
Bambu Lab Maker Kit: 2 ring-shaped magnetic control light kits |  | Bambu Lab Taobao purchase link: https://e.tb.cn/h.imX0uiXKHEdZRIT?tk=Wepb54kmu9t |
Bambu Lab Maker Kit: 2 springs |  | Bambu Lab Taobao purchase link: https://e.tb.cn/h.inkwEV6qxH7Fex9?tk=2RJB54PVAg5 |
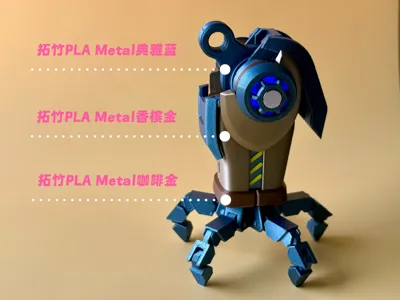
Filament recommendations:

Installation steps:


The button cell battery model for the magnetic control light is CR1632, when it runs out of power, simply replace the battery
Boost Me (for free)
If you think it's good, please give a triple like and follow for more fun models constantly being updated~
License
You shall not share, sub-license, sell, rent, host, transfer, or distribute in any way the digital or 3D printed versions of this object, nor any other derivative work of this object in its digital or physical format (including - but not limited to - remixes of this object, and hosting on other digital platforms). The objects may not be used without permission in any way whatsoever in which you charge money, or collect fees.
Comment & Rating (0)