Search models, users, collections, and posts

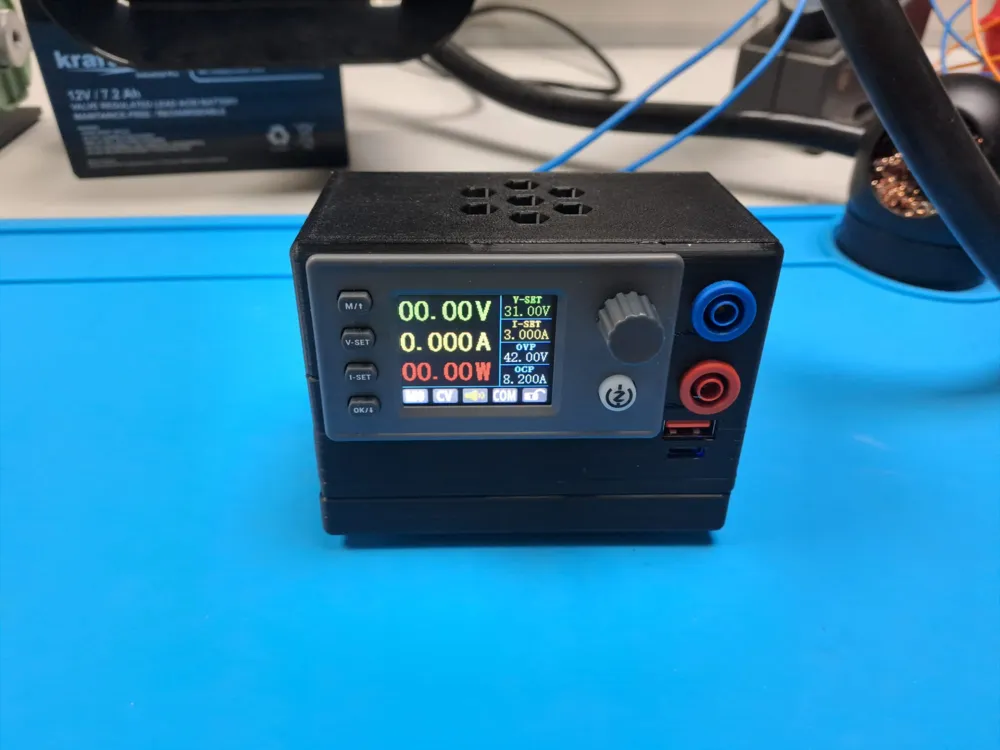
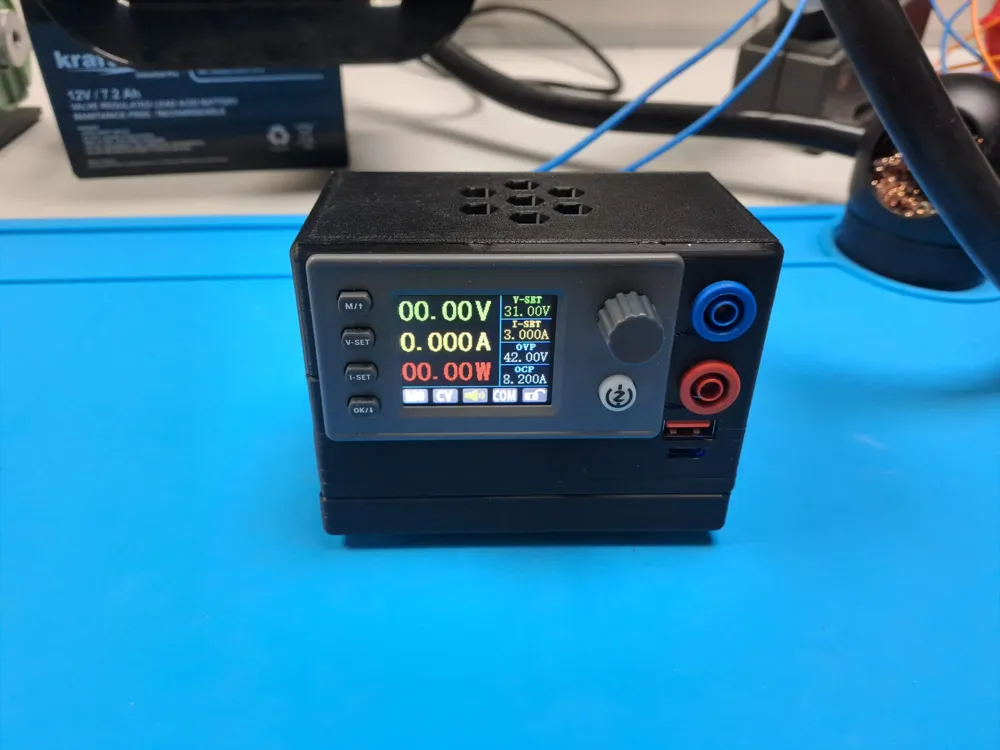
DIY USB-C PD Lab Power Supply 150W
IP Report
Print Profile(1)
0.2mm layer, 6 walls, 25% infill, pause print for magnets
Designer
6.1 h
1 plate
Open in Bambu Studio
Boost
4
9
0
0
3
1
Released
Bill of Materials
Maker's Supply Kits and Parts
Select all




Bambu Filaments
Select all

List other parts
- XT60 x 1: Found on Aliexpress under "AMASS XT60"
- Banana Jacks x 1: Found on Aliexpress under "Cleqee P40018A 4 mm"
- P600M x 1: Found on Aliexpress under "P600M"
- Ideal Diode x 1: Found on Aliexpress under "XL74610 Ideal Diode module"
- PD 3.1 Trigger x 1: Found on AliExpress under "PD3.0 PD3.1 QC3.0 Trigger-Modul Typ C 5–48 V 5 A S"
- PD 140W Supply x 1: Link: https://de.aliexpress.com/item/1005009824342804.html?spm=a2g0o.order_list.order_list_main.35.2f2c5c5few1Wuw&gatewayAdapt=glo2deu
- SK150C x 1: Link: https://de.aliexpress.com/item/1005008576688010.html?spm=a2g0o.order_list.order_list_main.23.2f2c5c5few1Wuw&gatewayAdapt=glo2deu
Description
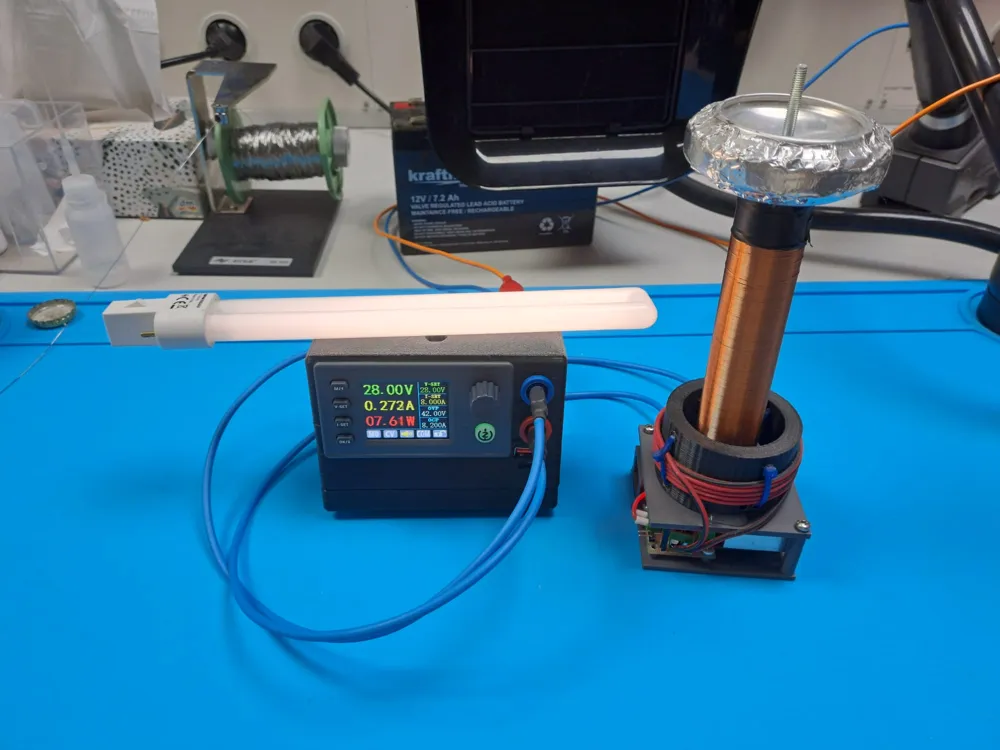
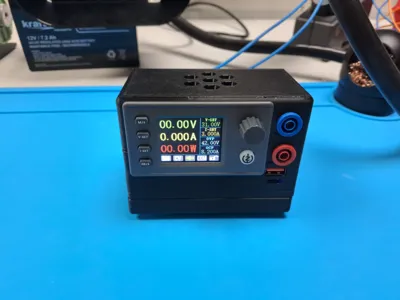
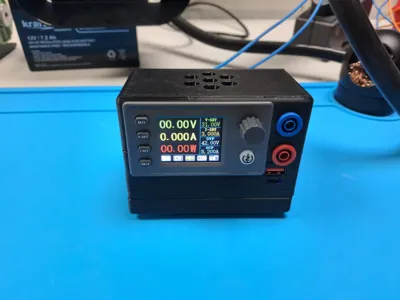
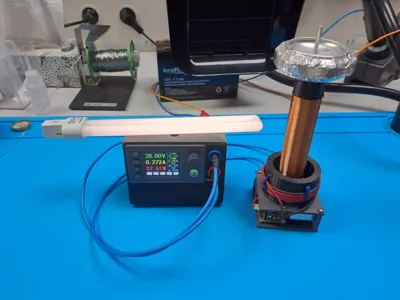
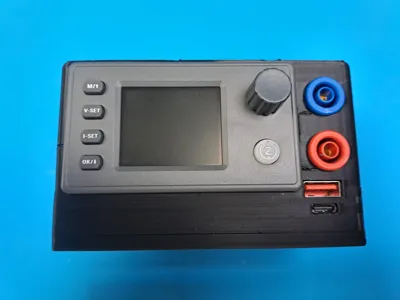
USB-C PD Lab Bench Power Supply – 150W Buck-Boost
Features:
- 150W Buck-Boost Converter — Based on the SK150C module, giving you full flexibility regardless of your input source.
- Input Voltage: Up to 30V DC — Input with reverse-polarity protection and big voltage range.
- Output: Up to 40V / 8A / 140W — Wide output range covering most bench supply use cases, with a hard cap of 140W on the output.
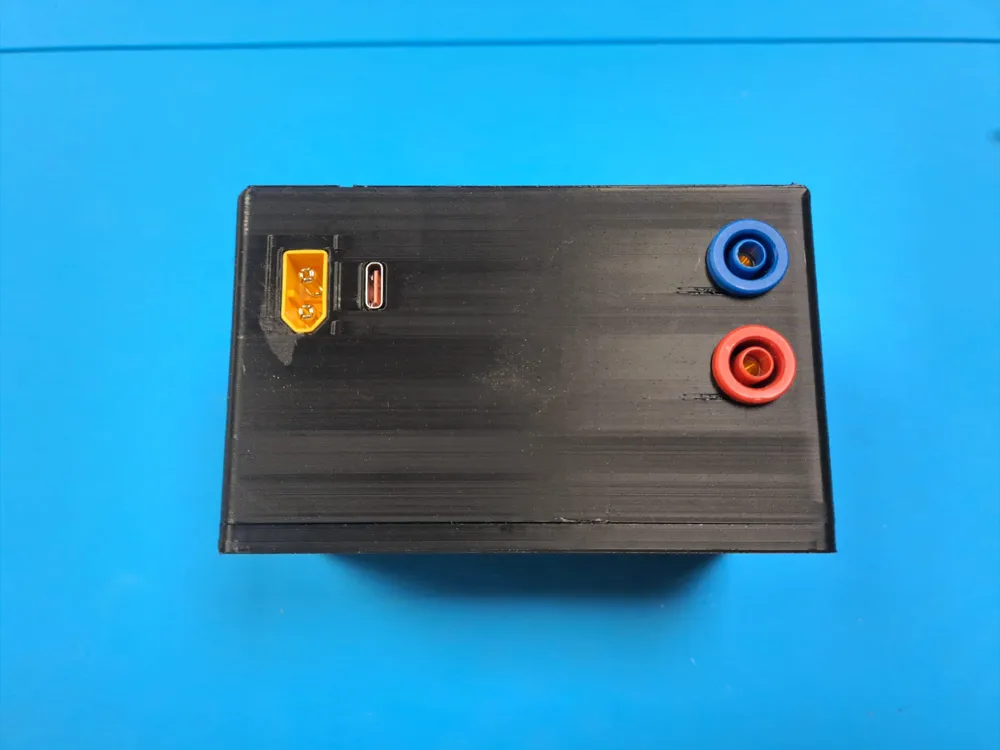
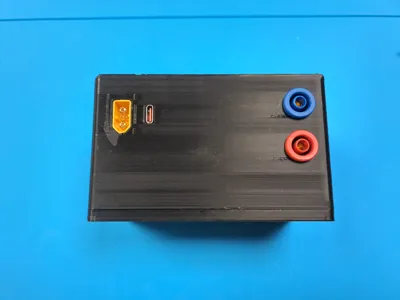
- USB-C Power Delivery 3.1 Input — Negotiate up to 28V from any compatible PD 3.1 charger. No barrel jacks required.
- XT60 DC Input — A second DC input via XT60 connector for use with up to up to 7S LiPo battery (max. 29.4V fully charged).
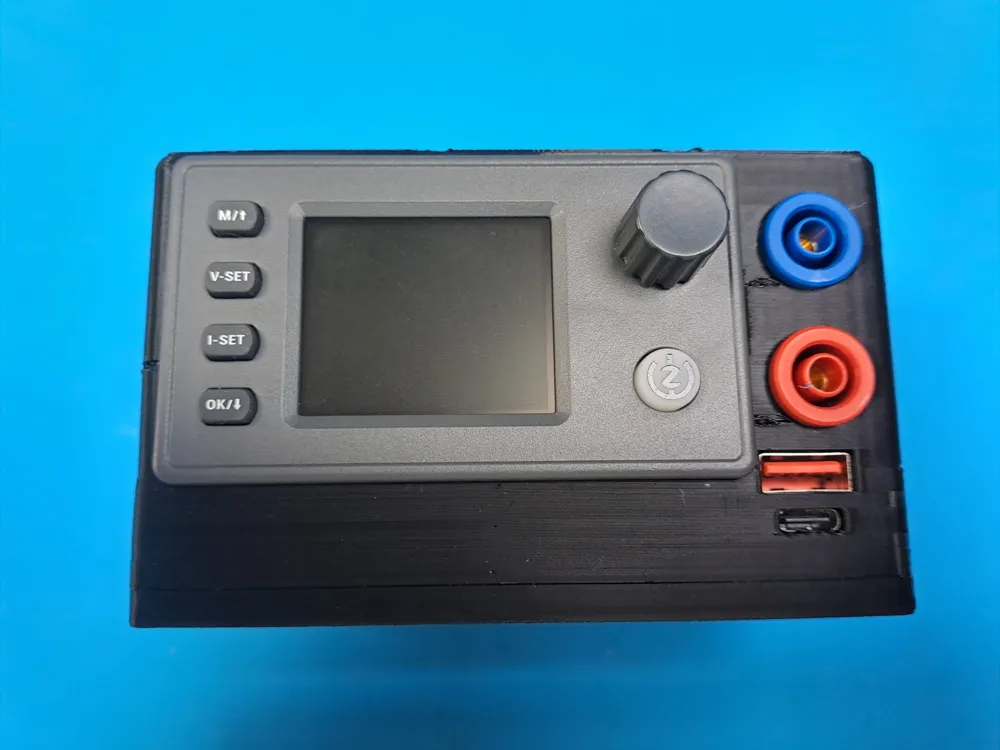
- 140W USB-C PD Output Module — A high-power USB-C output for charging laptops and other PD-compatible devices directly from the bench supply.
- Bluetooth Connectivity — Control and monitor the supply wirelessly via your phone.
- Magnetic Feet — magnetically snaps to the bottem and stops it from sliding from the desk while keeping it at a more comfortable angle.
What's Inside:
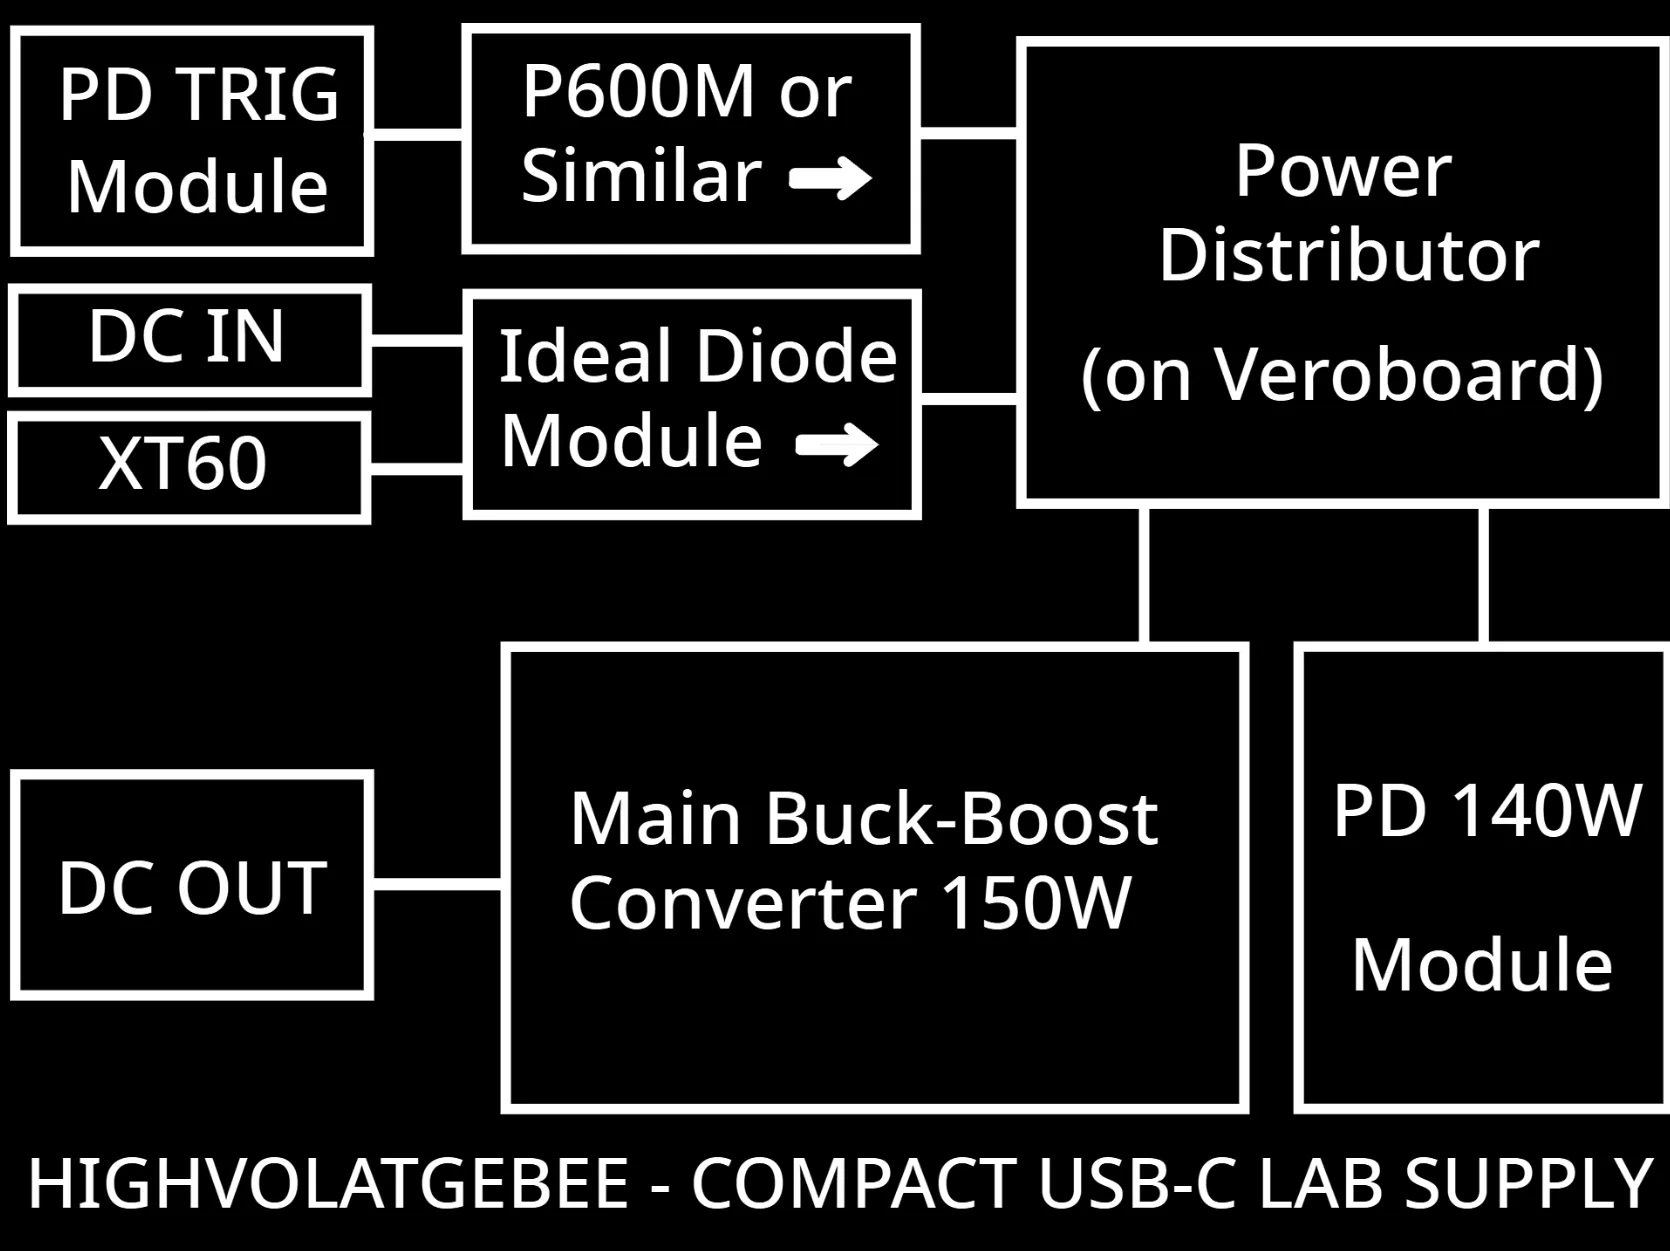
- SK150C Buck-Boost Converter Module — Handles all voltage conversion and the control interface also has Bluetooth.
- 140W USB Power Delivery Output Module — Provides high-power USB-C and USB-A output with PD.
- PD 3.1 Trigger / Input Module — Negotiates up to 28V from a connected USB-C PD 3.1 charger on the input side.
- Ideal Diode Module — Used on the DC input path to provide high current reverse-polarity protection.
- PM600M Diode — Used on the USB-C trigger module as protection, if you want you can also use another ideal diode module.
- XT60 Male Connector — Alternative input methode to the banana jacks.
- 4× Isolated Banana Jacks — Safety-rated, double-wall insulated jacks for the input and output terminals.
- Wiring & Interconnects — Use wire that can handle at least 10A for important connections.
- 10x2mm Magnets — For use with feet or magnetic objects.
Notes:
- Instead of using one PM600 and one Ideal diode, you can use two Ideal diodes to improve efficiency and reduce heat.
- There is polarity protection on the inputs, so it is safe to connect a USB-C cable and either via the XT60 OR via the banana jacks at the same time.
The recreation of this project is estimated to cost around 40 Euros or 45 Dollars.
Schematic:
Building process:
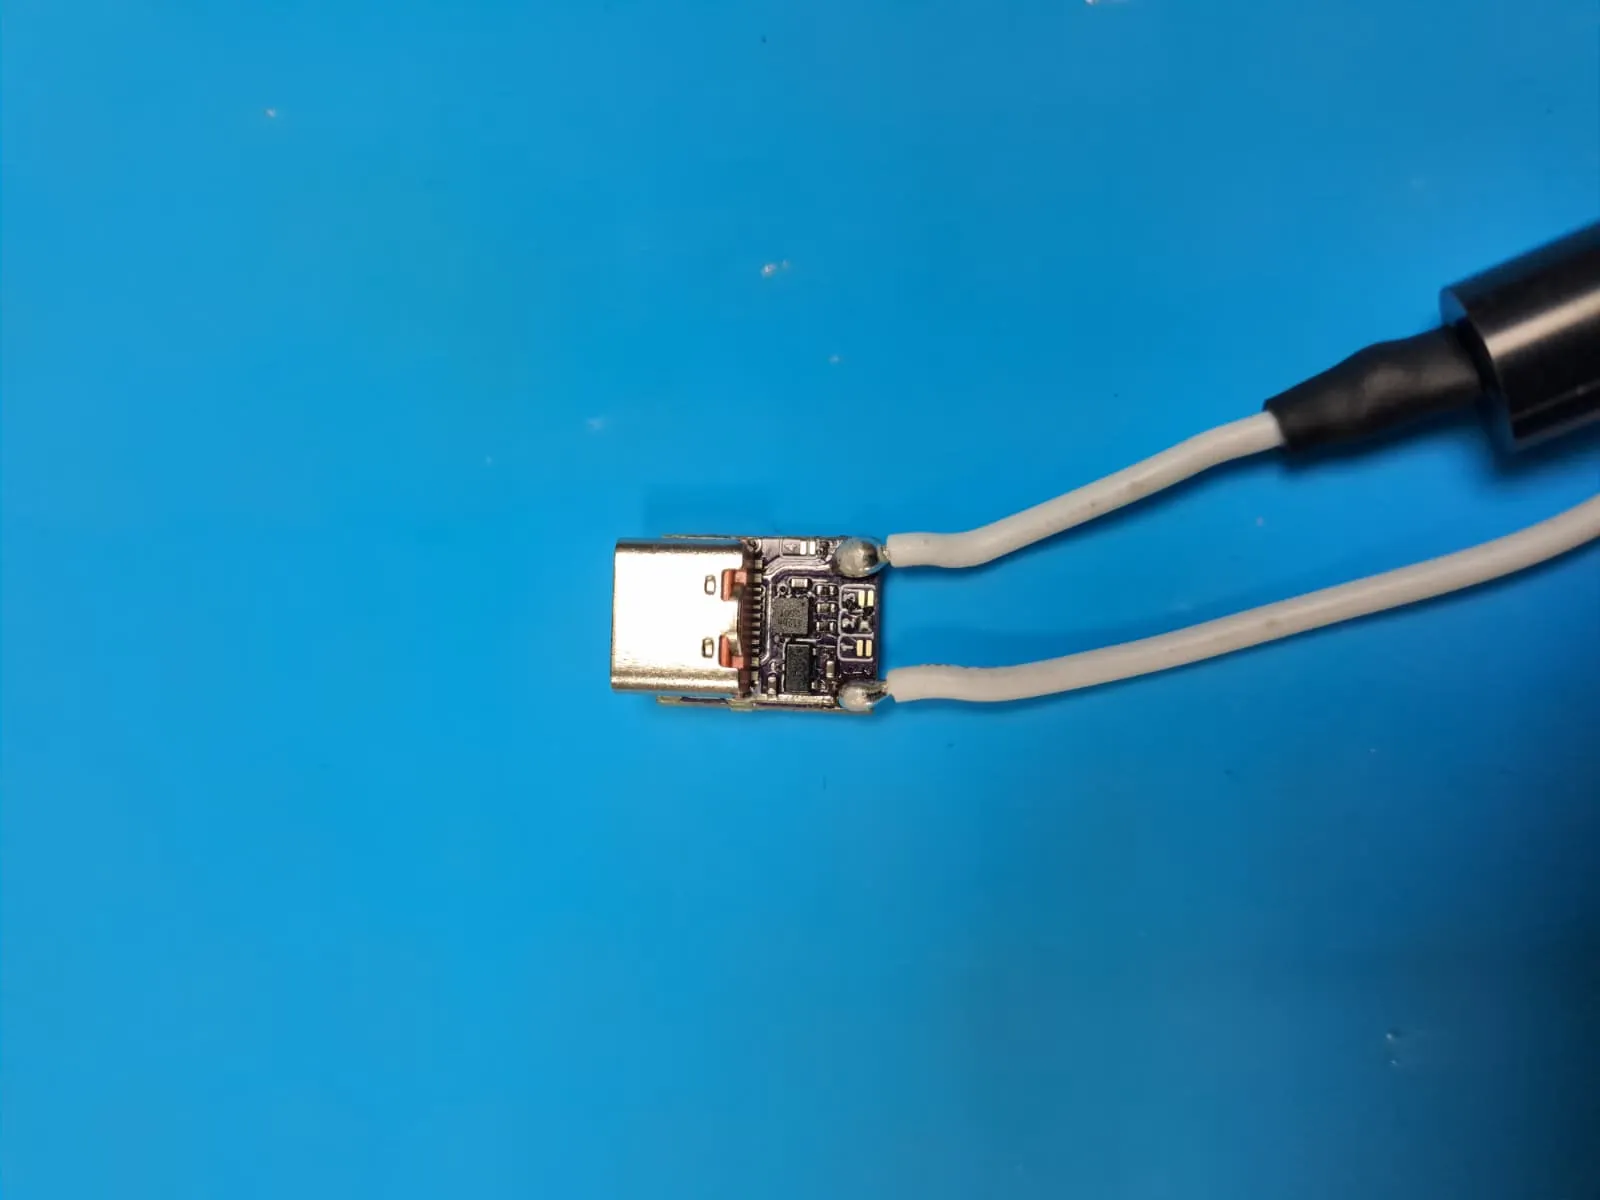
Jump number 2 on the PD 3.1 module to set it to 28V.
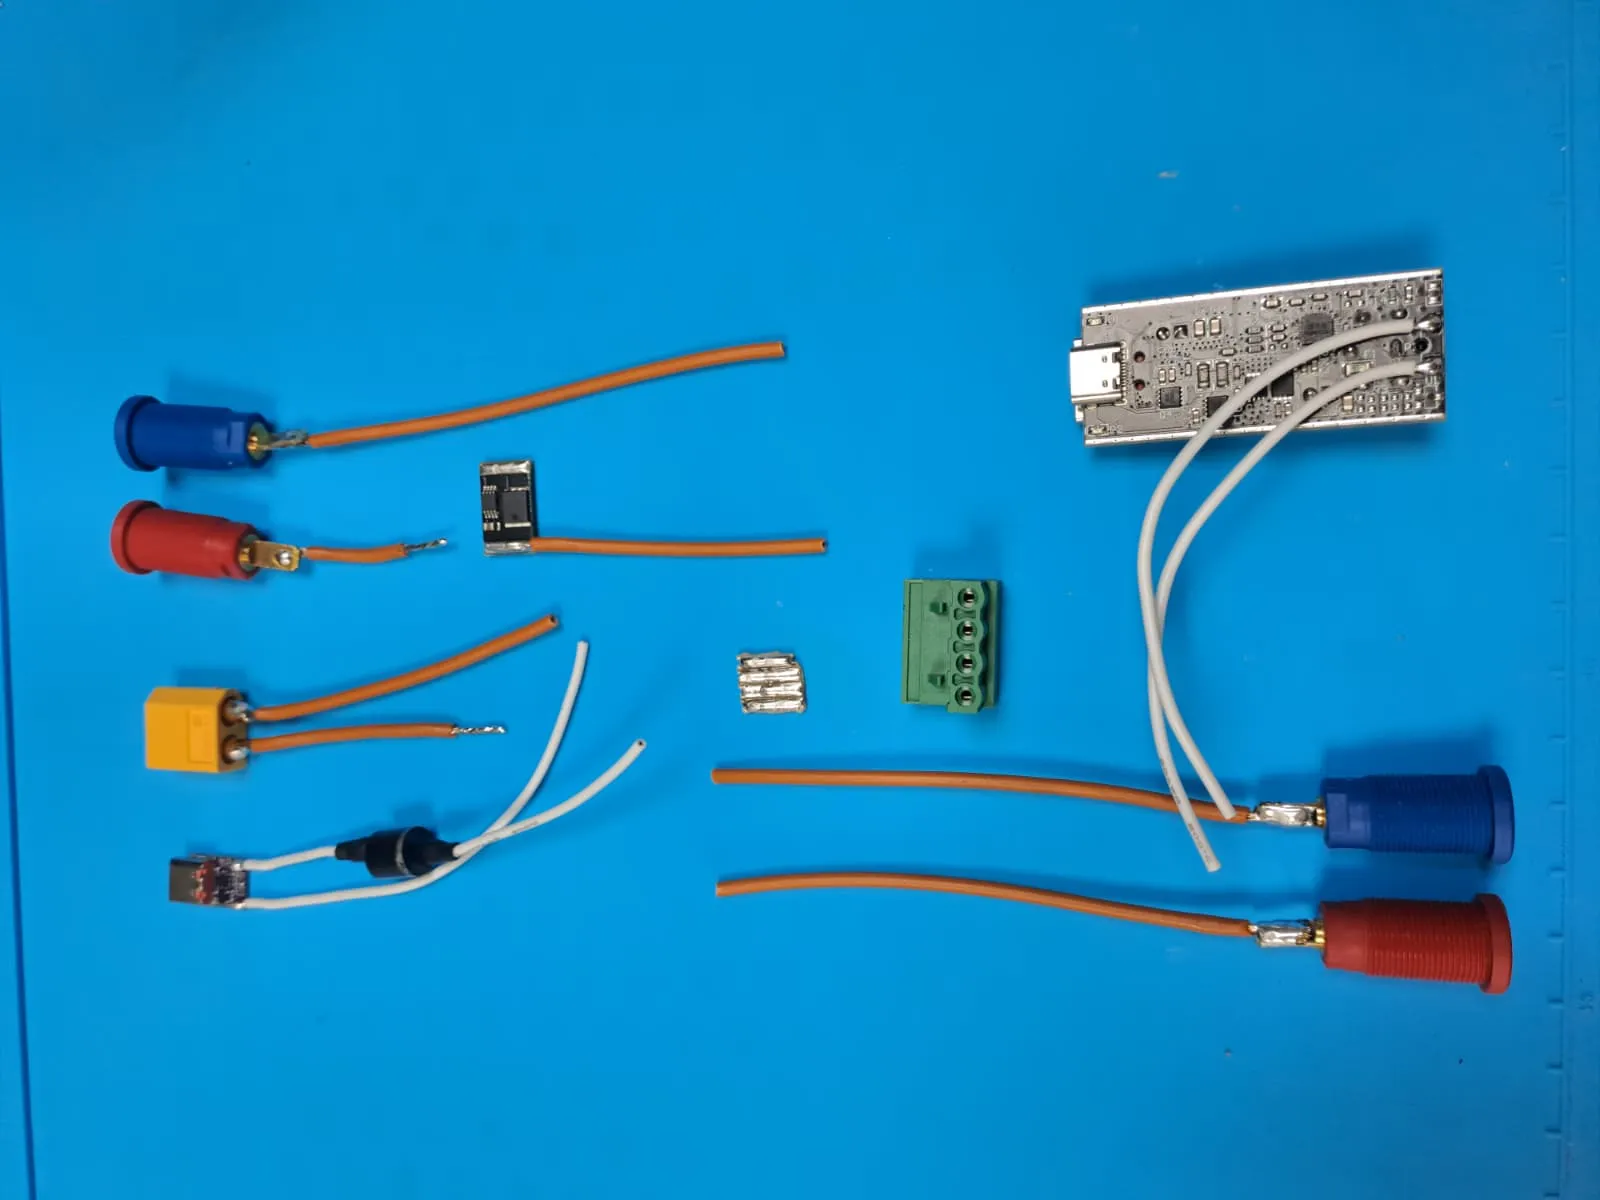
2. Prepare all the connectors the orange cable is rated 15A and the white is rated 8A which is a bit Overkill but works fine.
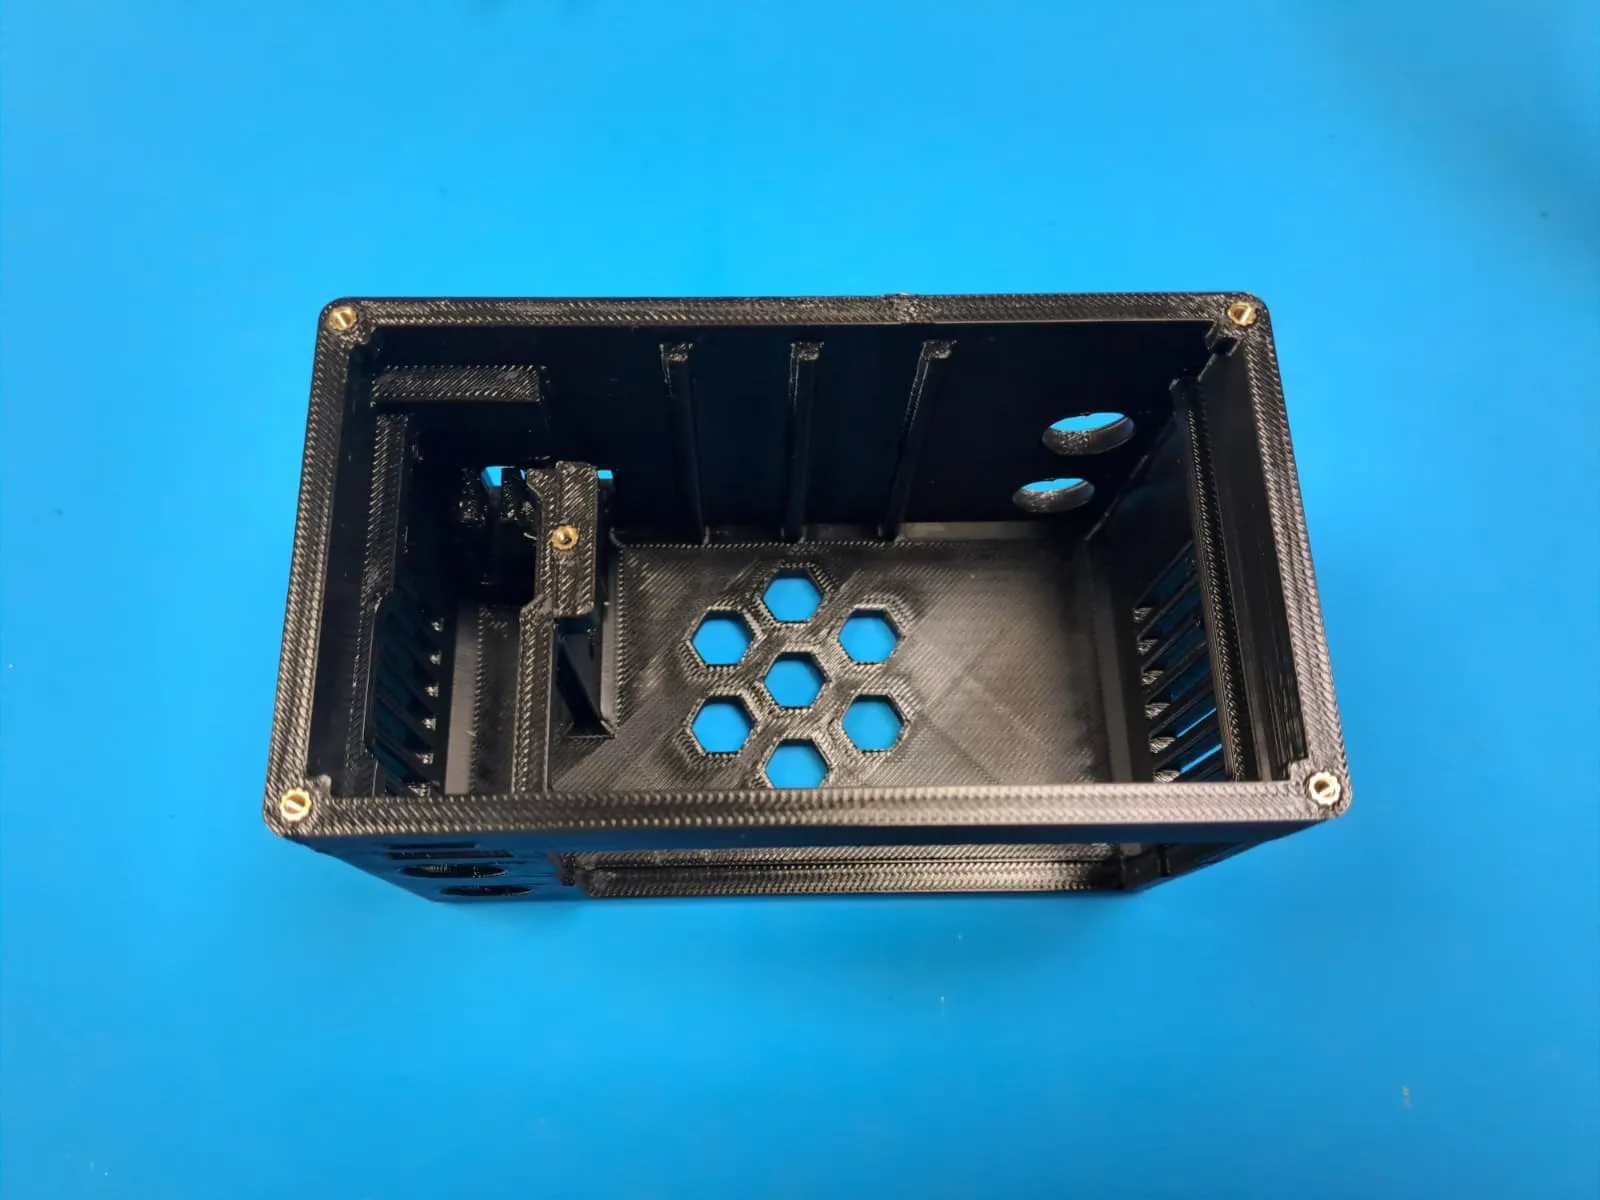
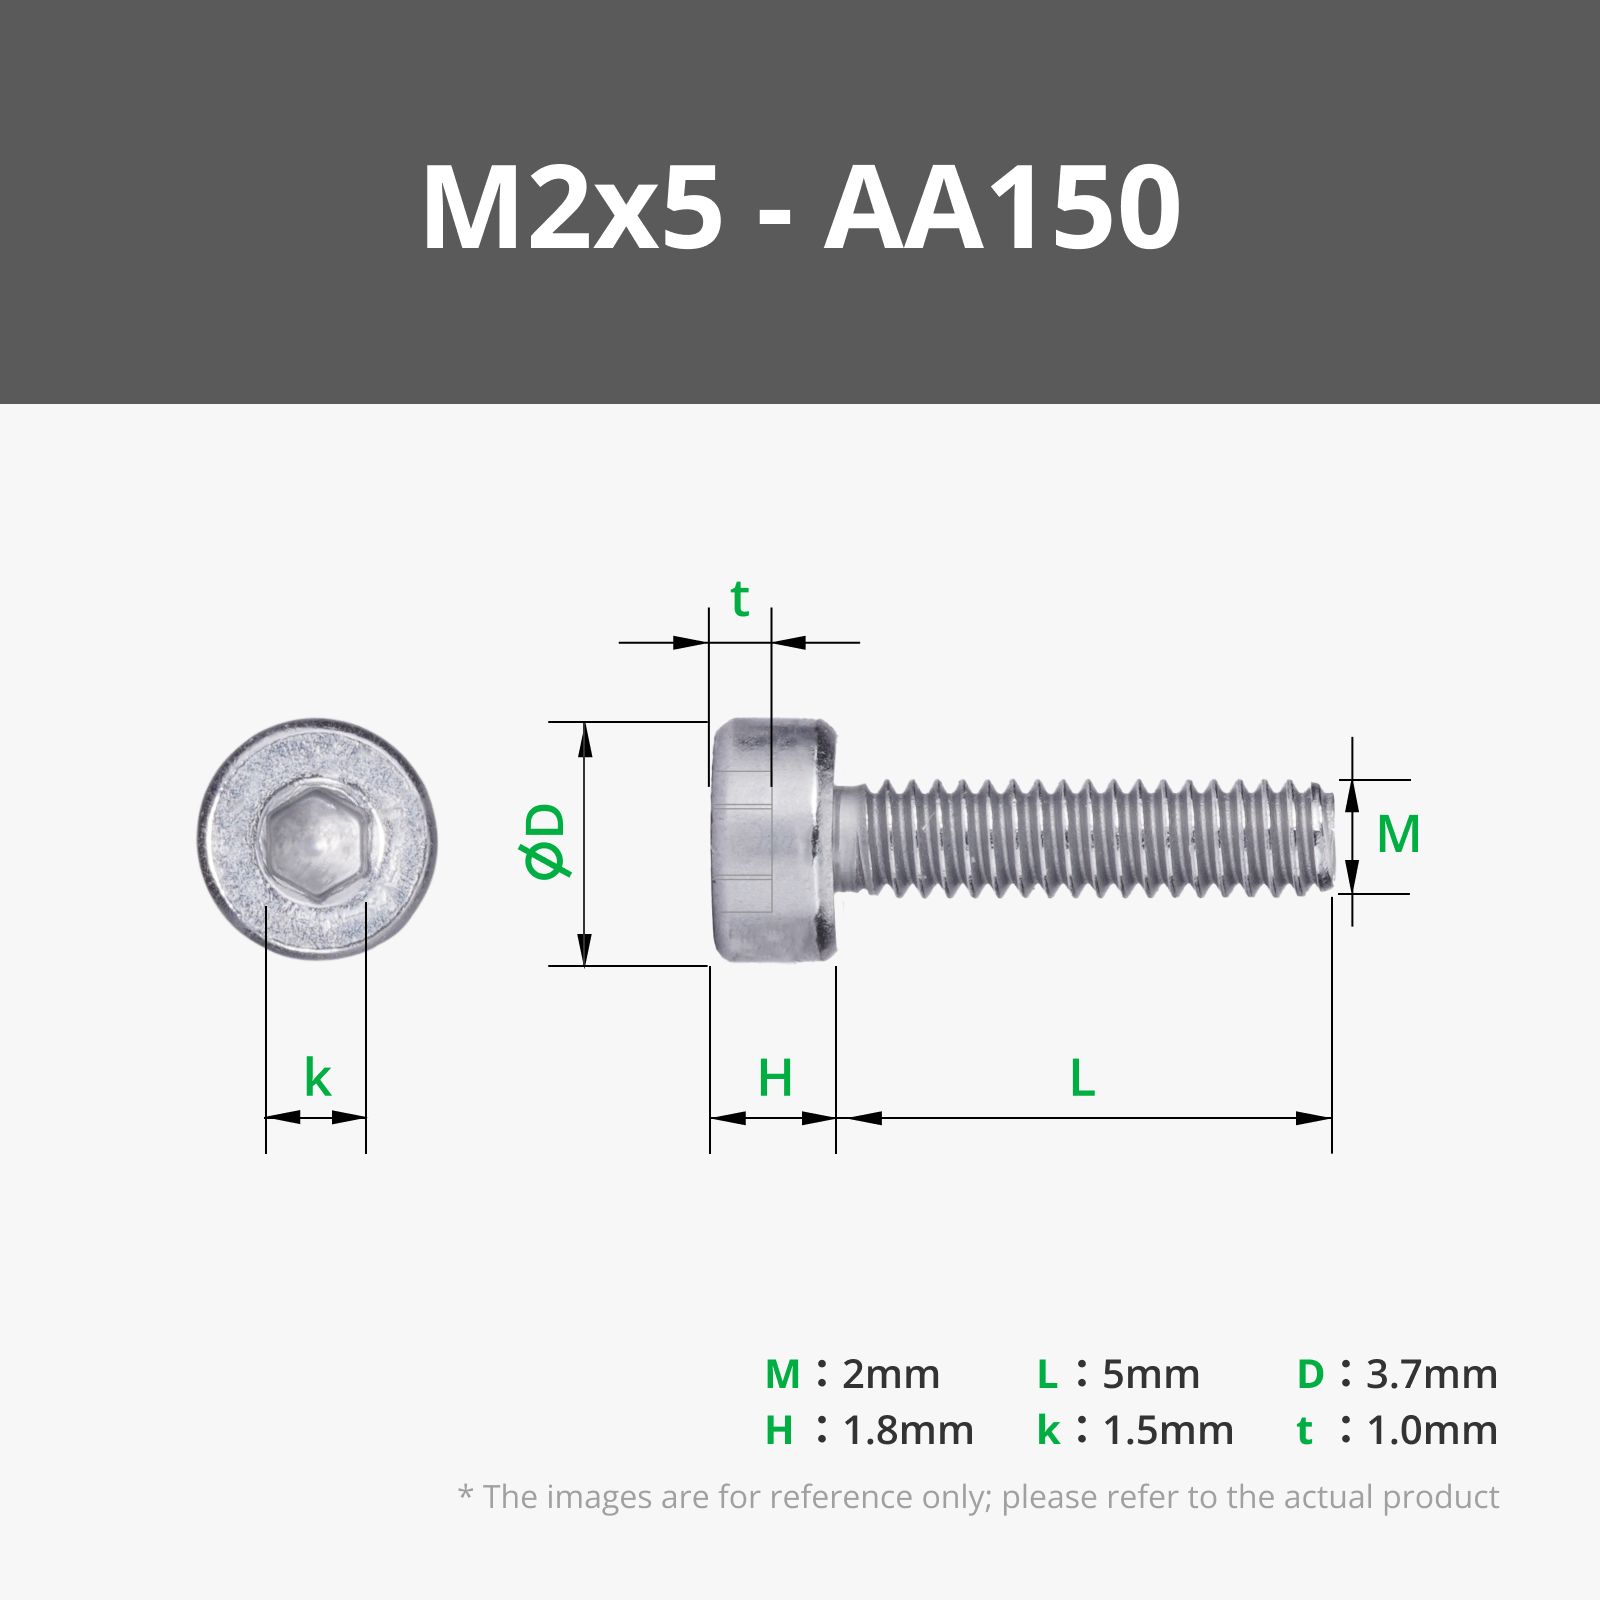
3. Put all the M2 melt-inserts into the 3D printed chassie.
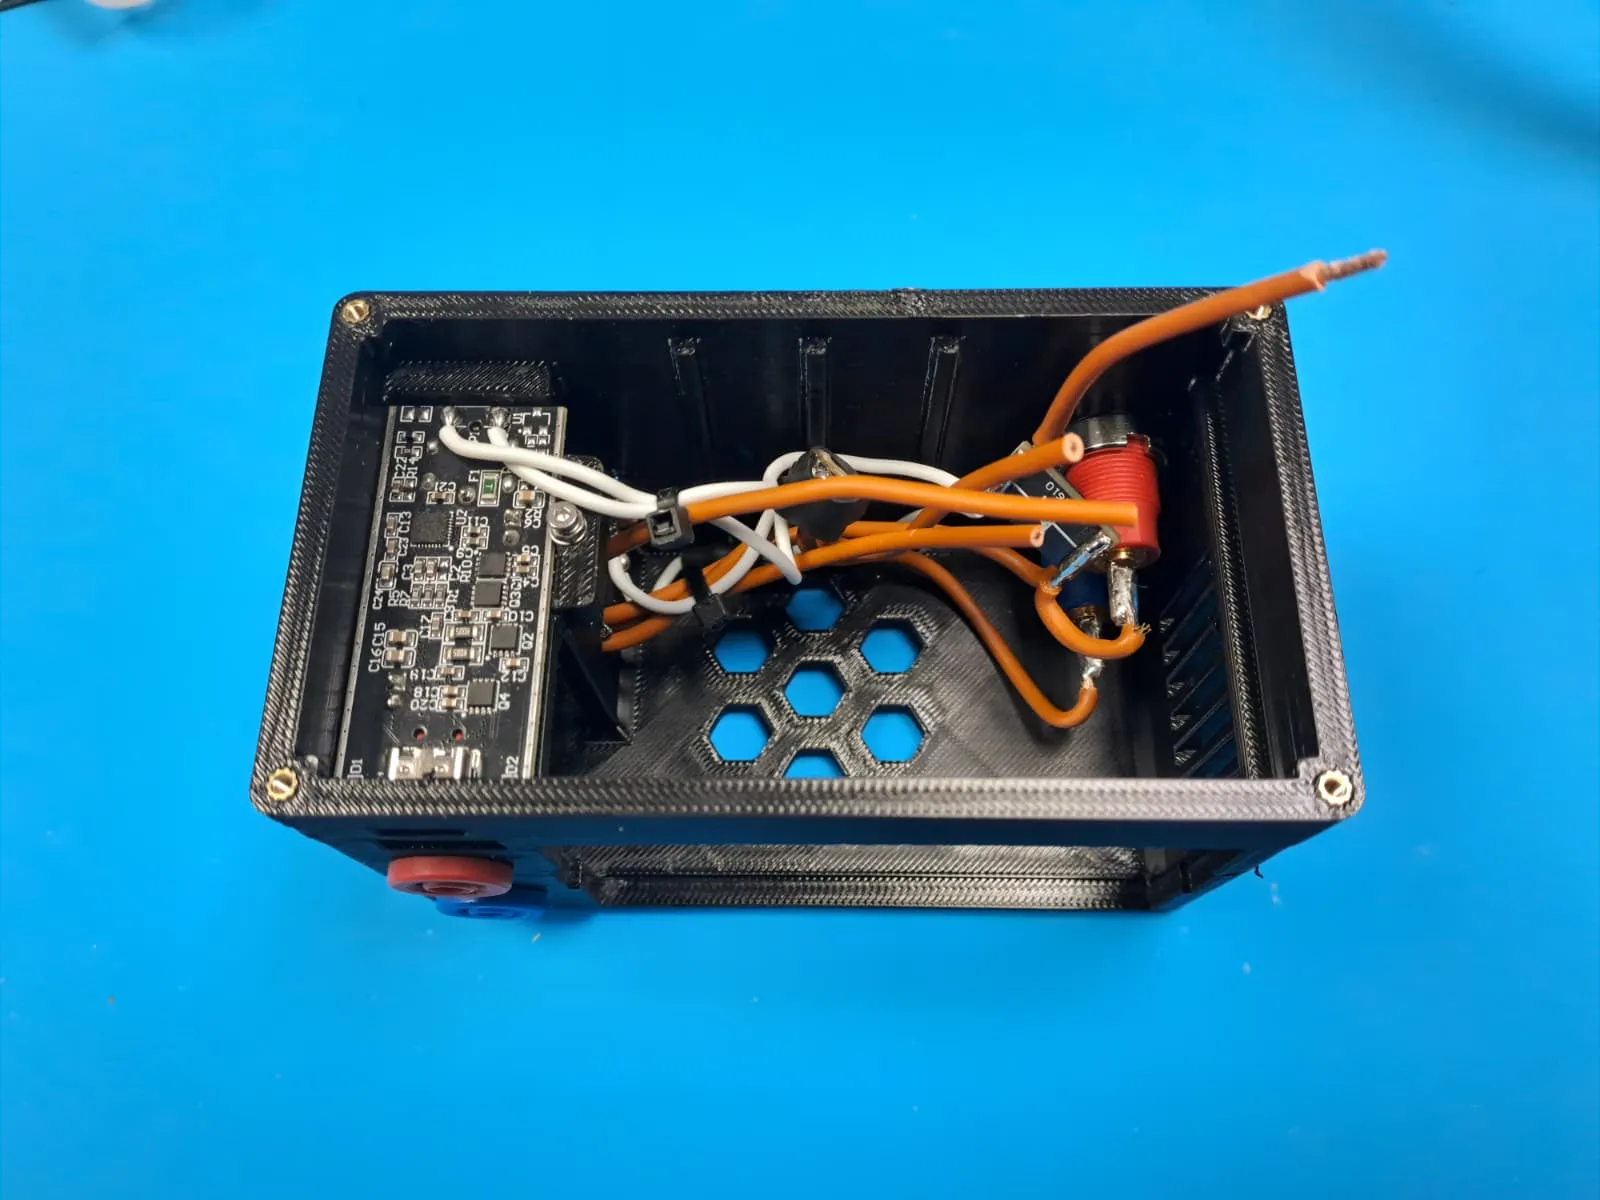
4. Mount in the following order: XT60, PD 3.1 trigger module, Banana jacks, 140W USB-C output module, Ideal diode The USB-C Trigger should be press fit but can be glued in and to secure the XT60 you can use 1x M3 Screw and 1x M3 Nut.
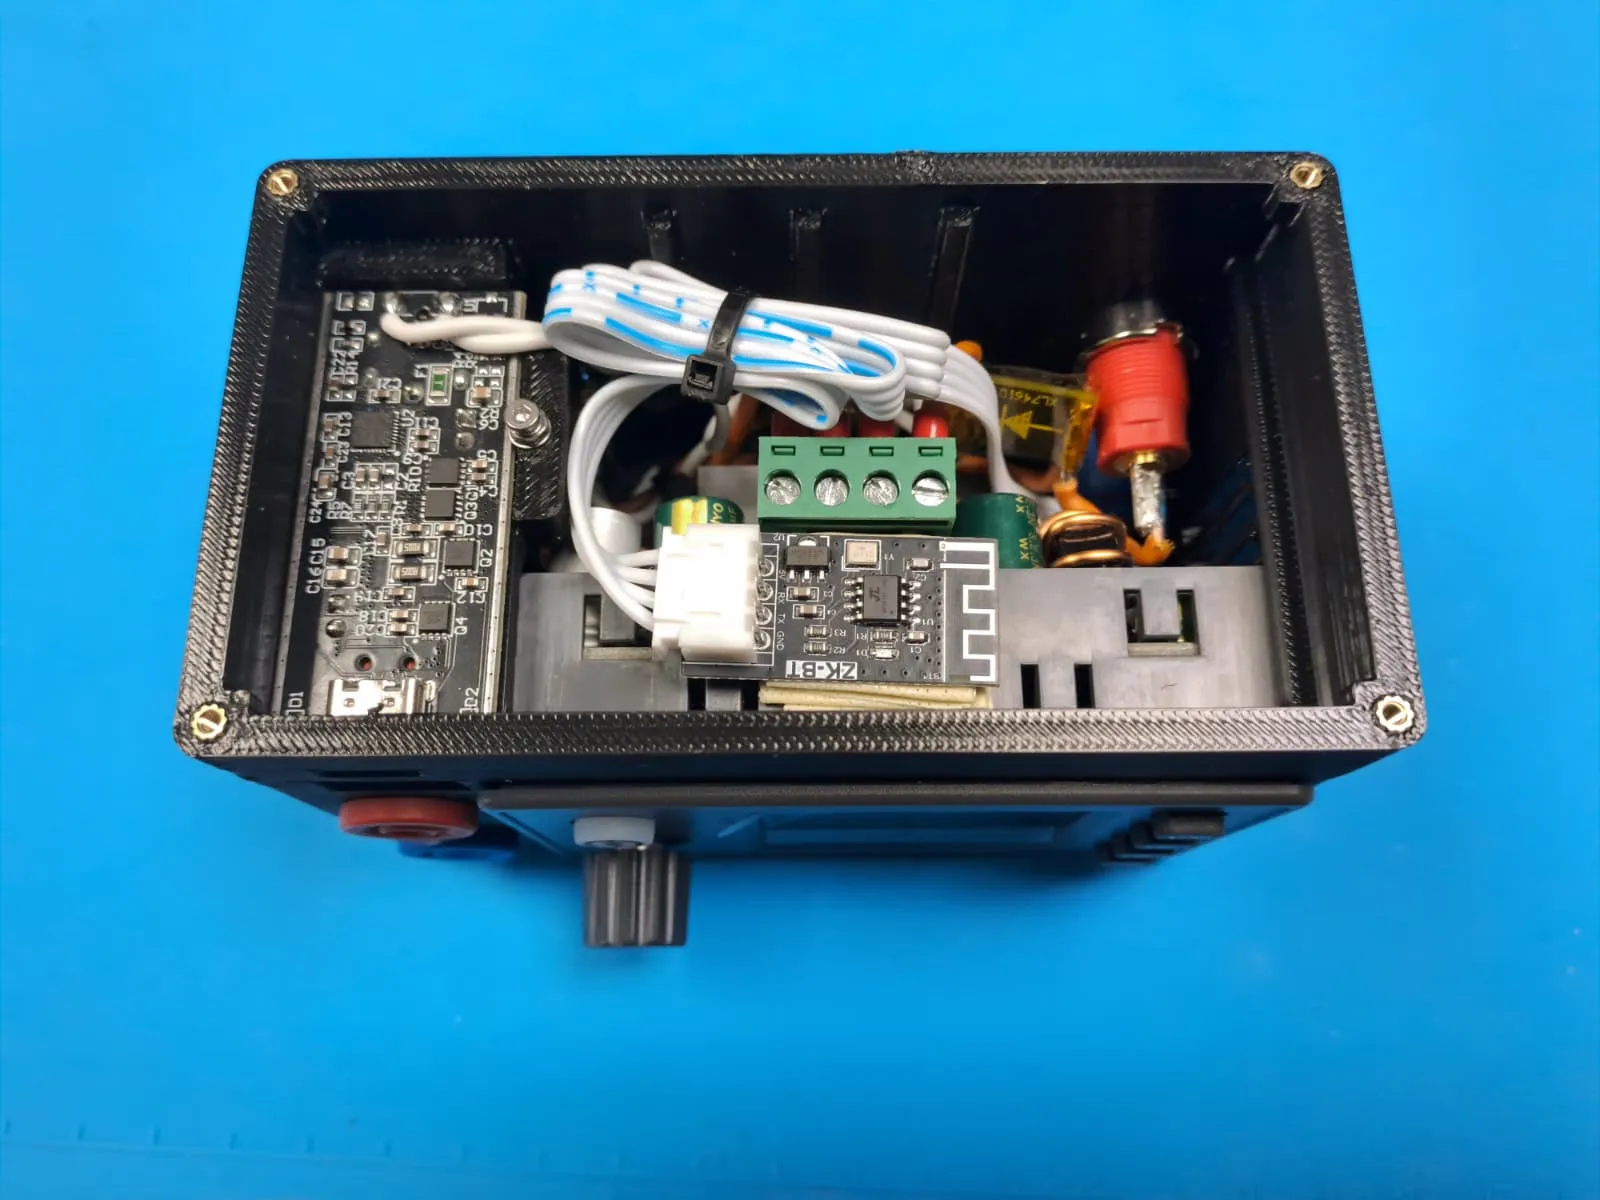
5. Connect everything you access now then put in the main buck-boost module.
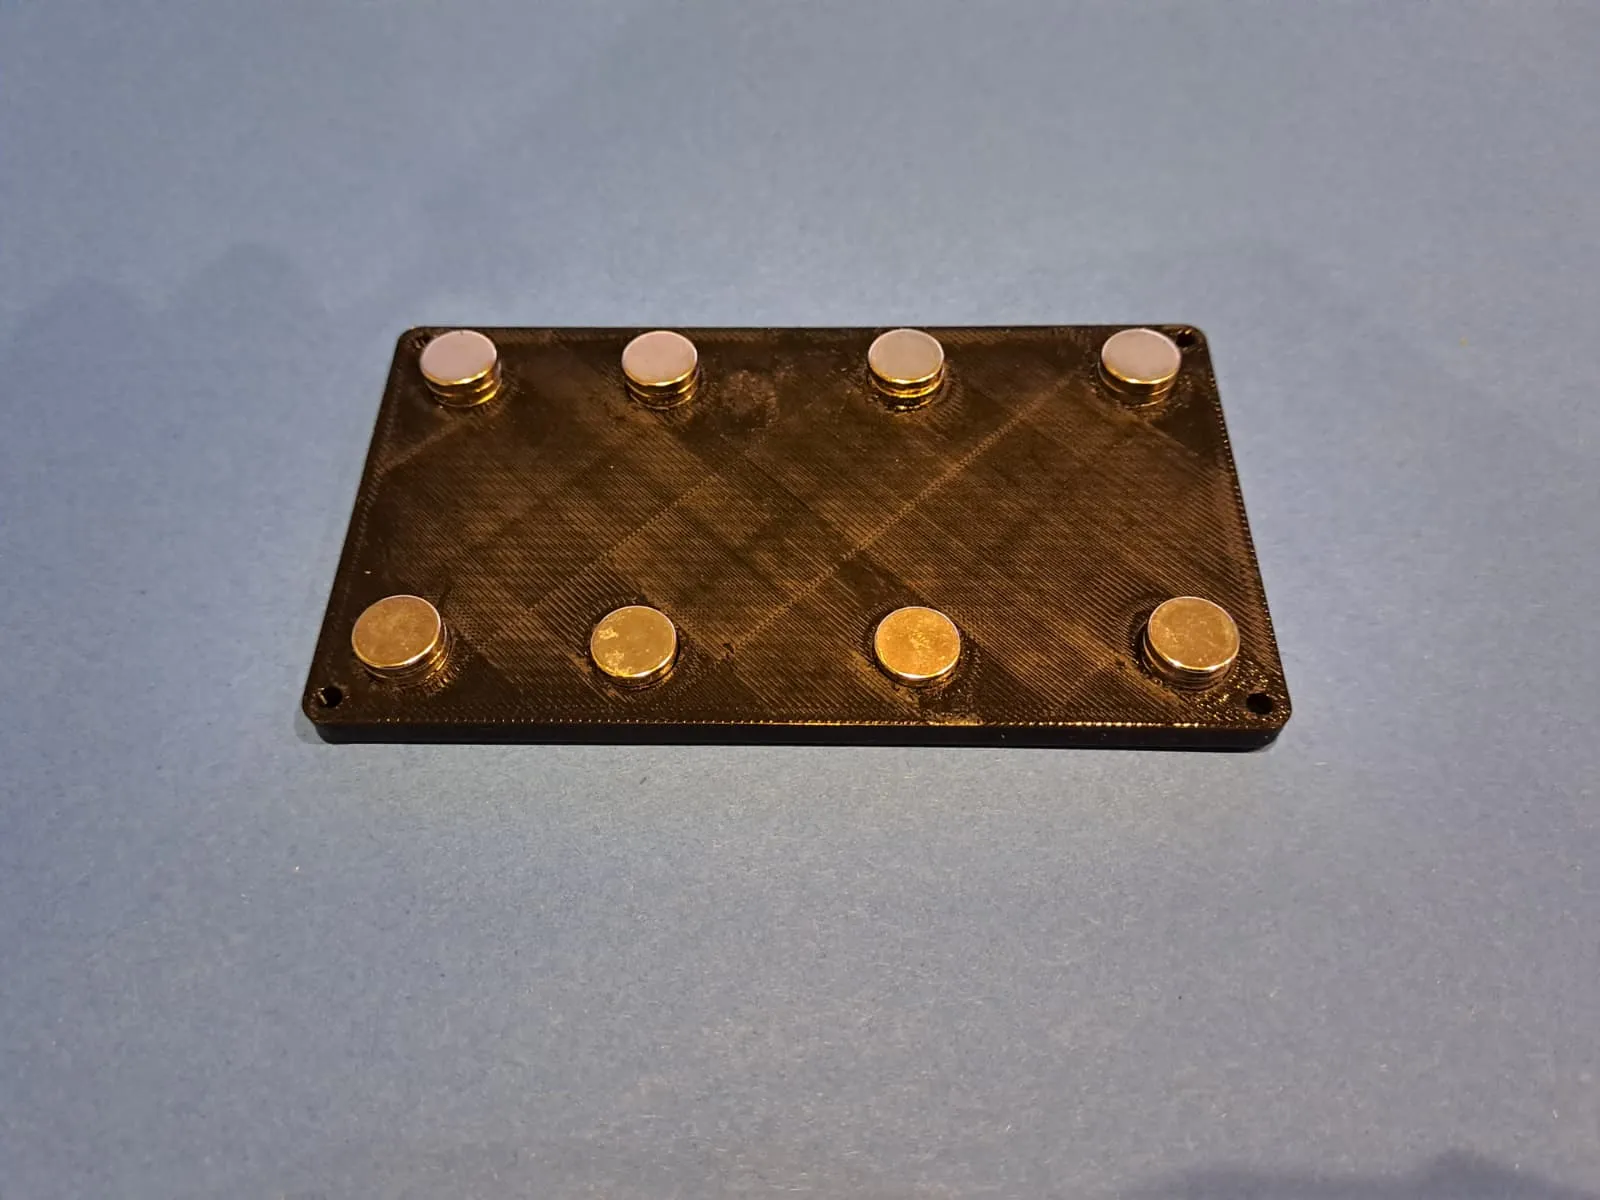
6. Put all the 10x2mm magnets in the bottom piece i used superglue and mount it to the main body. I also stacked three magnets on top of each other to create a stronger magnetic field.
7. If you have also printed the feet, you can now attach the anti-slip feet.
Thats it your Power Supply should be ready now have fun!
License

This user content is licensed under a
Creative Commons Attribution-Noncommercial-Share Alike


Comment & Rating (0)