UniFi G6 Pro Entry — PoE Extender Junction Box


Print Profile(1)

Description
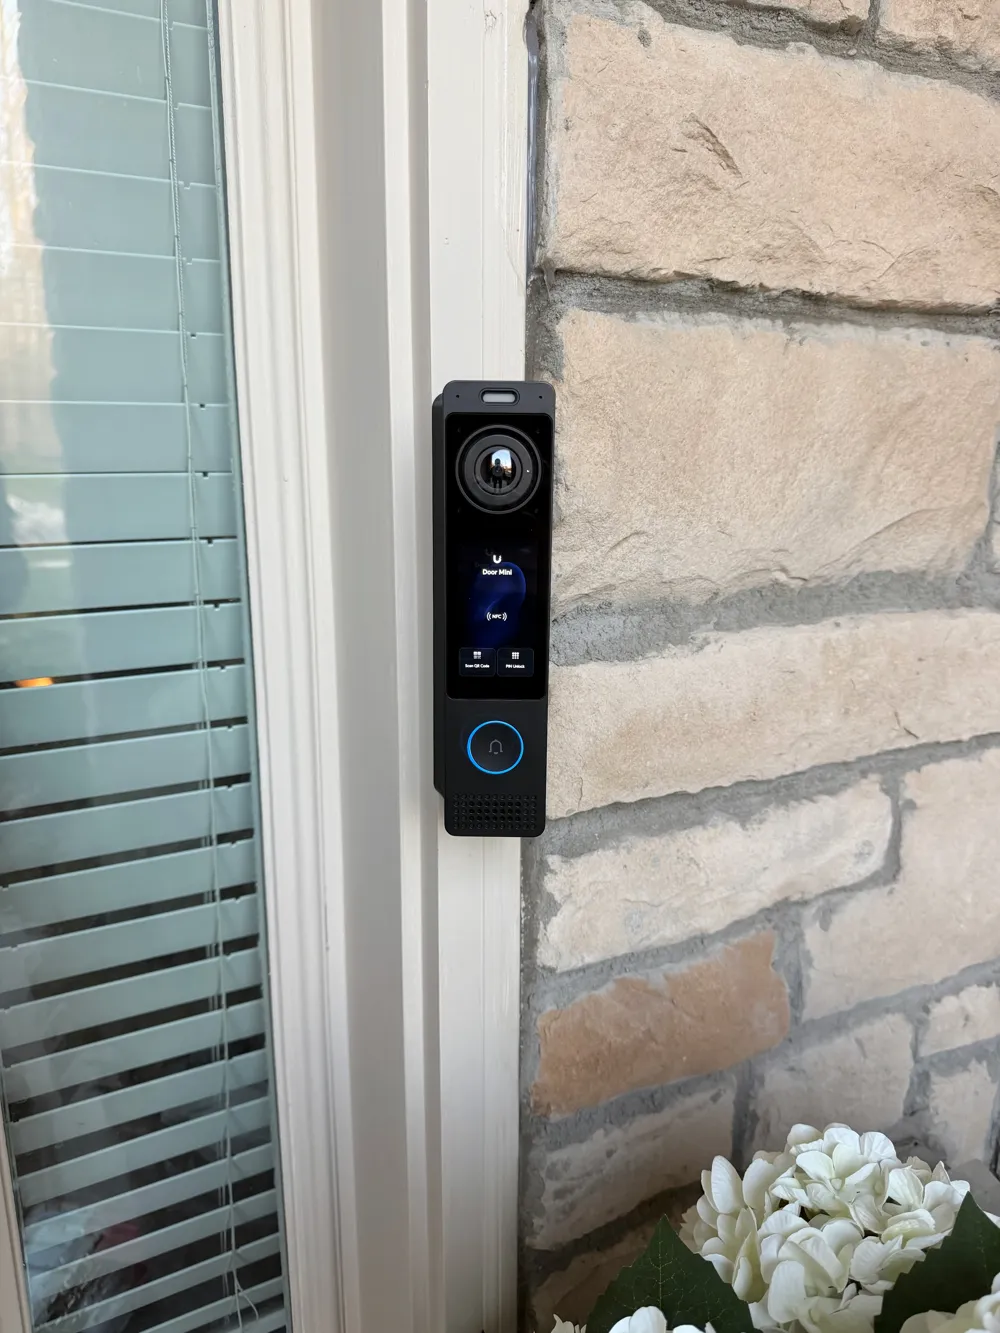
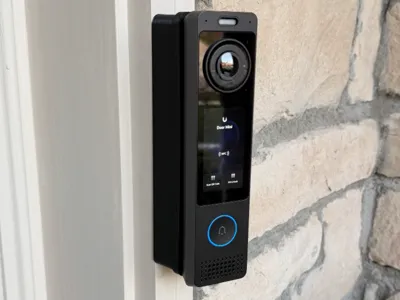
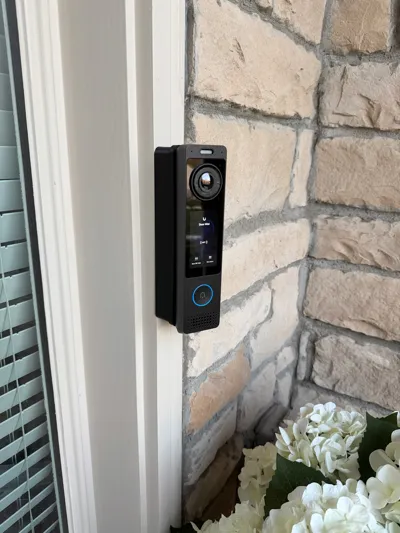
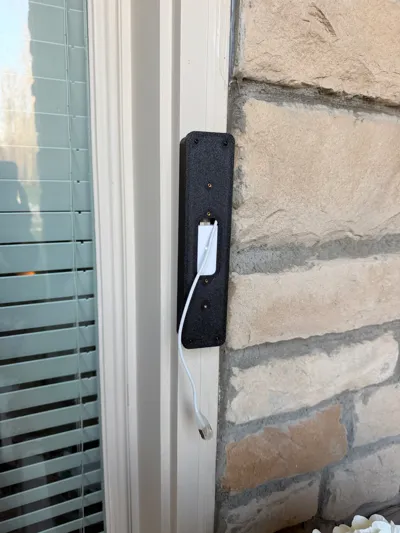
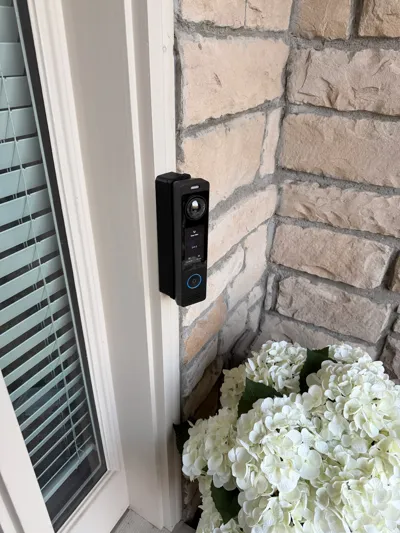
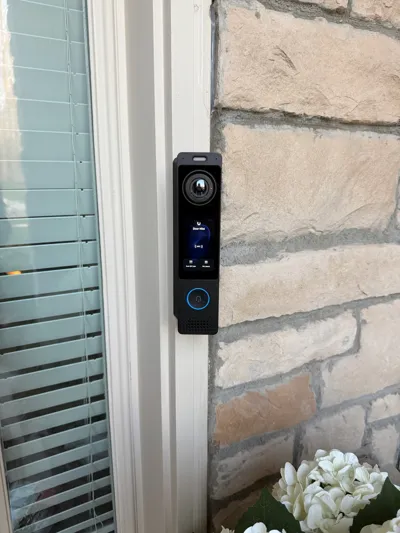
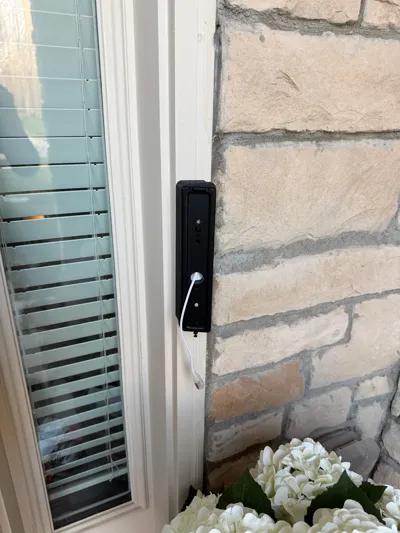
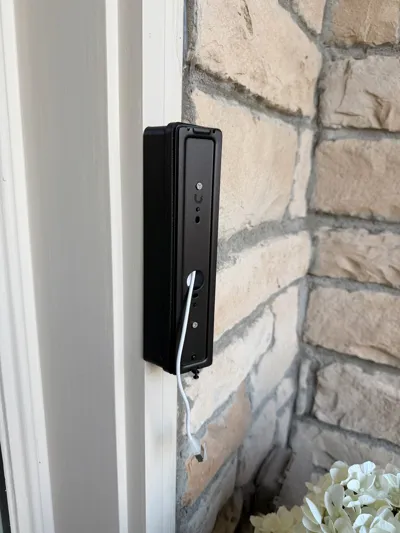
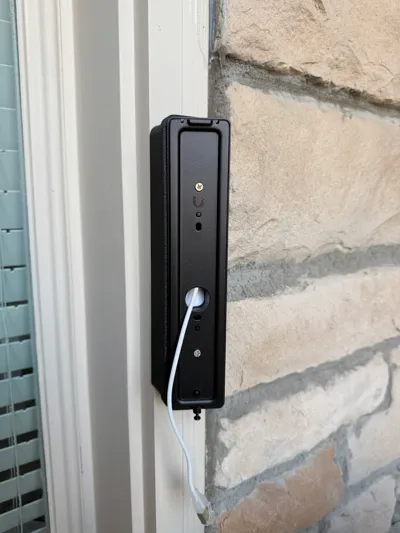
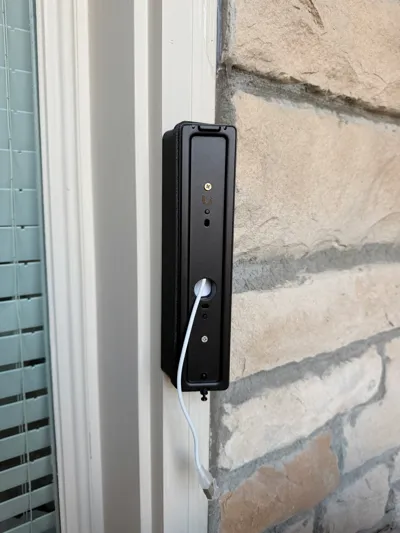
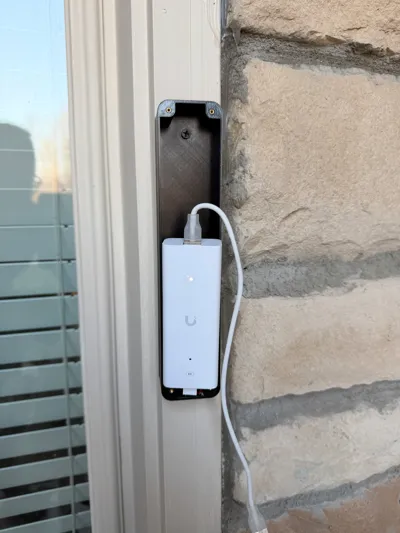
Got a UniFi G6 Pro Entry camera but no PoE at the door? This junction box is designed to neatly house the UniFi PoE Over 2-Wire Retrofit Extender right behind the camera, keeping your install clean and your walls happy.
Perfect for situations where running a new PoE cable isn't practical — if you've got existing low-voltage wiring at the door (like old doorbell wire), the UniFi PoE Over 2-Wire Retrofit Extender lets you power the G6 Pro Entry over those existing runs. This enclosure gives that extender a proper home instead of leaving it dangling or taped up somewhere sketchy.
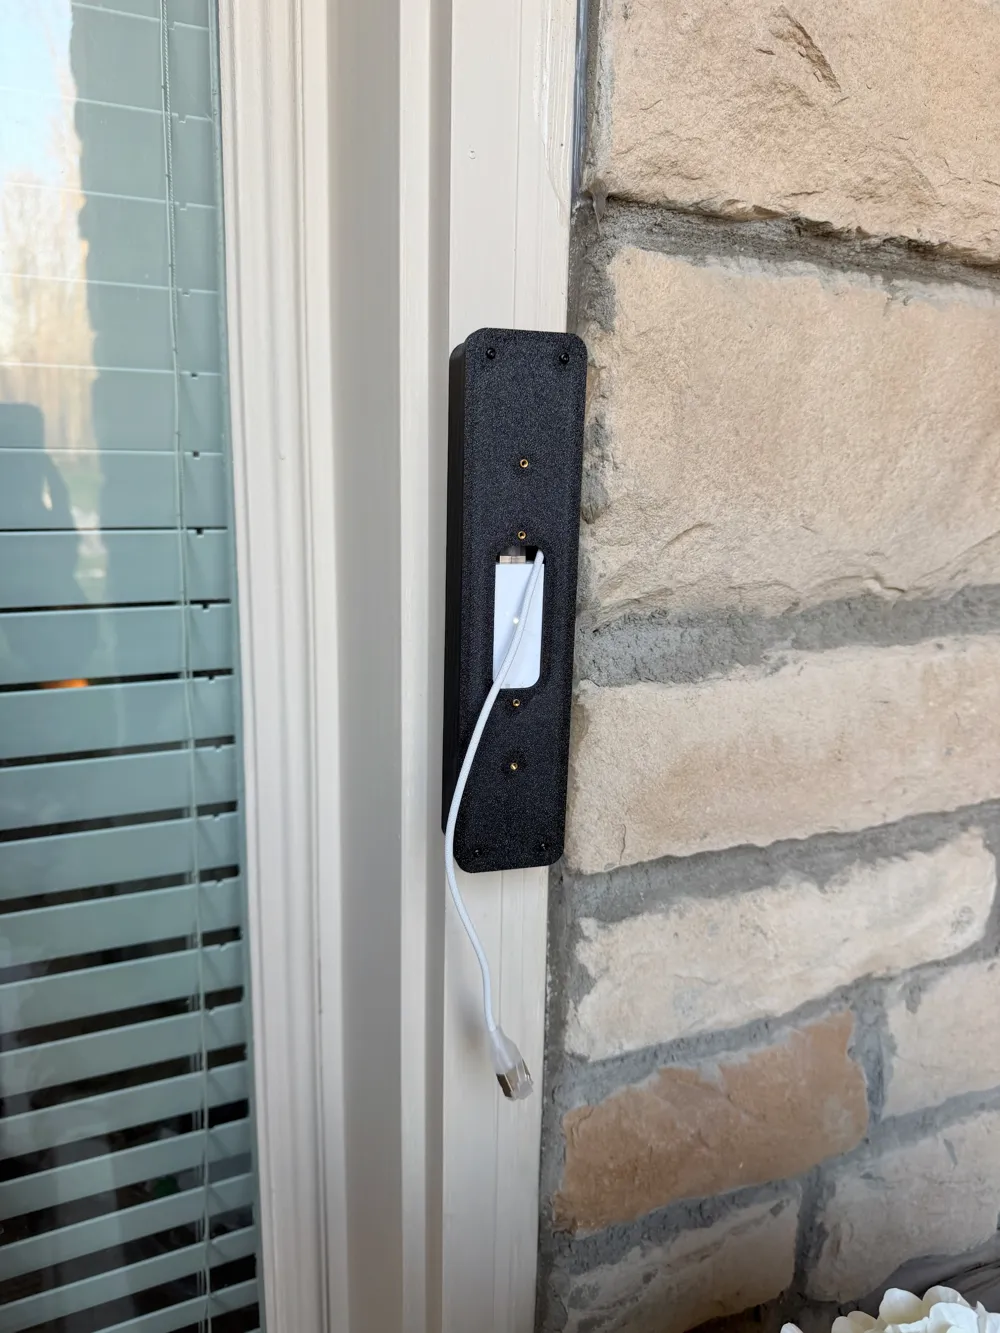
What's included: A two-piece enclosure (top cover + bottom cover) sized specifically for the UniFi PoE Over 2-Wire Retrofit Extender. The halves close together with M2 heat-set inserts and screws for a solid, rattle-free hold. The bottom case uses 4x M2 x 4mm heat-set inserts to secure the two halves together, and the top cover has an additional 4x M2 x 4mm heat-set inserts that accept the standard UniFi doorbell metal mounting plate — so the camera sits and locks in just like it's supposed to. Built-in cable management keeps your wiring routed and tidy so everything looks intentional when the camera goes on top.
⚠️ Note: The heat-set inserts are not part of the 3D model — you'll need to press them in yourself after printing using a soldering iron or heat-set insert tool.
Print settings:
- Material: PETG minimum recommended — better temp resistance than PLA for an outdoor-adjacent install. If your camera is in direct sun or a hot climate, consider ASA or ABS for even better UV and heat resistance
- Supports: Minimal or none depending on orientation
- Infill: 20–30% is plenty
You'll need:
- UniFi G6 Pro Entry Camera
- UniFi PoE Over 2-Wire Retrofit Extender
- 8x M2 x 4mm heat-set threaded inserts (4 for the bottom case, 4 for the top cover) — Amazon
- M2 screws — Amazon
- Soldering iron or heat-set insert tool to press in the inserts
A solid weekend project that makes your UniFi door camera setup look like it was always meant to be there. Print it, mount it, forget it. 🎯
License
You shall not share, sub-license, sell, rent, host, transfer, or distribute in any way the digital or 3D printed versions of this object, nor any other derivative work of this object in its digital or physical format (including - but not limited to - remixes of this object, and hosting on other digital platforms). The objects may not be used without permission in any way whatsoever in which you charge money, or collect fees.
Comment & Rating (3)