
Aperolino "MKII" - Ball Valve
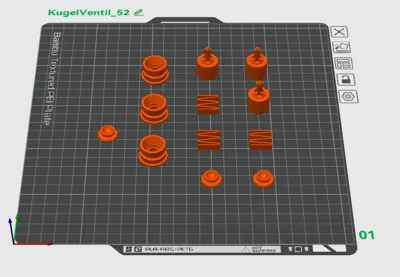
Print Profile(2)

Bill of Materials
- Edelstahlkugeln x 3: Für das Ventil innere
- O-Ringe 10x2 mm x 3: Für das Ventil innere
- O-Ringe 14x2,5 mm x 3: Für das Ventil äussere
Description
Boost Me (for free)
If you like it, please leave a boost
That would make me very happy, and now, happy printing, dear ones
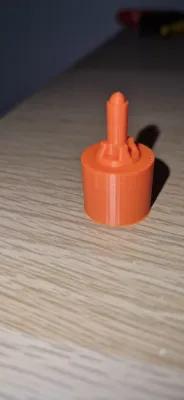
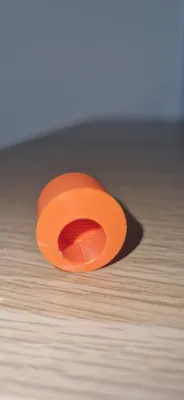
The Aperolino MK II is the consistent further development of the original design – with targeted improvements for maximum leak-tightness, reliability, and user-friendliness
Based on the original file, this model has been technically revised to eliminate known weaknesses and significantly optimize its everyday function
Important Improvements
- Revised Valve System
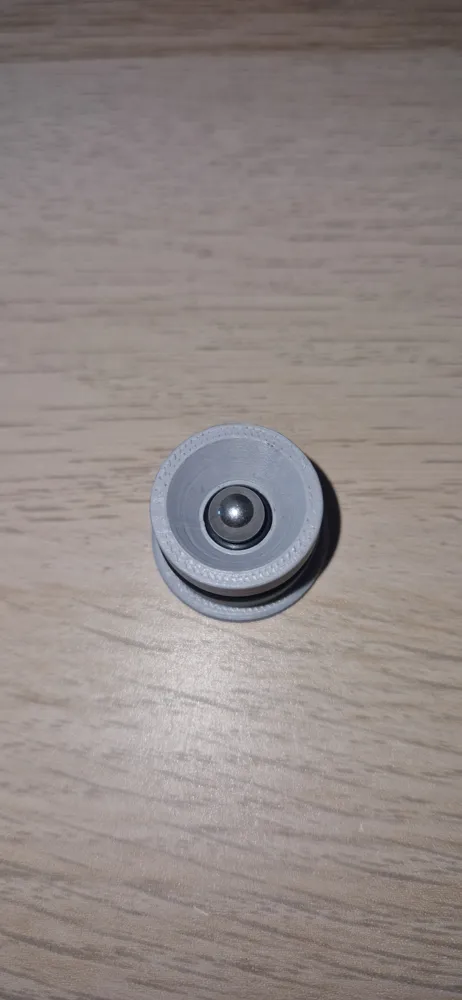
The original valve design was rethought, as some builds could experience leaks - Switch to Ball Valve Technology
The valve has been converted to a ball valve, allowing for a significantly more precise and reliable seal - Integrated Stainless Steel Ball
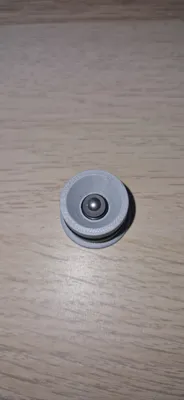
A small stainless steel ball ensures a clean, self-sealing function and improves the system's longevity
Advantages in Use
Significantly improved leak-tightness – no more unwanted leaks
Reliable function – even with frequent use
Clean handling – precise opening and closing
Resource-saving – no spring fatigue and no re-printing
Notes
For optimal results, it is recommended:
- Clean printing of valve areas (high precision important)
- Use of suitable stainless steel balls in the intended size
- Possibly slight post-processing of sealing surfaces
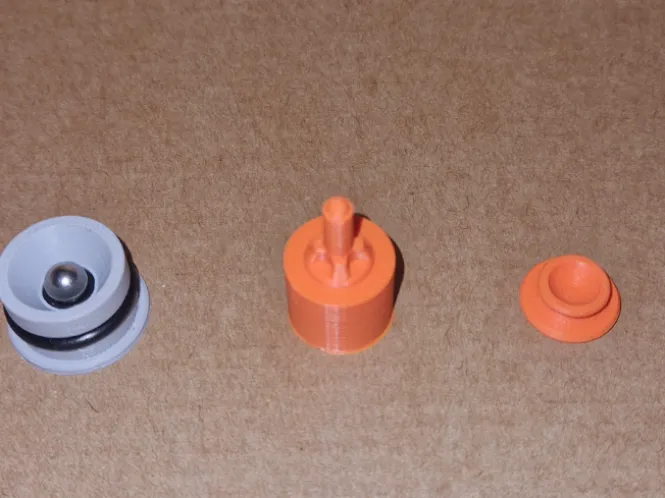
The following "non-3D printed" components are required for the ball valve, I used these here:
Stainless steel ball from this set: https://amzn.to/47Osy8x
3 pcs = 7mm stainless steel balls
O-rings from this set: https://amzn.to/48hP7m6
3 pcs = 10x2 mm for the inner valve
2 pcs = 16x2 mm for the valve block top with the glass water bottle
O-ring from this set: https://amzn.to/4mij0Zh
3 pcs = 14x2.5 for the O-ring on the outside of the valve
Some 180 grit sandpaper to slightly smooth the Z-seam in the valve block
Furthermore, I used silicone grease to insert the ball valve into the valve block, as the 14x2.5 O-ring fits a bit tightly
The Aperolino MK II is aimed at makers who value functionality and reliability – a well-thought-out further development for a significantly better user experience
Assembly of the Ball Valve
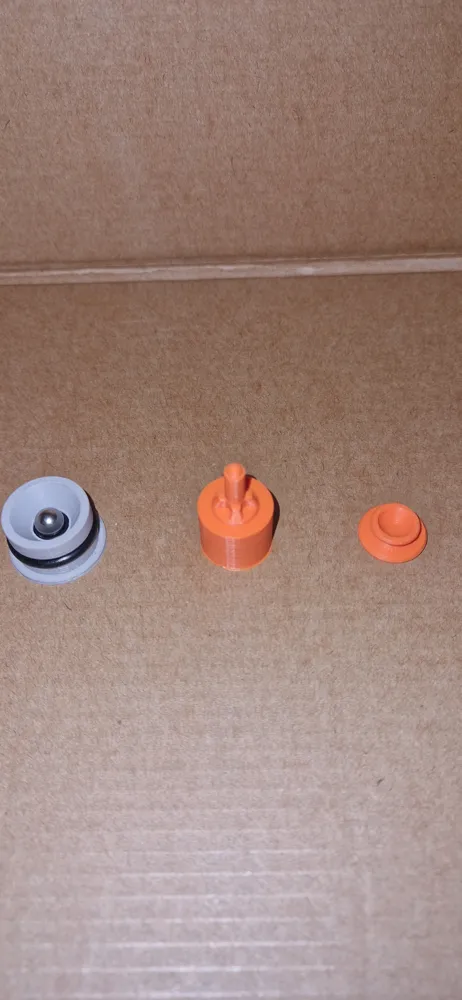
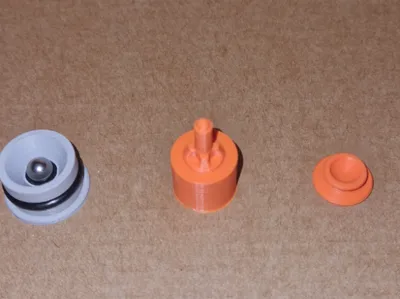
The gray valve in this guide is for illustrative purposes only
There is also a video guide for this, but be warned, I am not a professional YouTuber
Here is the link:
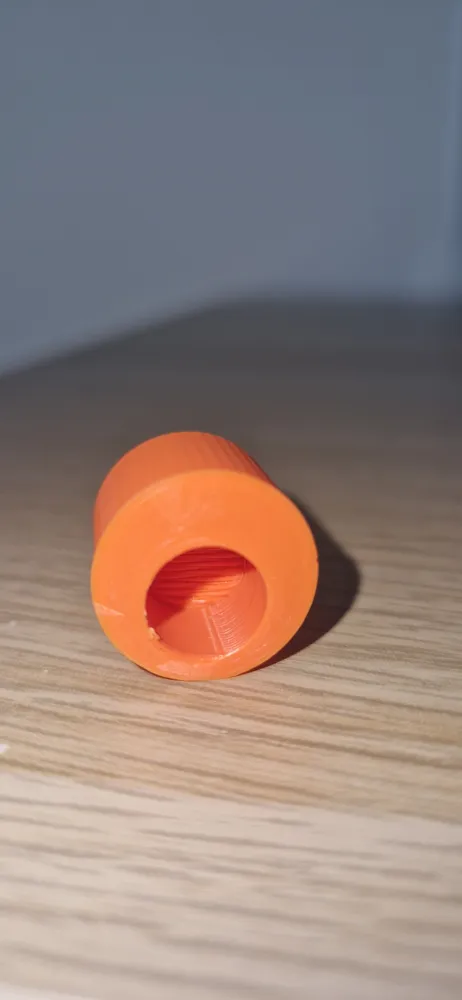
Smooth the inner wall and Z-seam with some 180 grit sandpaper
Be gentle, don't remove too much material!
We want the valve to still seal, after all
Then rinse thoroughly with water
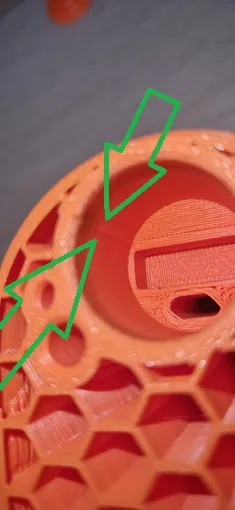
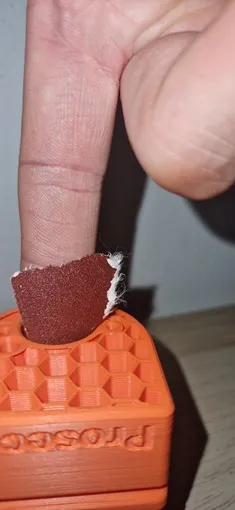
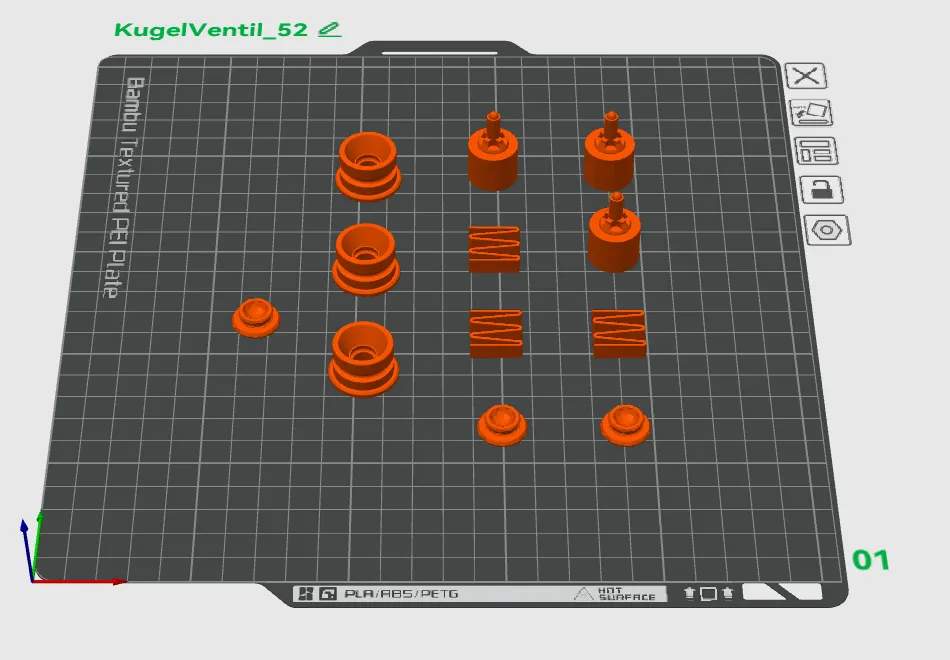
Next, insert the original spring as usual
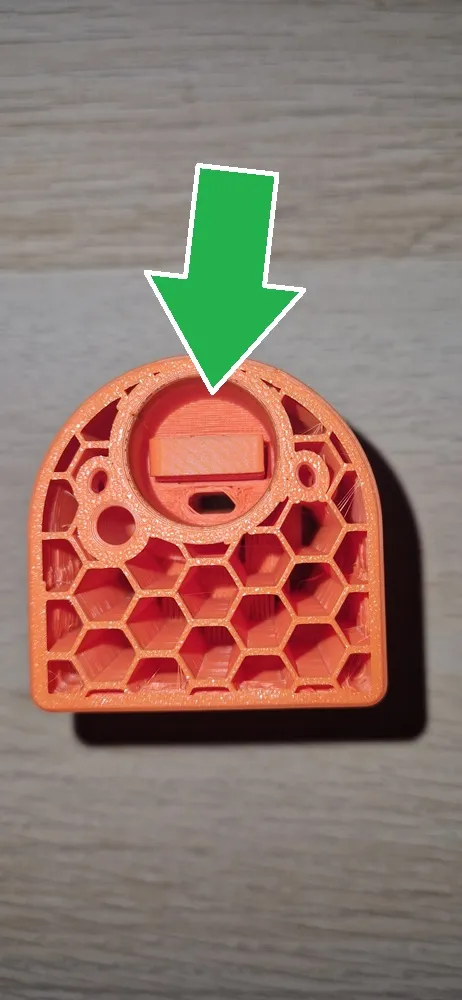 Now place the printed lid on top, with the flat side facing the spring
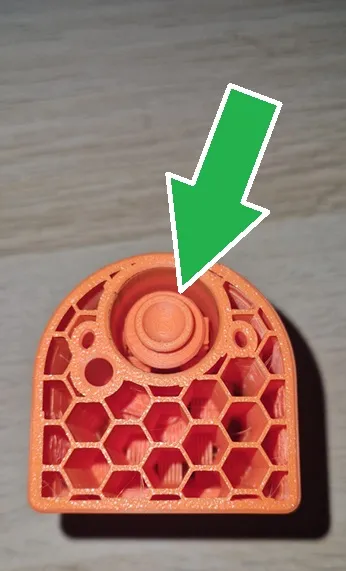
Now the 14x2.5 O-ring goes on the outside of the valve, BUT do not use silicone grease yet!!!
Now comes the fiddly part, the O-ring must go inside the valve
For this, I created a small indentation in the valve
Be CAREFUL as this is "only" a thin web
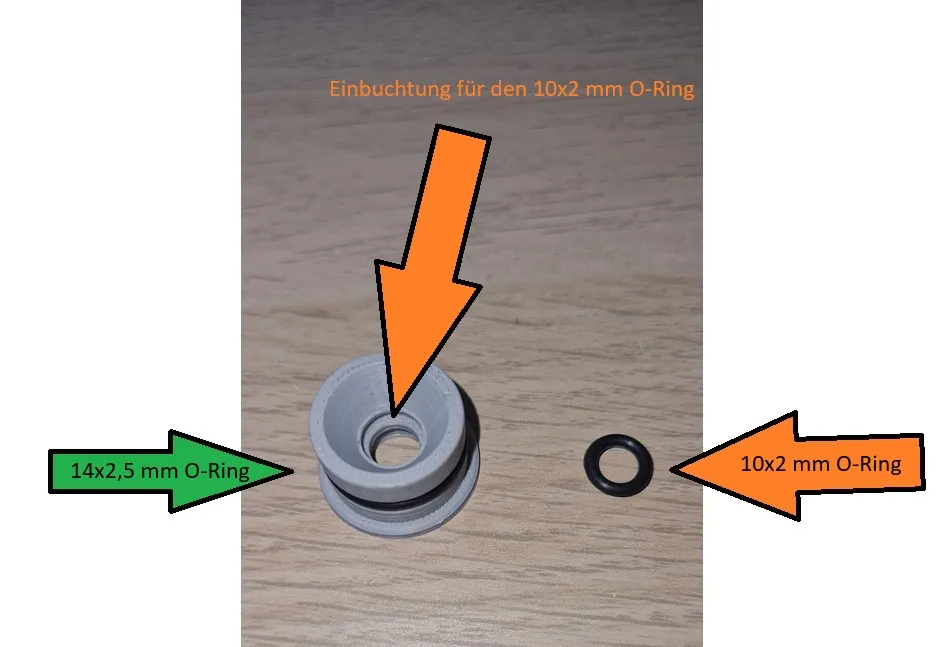
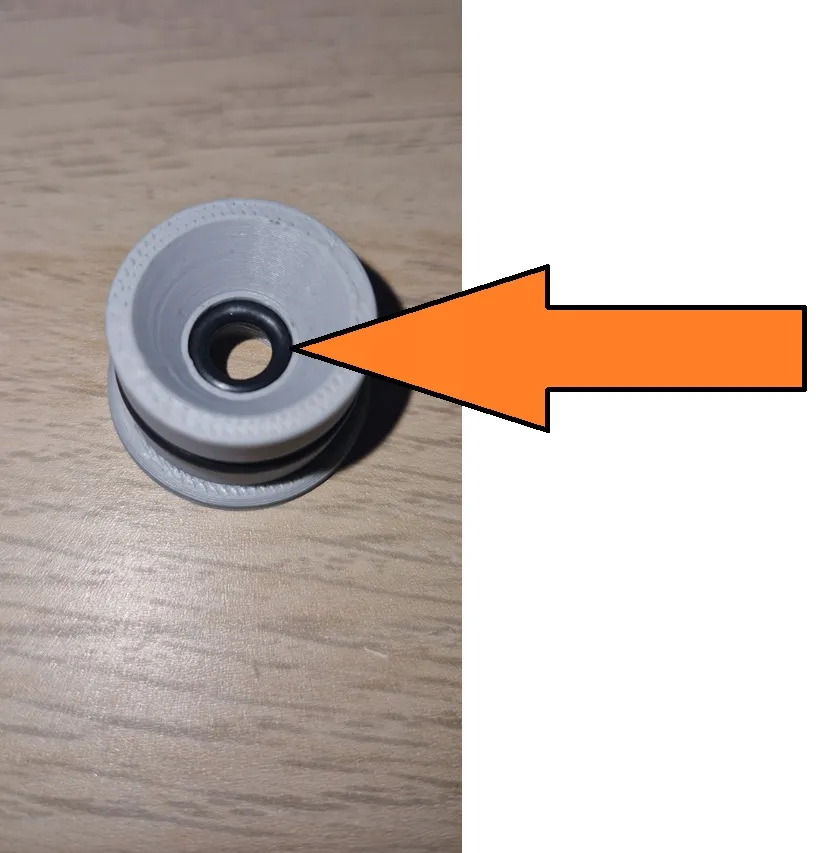 This should then look like this
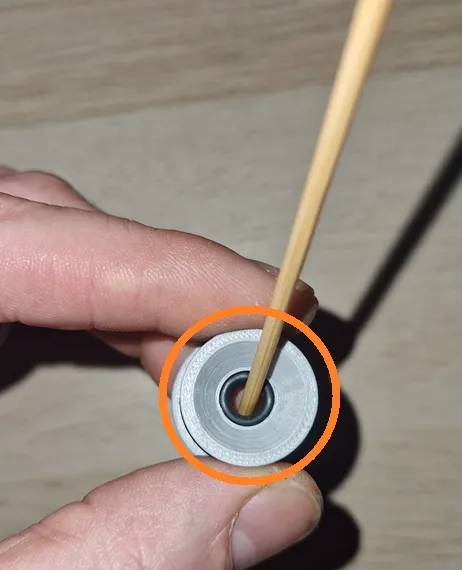 Here I gently push the O-ring into the groove a bit with a wooden skewer, with only slight pressure so that the O-ring smoothly lies or presses into the indentation
Now you can place the stainless steel ball in and gently press it onto the O-ring
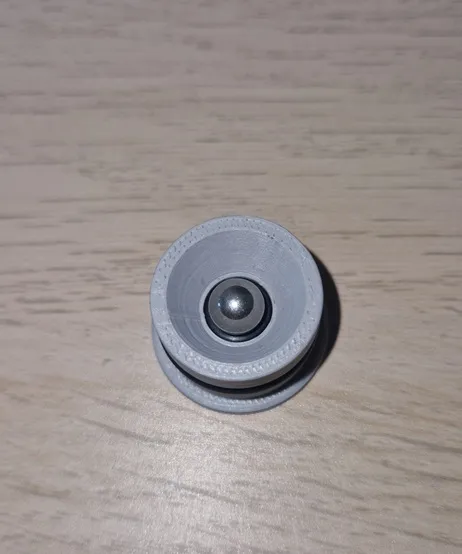
Now place the ball on the lid and position both fairly in the center Approximately as shown here
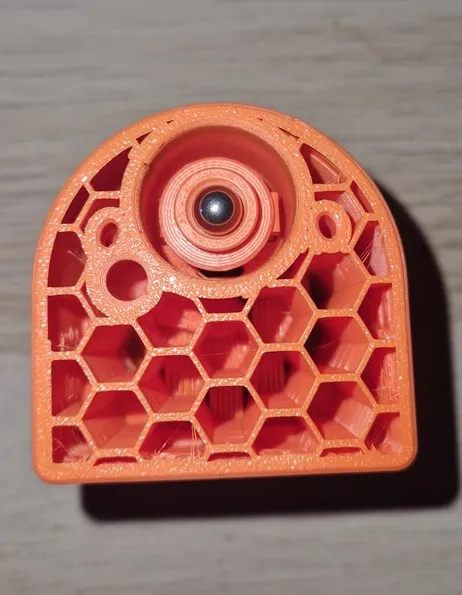
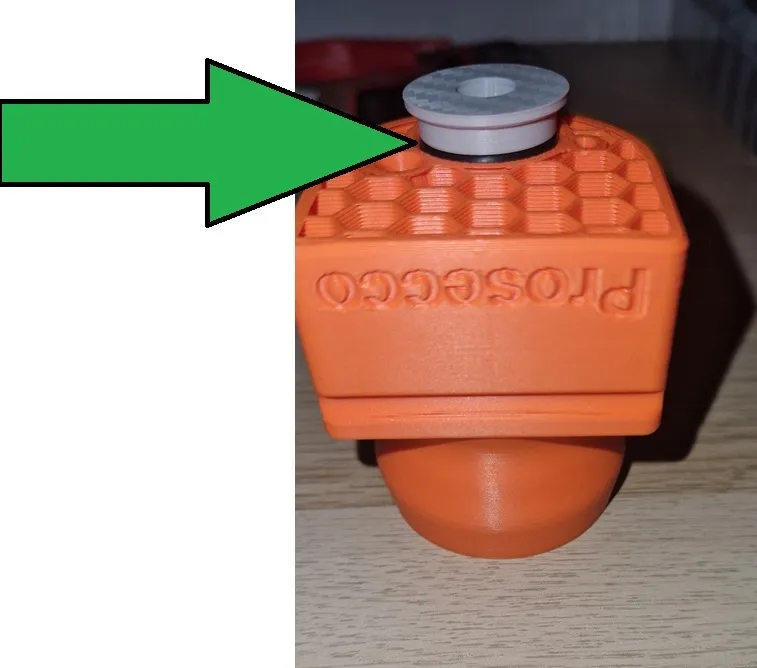
Here you can now apply some silicone grease to the outer O-ring Then center the valve on top and, with some force and rotation, press the valve into the valve block Make sure the stainless steel ball remains centered in the valve
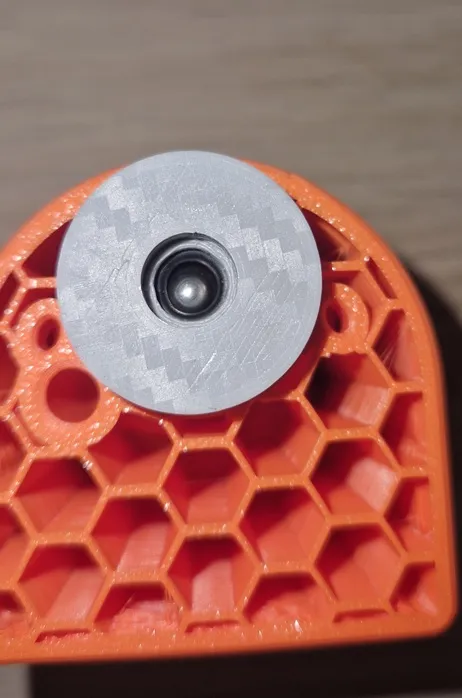
Almost finished, now just place the plungers on the triggers and done, but be careful because
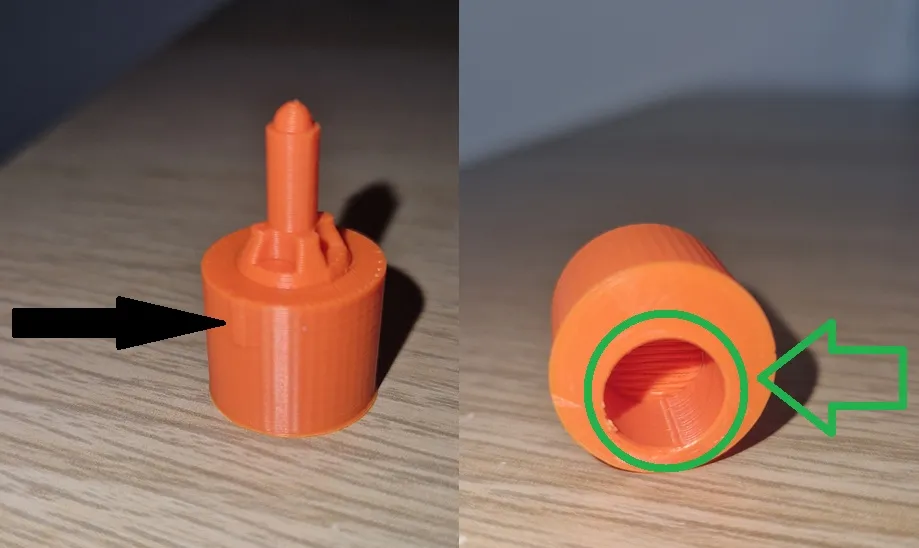
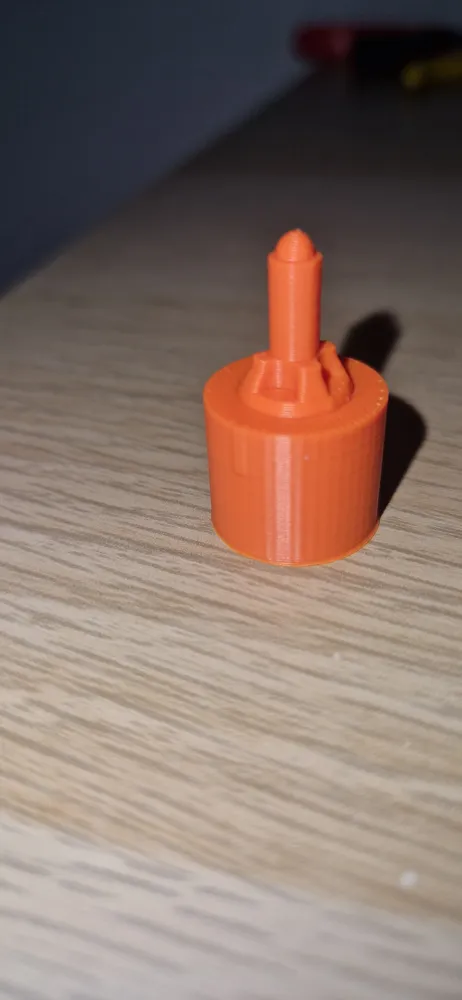
The Z-seam (see black arrow) shows the installation direction because the hole or the plunger's receptacle is not centered (see green arrow and circle), which is why the small Z-seam at the top of the plunger must face backward
Not every print is 100% identical, so it can be adjusted slightly
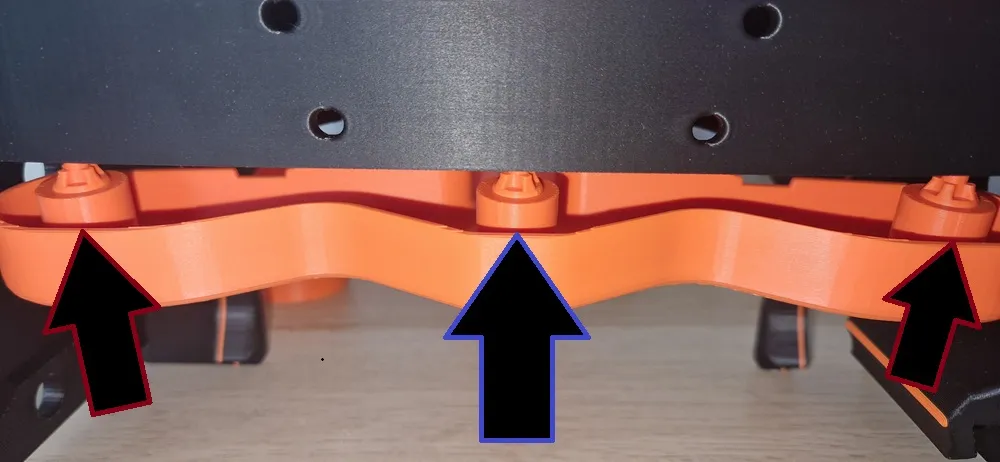
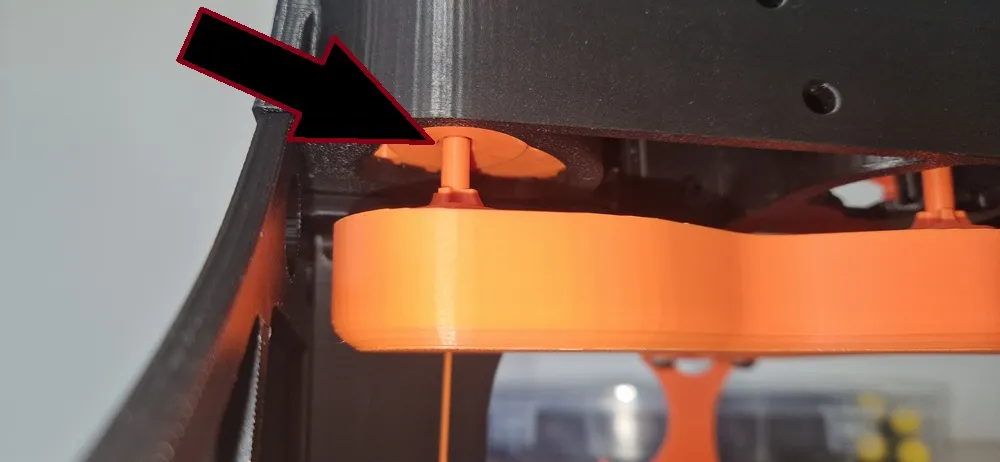
So that was basically it,
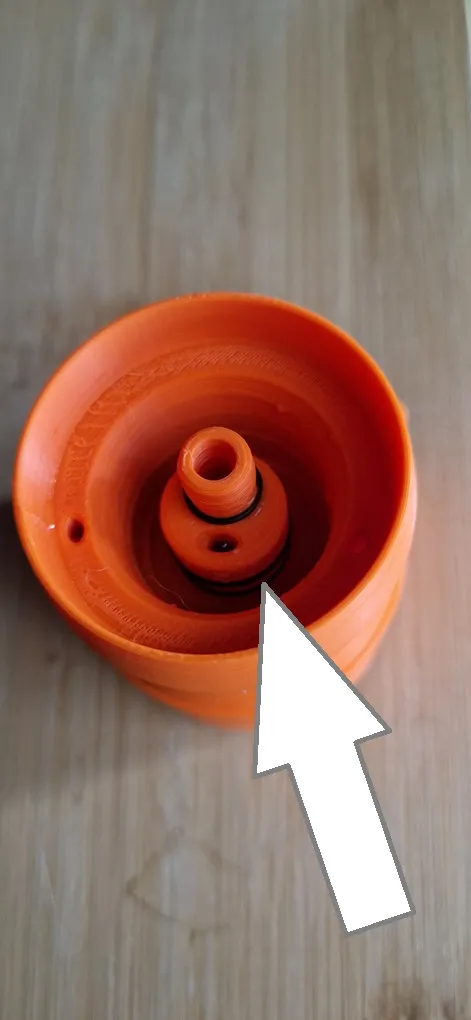 Here is the valve block for the glass water bottle with a screw cap I installed 2 16x2 mm O-rings here, and now the glass bottles fit, and it is even sealed This is just a little tip on the side xD
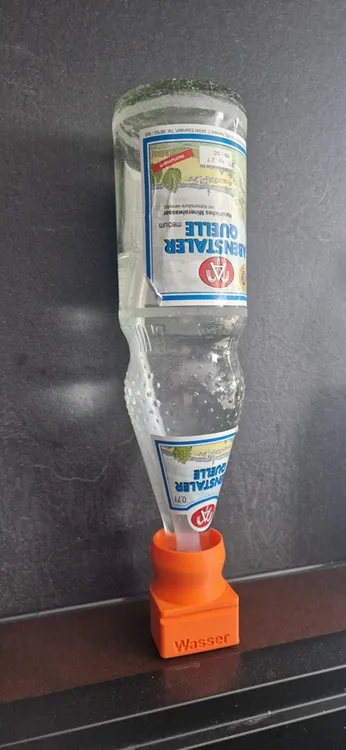
I hope everything fits as I have explained and created it for you
In this sense, HAPPY PRINTING and have fun with it
Respectfully
Your Hoschii52
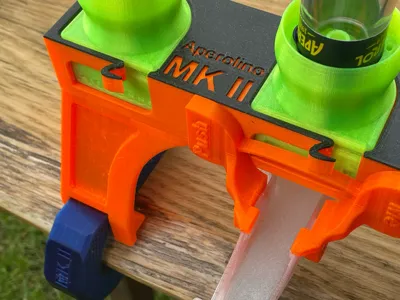
This remix is based on

License

You may create derivative works based on this object, provided that all such derivative works are published exclusively on the MakerWorld platform and include proper attribution to the original creator. You may not share, upload, host, distribute, or publish this object—or any derivative work of this object—on any other digital platform, marketplace, or distribution channel. Commercial use of this object and any derivative works is strictly prohibited. This includes, but is not limited to, selling, renting, sublicensing, or using the object in any context in which you receive monetary compensation or other financial benefits.


Comment & Rating (41)