Search models, users, collections, and posts

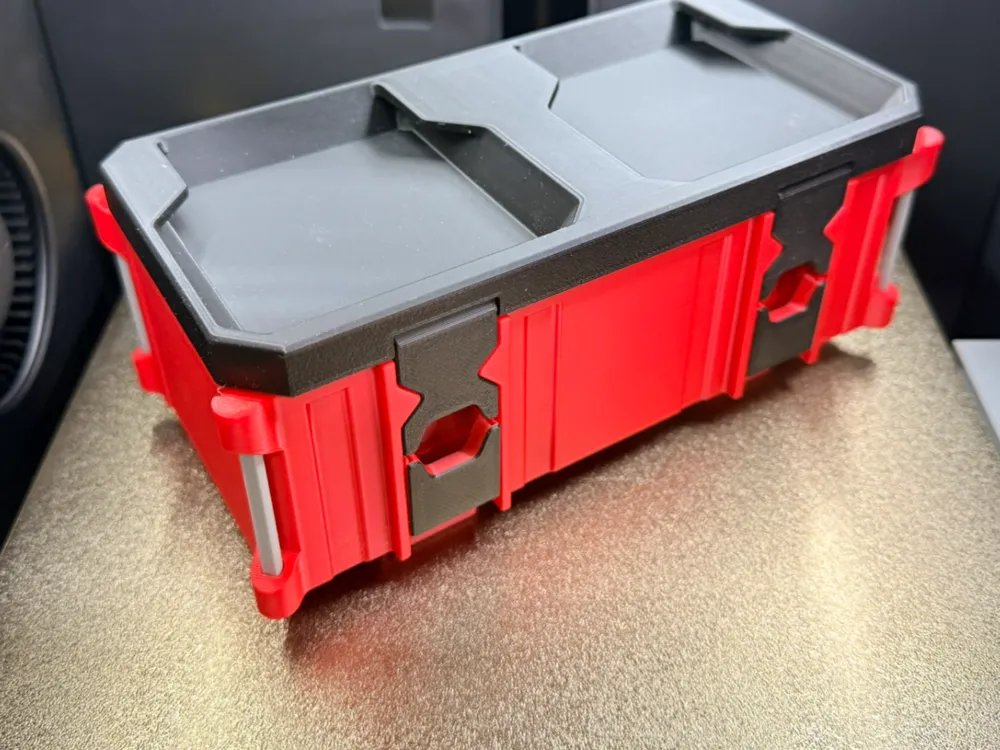
Double Topper for Milwaukee Packout
IP Report
Print Profile(1)
0.2mm layer, 2 walls, 15% infill
Designer
22.9 h
9 plates
Open in Bambu Studio
Boost
518
1673
55
60
761
299
Released
Description

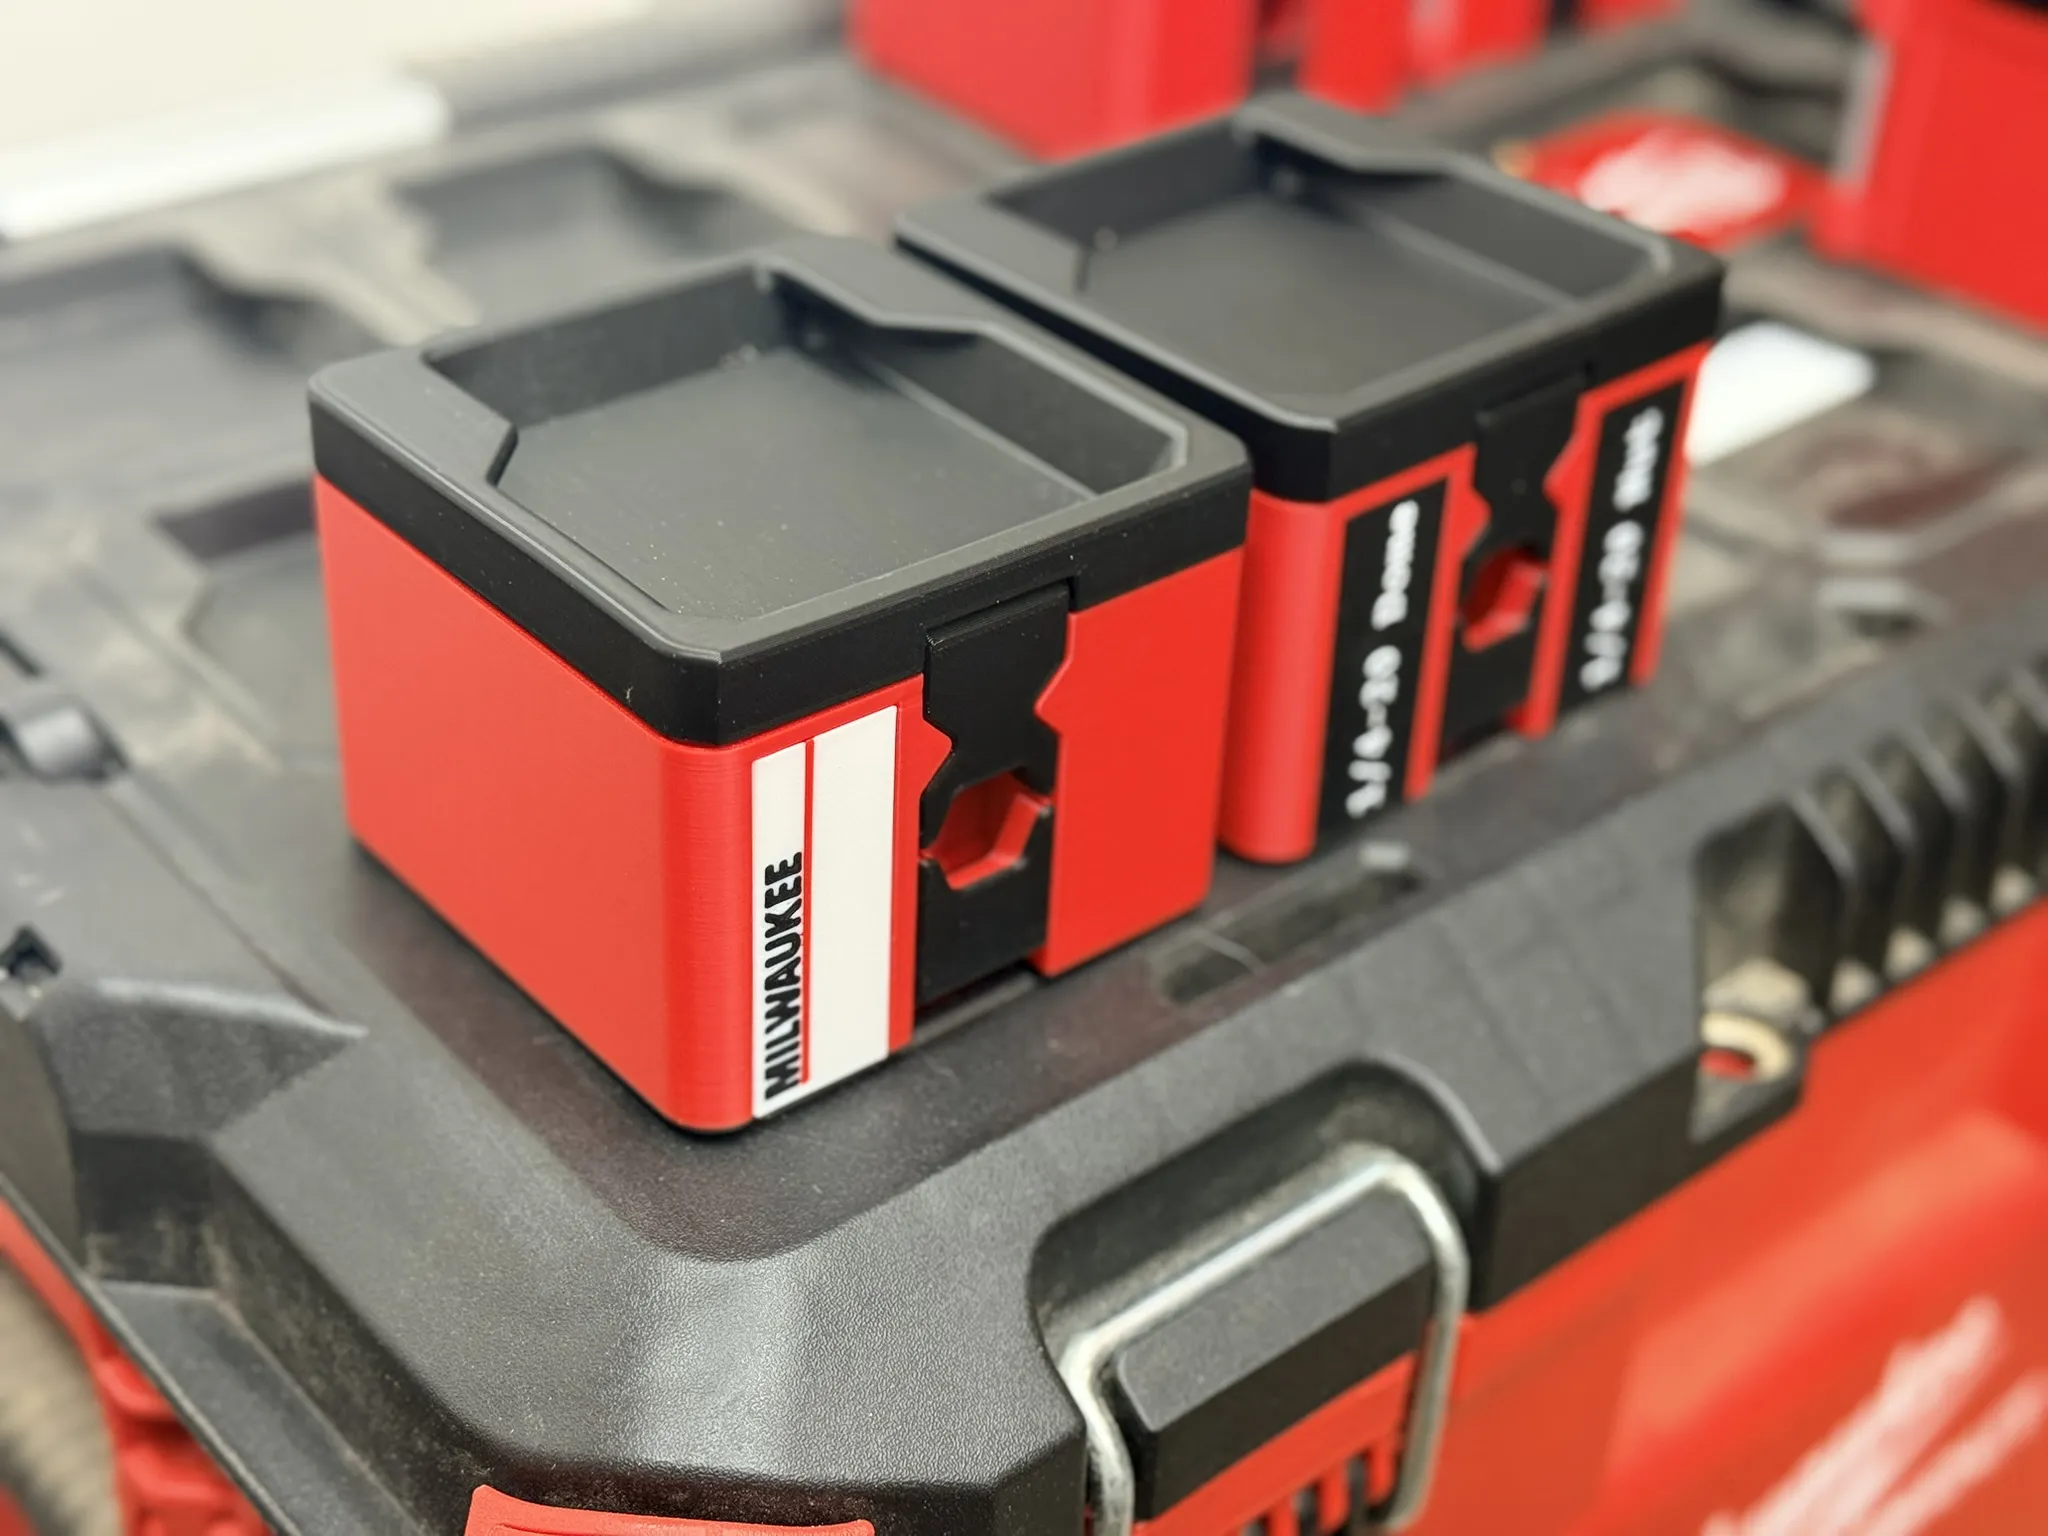
Snap-lock boxes that latch onto themselves and into Milwaukee Packout lids.
- Easy assembly
- Print-in-place lever locks the box into your Packout lid
- Snap-lock lid for secure closure
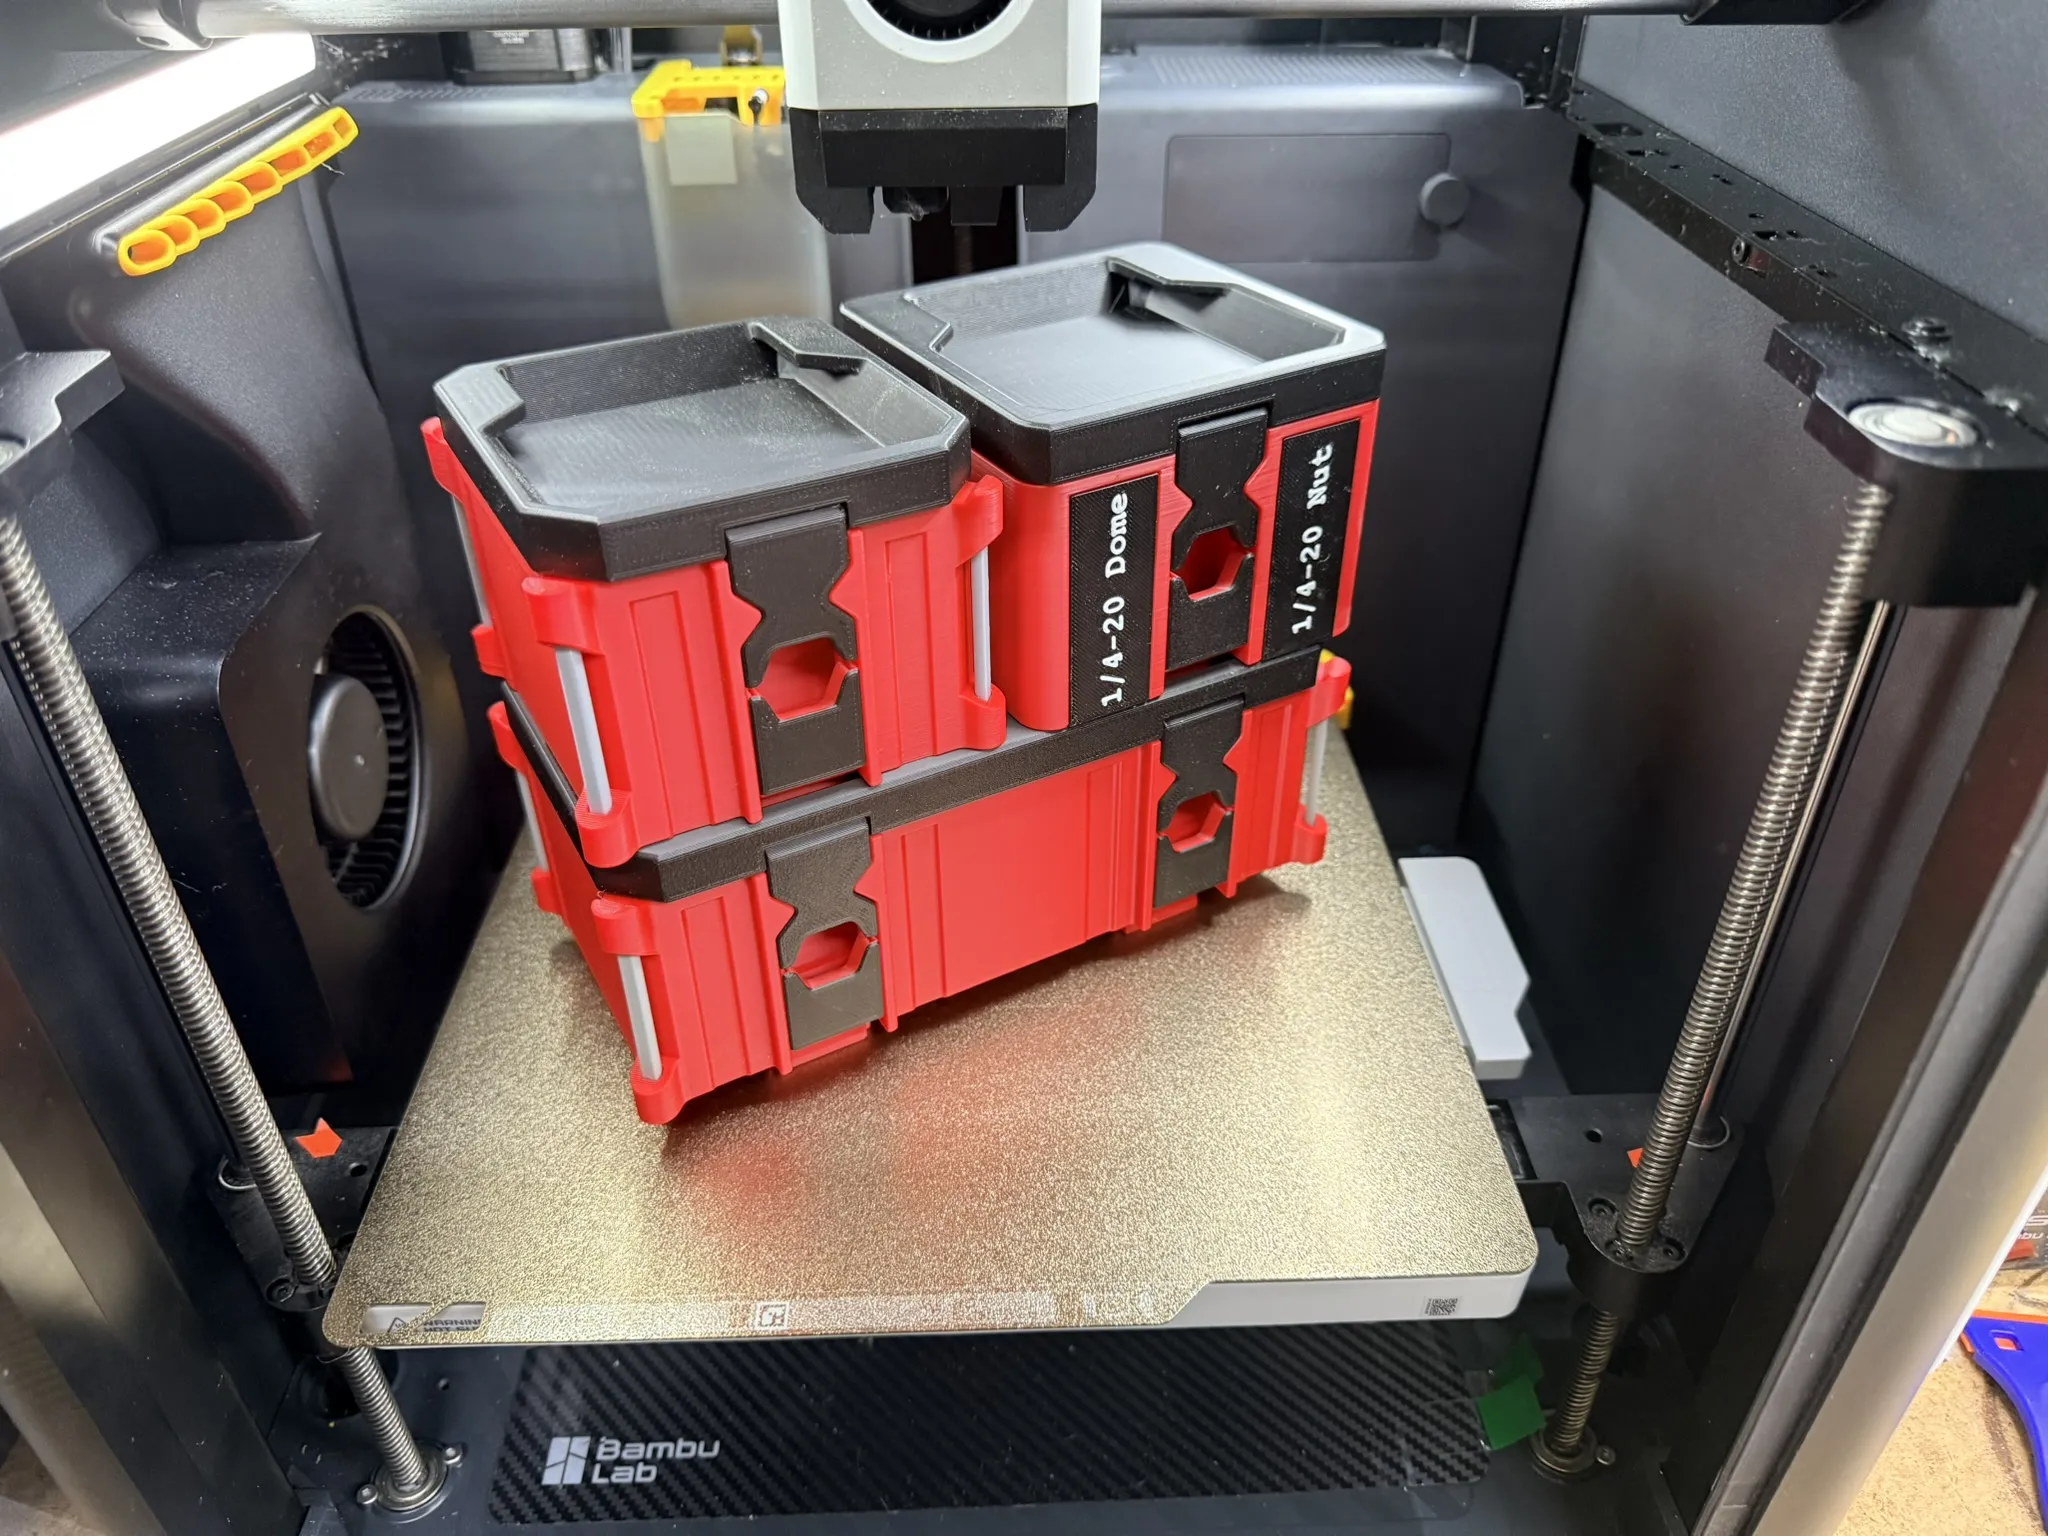
Looking for a single match your double-wide? It's here. | Looking for something a bit more practical and less tiny Packout looking? Checkout the alternate version with customizable labels and optional divider here |
 |
 |
Print-in-place Assembly
- Install the cleats using the twist lock.
- Install the screws to secure the cleats. Do not overtighten! The crew are just to prevent the cleats from turning. They don't need to be tight!
- Place the bin upside down on a firm surface.
- Tap the bars into place. Tip: It isn't necessary to carefully clean the mouse-ears from the bars. The remaining flash will help secure the bars without need for glue
- Align the lid hinges and bin with the lid socket facing up. Press down firmly to snap the lid into place.
Full Assembly
Some printers can't seem to manbage the print-in-place. Don't worry, just print the parts seperately and follow the instructions below
If you printed the bins and levers separately, Follow steps 3-6 below and then 1-5 above.
Repair or Replacement Lever Assembly
Did your lever print seized? Did your locking tab get busted off? No worries, print the repair lever and tab and then follow the instructions below.
If a lever becomes stuck or broken. You can print this lever and pin assembly to replace the lever inspired by a user's solution.
- Remove the old lever or remnants. Tip: Setting the bin on its back and pressing a utility knife into the openings one either side of the lever will slice of the pins and free the lever.
- Remove the cleat from the bin.
- Place the rack into the bottom of the bin and place the bin on a firm flat surface with something behind it to press against (your kitchen counter and backsplash works well.
- Insert the pins into the lever.
- Push the lever into bin with the lever in the down position, flat against the work surface
- Insert the square locking peg into the hole in the lever. Push firmly on the locking pin. The pins should snap into the detents. Tip: Place the bin against the backsplash and use a dowel or similar to apply force to the locking peg.
License

This user content is licensed under a Standard Digital File License.
You shall not share, sub-license, sell, rent, host, transfer, or distribute in any way the digital or 3D printed versions of this object, nor any other derivative work of this object in its digital or physical format (including - but not limited to - remixes of this object, and hosting on other digital platforms). The objects may not be used without permission in any way whatsoever in which you charge money, or collect fees.


Comment & Rating (55)