3D Printer exhaust fan/Workbench exhaust/Blower/Enclosure exhaust/6cm exhaust port/Small exhaust fan/9733 fan/Variable speed fan


Print Profile(1)
Description
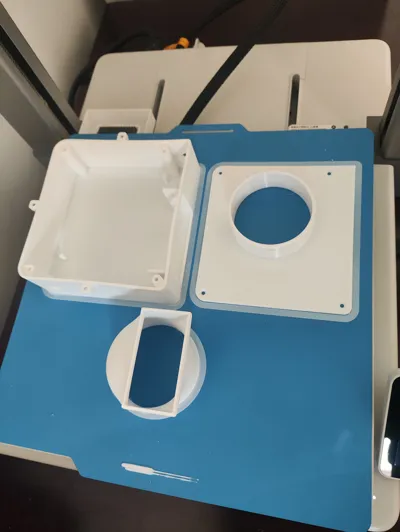
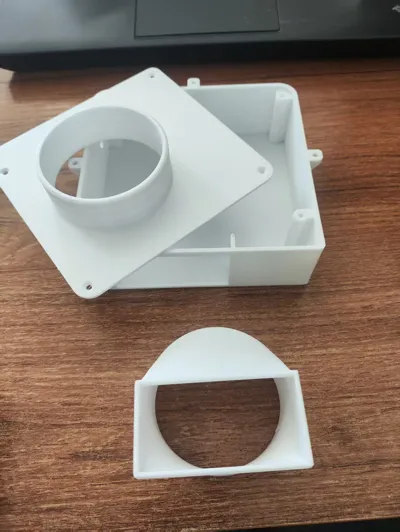
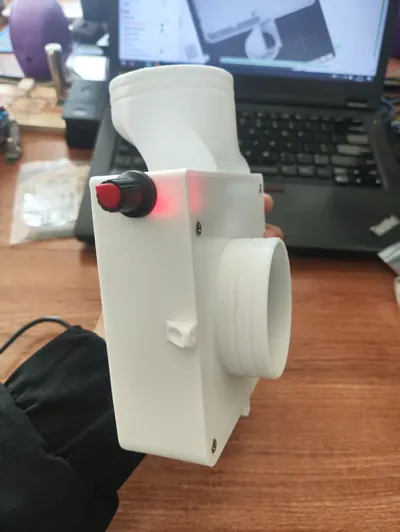
A set of ducted exhaust systems for wall-mounted enclosures, small in size, with a main body measuring 11.6cm long, 11cm wide, and 3.8cm thick. Both the inlet and outlet ports are 6cm, palm-sized, to avoid supports affecting aesthetics. It uses a 3-piece separate print: main casing, air inlet, and air outlet, secured with screws. The A1 can be printed in one plate
Suitable for enclosure installation, DIY enclosures, and all-in-one machine enclosures. As long as the air inlet is 6-8cm, it can be installed. You can drill appropriate holes in the enclosure yourself, or customize the installation according to your needs, such as desktop fume extraction, small air purification systems, small ventilation filters, etc. For filtration, a filtering device needs to be added before the air inlet.
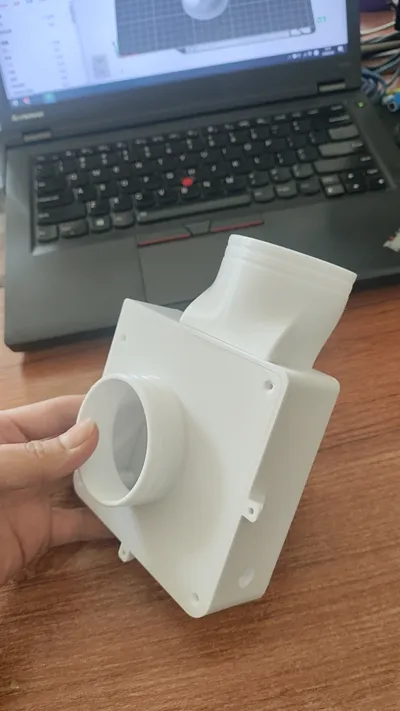
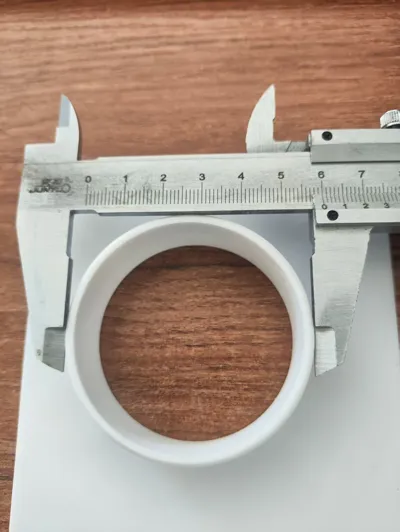
Both the exhaust fan's inlet and outlet ports are 6cm. It is powered by DC12v, features PWM speed control, and uses a 9733 model turbine (the turbine's longest part is 97mm, thickness is 33mm). It is safe, stable, low noise, and has a large airflow. The tested output duct reaches 1.5-2m. For longer distances, an exhaust relay can be added for better results
Note:
The connection between the main body and the exhaust port is printed without supports, which may result in printing sag. A light sanding and gluing will suffice, or you can add supports yourself during slicing
Peripherals:
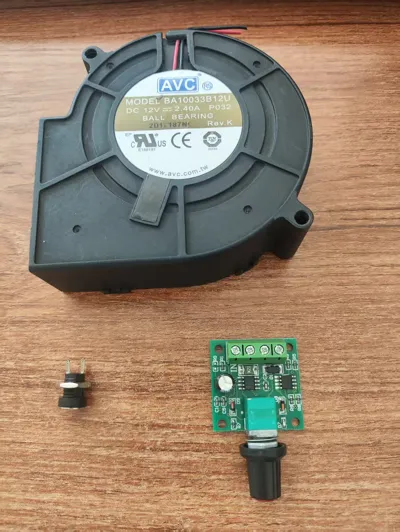
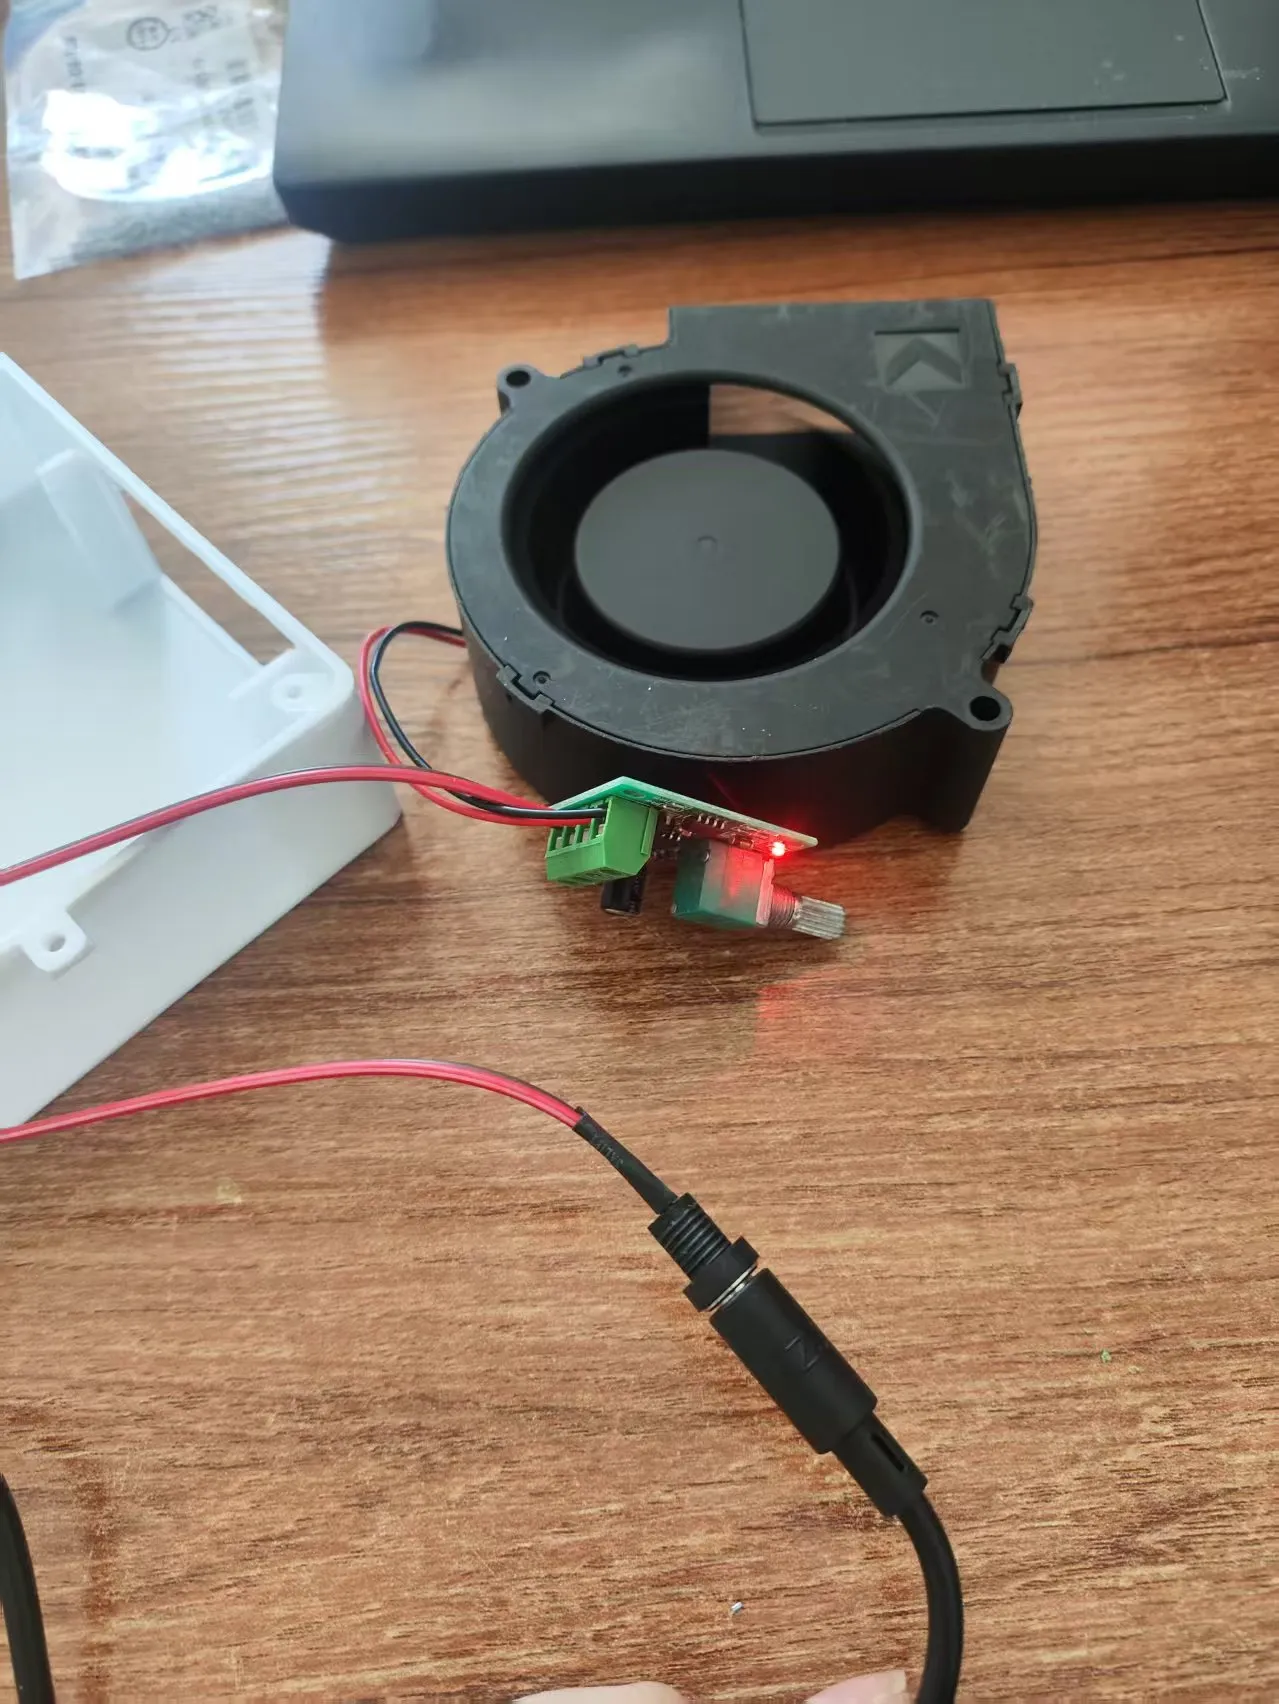
9733 model DC12V turbine, flat-head self-tapping screws M3*8mm, PWM speed controller, DC connector, various wires
The PWM speed controller's mounting hole is M7, and the DC connector's mounting hole is M8
Images are shown below

A1 printed in one plate


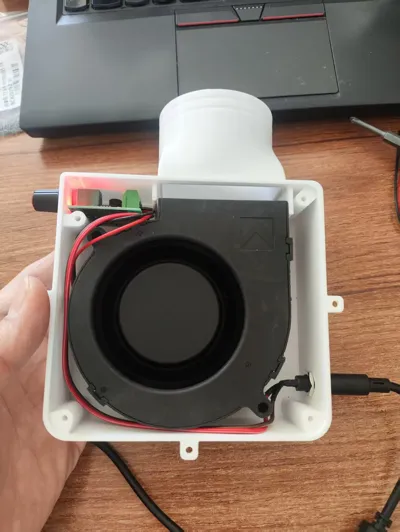
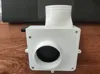
Assembled exhaust fan casing

The connection between the main body and the exhaust port is printed without supports, which may result in printing sag. A light sanding will suffice.

The above are the required electronic accessories: DC connector, speed controller, 9733 turbine fan

Be careful not to reverse the polarity to avoid burning out the components
After connecting, power on and test. Use a DC12V power supply, and ensure the polarity is correct.

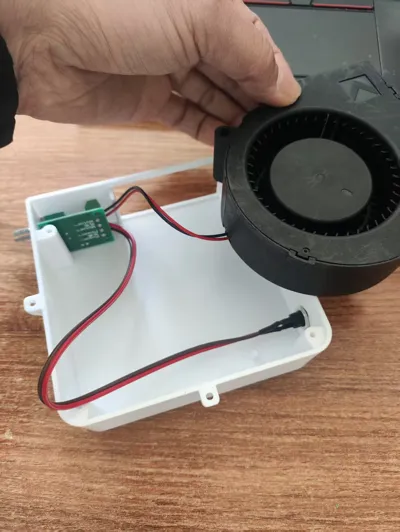
The installation order is to first install the speed controller and DC connector, and finally the fan.

Power-on test

Install the air inlet cover plate

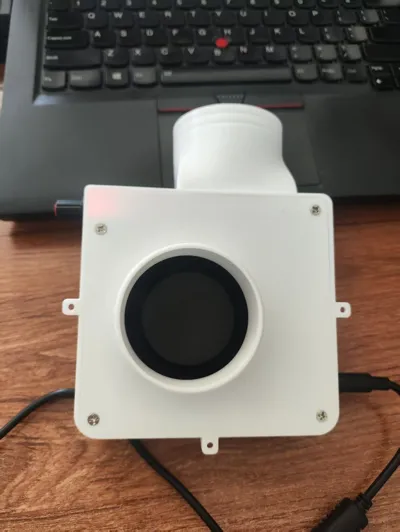
Done
License
You may create derivative works based on this object, provided that all such derivative works are published exclusively on the MakerWorld platform and include proper attribution to the original creator. You may not share, upload, host, distribute, or publish this object—or any derivative work of this object—on any other digital platform, marketplace, or distribution channel. Commercial use of this object and any derivative works is strictly prohibited. This includes, but is not limited to, selling, renting, sublicensing, or using the object in any context in which you receive monetary compensation or other financial benefits.
Comment & Rating (0)