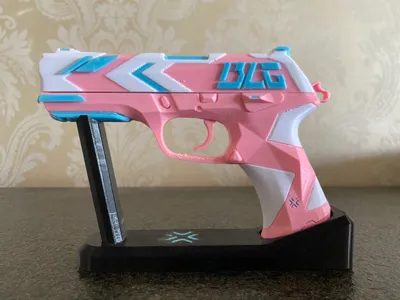
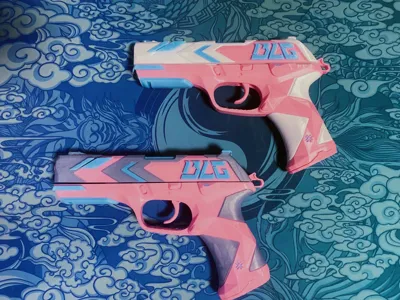
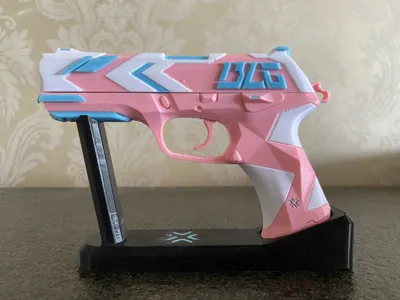
VCT BLG Standard


Print Profile(1)

Description

Must read before printing:
1. The model used is the 2024 VCT standard model
2. Printing requires AMS multi-color Print in Place. The main plate printing time for the gun body is approximately 24 hours, with 590 filament changes. Please consider carefully before printing!
3. Some parts may have tolerances that require sanding during assembly, requiring some hands-on ability
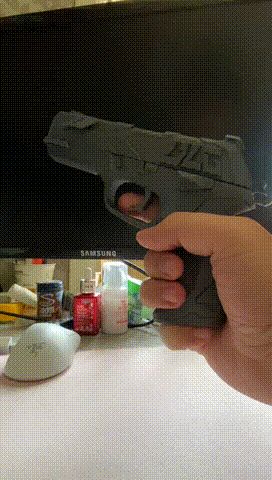
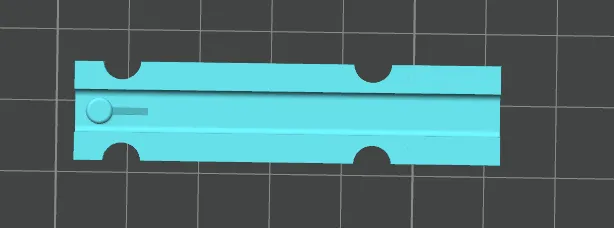
4. Movable parts: trigger, magazine, slide
5. The magazine uses φ4 magnets for magnetic attraction, but it is not recommended, as stopping the machine for installation might cause parts to detach from the build plate. You can use double-sided tape with low tack to secure the magazine.

Assembly tutorial:
1. Remove supports
2. Place the trigger into the lower gun body

3. Place the trigger top cover plate over the trigger and secure with glue

4. Place the fixing block into the top cover slide in the position shown in the figure

5. Insert one end of the rubber band into the slider in the position shown in the figure, then secure it with the pin


6. Insert the slider into the top cover slide from the front, and place the rubber band over the fixing block

7. Secure the hammer to the lower gun body with glue


8. Insert the protruding part of the slider assembled with the top cover slide into the lower gun body in the position shown in the figure, and secure with glue. Note: The slider might be too thick, causing the top cover to lift after assembly. It can be fitted after appropriate sanding.

9. Apply glue to the bottom of the barrel, then insert the barrel from outside the top cover slide until it reaches the very bottom of the slider.

10. Attach decorative pieces. Finished.

License
You may create derivative works based on this object, provided that all such derivative works are published exclusively on the MakerWorld platform and include proper attribution to the original creator. You may not share, upload, host, distribute, or publish this object—or any derivative work of this object—on any other digital platform, marketplace, or distribution channel. Commercial use of this object and any derivative works is strictly prohibited. This includes, but is not limited to, selling, renting, sublicensing, or using the object in any context in which you receive monetary compensation or other financial benefits.
Comment & Rating (0)