
Elegoo Centauri Carbon 2 Drybox Spool Mount System
Print Profile(1)
Bill of Materials


Description
Boost Me (for free)
🚀 Support the Creator! If you love this simple and effective design, please consider leaving a Boost! Your support, Likes, and shared Print Profiles help me continue creating high-quality, functional 3D models.
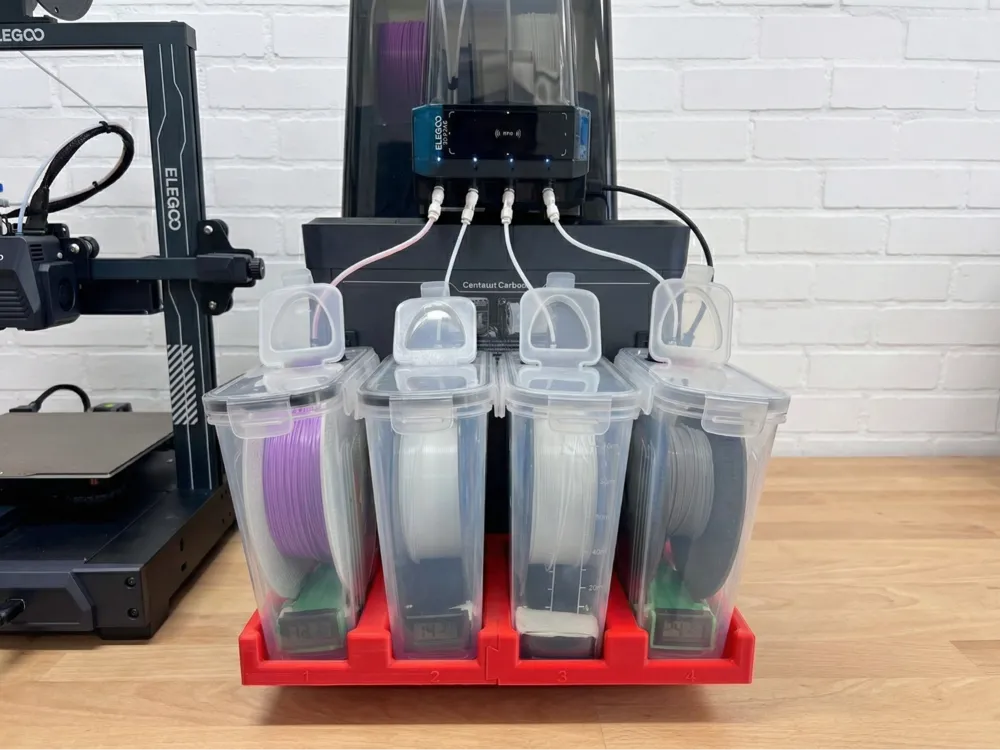
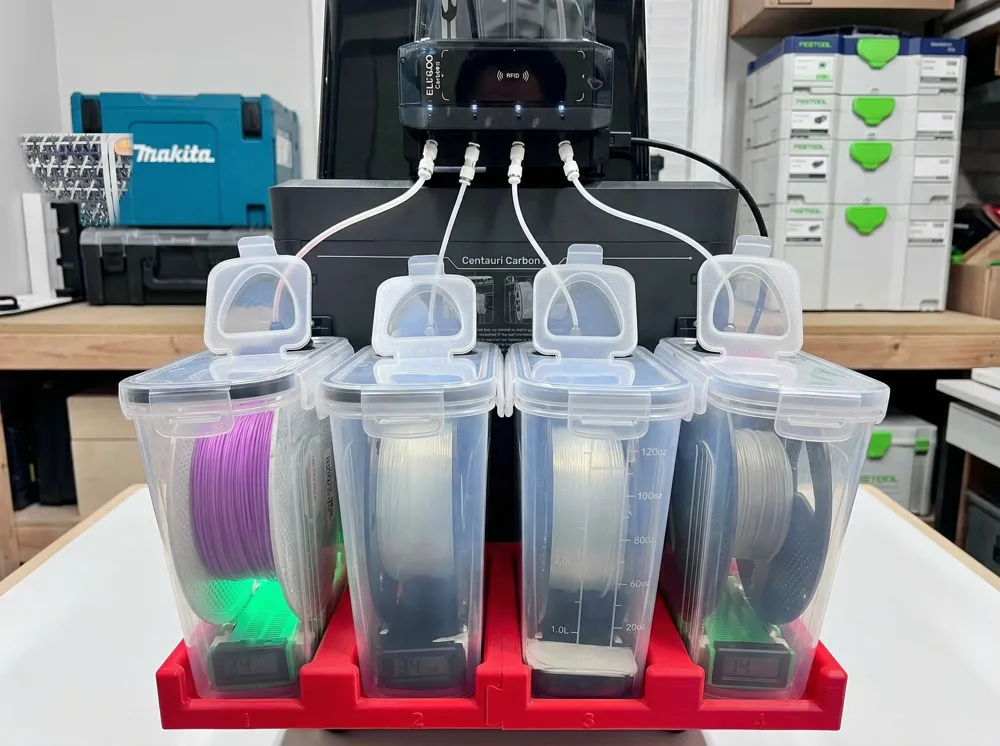
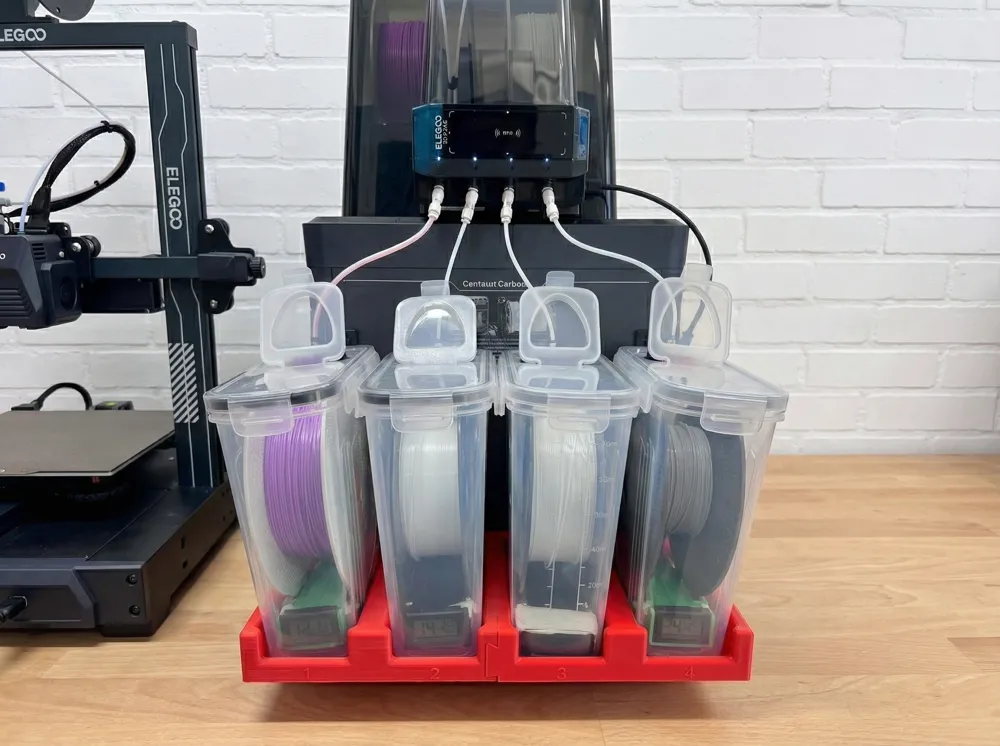
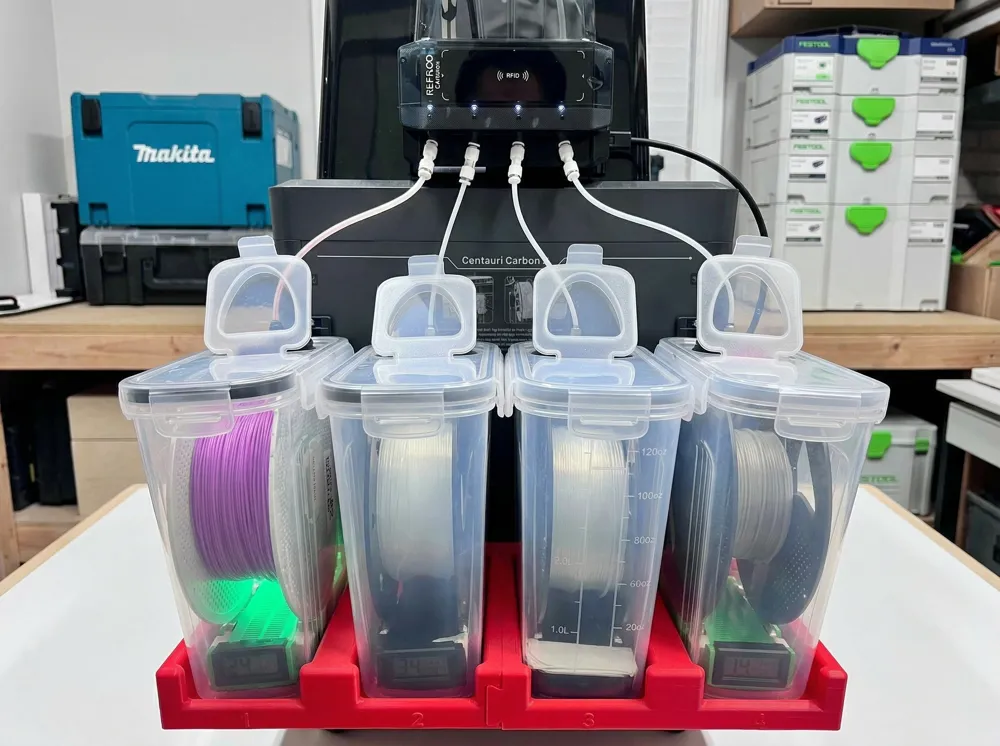
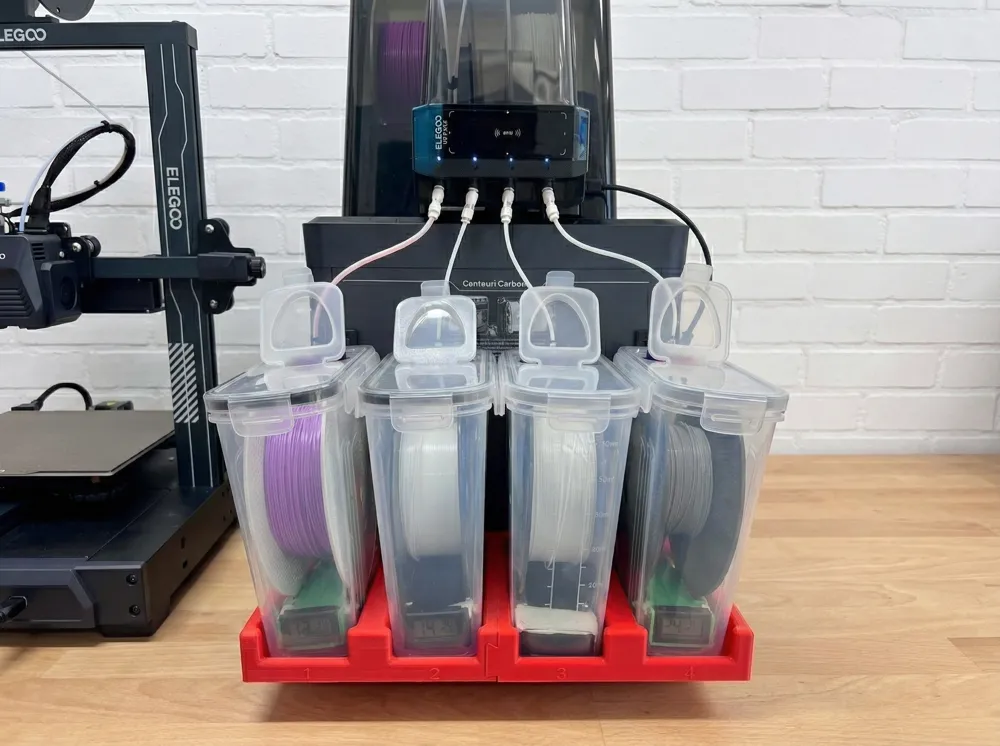
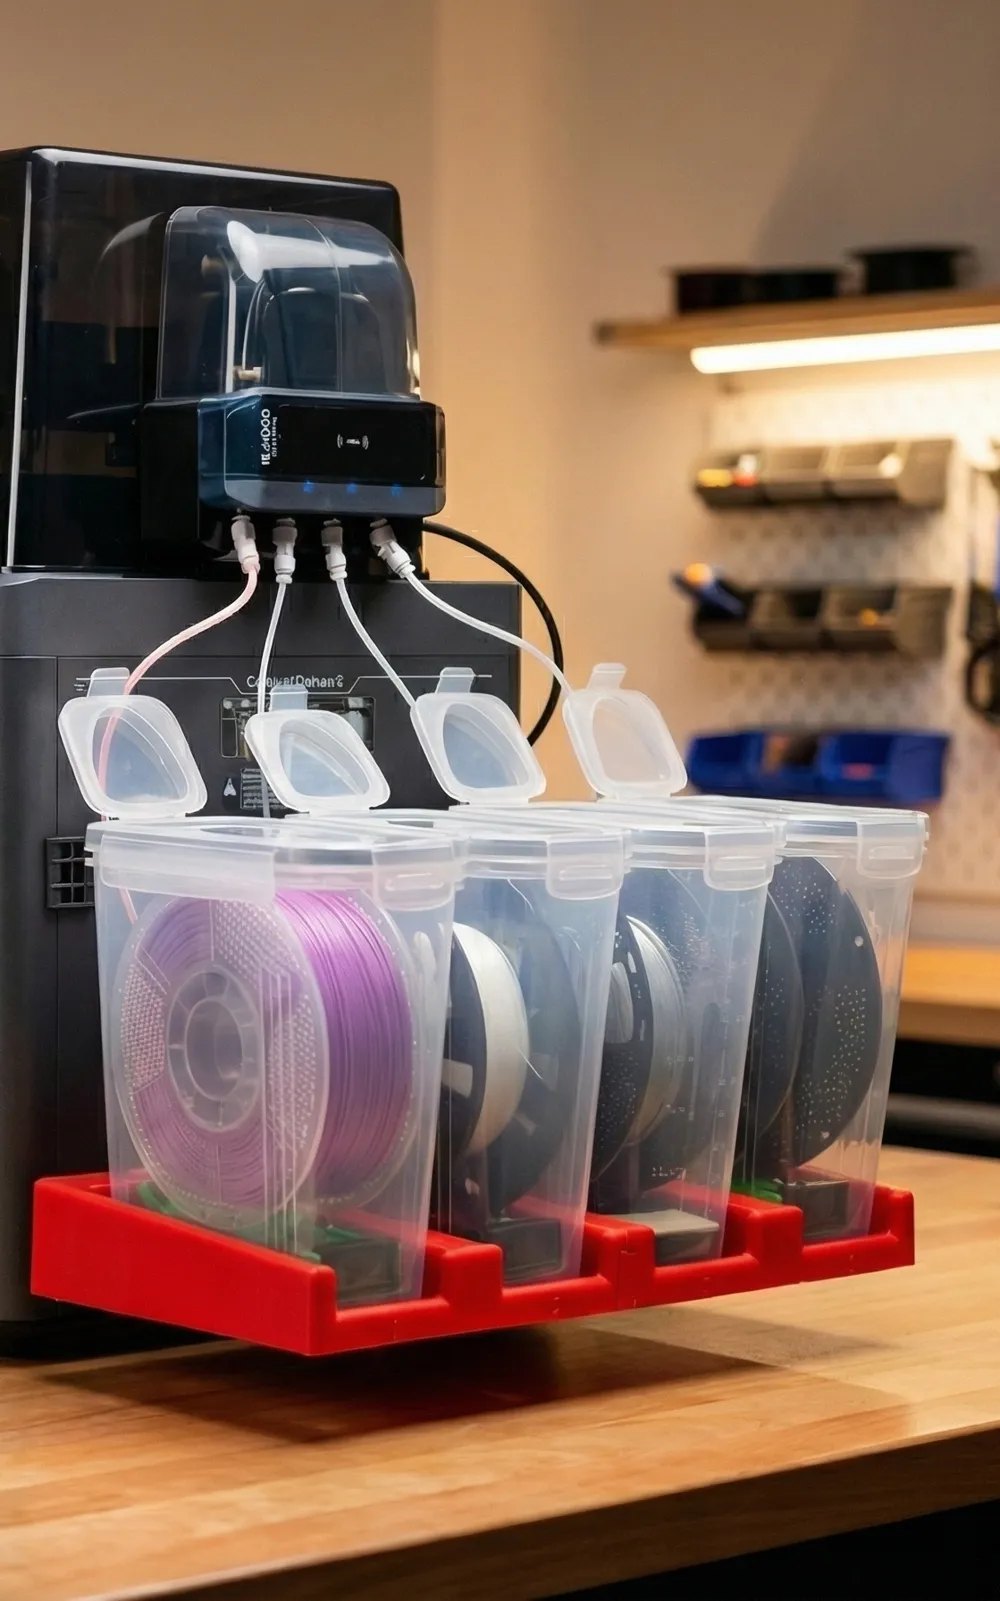
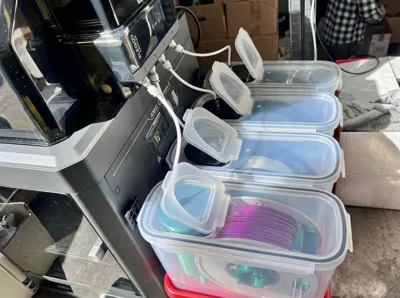
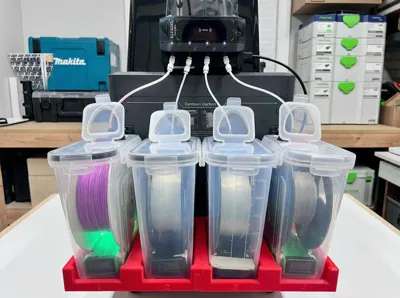
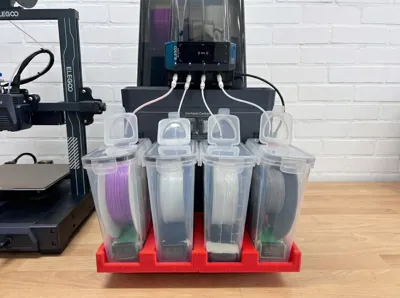
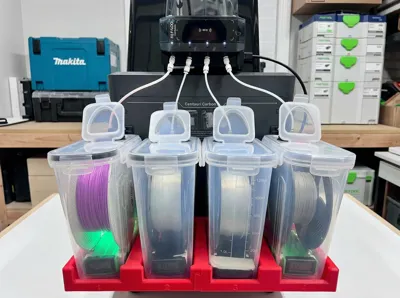
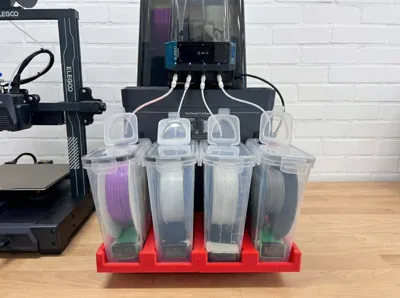
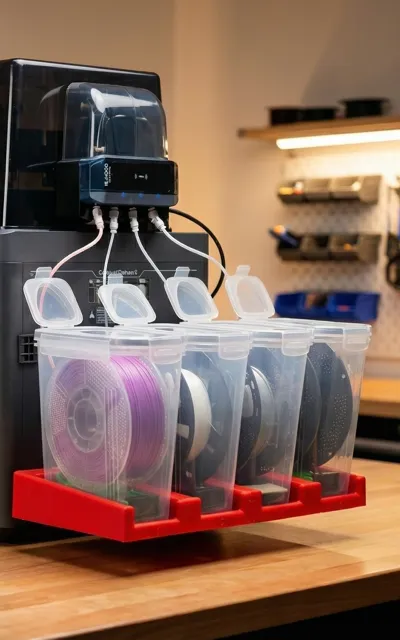
Keep your workspace clean and your filament dry with this custom-designed, low-profile mounting tray for the Elegoo Centauri Carbon (CC2).
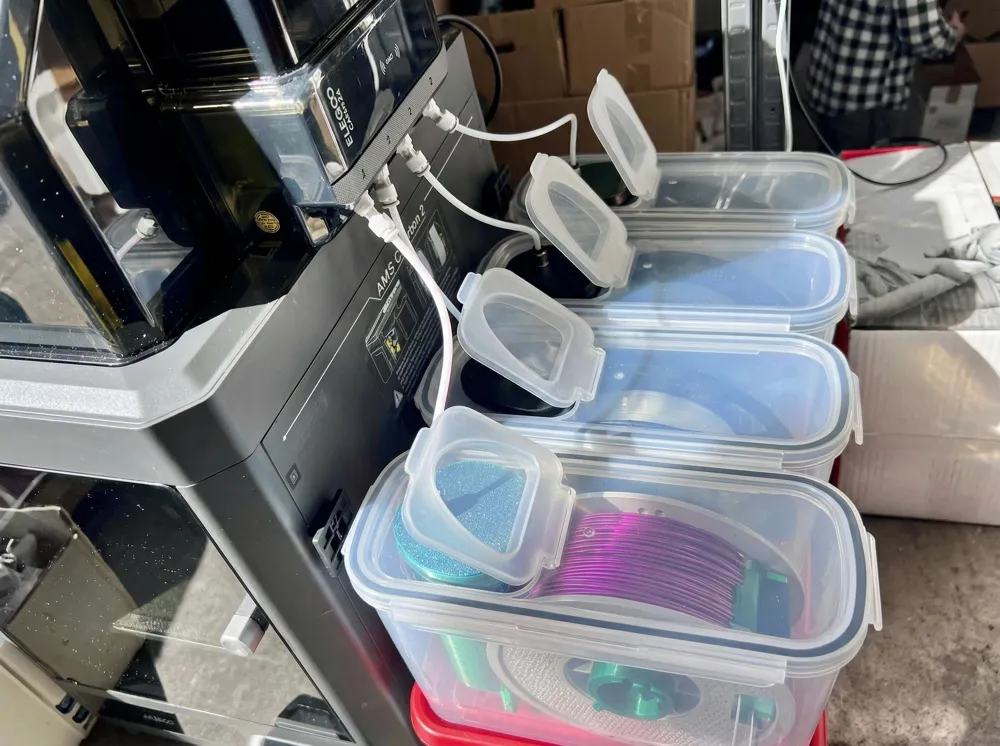
This modular system is engineered to securely hold four standard "cereal container" style filament dryboxes side-by-side. It perfectly aligns your PTFE tubing straight to your multi-material hub, preventing snags, tangles, and feeding errors.
It mounts to the exciting spool holder mounts so no hardware required
Key Features:
- Perfect Fit: Flush integration with the Elegoo CC2 setup.
- Modular Design: Prints in easy-to-manage sections that interlock securely.
- Spool Support: Features integrated mounting points inside the trays for spool holder rollers mounts.
- Optimized Routing: Straight-line pathing for PTFE tubes to your material hub.
Bill of Materials (Non-Printed Parts)
To complete this build, you will need the following hardware:
- 4x 4L Cereal Storage Containers (Standard drybox mod size)
- 4x PC4-M10 (or PC4-M6) Pneumatic Fittings
- Standard 4mm OD / 2mm ID PTFE Tubing
- Silica Gel / Desiccant Beads
- (Optional) 4x Digital Hygrometers
Print Profile & Slicer Settings
A ready-to-print Bambu Studio .3mf profile is provided with the ideal settings already dialed in. If you are slicing the raw .stl files yourself, please use the following recommendations:
- Material: PETG, ABS, or ASA (Highly recommended over PLA to prevent warping from the printer's heat exhaust).
- Walls/Perimeters: 3 to 4 walls for structural rigidity.
- Infill: 15% - 20% Gyroid or Adaptive Cubic.
- Supports: Standard (Build plate only) for the interlocking tabs.
- Orientation: Print flat on the build plate as oriented in the provided .3mf file.
Assembly Instructions
- Print the Trays: Print the modular tray sections. Slide the interlocking joints together to form the unified 4-slot base.
- Mount the Hub: Position the assembled tray at the spool mounting points and slide down… EASY!.
- Prepare the Dryboxes: Install your spool holder rollers into the designated mounting points at the base of each printed slot.
- Route the Filament: Attach your PC4 fittings to the cereal containers, load your filament, and route the PTFE tubes directly into your multi-material unit.
Try out my other mods;
- https://makerworld.com/nl/models/2629566-polybox-ptfe-adapter#profileId-2903445
- https://makerworld.com/nl/models/2629404-polybox-stacker-high#profileId-2903244
- https://makerworld.com/nl/models/2561391-poly-dock-polydryer-mounting-system-skadis-wall#profileId-2822235
- https://makerworld.com/nl/models/2433926-snapmaker-u1-gridfinity-box-remix-with-secure-lid#profileId-2670116
- https://makerworld.com/nl/models/2391801-snapmaker-u1-internal-tool-tray-organizer-insert#profileId-2620389
- https://makerworld.com/nl/models/2383272-snapmaker-u1-side-mounted-skadis-board-quickswap#profileId-2610055
- https://makerworld.com/nl/models/2211205-mount-cover-snapmaker-u1#profileId-2403775
- https://makerworld.com/nl/models/2211200-snapmaker-u1-fan-cover#profileId-2403772
- https://makerworld.com/nl/models/2629654-snapmaker-u1-ptfe-feeder-adapter#profileId-293546
Try out my other mods;
- https://makerworld.com/nl/models/2629566-polybox-ptfe-adapter#profileId-2903445
- https://makerworld.com/nl/models/2629404-polybox-stacker-high#profileId-2903244
And many more !
License



Comment & Rating (1)