
Nintendo Game Boy Advance SP Charging Dock V2
Print Profile(2)
Description
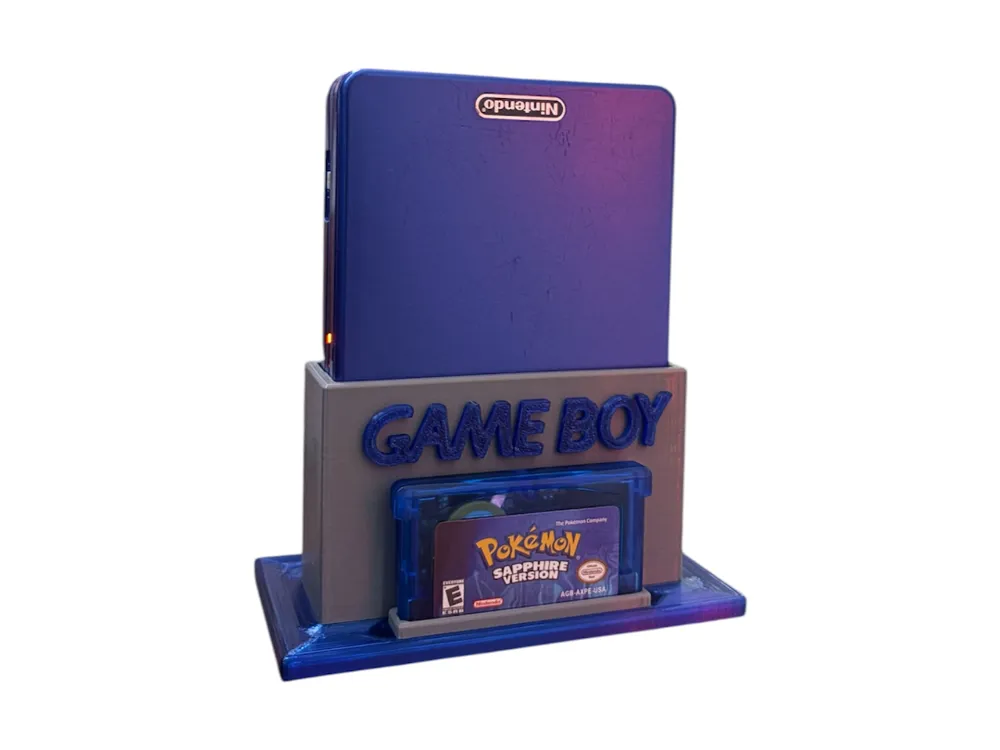
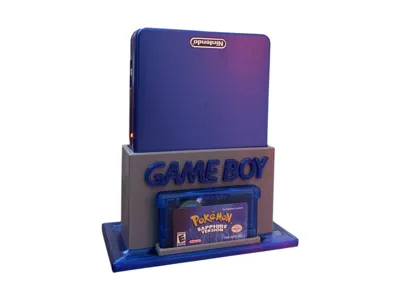
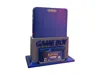
Nintendo Game Boy Advance SP Charging Dock V2
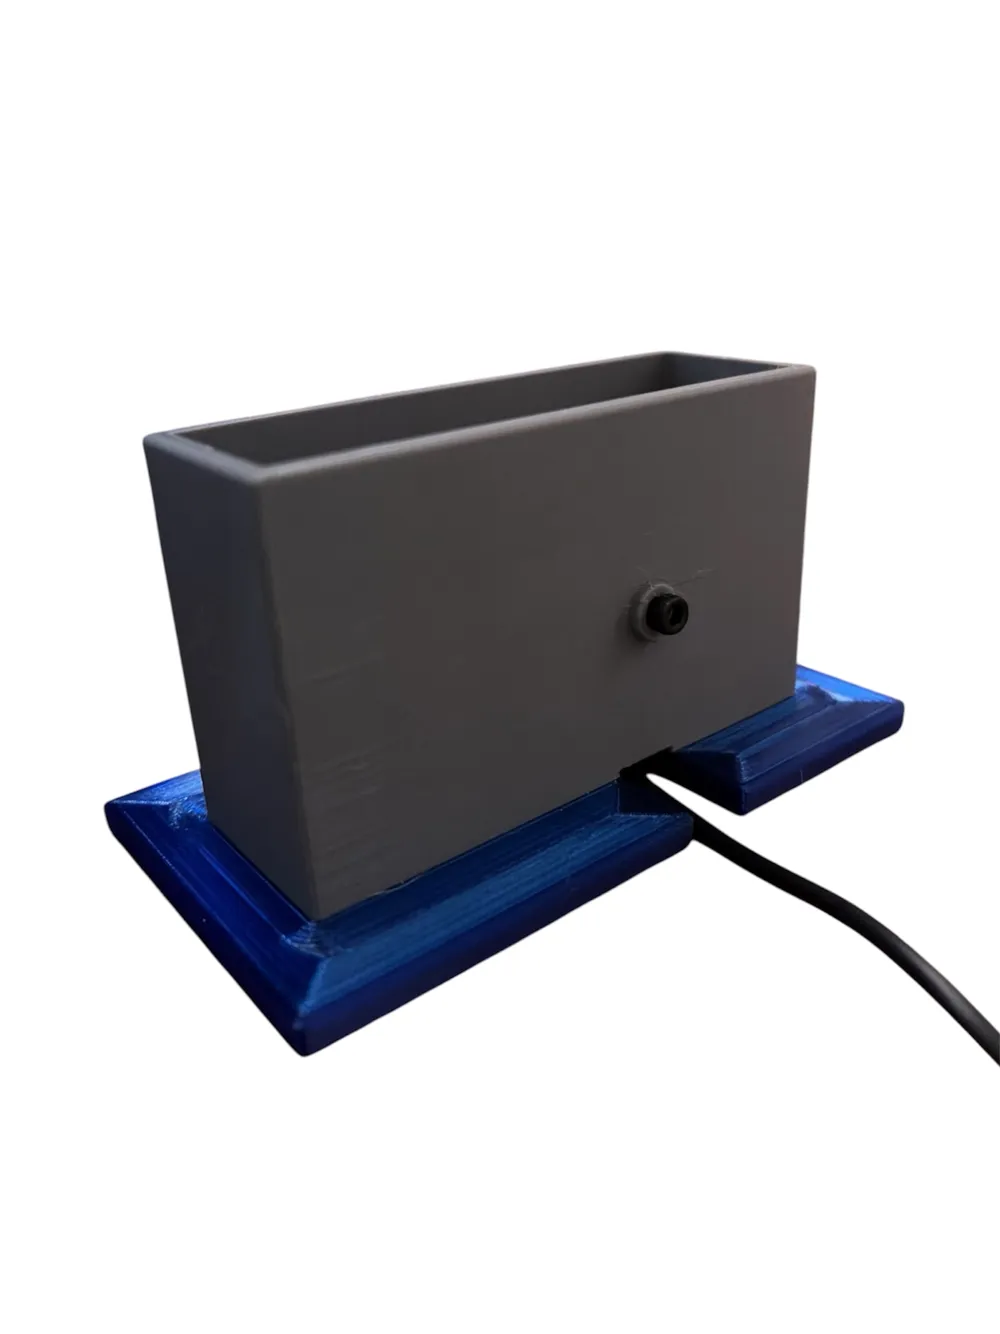
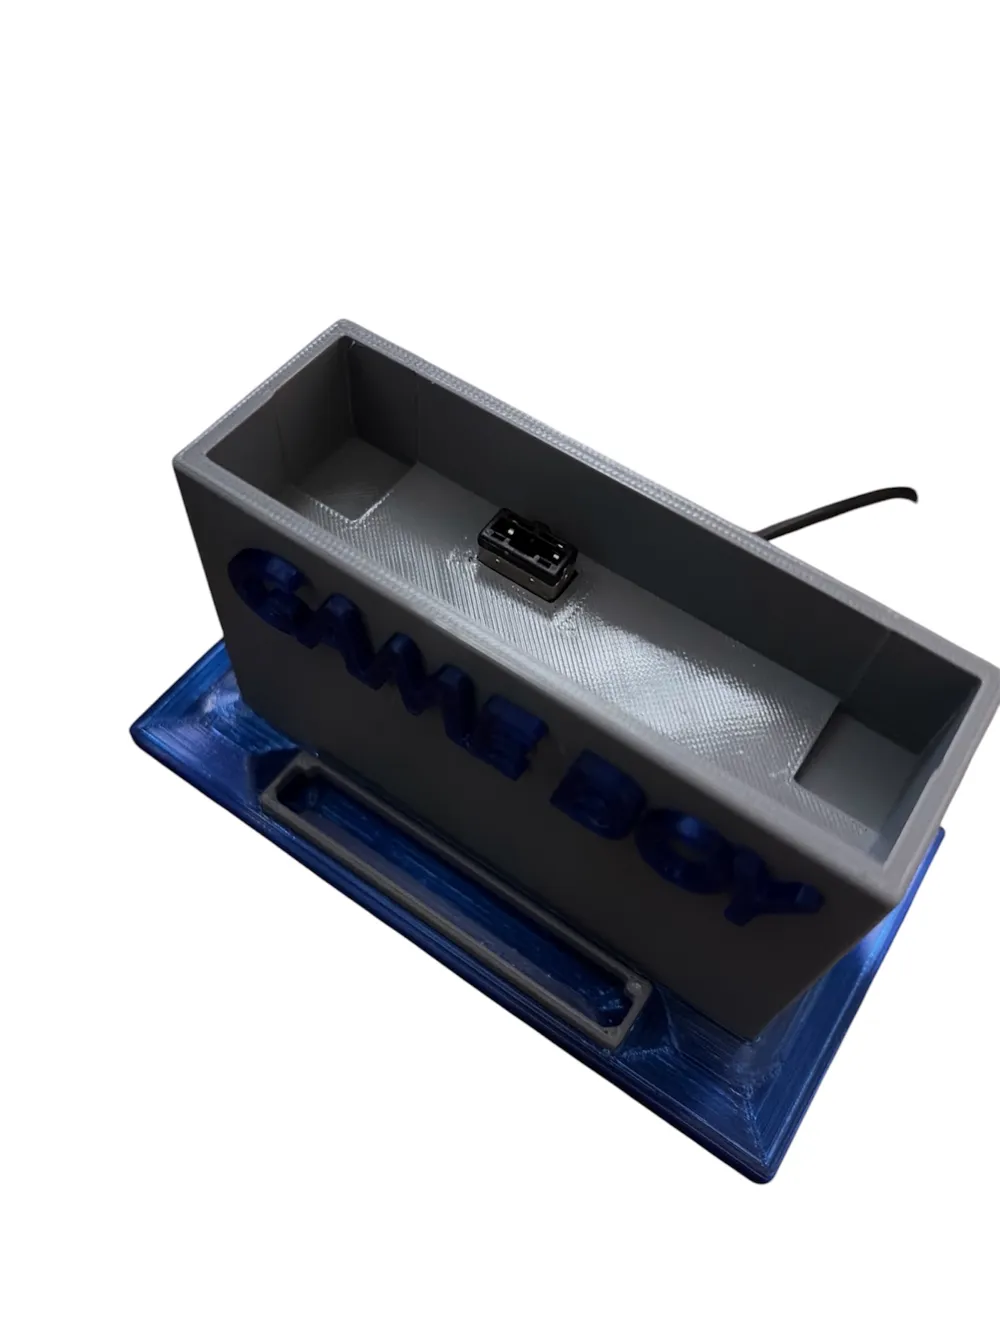
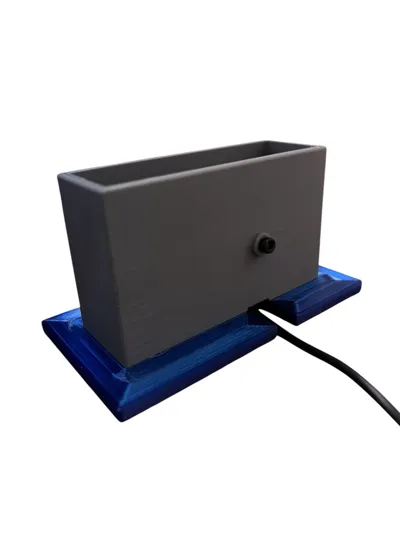
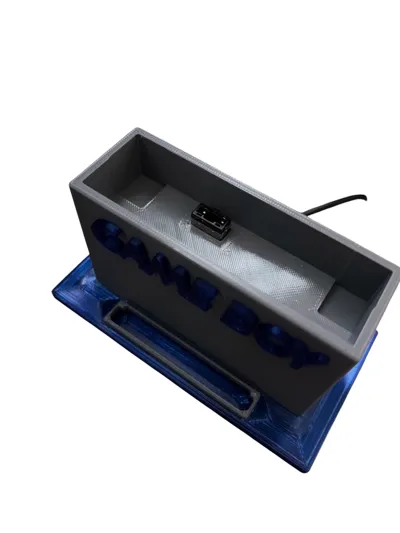
How it works: The charger plug sits in a snug pocket in the base of the dock with the connector facing upward. Slide the GBA SP down into the slot and the port mates with the plug automatically. The cable exits through a channel in the back of the base keeping your desk tidy.
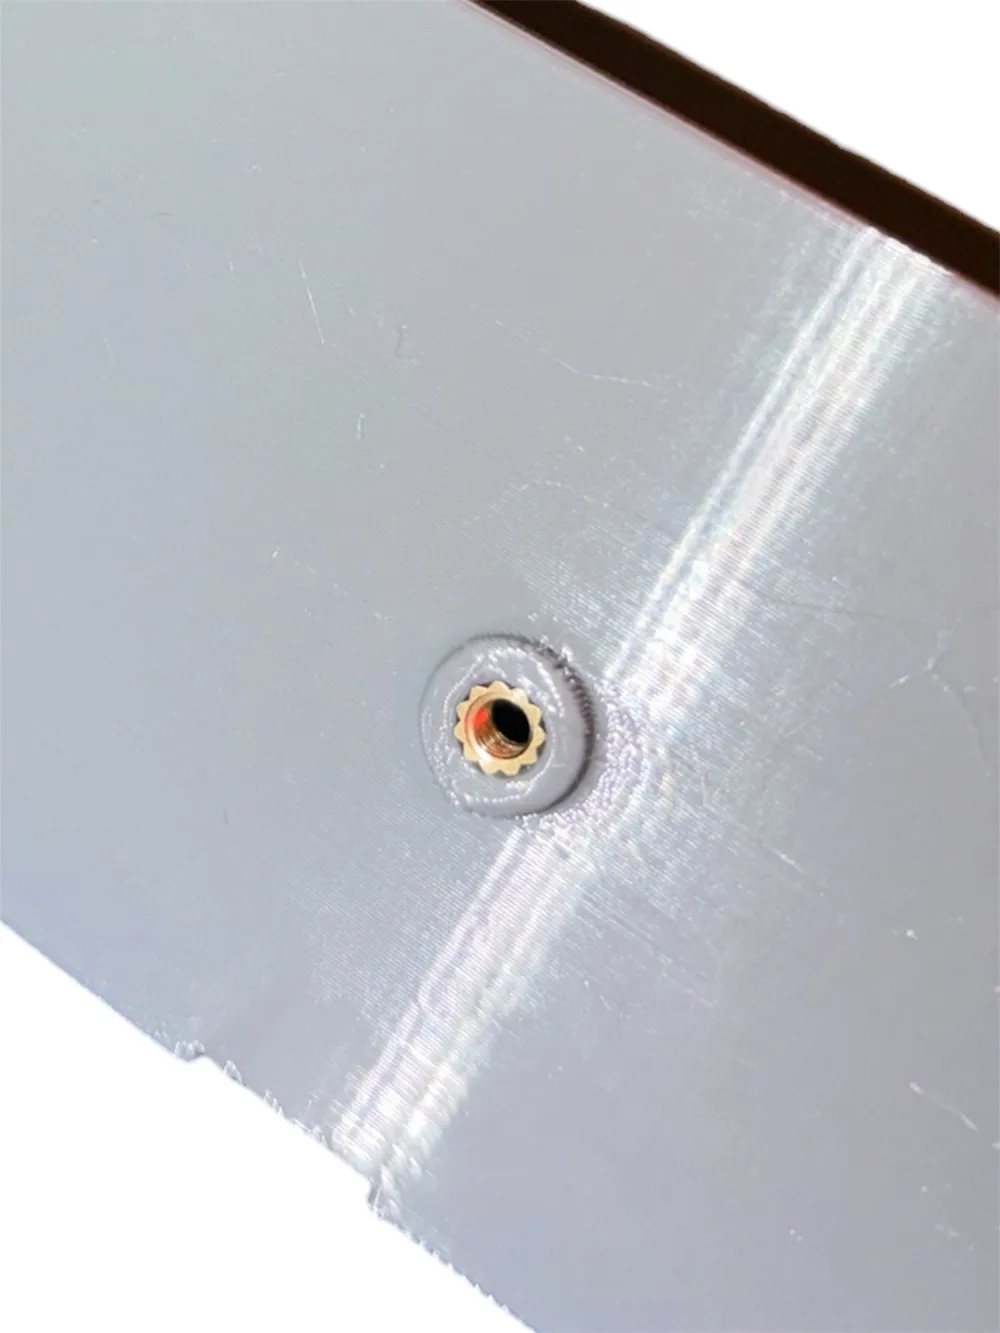
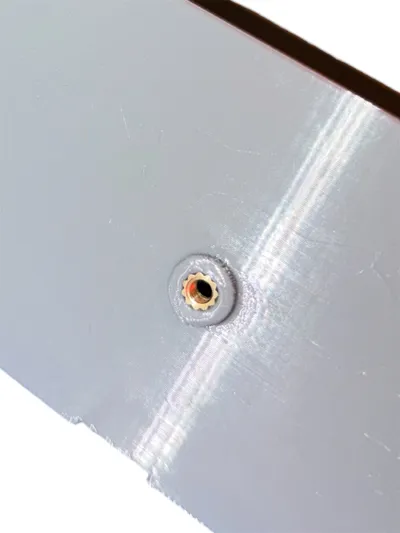
What's new in V2: The base is now a two-tone design — the base section prints in the same color as the "GAME BOY" logo for a cleaner look. The logo now prints with a 0.4mm nozzle (vs 0.2mm in V1), and an alignment tray is included in the 3MF to help you line up the logo correctly. The plug retention is now done with an M3x10 screw and an M3x4x4 heat set insert pressed into the back face — this holds up way stronger than superglue and is fully reversible. You can also just run an M4 screw directly into the hole if you don't have inserts on hand.
You can still use superglue to retain the plug if you don't have any screws available — dab a little around the lip and push it all the way up against the collar in the base. The entire silver part of the connector should be exposed above the floor. It works but the screw method is way more reliable.
Cartridge holder: The 3MF includes a cartridge display slot in the front of the base that holds one GBA cartridge vertically. Note that the OpenSCAD source file does NOT include the cartridge holder — I added it directly in Bambu Studio using a rounded rectangle and a negative of the cartridge STL. If you want to make edits in OpenSCAD, export the STL from the OpenSCAD editor in Bambu, import it into my 3MF, and just copy the cartridge holder objects over to your new model.
Print settings:
- Printed in PETG, but sure PLA will work too
- Add supports for the charger collar lip — everything else is support-free
- The base and logo print as a separate color from the dock body
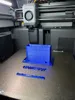
- An alignment tray is included to help position the logo correctly
Customization: The OpenSCAD source file is included. The dock was designed around a generic AGS-compatible charger cable from Amazon — if your plug dimensions differ, all measurements are clearly parameterized at the top of the SCAD file and can be adjusted to fit your specific cable. OpenSCAD does NOT include the cartridge holder.
Parts Required:
- M3x10 Screw
M3x4x4 Heat-Set Insert
(can also replace with M4x10 if no heat-set insert available)
Compatibility: Confirmed to work with AGS-001 and AGS-101 models.
Charger: I used this generic charger from Amazon, and the base is tested on both the AC and USB versions — https://www.amazon.com/dp/B0FJRTVNCW
License



Comment & Rating (7)