Next Level Racing Keyboard Holder / Tray


Print Profile(2)
Description
Hello everyone
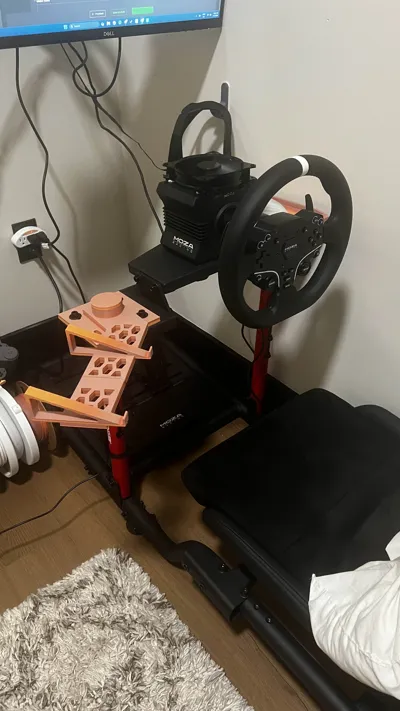
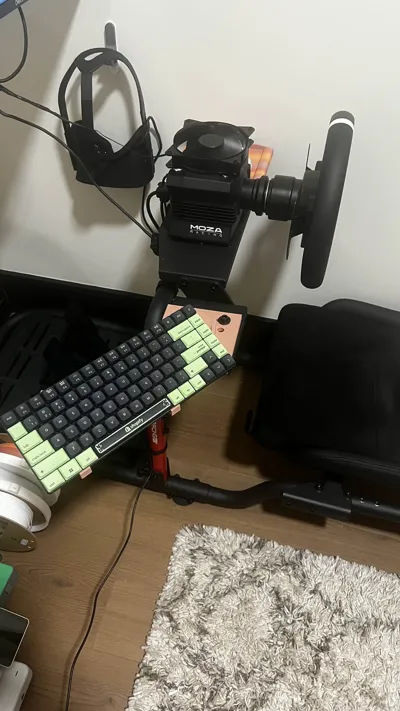
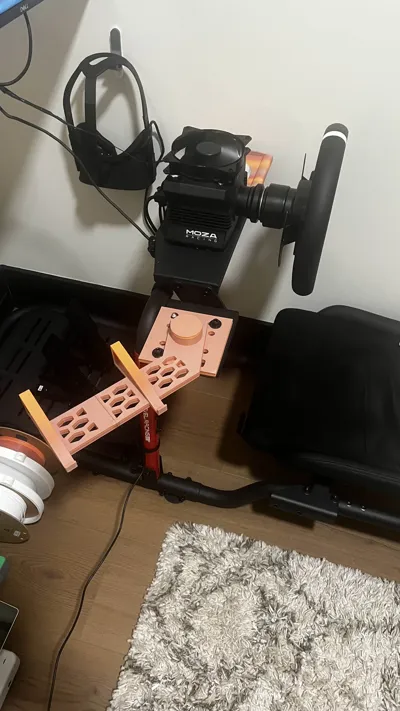
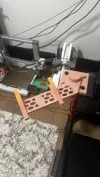
This is a rotatable keyboard tray for the Next Level Racing Wheel Stand Lite 2.0, which is also a part of the Victory Simulator Cockpit sold by Next Level Racing. Might work with other NLR cockpits.
It bolts on directly into the shifter mount which comes with the wheel stand / cockpit from NLR. If you do not have a shifter mount or if yours is already used by a shifter, I have a published model where you can print your own, and use it as a base.
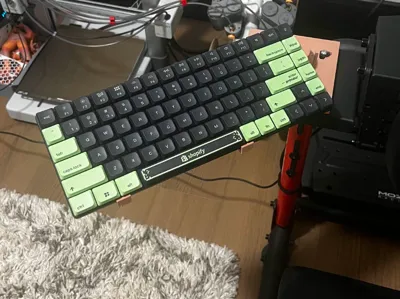
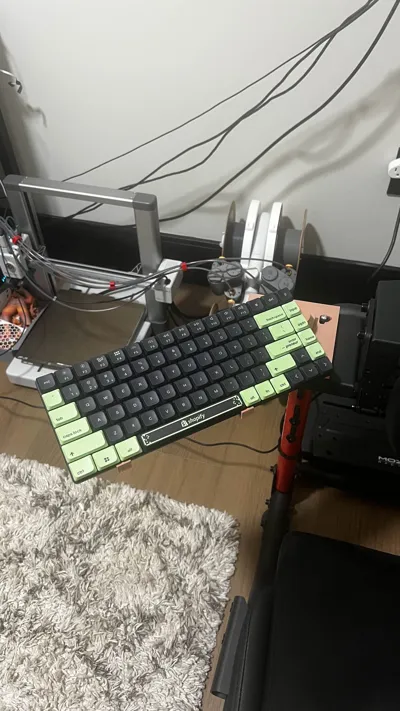
The keyboard tray is designed to rotate in order to move it out of the way of going into / out of the cockpit. It firmly holds a 65% keyboard with a heavy battery without any modifications. If you find the keyboard slides left/right as your keyboard is too wide for its “legs” to keep it in place, consider using a pair of magnets (see below). If you encounter flex issues, it may be better to print it with PETG or ABS as they are stronger, although I have not tested this.
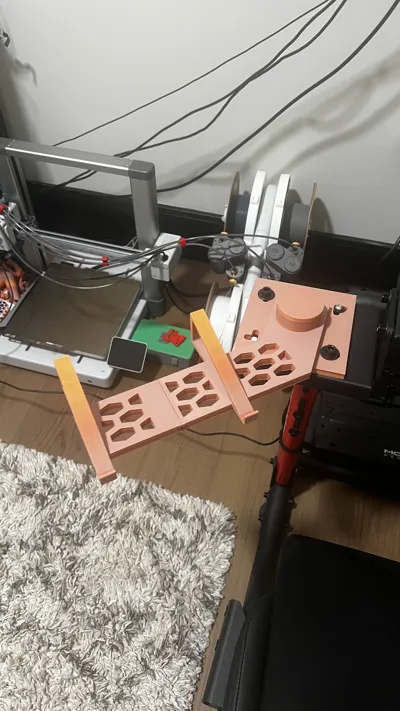
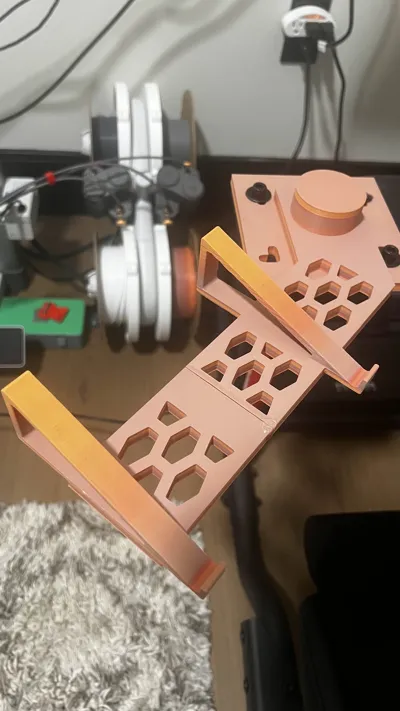
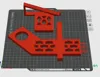
This prints in a few parts (all required):
- Base - this is the base of the tray which mounts into the shifter mount.
- Base cap - this cap goes over the cylinder which is part of the base to lock in the arm.
- Arm 1 - This is the biggest part, which goes onto the cylinder of the base.
- Arm 2 - Smaller part of the arm which joins together with Arm 1 using connectors.
Hardware/tools:
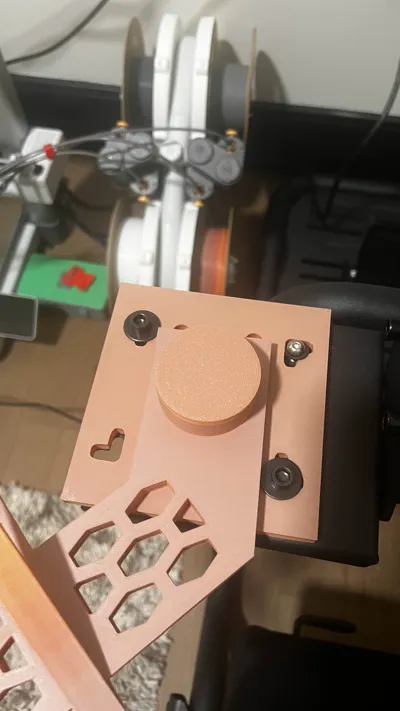
- 3 bolts / washers / nuts - bolt the base into the shifter stand as shown in the pictures. Size can vary, as long as it fits in the holes.
- Adhesive (recommended):
- Recommended to join together Arm 1 and Arm 2. The connectors themselves will hold but will flex (with PLA). By using glue or resin you will greatly increase the arm's rigidness. I had automotive clear JB weld laying around and used that, turned out very good.
- Some users reported the cap which holds the arm falls off, as the fit isn't tight enough. To solve this, a drop of glue can be applied to the bottom of the cap to prevent it from falling out. Model with a threaded cap is WIP.
- Magnets (optional) - if your keyboard struggles to stay in place horizontally, consider using a pair of magnets. Magnet A is glued to the tray, and magnet B is attached to the back of the keyboard (glued or double sided tape). Shoutout to @user_7993585 who came up with this idea! See his comment with pictures below for a visual.
Everything was printed with PLA.
Boost Me (for free)
Please consider boosting and leaving a like for this model if you found it helpful and of good quality. It is free for you. Enjoy!
Hope this works for you, please leave feedback if you end up using it.
Feel free to check out other printable things for this cockpit on my profile.
Comment & Rating (15)