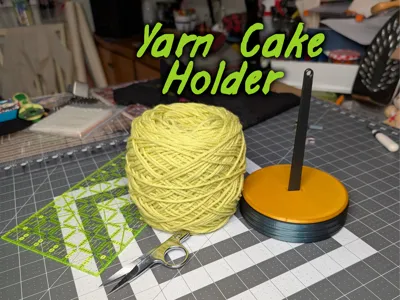
Portable Yarn Cake Spinner / Holder v2


Print Profile(1)
Bill of Materials

Description
I redesigned my yarn cake spinner since my wife found my old version to be a bit tipsy when she was using it on uneven surfaces such as on our bed.
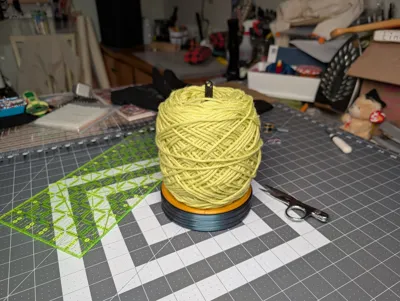
This new one is standalone and doesn't require a hanger base like the old one does. It's a bit more stable and includes a cavity in the bottom that you can fill with spare scrap (nails, bolts, nuts, etc) and epoxy. We never filled ours but the option is there if you want to add weight.
Printing
This should work well in PLA or PETG. I used PETG since it has a bit more heat tolerance if it ends up getting stored in a car. It should also work in ABS or ASA, just make sure you scale it properly (scale to around 100.7%, or you filament has the proper XY expansion settings that take care of scaling for you).
Your slicer's auto-orient should work but essentially, put the big flat parts against the built plate. The model shouldn't require any supports. You'll need to be able to do around 30mm of bridging but that isn't very much with today's printers.
I'd suggest printing with 4 wall loops, but TBH none of this needs to be very strong so you're probably fine with whatever you want for walls and infill.
Assembly
Step | Photo |
|---|---|
Press the bearing onto the back of the rotating plate Apply even pressure so that you don't press on only the outer race causing misalignment. Try using something flat laid on top of the bearing to press the bearing down. |   |
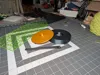
Apply sticker feet into the five recessed spots on the bottom of the base |  |
Align the bearing and rotating plate with the large recess on the top surface of the base. Try to keep the bearing straight and use the plate to push the bearing into place. This should go in pretty easily compared to the sliding the bearing onto the plate. |   |
Insert the rod into the cavity on the top of the rotating plate. It should take a little bit of force but should snap into place. You should be able to pull the rod out of the plate if you need the holder to take up less space. |   |
If you'd like to make a lanyard, you can sew a strap of webbing around the shaft of the clip mentioned in the BOM. You could probably also crochet a chain into a strap as well. You can see what that looks like in this photo from the previous holder version (v1). |  |
BOM
Part | Qty | Image |
|---|---|---|
6004ZZ Bearing I believe 6004-2RS should also work, but I haven't tested | 1 |  |
~12mm or 1/2" Rubber Adhesive Feet | 5 |  |
Detachable Swivel Clasps (optional, see the v1 design for how I made the lanyard) | 1 |  |
Rotating plate | 1 |  |
Base | 1 |  |
Snap-in hanger rod | 1 |  |
Comment & Rating (0)