Cat Urn Memorial with Collar Tag Loop


Print Profile(1)

Description
Boost Me (for free)
I work hard to make these models. I would very much appreciate a free boost if you like the model! It really helps to keep me motivated to keep designing! 💖
A Resting Place for a Cherished Friend
If you have landed on this page, you may have recently lost a beloved companion. I am truly sorry for your loss; I know how difficult it can be to say goodbye to a family member who happened to have paws.
I originally designed this urn for my sister, whose cat passed away recently. After seeing how much it meant to her to have a dedicated, beautiful place for her cat’s remains, I wanted to share it with the community in hopes it brings a small amount of comfort to others during a hard time.
Design Features
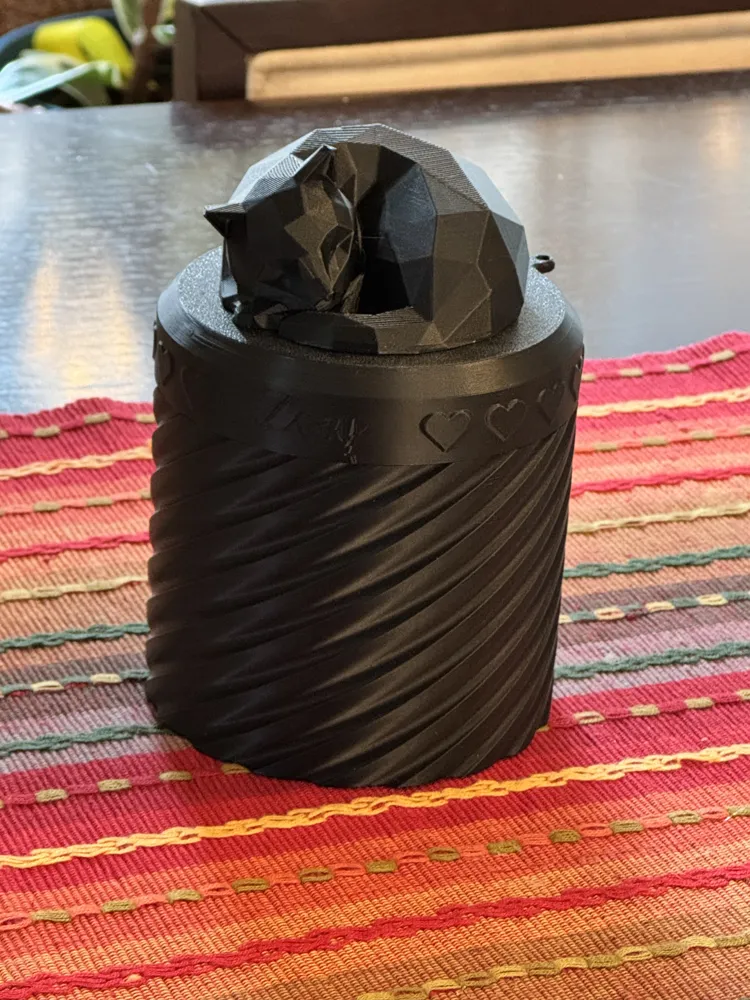
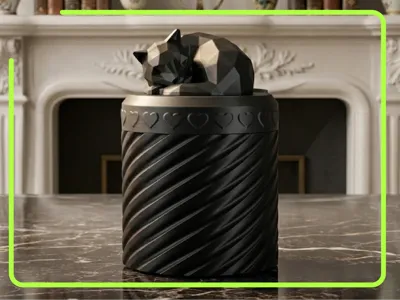
- Low-Poly Cat Top: A modern, peaceful aesthetic that fits into any home decor.
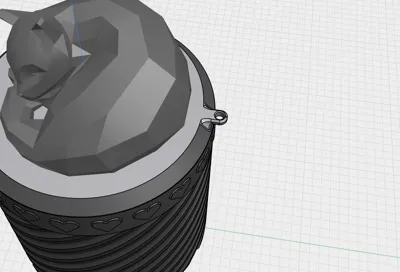
- Collar Tag Loop: I’ve included a discreet loop on the lid so you can hang your cat’s actual collar tag, keeping their name and memory front and center.
- Twist-Lock Security: I’ve integrated a mechanical twist-lock lid so you don't have to worry about accidental spills or the lid falling off. It locks firmly into place.
Sizing & Volume
To ensure this is the right size for your needs, here are the internal specifications:
- Internal Diameter: 92mm
- Internal Height: 75mm
- Approximate Volume: (0.5 Liters)
The volume of a cat's cremated remains (ashes) usually measures between 0.16 and 0.5 litres (roughly 10 to 30 cubic inches) for an average cat.
If you would like to use a different model for the cat, there are many models available on makerworld here. You would just need to scale the model appropriately.
Assembly Note:
The low poly cat will need to be adhered to the lid using glue, double sided tape or a screw. I personally used 2 small wood screws.
License
You shall not share, sub-license, sell, rent, host, transfer, or distribute in any way the digital or 3D printed versions of this object, nor any other derivative work of this object in its digital or physical format (including - but not limited to - remixes of this object, and hosting on other digital platforms). The objects may not be used without permission in any way whatsoever in which you charge money, or collect fees.
Comment & Rating (4)