
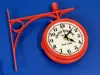
NYC Vintage Railway Station Dual-Face Wall Clock
Print Profile(1)
Bill of Materials




Description
Boost Me (for free)
I design models for fun and I'm glad to share all of them with you. You can message me for request or ideas. Your support means a lot and help me running the new models development, boost me any time :)
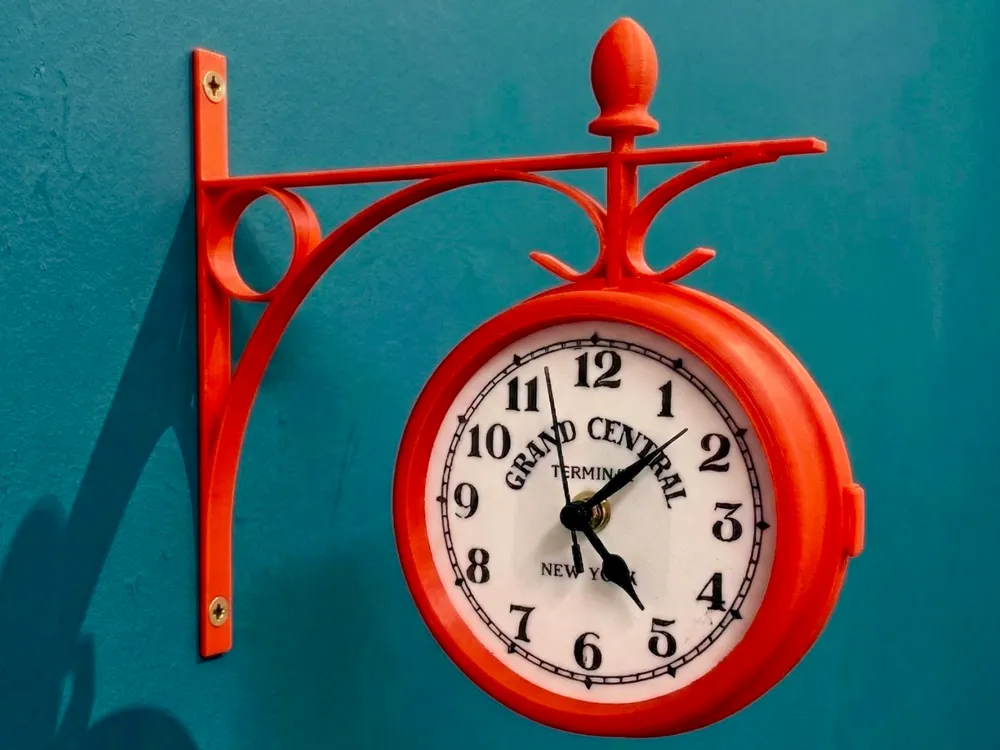
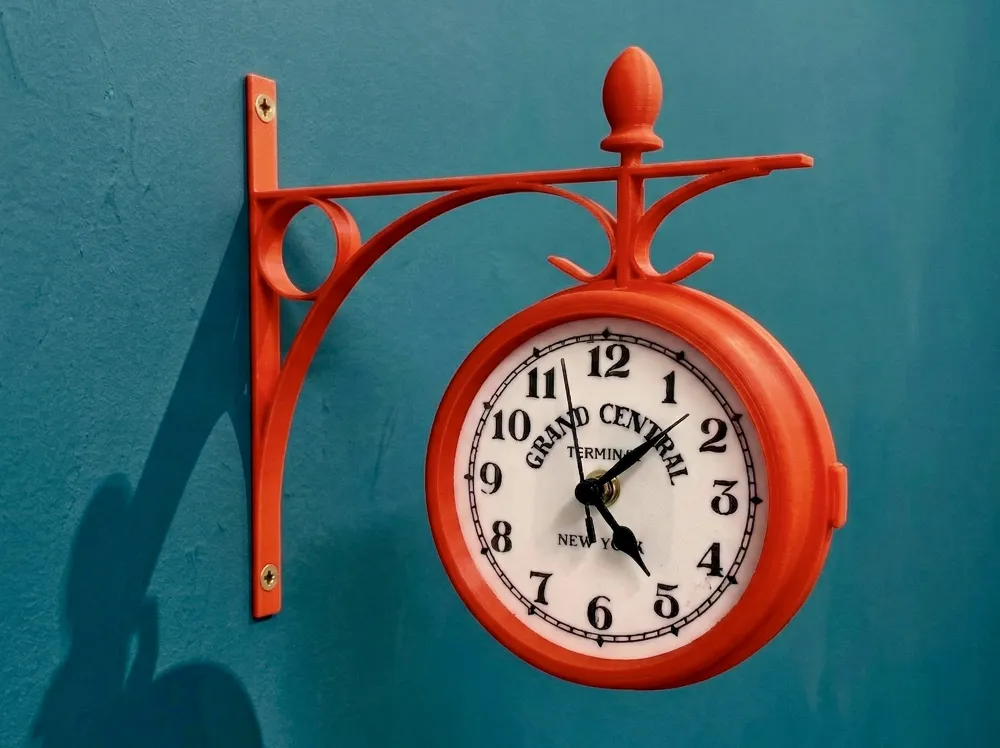
🚂 Bring the nostalgic atmosphere of a 20th-century train station into your home.
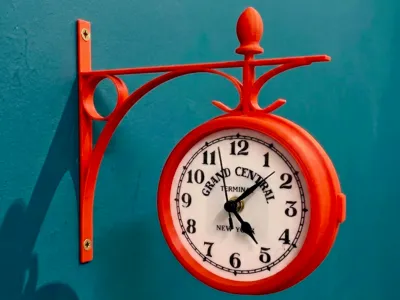
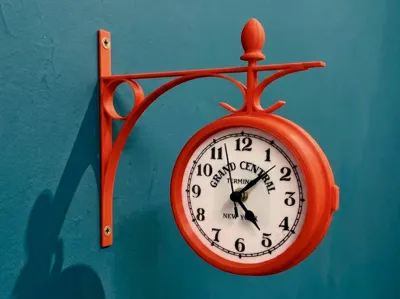
Relive the golden age of rail travel with this Vintage Railway Station Dual-Face Clock.
Inspired by the timeless clocks that hung over the platforms and corridors of iconic 20th-century train terminals around the world, this piece brings a touch of classic industrial elegance to any modern space.
Its clean lines and suspended bracket make it the perfect statement piece for hallways, open-plan living areas, or offices, adding a "retro-loft" atmosphere to your decor.
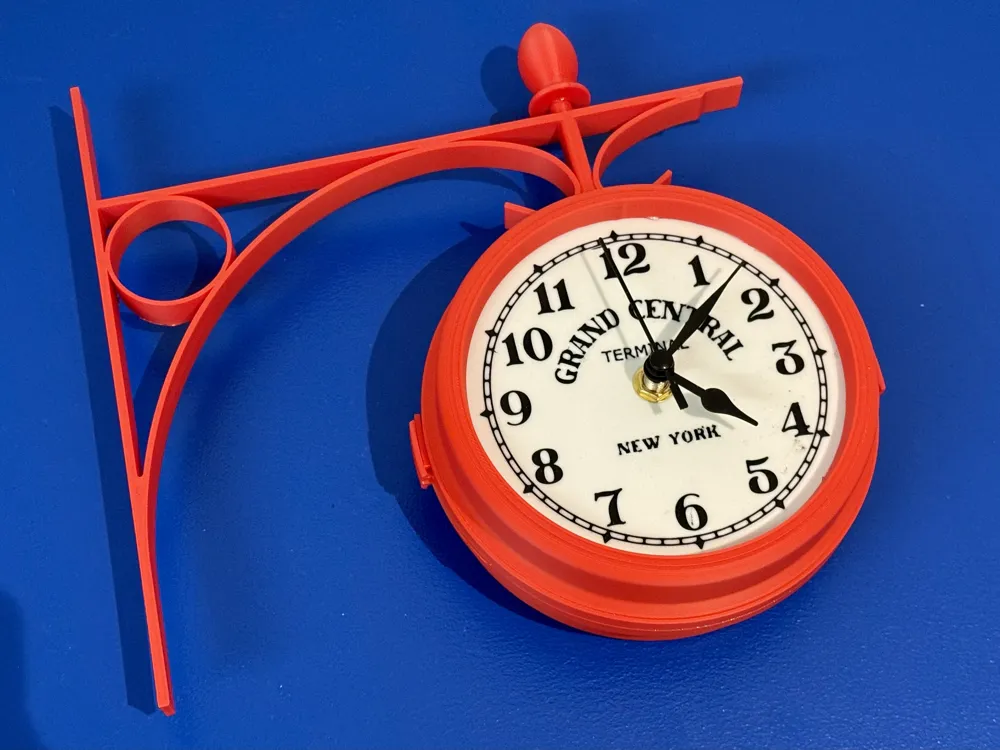
This isn't just a decorative shell, it’s a fully functional, double-sided timepiece.
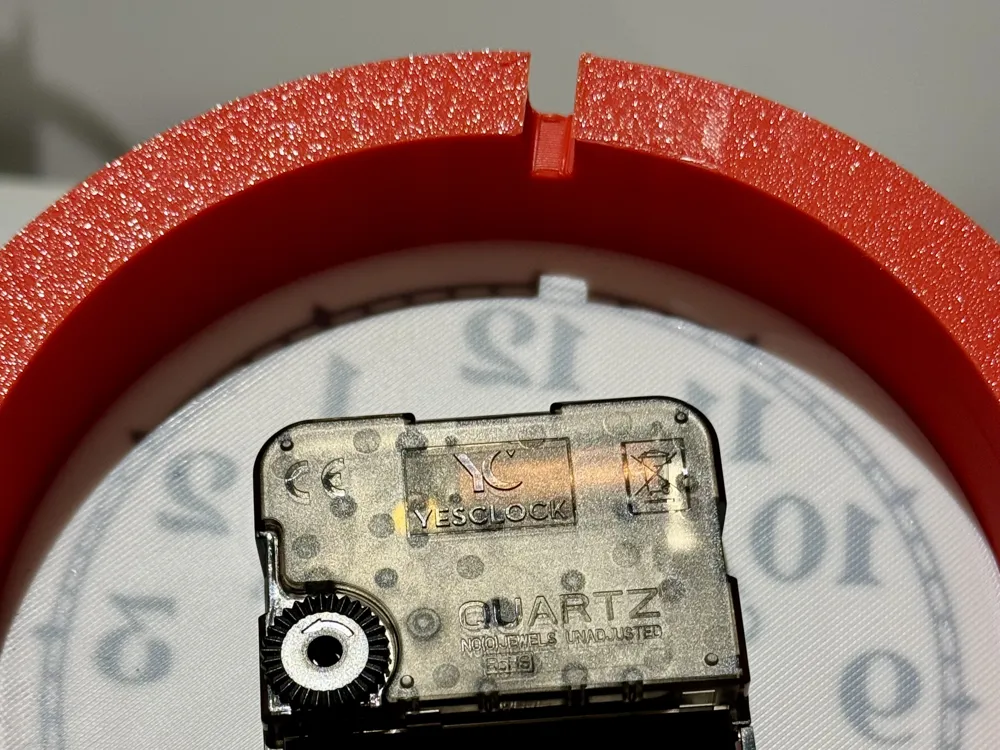
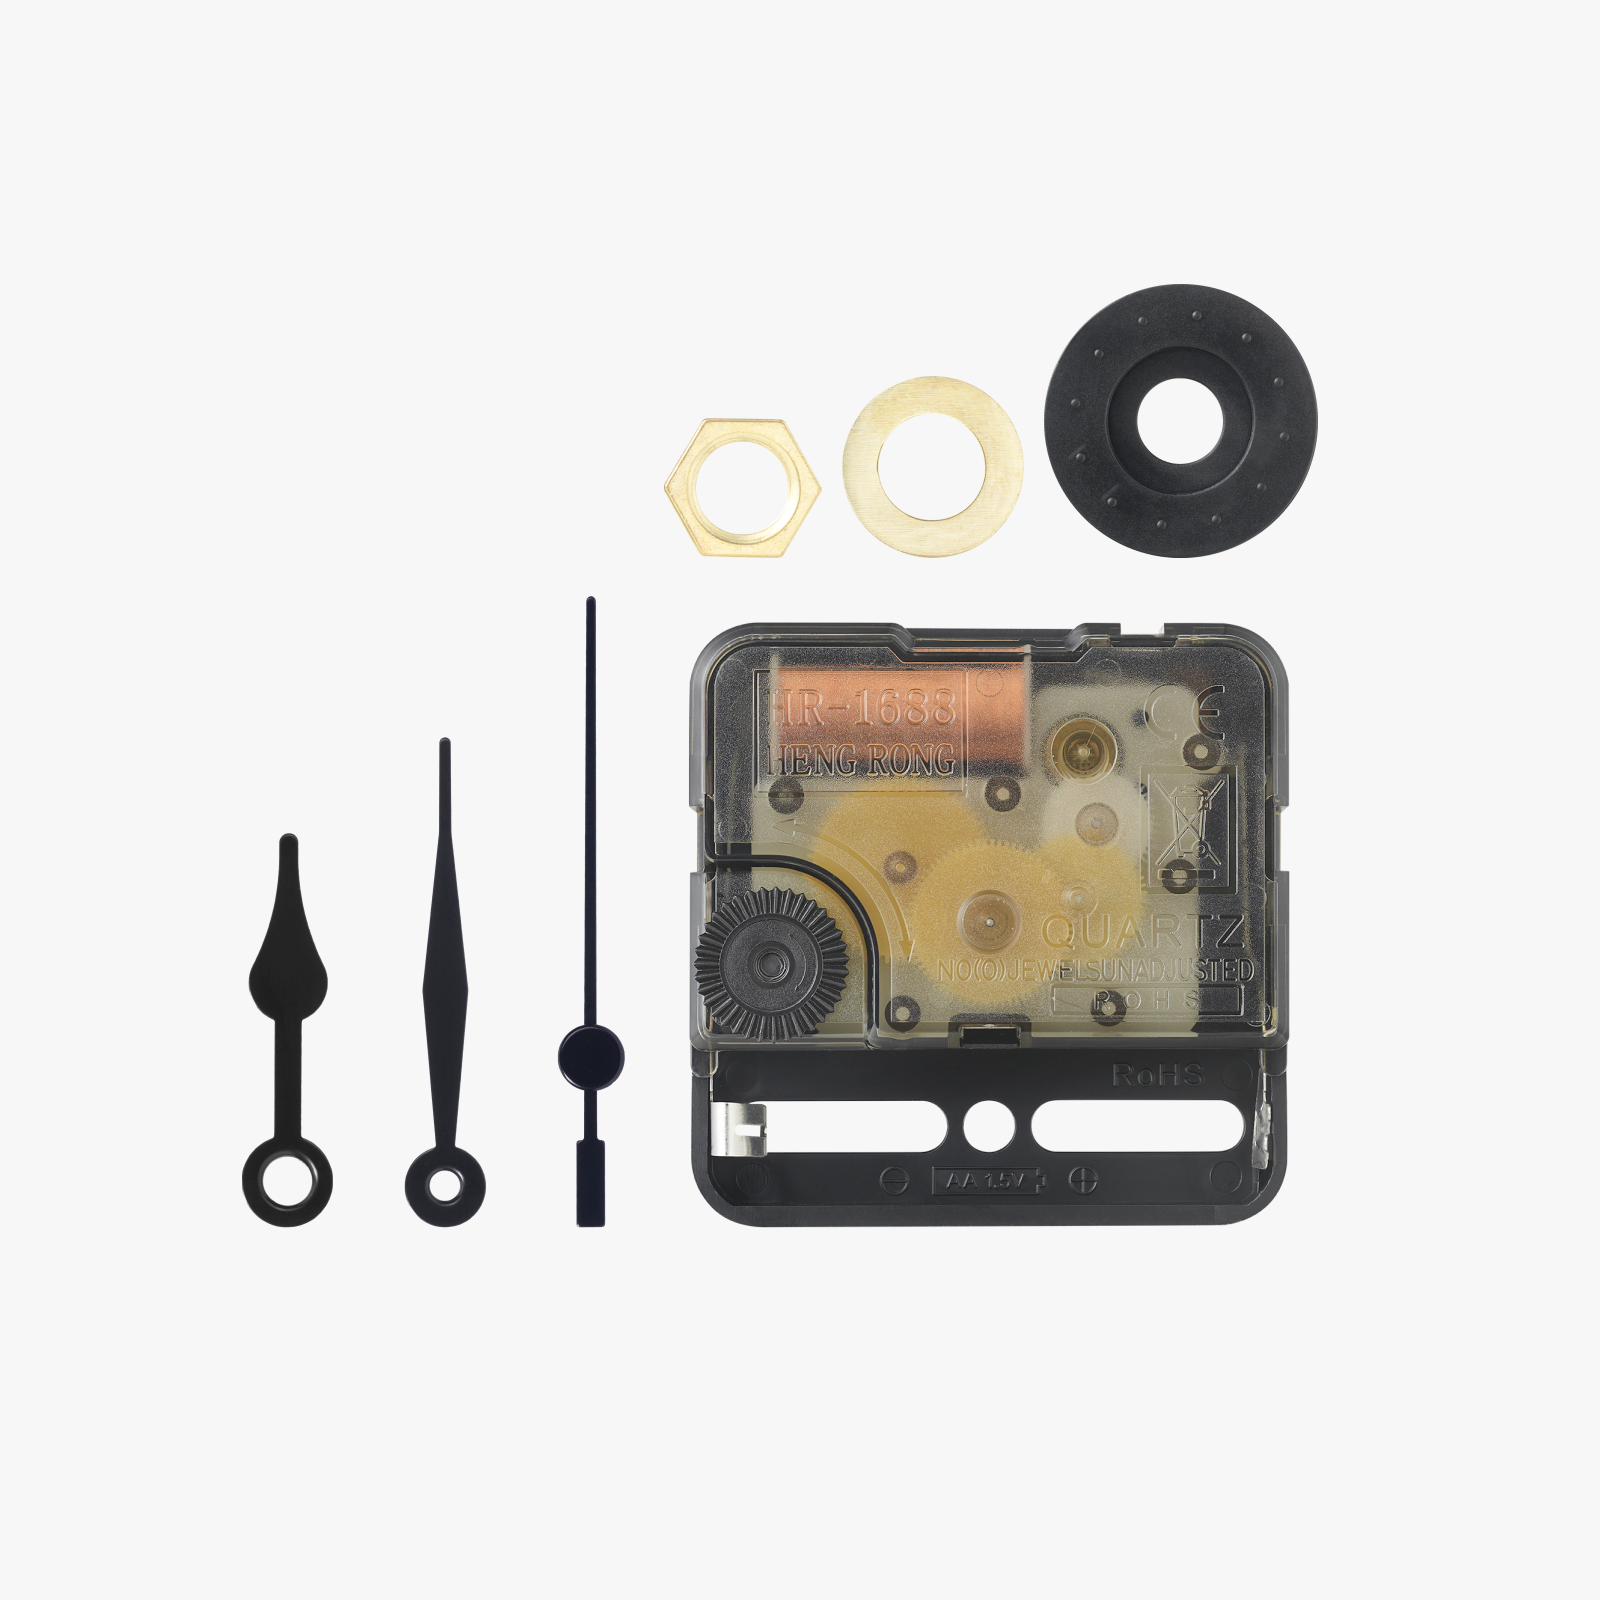
This project is specifically designed to house the Bambu Lab Clock Components Kit 011 MH011. To complete the dual-face display, two (2) kits are required.
Design Concept: Classic Railway Terminal Platform Clock.
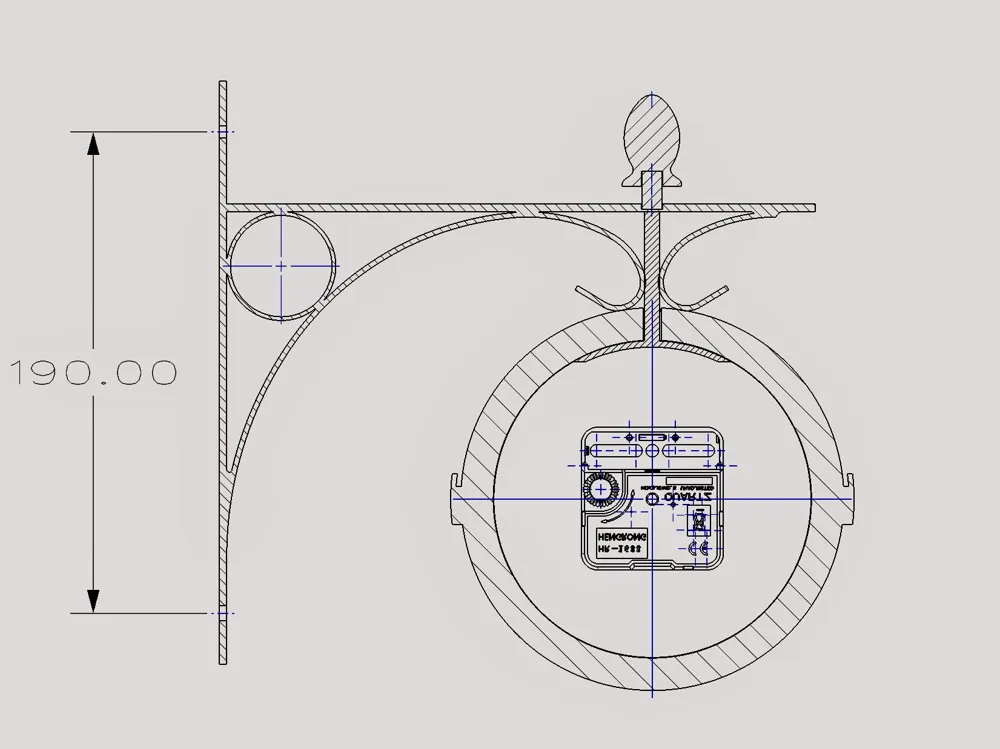
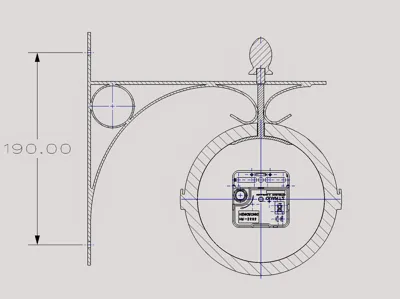
Mounting: Secure wall-mount bracket with two screw points (top and bottom) for a flush, professional finish. Spacing between screws: 190mm.
Hardware Required: 2x Clock Components Kit 011 - Bambu Lab MH011.
Dimensions:
Dial Diameter: 125 mm
Total Height: 230 mm
Total Length (protrusion from wall): 250 mm
Case Thickness: 65 mm
Customization & Printing:
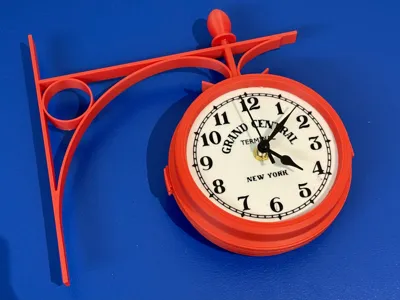
Classic Look: Print in Matte Black or Dark Bronze for an authentic antique metal feel.
Modern Pop: Try a vibrant color to create a high-contrast focal point.
🛠️ Assembly Instructions
Follow these simple steps to build your Vintage Railway Station Clock. All parts are designed for a snug fit, but a small amount of superglue is recommended for permanent parts.
Step 1: Top Finial & Support
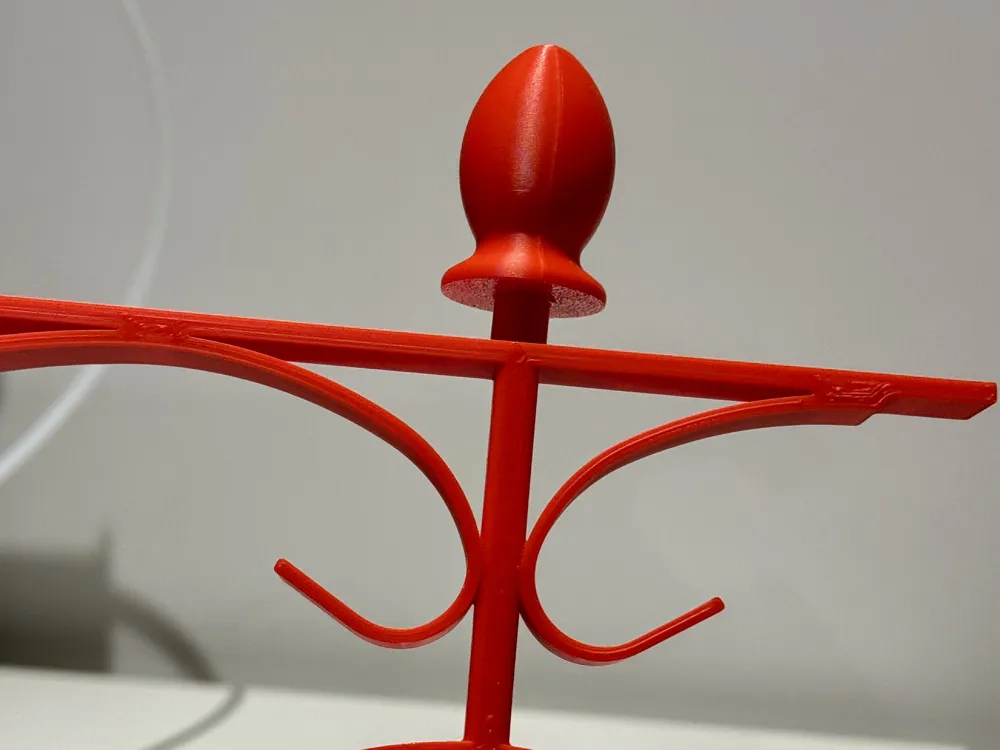
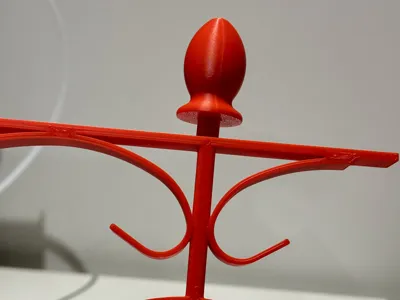
- Take the 8mm pin and glue it into the slot of finial.
- Once secure, glue this sub-assembly to the top of the wall support bracket. Ensure it is perfectly centered.
Step 2: Clock Faces & Housing
- Prepare your clock faces.
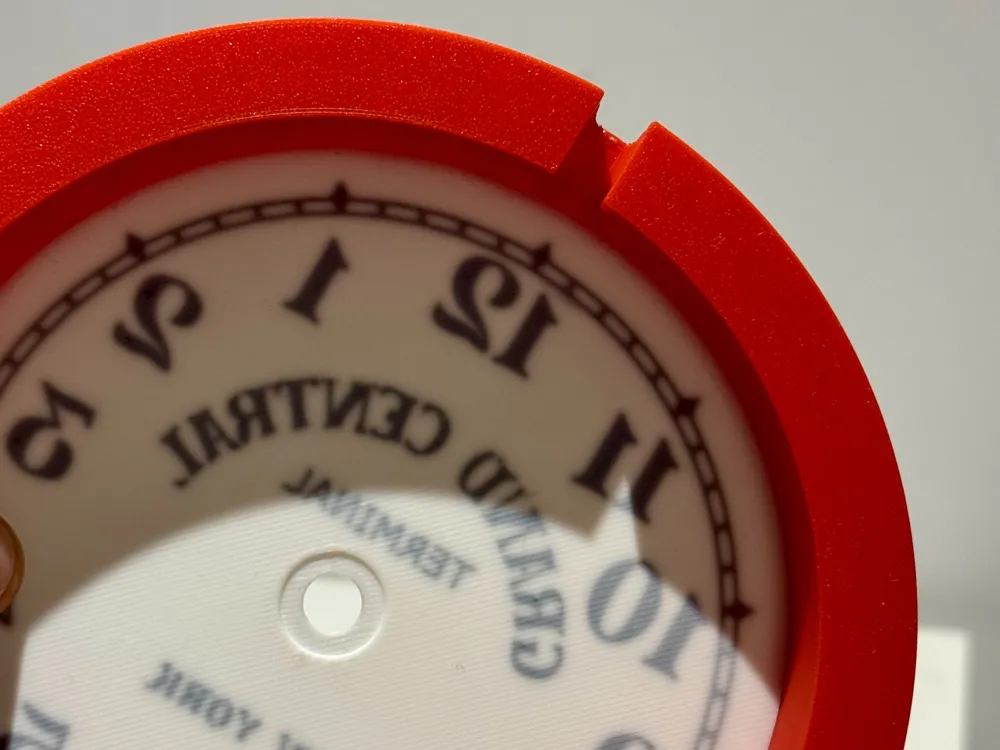
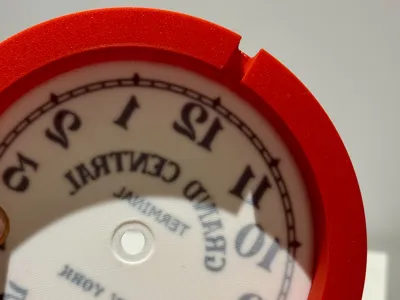
- Apply glue on the body and align the 12 o'clock position exactly with the notch in the main body (housing). This ensures your clock stays perfectly vertical when mounted.
Step 3: Installing the Mechanisms
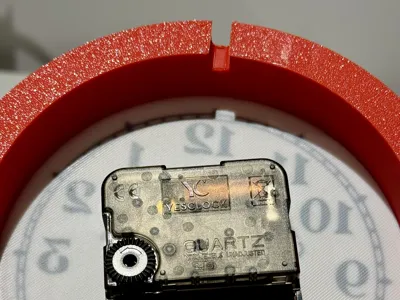
- Install the Bambu Lab Clock Components (Kit 011) into each housing.
- Follow the standard kit instructions for mounting the hands (Hour, Minute, and Second).
Step 4: Main Assembly
- Slide the two clock housings into the bracket slot.
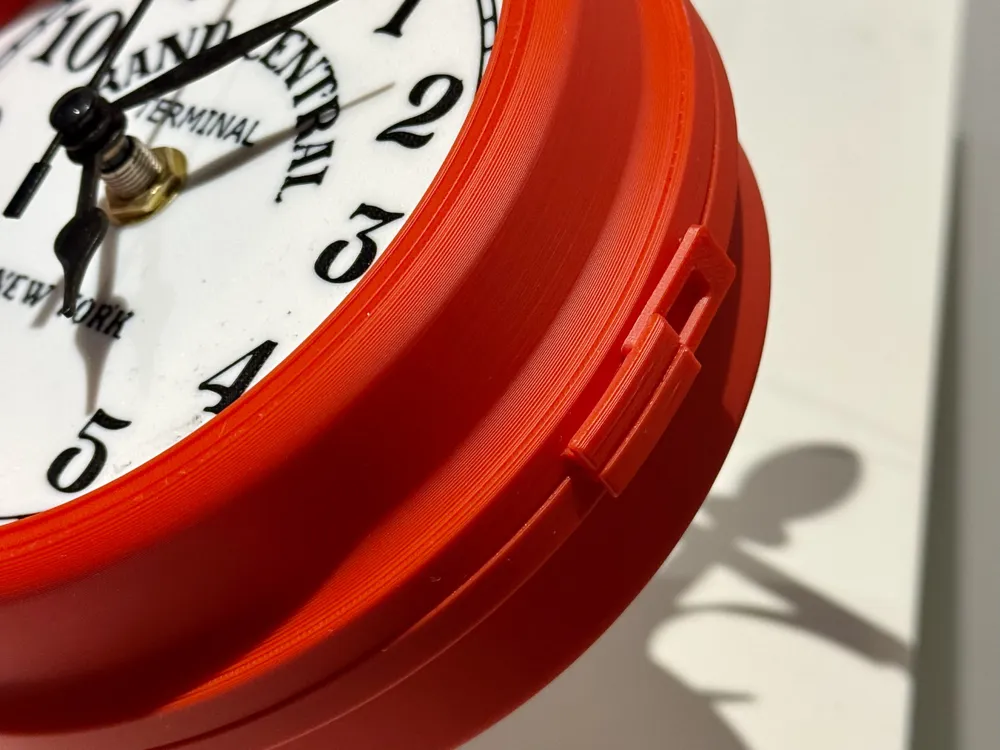
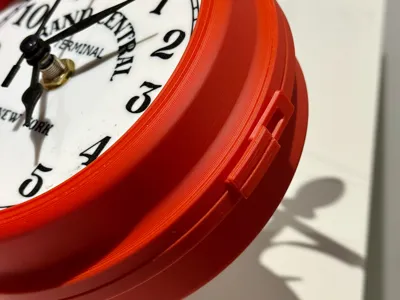
- Use the two small clamps provided in the print to lock the two housings together securely. This creates the solid dual-face unit.
Step 5: Wall Mounting
- Mark your wall using the two 5mm mounting holes on the bracket.
- The distance between the hole centers is exactly 190mm.
- Use appropriate wall plugs and screws for your wall type to ensure a flush and secure fit.
Quick Tips:
- Alignment: Double-check the 12 o'clock orientation before the glue sets!
- Hardware: You will need two (2) Bambu Lab Clock Kits 011 MH011 for this dual-face version.
- Finish: If you printed in PLA, avoid placing the clock in direct sunlight or near high-heat sources to prevent warping.
Enjoy your new piece of history!
If you like this model, please upload a photo of your print, I’d love to see it in different colors! 📸✨
Membership
Boost Me (for free)
You're always welcome to support me :)
License

You shall not share, sub-license, sell, rent, host, transfer, or distribute in any way the digital or 3D printed versions of this object, nor any other derivative work of this object in its digital or physical format (including - but not limited to - remixes of this object, and hosting on other digital platforms). The objects may not be used without permission in any way whatsoever in which you charge money, or collect fees.


Comment & Rating (3)