
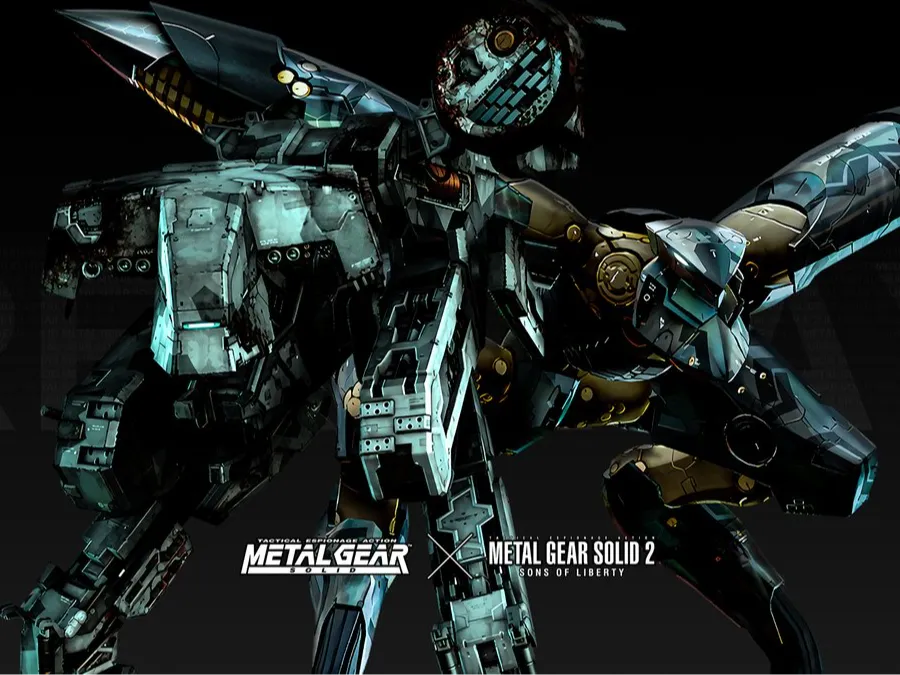
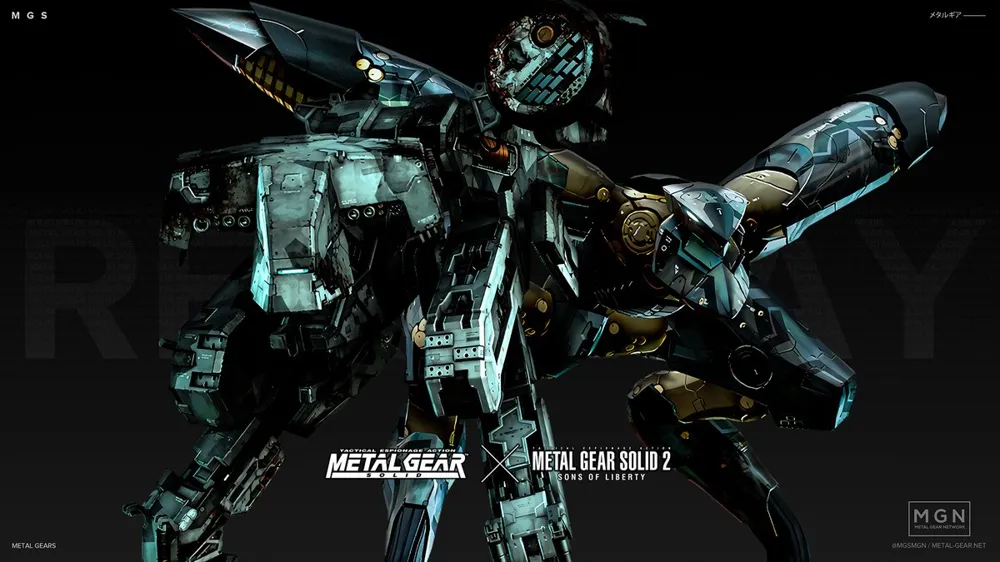
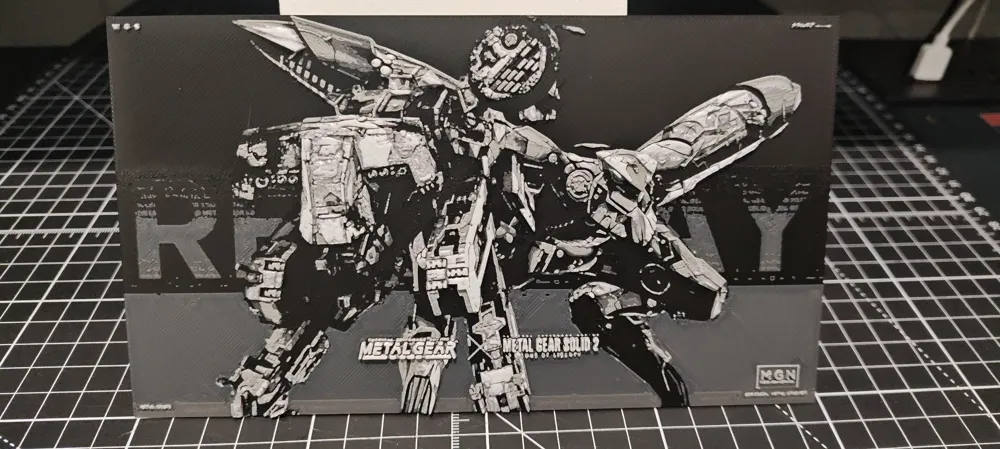
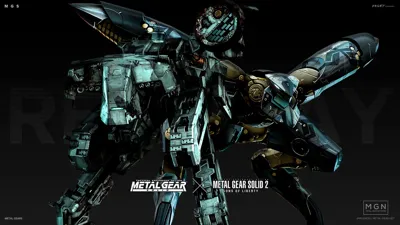
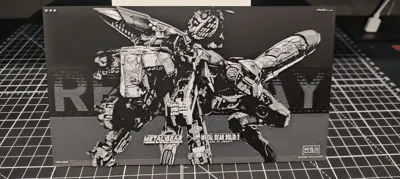
Hueforge - Metal Gear Solid Rex and Ray
Print Profile(1)

Description
Print at 100% infill with a layer height of 0.08mm with a base layer of 0.16mm
The Model is 200x112.5mm in size
You may print at higher layer heights below the Base Thickness of 0.8mm
The Max allowed Thickness is 2.56mm and the Actual Thickness is 2.56mm
#080a0d PLA PolyLite Black Transmission Distance: 0.3
#545454 PLA BambuLab Basic Dark Gray Transmission Distance: 0.6
#8e9089 PLA BambuLab Basic Grey Transmission Distance: 2
#a6a9aa PLA BambuLab Basic Silver Transmission Distance: 0.5
#ffffff PLA BambuLab Basic Jade White Transmission Distance: 5
This print uses 5 unique filaments
Swap Instructions:
Start with Black
At layer #11 (0.96mm) swap to Dark Gray
At layer #13 (1.12mm) swap to Grey
At layer #19 (1.6mm) swap to Silver
At layer #26 (2.16mm) swap to Jade White for the rest.
_____________________________________________________________________________________________________________________________________________________________________
I copied the instructions for the mid-print color swap setup from user C3D on their Statue of Liberty - HueForge project. This is where I learned how to do this. Thank you C3D and check out their projects. Instructions below:
How to do more than 4 colors on a single AMS?
To use more than 4 colors with a single AMS is pretty simple when it comes to HueForges.
Always start the print from either Bambu Studio or Bambu Handy App - This will allow you to map the rolls of filaments to a certain slot in the AMS: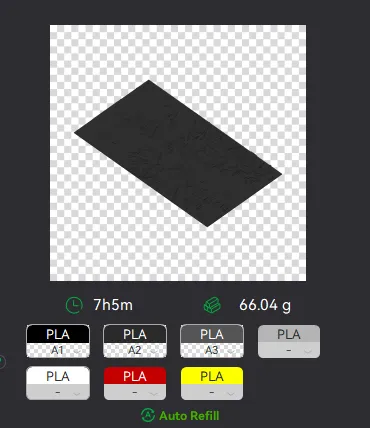
Now map the first 4 colors (which should already be inserted in the AMS to Slots 1 - 2 - 3 - 4
Once thats done move to maping colors 5 - 6 - 7 - 8 to respectively AMS Slots 1 - 2 - 3 - 4 again!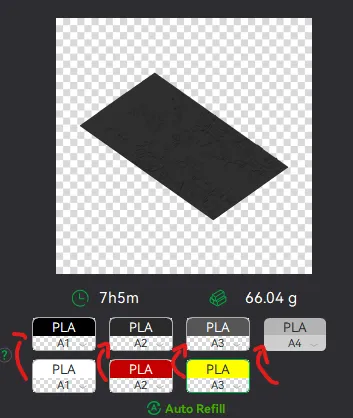
This will allow you to Change the rolls of filament once the printer is done with that color.
For example, in the picture above once we are done with the Black color (Which is usually first) we are going to remove the black roll (you can do that while printing) with White, then once Charcoal Black is done we are going to change that to Red, Dark Gray to Yellow and we are done. ~ You can do that with as many colors as you need!
License

You shall not share, sub-license, sell, rent, host, transfer, or distribute in any way the digital or 3D printed versions of this object, nor any other derivative work of this object in its digital or physical format (including - but not limited to - remixes of this object, and hosting on other digital platforms). The objects may not be used without permission in any way whatsoever in which you charge money, or collect fees.


Comment & Rating (0)