Search models, users, collections, and posts
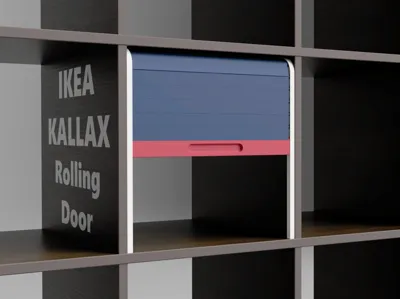
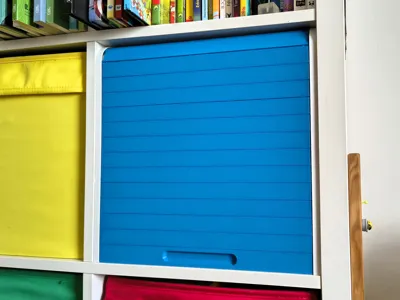
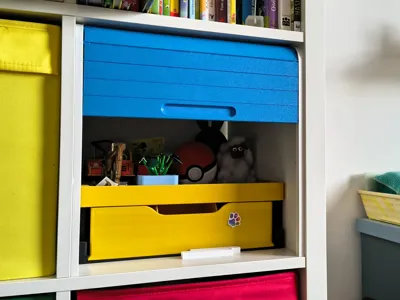
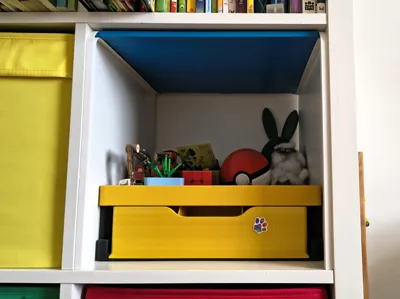
IKEA KALLAX Rolling Door
IP Report


Print Profile(3)
Smaller printers – 0.2mm layer, 2 walls, 15% infill
Designer
6.7 h
4 plates
H2 0.2mm layer, 2 walls, 15% infill
Designer
7.7 h
4 plates
0.2mm layer, 2 walls, 15% infill
2.4 h
2 plates
Open in Bambu Studio
Boost
728
3259
54
26
603
242
Released
Bill of Materials
Bambu Filaments
Select all


Description
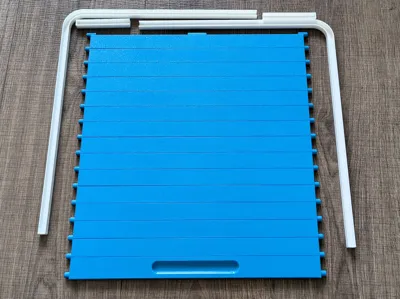
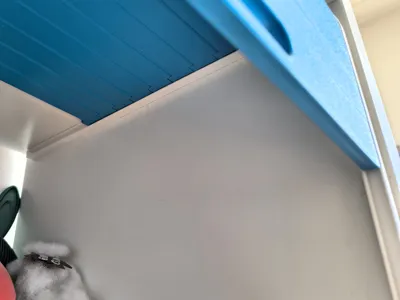
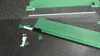
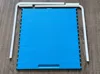
Upgrade your IKEA Kallax with this precision-engineered Roller Shutter (Tambour Door). This 3D-printed insert fits perfectly into a single Kallax cube, offering a sleek way to hide your items with a smooth, satisfying sliding motion. Video
🆕 I've added single-piece rails so you can split them in the slicer as needed and hide the cut on the visible side.
Key Features:
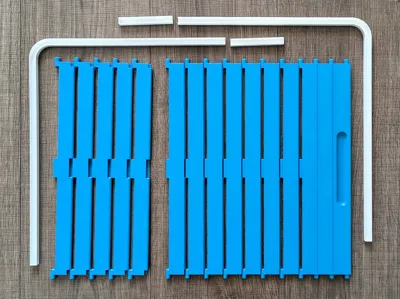
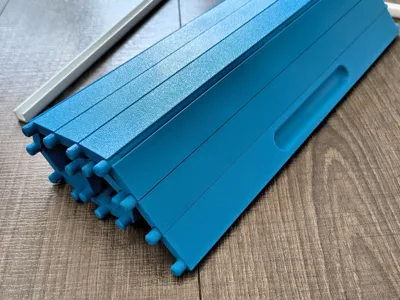
- Seamless Aesthetics: The 15-slat design features overlapping edges that completely hide the internal joints/hinges for a clean look.
- Engineered Precision: Includes 1 handle slat and 14 standard slats designed with rounded pins for minimal friction in the tracks.
- Two Print Variants:
- Full-Size: For large printers (single-piece slats and 2-part rails).
- Split-Size: Optimized for smaller print beds (split slats with alignment holes and 3-part rails).
- Hidden Storage: The rails are long enough to tuck the entire shutter away when fully opened.
Printing Recommendations:
- Orientation: Print slats with the visible side down on a textured PEI sheet.
Support Material: For best results, I highly recommend using multi-material supports (PLA/PETG interface). This ensures a perfectly smooth surface in the overlap areas to hide the joints and creates ultra-smooth rounded pins that glide effortlessly in the rails.

- Assembly (Split version): Use short segments of filament as alignment pins in the integrated holes and glue the sections together.
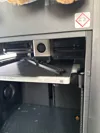
- Performance: Tested and verified on Bambu Lab H2D and Creality K2 Plus. Movement depends on printer accuracy; if it feels stiff at first, it will wear in and become smoother over time.
- Dimensions: If there is too much play between the slats and the rail after printing, you can print the rail slightly wider. Simply scale it up in the Z-axis only, which will increase its thickness without affecting the overall length or the internal track width.


Documentation (2)
Assembly Guide (2)
one-piece slat.pdf
two-piece slat.pdf
License
This user content is licensed under a
Creative Commons Attribution
Comment & Rating (54)