H2 Dual Stage Exhaust Air Filter


Print Profile(2)
Bill of Materials


Description
Membership
Do you want to sell 3D prints of this model? With a small expense you can earn big. Join the Membership program and choose the license that best suits your business!
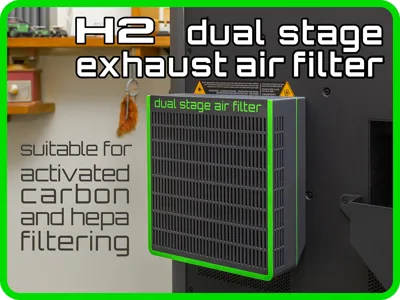
This is a dual-stage filter for filtering both VOCs and smells from the air expelled from the printer chamber.
It's a big filter, the maximum that could be installed on the rear air outlet: the complete filter is 175 mm wide, 188 mm high, and 65 mm deep. This allows to use eight HEPA filters (I chose the most common ones, each measuring 80x40x15 mm) and a generous amount of activated carbon.
The entire filter is composed of two parts: a holder and a filter box.
Installation and preparation are really easy:
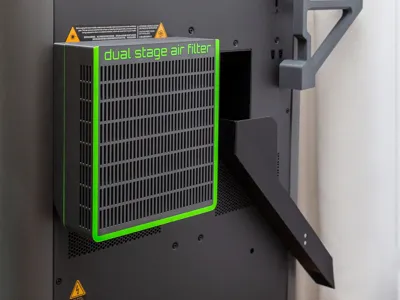
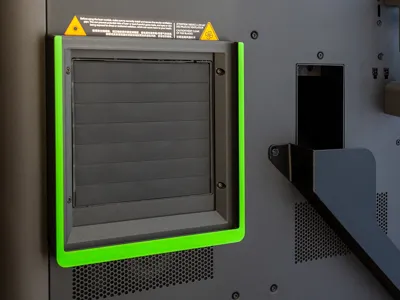
Attach the holder on the back of the printer with four M3x8 screws, using the existing holes around the automatic air expulsion slats.
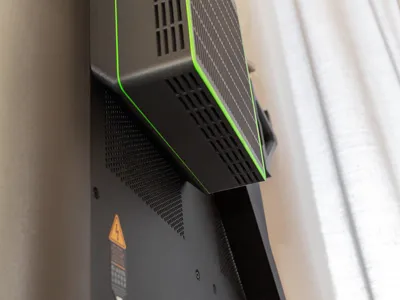
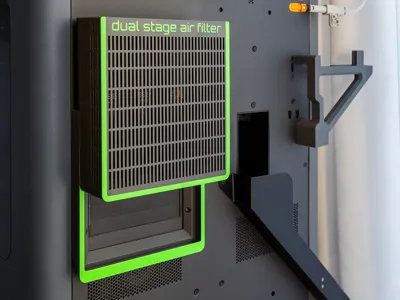
Place the filter box on a flat surface with the grid facing down, filled halfway with activated carbon, and then the HEPA filters are inserted. Now slide it from top to bottom in the filter holder, and with that you're done!
Note: when inserting or removing the filter from its holder, it is preferable that the printer's exhaust grid is in the closed position.
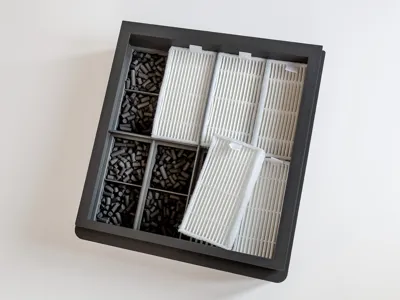
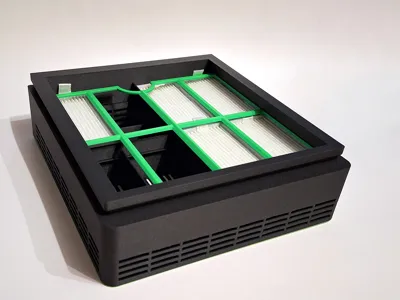
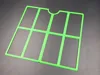
Cross-sectional view of the filter box (positioned face down). Below are the compartments for the activated carbon, above are the housings for eight 80x40x15 mm HEPA filters.  | Place the activated carbon into the square spaces without exceeding the lowest edges, then place the HEPA filters in the appropriate slots starting from the most external ones.  |
Secure the filter holder on the back of the printer using four M3x8 (or M3x10) screws on the holes around the automatic exhaust grid.  | Slide the filter box from top to bottom along the side guides of the support (make sure you have already secured it with the screws).  |
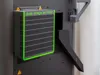
You don't have enough space behind your printer? Take a look to this ultra slim version by clicking on the image:  | Want to complete your exhaust air cleaning system? Add this internal filter, specifically designed for your printer.  |
What if you want to use an exhaust pipe instead?
On the same holder of this dual-stage filter you can slide my exhaust pipe connector, especially using laser or printing harmful materials.

License
You shall not share, sub-license, sell, rent, host, transfer, or distribute in any way the digital or 3D printed versions of this object, nor any other derivative work of this object in its digital or physical format (including - but not limited to - remixes of this object, and hosting on other digital platforms). The objects may not be used without permission in any way whatsoever in which you charge money, or collect fees.
Comment & Rating (90)