Tackle Bin for Hobie PA Kayaks (Large)


Print Profile(1)

Bill of Materials

Description
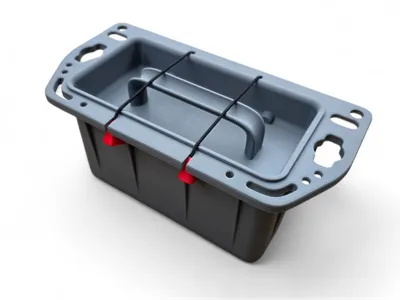
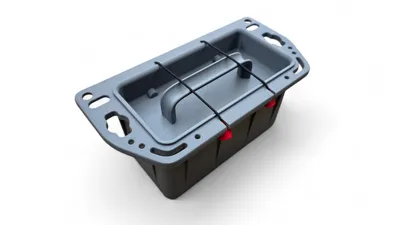
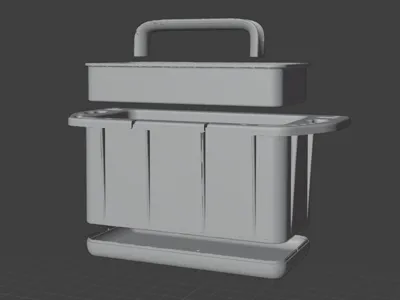
Tackle Bin for Hobie PA Kayaks (Large Version)
The large model of the Tackle Bin is designed to fit bigger printers like the Bambu H2C, H2S and H2D while maintaining functionality and strength.
The model is split into 4 parts to reduce support usage and improve surface quality. Each component is oriented for efficient printing and easy assembly.
Designed with Hobie PA kayaks in mind. Not compatible with Hobie Outback models as it will interfere with the opening of the center storage lid.
For the compact version compatible with P and X series printers follow this link:
https://makerworld.com/en/models/2621890-tackle-bin-for-hobie-pa-kayaks-compact#profileId-2894006
Key Features
- Fits only Bambu H2 series printers.
- 4-part modular design
- Clean surface finish on visible areas
- Functional and compact
- Minimal supports required: underneath the tray handle and around the top tray.
Assembly
- Glue and press-fit the bottom and the top part of the bin.
- The tray and tray handle can be glued together or attached using M5x16 or M5x20 flat head self taping screws for added strength (holes are already in place)
Mounting Brackets:
Found here: https://makerworld.com/en/models/2622986-hobie-h-rail-bracket-adapter-m6-hardware#profileId-2895360
Shockcord Pull Tabs:
Found here: https://makerworld.com/en/models/2623061-hobie-shock-cord-pull-tab-1-8-cord#profileId-2895462
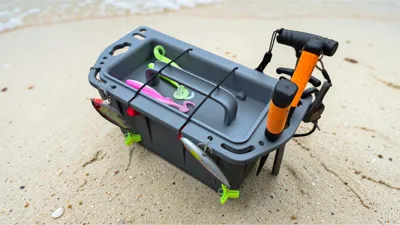
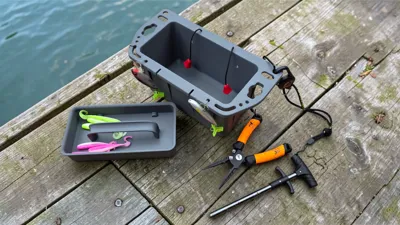
Model on the photo was printed using Bambu Lab PETG HF Dark Gray. PETG, ABS or ASA filament is highly recommended.
If you find this model useful or have suggestions for improvement, feel free to leave a comment or share a photo of your print.
Boost Me (for free)
If this model was useful to you, a boost is appreciated.
Boosts are completely free for you and help support continued improvements and future designs.
License
You shall not share, sub-license, sell, rent, host, transfer, or distribute in any way the digital or 3D printed versions of this object, nor any other derivative work of this object in its digital or physical format (including - but not limited to - remixes of this object, and hosting on other digital platforms). The objects may not be used without permission in any way whatsoever in which you charge money, or collect fees.
Comment & Rating (3)