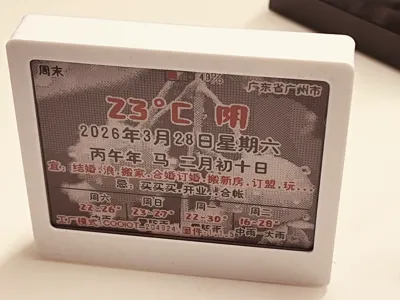
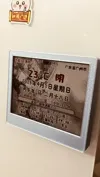
E-ink screen weather calendar traffic Chinese almanac (costing tens of yuan)


Print Profile(1)
Description
Assembly List
4.2-inch two-color e-ink screen (GOODISPLAY), the FPC cable should be in the middle
COOIOT e-ink screen control driver board, with built-in firmware
https://item.taobao.com/item.htm?ft=t&id=1030384137602
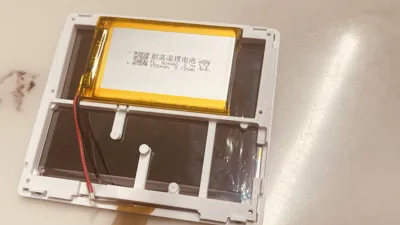
504060 polymer battery
Self-tapping screws (M1*4): 4 pieces
Self-tapping screws (M2*4): 6 pieces
Round magnets (12mm diameter*2): 4 pieces
3M double-sided tape
Installation steps
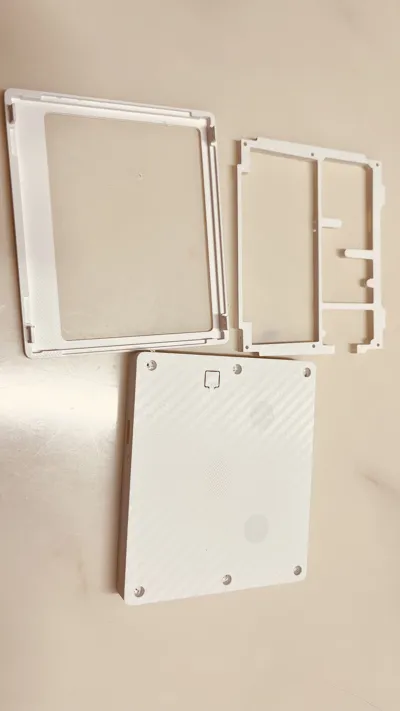
1: Place the screen

2: Install the middle bracket, aligning the screw holes on the side

3: Install the 4 M1*4 screws on the side, tightening gently, preferably with a manual screwdriver
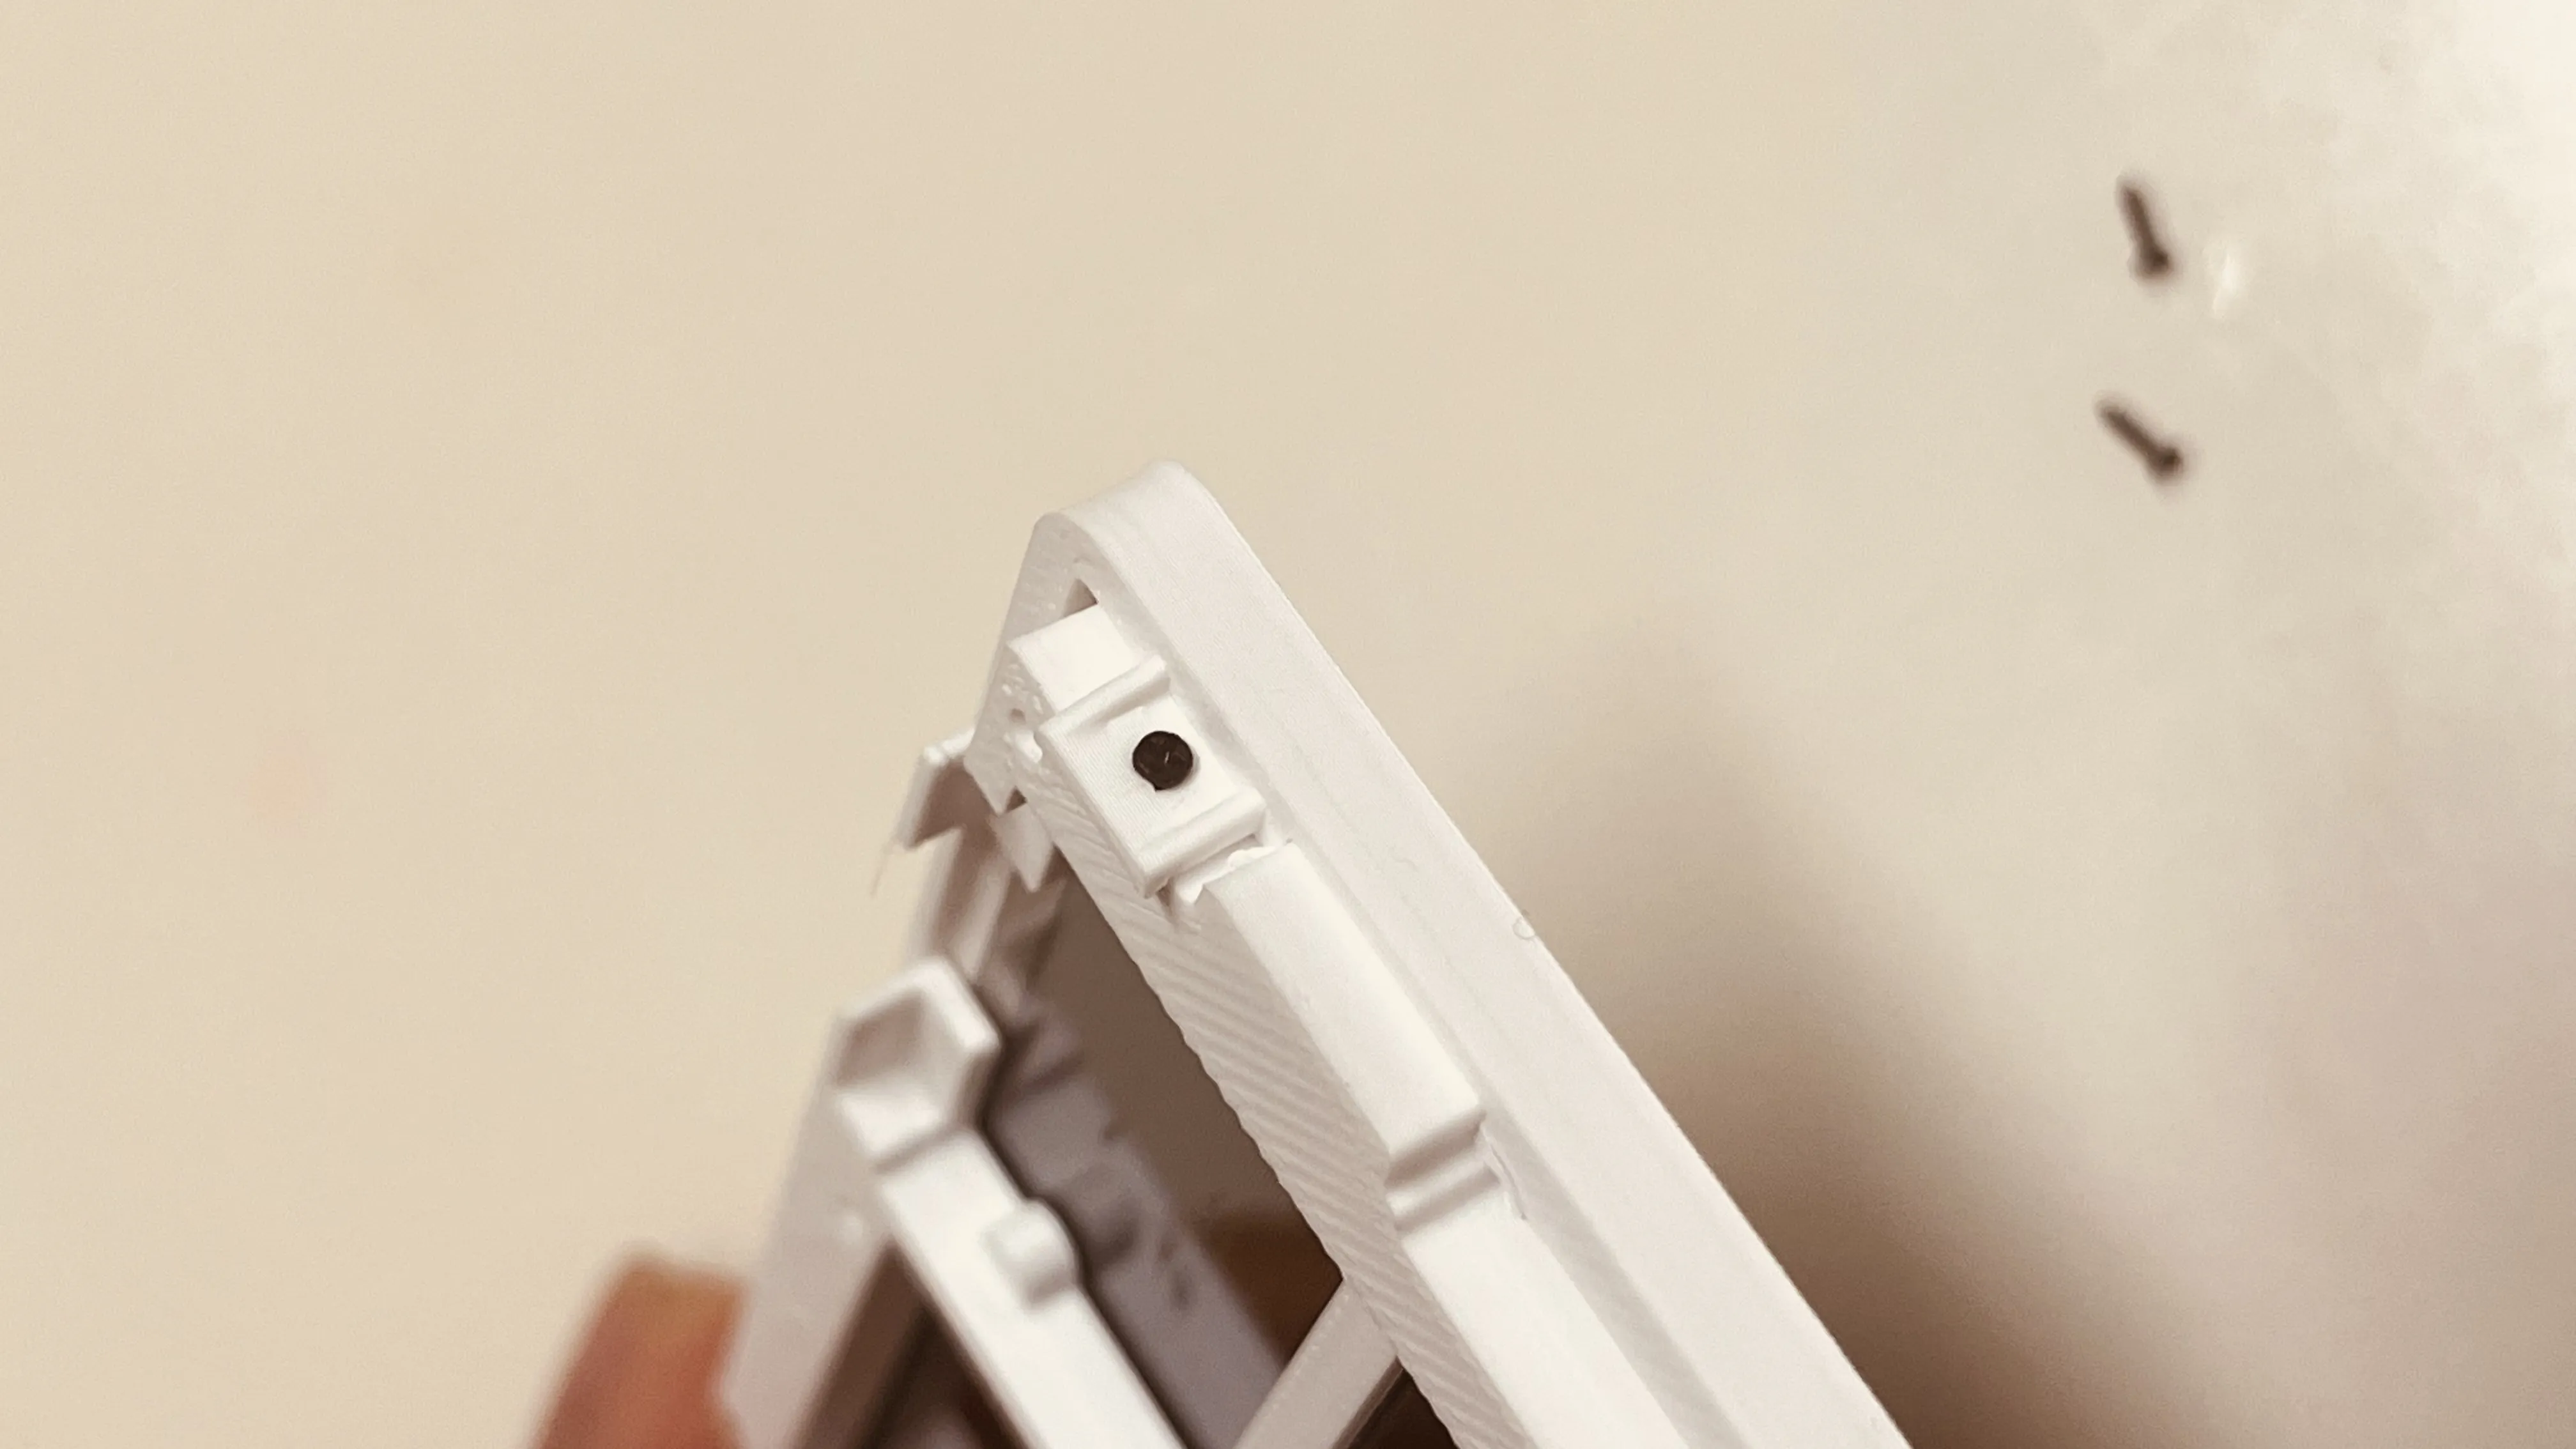
4: Apply double-sided tape for the battery + adhere the battery


5: Solder the battery, paying attention to positive and negative terminals

6: Connect the screen's FPC cable

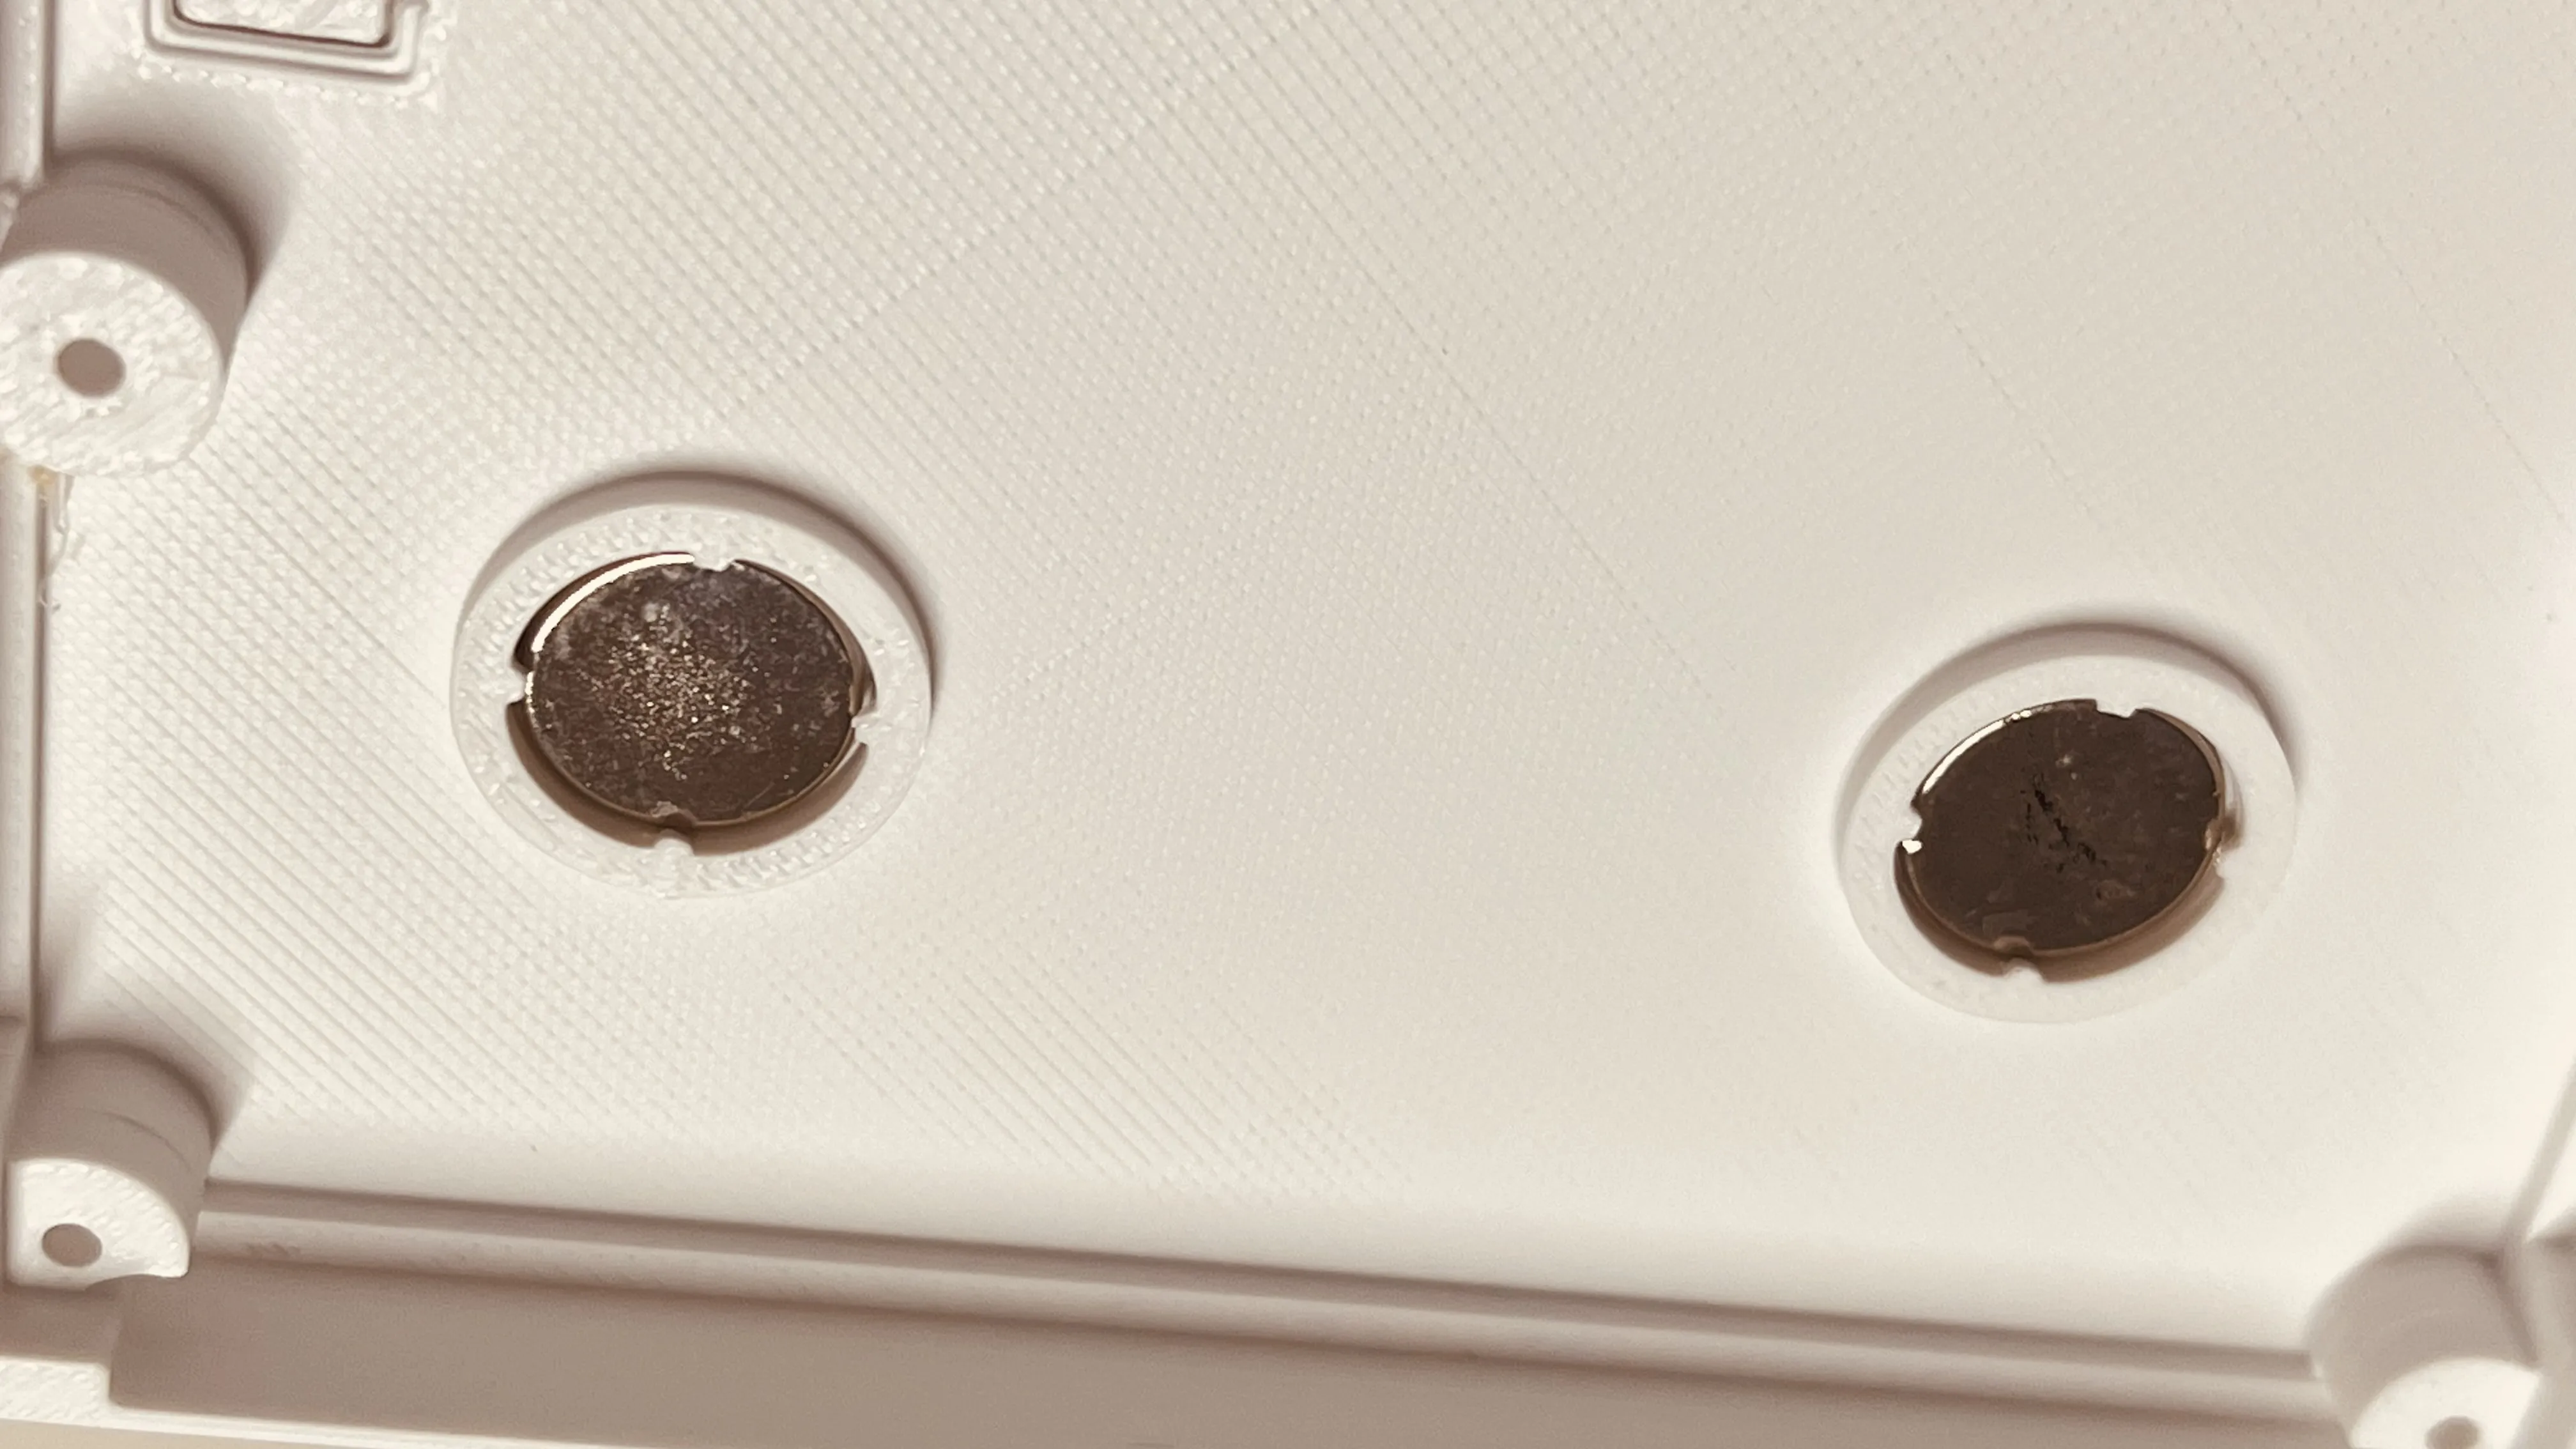
7: Install the magnets, minding their polarity, just snap them in, brute force works wonders
8: Install the 6 M2 screws on the back panel, here too it's best to tighten them manually without excessive force

9: Install the magnetic bracket magnets and 3M adhesive, the magnets here need to be snapped in firmly, it's best to check the magnet's polarity before snapping them in


Finished: Initial tests show the battery can last about 2-3 months, the driver board comes with built-in firmware and can also be re-developed

License
You shall not share, sub-license, sell, rent, host, transfer, or distribute in any way the digital or 3D printed versions of this object, nor any other derivative work of this object in its digital or physical format (including - but not limited to - remixes of this object, and hosting on other digital platforms). The objects may not be used without permission in any way whatsoever in which you charge money, or collect fees.
Comment & Rating (0)