


Print Profile(2)

Description
Membership
Boost Me (for free)
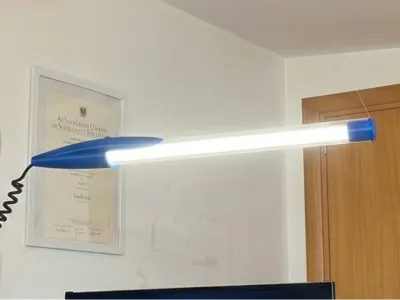
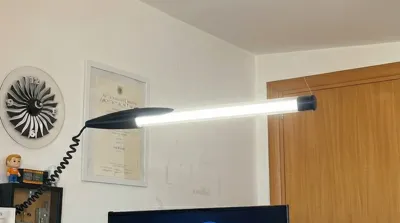
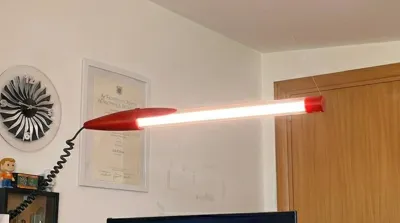
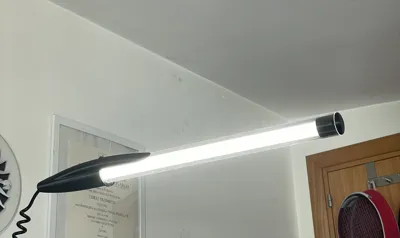
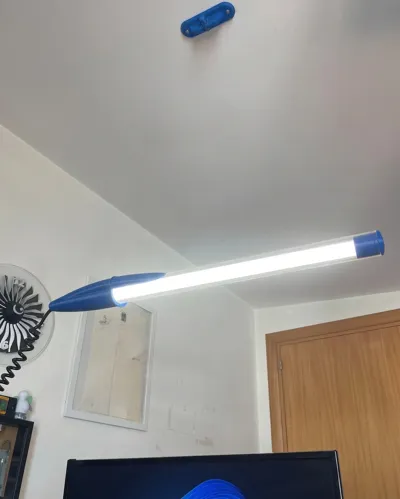
🖊️ Giant Pen Lamp - Giant Classic Pen Chandelier (70cm)
70 cm Giant Pen that serves as a pendant lamp! Classic Pen/Ballpoint Bic
Inspired by the most iconic ballpoint pens, this lamp is designed to house an LED tube and diffuse light through a transparent acrylic body. It is fully customizable in colors to match your style.
✨ Features
- Total length: ~70 cm.
- Lighting: Designed to house a 60 cm LED Neon tube.
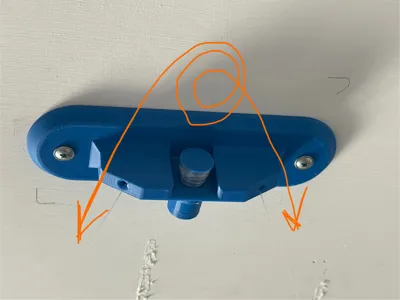
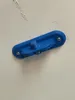
- Suspension system: Includes a ceiling mount with a pivot system to adjust the pen's inclination.
🛒 Required Materials
To complete the lamp, you will need the following components:
- Transparent Acrylic Tube: Length 50 cm, Outer Diameter 40 mm.
- 👉 You can purchase it here: https://it.aliexpress.com/item/1005003684802204.html
- 60 cm LED Neon Tube.
- Transparent Nylon Wire: (E.g., fishing line) for hanging the lamp.
- Power cable: A coiled spring cable enhances the aesthetic effect.
- Glue (e.g., cyanoacrylate): Needed to glue the two halves of the cap.
- Adhesive tape: To be used as shims to ensure a perfect fit for the joints.
- Screws and wall plugs: For fixing the mount to the ceiling.
- Electrical material: To connect the neon to the power supply.
🛠️ Assembly Instructions
1. Pen Preparation and Assembly
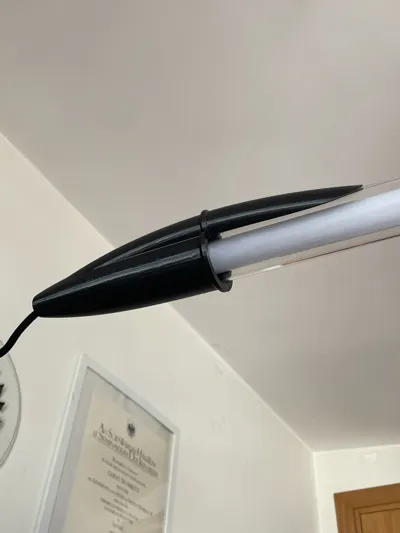
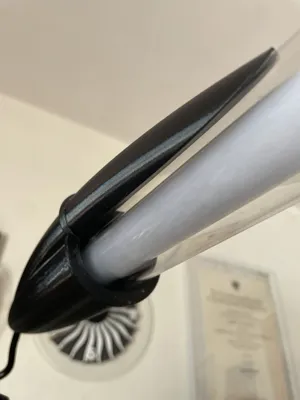
- Glue the cap: The "cap" (the pen tip) is printed in two separate pieces. Use a little glue to join them definitively before proceeding.
- Thickness Management (Important): Due to normal printing tolerances and commercial materials, the fit between the printed parts, the acrylic tube, and the neon might not be perfect. Wrap adhesive tape around the neon or the ends of the acrylic tube at the joint points. This will act as a shim and ensure an excellent friction grip, making the structure solid.
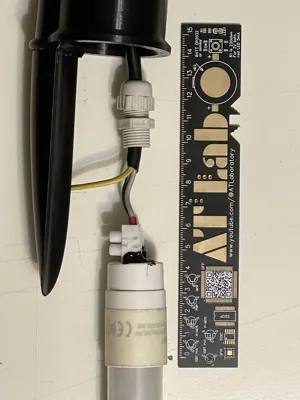
- Assembly: Insert the LED Neon tube inside the acrylic tube. Pass the power cable through the hole on the pen's rear cone and connect it to the LED. Finally, firmly snap the glued cap and the rear cone onto the two ends of the acrylic tube.
Ceiling Installation and Adjustment
The ceiling mount allows for two methods to hang the pen.
- Method A: Single Continuous Wire (Recommended ⭐) This method allows you to adjust the pen's inclination at any time.
- Attach the transparent wire to the pen's rear end with a strong knot.
- Pass the wire through one of the ceiling mount holes.
- Wrap the wire around the central pivot of the mount.
- Thread the wire down from the second mount hole and tie it to the pen's "cap" (tip).
- By rotating the wire on the pivot or sliding it, you can balance the pen or give it a creative angle!
- Method B: Two Separate Wires If you prefer a fixed position.
- Cut two pieces of transparent wire.
- Tie the first wire between the back of the pen and one ceiling mount hole (making sure to make solid end knots).
- Tie the second wire between the pen's tip and the other ceiling mount hole.
🚀 Coming Soon
- ⏳ Vertical Wall Mount: In the future, I will release an update with a mount to attach the pen vertically directly to the wall.


Boost Me (for free)
IF YOU WANT
⚠️ Standard License Warning (Non-Commercial Use)
This digital file is provided with a Strictly Non-Commercial Standard License
- Permitted Use: The model is intended solely for personal and private use (e.g., 3D printing it for yourself)
- Strictly Prohibited Use: Any use for profit or commercial purposes is strictly forbidden. This includes, but is not limited to:
- Selling or Distributing the digital file (or any modifications of it)
- Offering 3D printing services (you cannot sell physical prints of the model)
- Distributing it on any other platform or website
- Requesting any form of payment for the file or derived prints
In short: You cannot make money from this model or share it publicly.
Membership
Boost Me (for free)
License
You shall not share, sub-license, sell, rent, host, transfer, or distribute in any way the digital or 3D printed versions of this object, nor any other derivative work of this object in its digital or physical format (including - but not limited to - remixes of this object, and hosting on other digital platforms). The objects may not be used without permission in any way whatsoever in which you charge money, or collect fees.
Comment & Rating (14)