Dry-box/ AMS HT Side-mount Tray for 3DP Riser


Print Profile(1)

Description
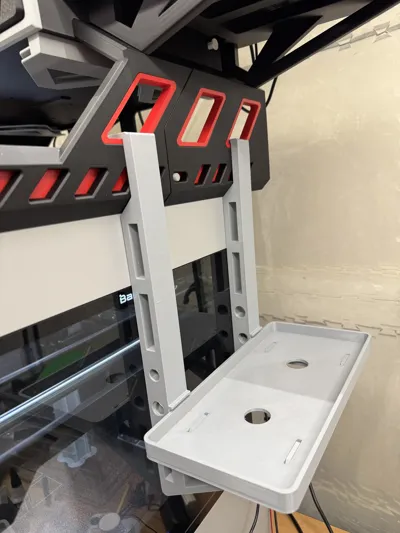
Heavy-Duty Side-Mount Tray for Bambu Lab H2 Series
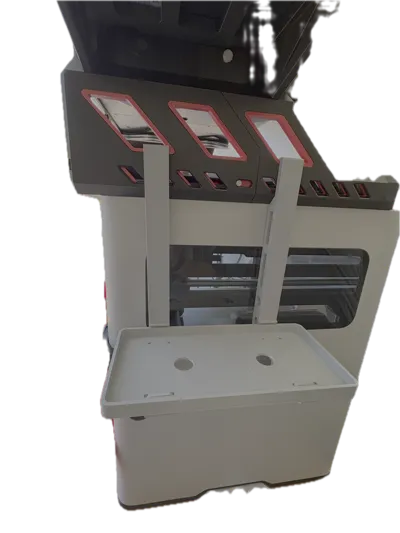
Upgrade your Bambu Lab setup with this robust, side-mounted storage tray. Designed specifically to integrate with the AMS Riser main body by D3P (Darren 3D Print) , this expansion provides a highly capable, heavy-duty storage solution right next to your printer.
🛠️ Key Features
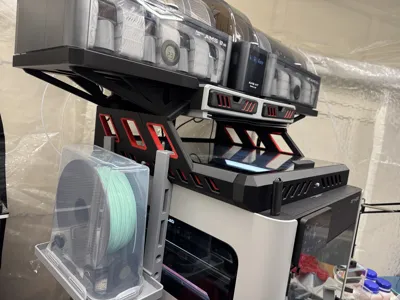
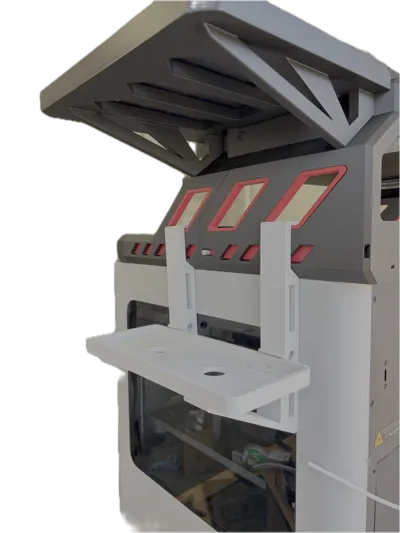
- Ambidextrous Mounting: Designed for maximum workspace flexibility, this tray can be securely hooked onto either the left or right side of your printer. For use for spools holding TPU, strongly suggest the left side.
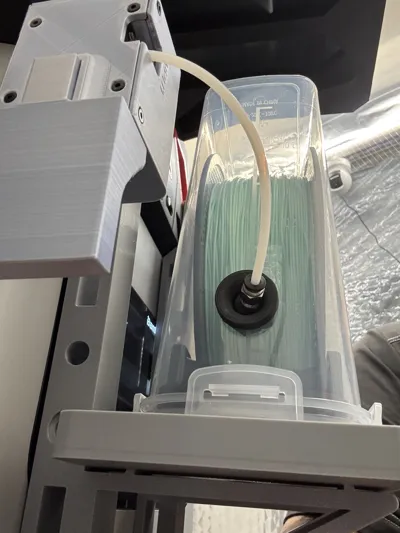
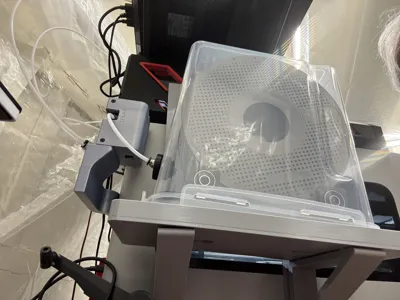
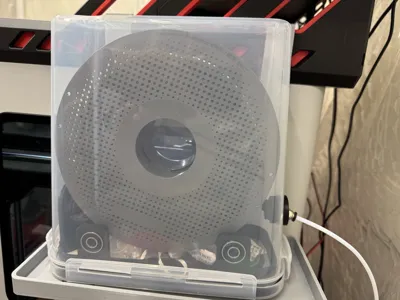
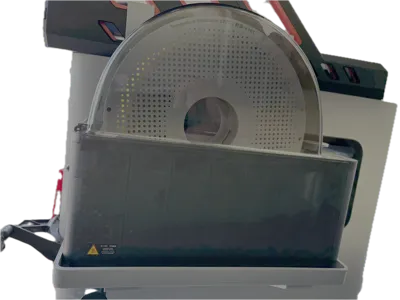
- High-Capacity Dimensions: The tray bed is significantly enlarged to comfortably accommodate a standard Cereal Box Drybox or an AMS HT unit.
- Load-Bearing Strength: Engineered for utility. It is structurally reinforced to easily and safely hold a drybox containing a 1kg to 2kg filament spool without sagging.
- Seamless Integration: Hooks directly into the D3P AMS Riser for a clean, hardware-free attachment.
⚠️ Compatibility & Requirements
- Printer Volume: Due to the footprint of this model, it can only be printed on a Bambu Lab H2 Series printer, or a machine with an equivalent/larger build volume.
- Required Modification: To mount this tray, you must already have the AMS Riser main body by D3P Riser installed on your printer.
🖨️ Print Profile & Recommendations
This download includes a fully optimized .3mf file tailored for the Bambu Lab H2 Series.
- Strength is Key: Because this part will bear a continuous, heavy load (1-2kg), the provided print profile is optimized for structural integrity.
- Material Choice: While you can print this in PLA, PETG, ABS, ASA, or PC are highly recommended to prevent the plastic from creeping or warping over time under the weight of the filament spools.
- Custom Slicing: If you choose to modify the .3mf settings, ensure you maintain a minimum of 3 to 4 wall loops and use a strong infill pattern (like Gyroid or Cubic) at 20% or higher to guarantee the tray can support the required weight.
License
You shall not share, sub-license, sell, rent, host, transfer, or distribute in any way the digital or 3D printed versions of this object, nor any other derivative work of this object in its digital or physical format (including - but not limited to - remixes of this object, and hosting on other digital platforms). The objects may not be used without permission in any way whatsoever in which you charge money, or collect fees.
Comment & Rating (2)