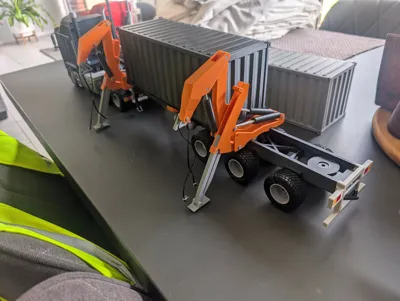
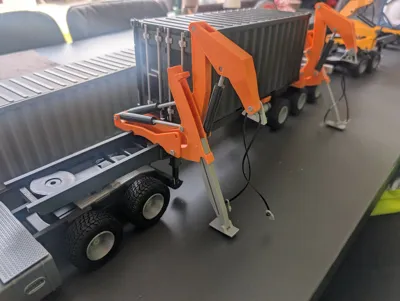
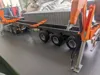
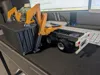
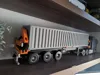
shipping container trailer side load
Print Profile(4)


Bill of Materials
Description
Membership
want to show support or sell my models? click the link
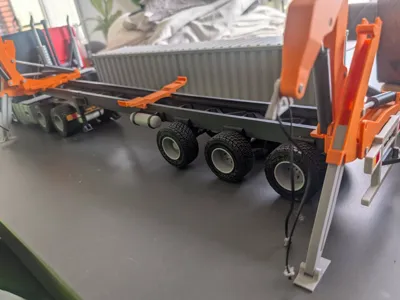
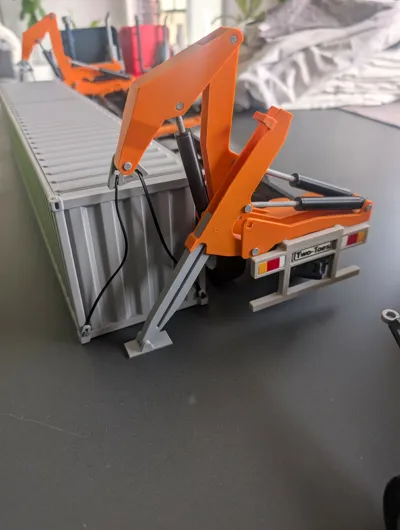
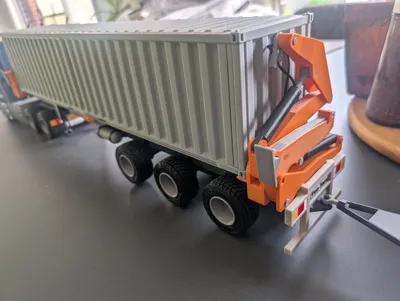
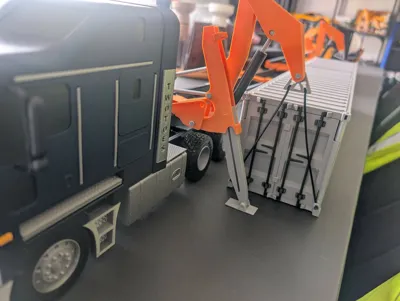
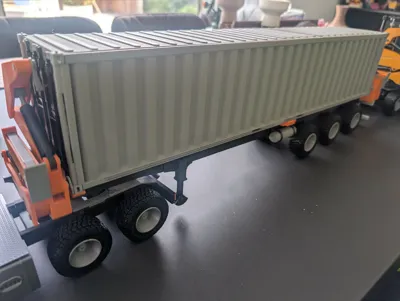
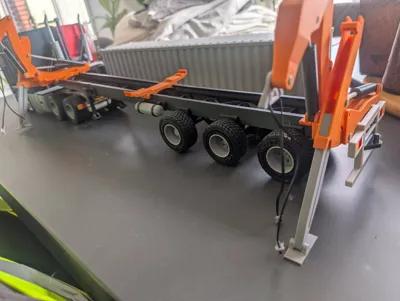
what use is a truck without a trailer. introducing the shipping container trailer designed to complement the 1:24/1:25 k200 truck and is fully compatible with my stackable shipping container range whether it be 20ft or 40ft, with its tpu belt and pully system to connect the end cranes they move in and out together along the channel in the chassis.
pla colors used are all from siddement (au)
matt black (frame)
de watt yellow (crane)
silver (wheels)
matt grey (axles etc.

To assemble. starting with the frame first attach the two middle sections to one of either front or rear section by sliding the dovetails together (ensure all support material is cleaned) then before attaching the opposite end slide the sub frame for both cranes onto the channel of the frame ensuring the container mounts face inwards on both ends. using the above picture as a guide install the frame head plate and cross members (they are on build plate in the correct order) and finally the rear pully mount.


install the pully using the 2 pins on one end first then feed the pully belt under the cranes and feed around pully ensuring the eyelets are in the middle between cranes and on the correct side, then with the top pin inserted through remaining pully install the belt then stretch out and hold in place while inserting the other half of the pin from underneath

assemble the crane arms with the printed pins which are all the same diameter but are different length depending on intended location which can be determined by measuring against part before installing it should be just long enough to bridge the intended gap (see photos)


to assemble the cylinders starting with the cylinder rod install cylinder cap the glue the bushing on the end see above photos for rod, cylinder configuration and placement then install ones in correct placement with pins

once cranes are assembled attach to belt by pushing the end or the arm into the eyelet as shown above

to install the trailer legs and brace the joint simply slide the dovetails together then take the leg insert and foot and install the ankle pin and slide into position making sure the flat side of the leg without shoulder faces inwards.

after installing the support plate similar to the legs push one side into the groove and slide up until the pin lines up with the hole and can be pushed inwards (glue) then install air tank and repeat bracket for other end.

to install wheel assembly starting with the axle mounts (x6 all the same) install the axle through opening and push into place using the dovetail cut outs on rear section of frame then after inserting the rim into the tyres push the wheels onto axles turn over and install suspension springs as shown using axles clips (i only used one spring on each axle as i ran out but was plenty for a display ).

License
You shall not share, sub-license, sell, rent, host, transfer, or distribute in any way the digital or 3D printed versions of this object, nor any other derivative work of this object in its digital or physical format (including - but not limited to - remixes of this object, and hosting on other digital platforms). The objects may not be used without permission in any way whatsoever in which you charge money, or collect fees.


Comment & Rating (13)