Hori-Zone Redback Cocking lever AR tube


Print Profile(1)

Bill of Materials


.jpg)

Description
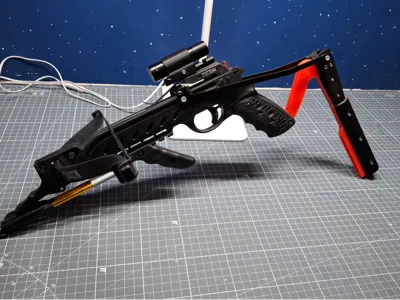
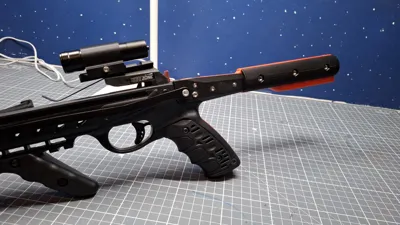
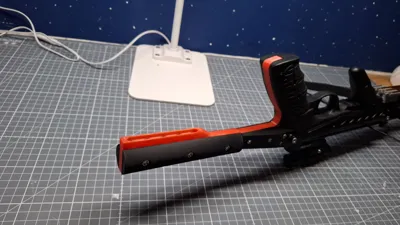
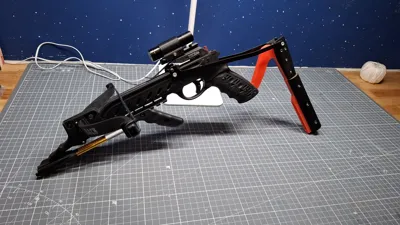
Not completly satisfied with the original cocking lever of the Hori-Zone Redback Pistol Crossbow I made a version with a AR15 / M4 style buffertube on it. Now I can use any existing buttstocks from a airsoft rifle on it. Or print one of many here available on makerworld.
It consist of 3 parts, and the center part is needs to be strong so it can bare all the force of cocking an 80lbs bow. So I have tested it when printed in PETG from eSun and PLA+ though from Bambu labs, both at 100% infill and that worked great.
The outerparts I printed in regular Bambu PLA with 3 walls and 35% infill wich seemed to be just fine.
Hardware I used:
- 3x M4-25 (Flat Head Cap Machine Screws)
- 3x M3-25
- 1x M3-20
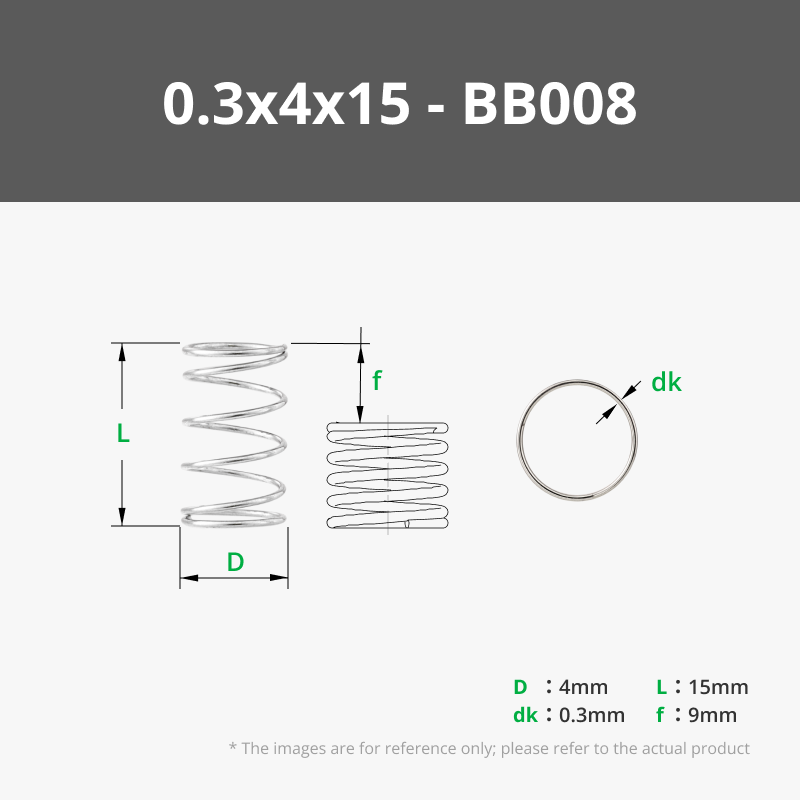
I did end up using an M3 bolt and spirng (0,4x4x15) for the safety latch but I don's see why you couldn't reuse the original pin and spring. I just wanted to keep the original all together in one piece. So I also printed this latch (by CT3D / @Chris1974)
If you want to modify anything the suit your needs, feel free. I provided a STEP file in here aswell for personal use and non-commercial remixes. Don't judge my work to harshly, I'm nog a very prolific modeler.
Boost Me (for free)
If you like this, consider giving me a BOOST
To remove the original cocking lever you'll need to remove 2 C-clips. It is very easy to do. Just use a small flathead screwdriver and rotate so that the opening is facing down and put you screwdriver underneath the top of the clip and flick it of. It might go flying, keep that in mind.
Other then that, pretty straigth forward I think. Please let my know what you think, I would love to see your prints and thoughts on this. If any improvements are needed feel free to do it yourself and and a printprofile on here.
HAPPY PRINTING AND SHOOTING
Comment & Rating (2)