Love and Deepspace Qin Che Church Magnetic Photo Frame Dollhouse Desktop Storage Box Assembly Version


Print Profile(2)
Description
Boost Me (for free)
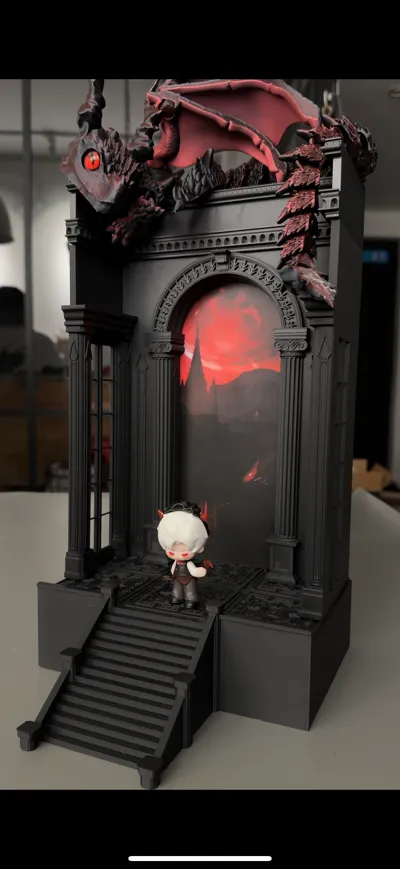
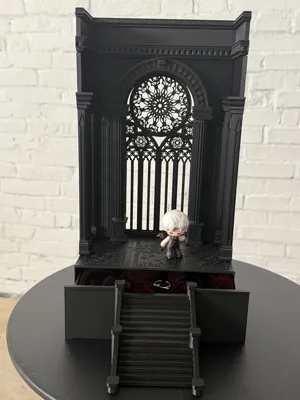
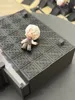
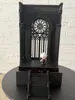
Magnetic photo frame, photos can be changed freely, and there is a drawer at the bottom for photos
This is the first complete model I tried to make, hope you like it
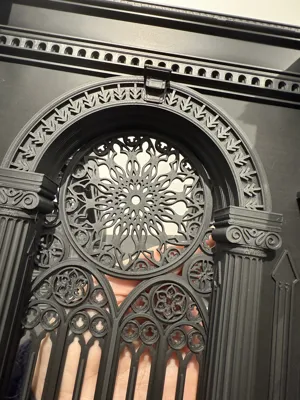
Important reminder: Ironing is enabled by default (can be canceled) I personally suggest that if you want a perfect surface, you need to do an ironing test first, see the last image
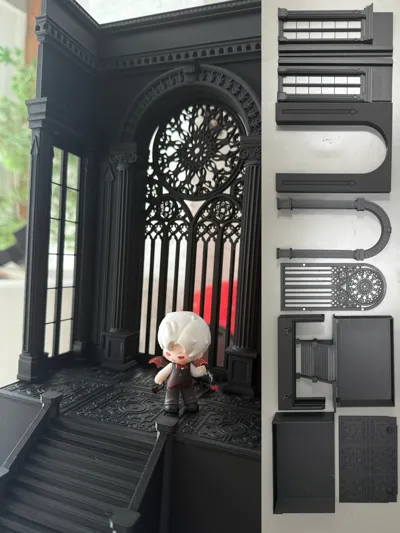
The assembly video fast-forwards directly to 1 minute and 06 seconds It doesn't matter if you don't watch it, it's easy to understand how to assemble it once printed
This is a model that has been delayed for half a year It is a modified and refined version of my original 3D printed 2-meter itasha cabinet The size has been adjusted to suit the needs based on feedback from netizens from the first two versions and the detailed patterns have been modified to ensure printing clarity after reduction
The default parameters have surface ironing checked (see the last image for the effect diagram), and the appearance texture is relatively smooth The overall design uses pin assembly to minimize supports, material waste, and printing time, while ensuring smooth visible surfaces
The assembly is suitable for packaging and transportation when given as a gift to friends but for placement at home, it is still recommended to glue and fix it with craft glue
The magnetic attraction requires 8 round magnets of 5*2mm Installation requires pressing them firmly into the mounting holes
Ironed surface finished product (be sure to do an ironing flow test)

License
You may create derivative works based on this object, provided that all such derivative works are published exclusively on the MakerWorld platform and include proper attribution to the original creator. You may not share, upload, host, distribute, or publish this object—or any derivative work of this object—on any other digital platform, marketplace, or distribution channel. Commercial use of this object and any derivative works is strictly prohibited. This includes, but is not limited to, selling, renting, sublicensing, or using the object in any context in which you receive monetary compensation or other financial benefits.
Comment & Rating (10)